A Cherry poppin’ Halcon in 1/100

Joined
Sep 25, 2022
Messages
14
Points
48

A hobby that I’ve wanted to start for a while now.
I have very little modelling background, I built some plastic plane kits when I was a kid. Later, I built and painted some Warhammer and Star Wars miniatures.

My goal at the moment is to progress through a couple of the cheap kits, a 1/100 Halcon and then a 1/96 Harvey before moving on to my Corel 1/60 Endeavour. Hopefully along the way picking up some skills and getting some great feedback from here.

I have opened and inspected the 1/100 Halcon kit. Having never attempted anything like this, it looks quite challenging.

Looking at kicking off tomorrow and hopefully update with some pics then.
Time to acquire some hand tools.....
 
And so it begins...

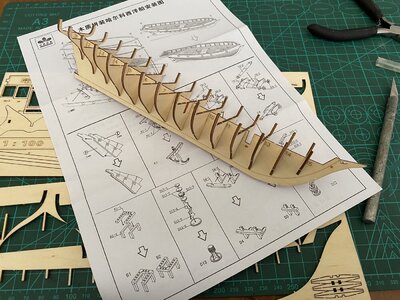
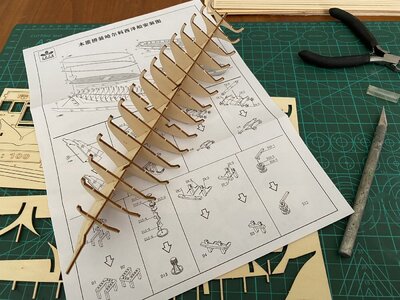
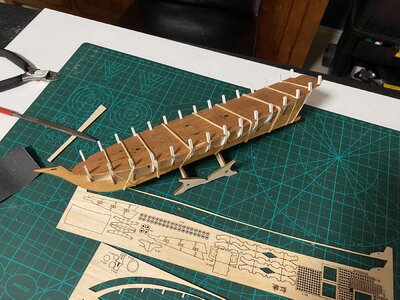
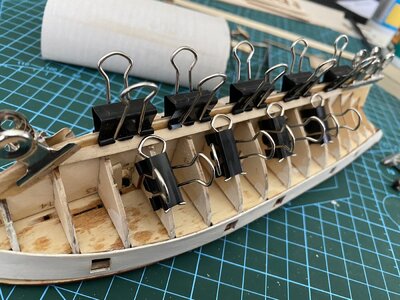
The keel and the ribs (what's their proper name?) all came out cleanly. Test fit was very tight and glued this all up fairly easy.
Although, my glue is an old PVA glue I had sitting around in the garage. It should come out white but was clear. I've used it and fingers crossed it holds ok.
Most definitely buying some more glues, a PVA, some super glue and some contact adhesive. These seem to be what i see most people onhere and youtube using.

IMG_4166 - Copy.JPEG
IMG_4167 - Copy.JPEG


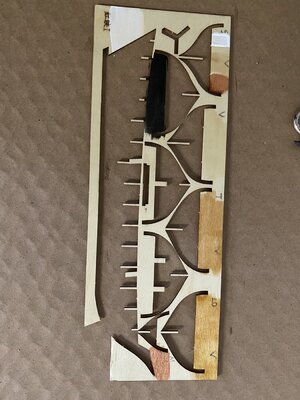
Took the opportunity to do some test painting on some unused wood to see how it takes. Also tested layering my stains, varnish and sanding sealer to make sure they were compatible.

IMG_4169 - Copy - Copy.JPEG

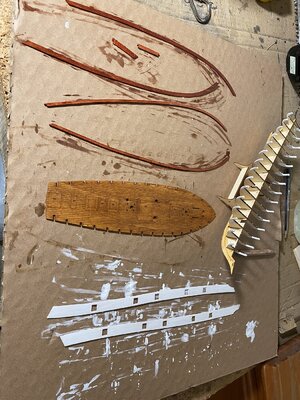
The paint testing went well so I went ahead with pre-painting/staining some parts before fitting

IMG_4173 - Copy - Copy.JPEG
 
The deck was interesting to get on. The material is quite flimsy and quite a few of the notches in deck the didn't quite fit properly into the uprights.
Possibly caused in part by my pre-painting, but also some manufactured issues.
A bit of gentle filing fixed this, but still managed to crack and snap a coupe small pieces off the deck around the little notches.

IMG_4174 - Copy - Copy.JPEG


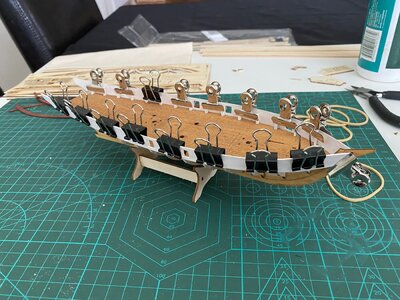
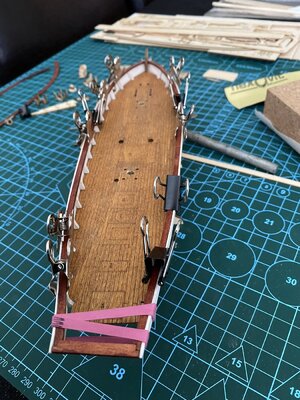
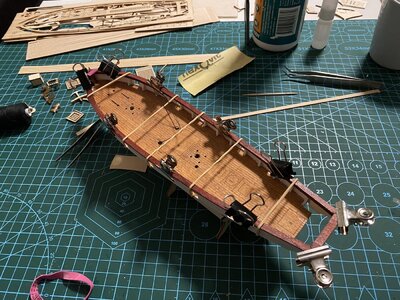
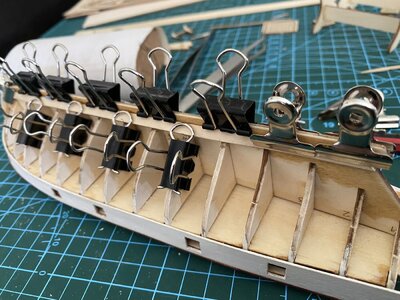
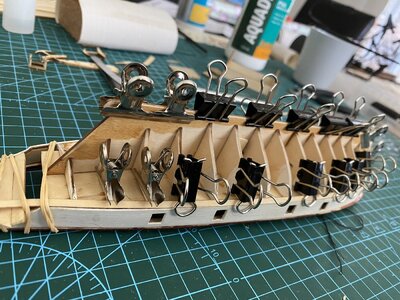
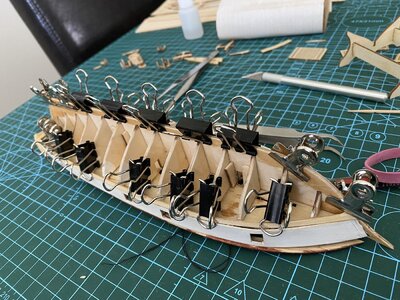
Once this why nice and dry, I test fitted the sides that I had pre-painted making sure the Cannon ports lined up properly. Then once happy I glues and clamped in place.
IMG_4175 - Copy - Copy.JPEG


Pretty happy with the way it turned out. The clamp did mark the bow a little but a touch up will fix that later on.
I also noticed that I didn't bend the very front of the bow in enough and it sticks out a bit, but will keep going and hope this wont present any issues.:

IMG_4178 - Copy - Copy.JPEG


Enjoying this build so far. Next up looking at attaching the top (handrails?) and starting the planking.
Must say the planking is quite daunting, but I have read and watched some YouTube videos so should be able to get it to a reasonable standard for a beginner.
 
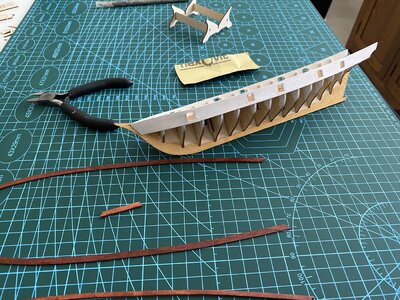
The top rails went on reasonably easily and I really like the stain I applied to them, really pops on the white.

IMG_4188 - Copy.JPEG
IMG_4189 - Copy.JPEGIMG_4190 - Copy.JPEGIMG_4190.JPEG


With that all done and very happy with the result I have now begun planking!
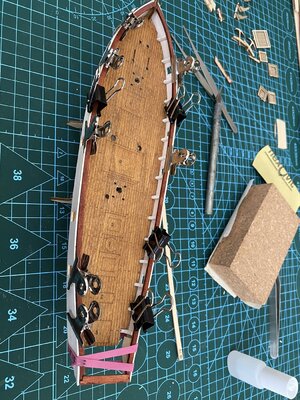
I also took the chance to glue some reinforcement around where the masts will sit inside the hull, I got this tip off another Halcon build log.
I also drilled a small hole through the horizontal rib where the Anchor lines will penetrate through the deck, hopefully allowing me later on to pull through a single length of rope for the 2 anchors. You can see a piece of black cotton in the later pictures that i have threaded through at the moment.
Pretty happy so far, although just started.

IMG_4192 - Copy.JPEGIMG_4193 - Copy.JPEG
IMG_4195 - Copy.JPEG

IMG_4194.JPEG

Thanks for watching!
Next step - More planking!
 
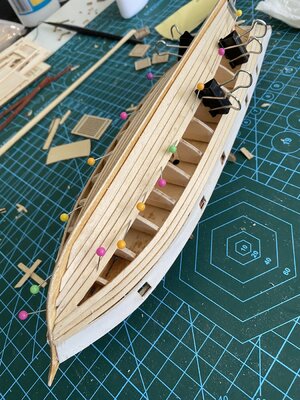
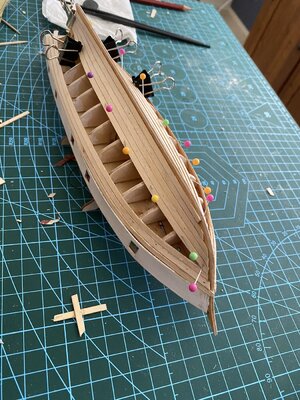
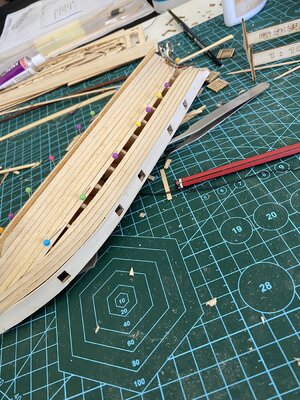
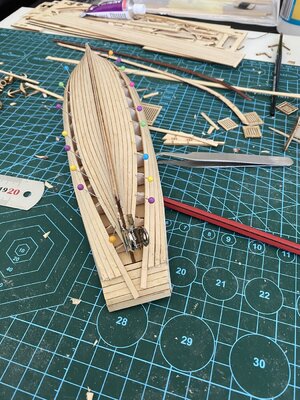
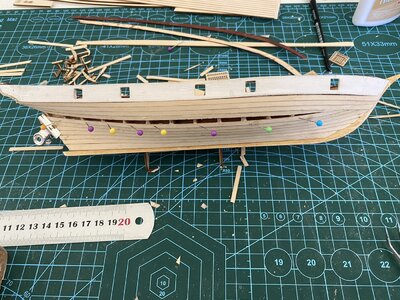
So the planking is coming along reasonably well, I'm pretty happy so far with the results, especially for a first timer.

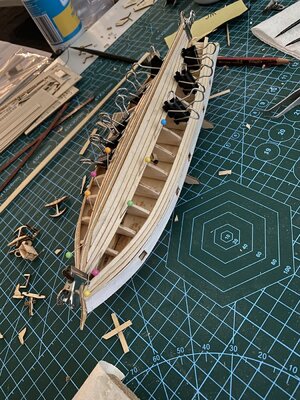
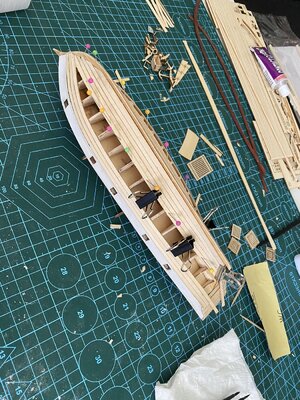
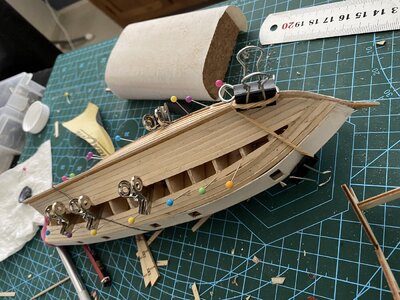
Had to resort to map pins to hold the planks down in some places, as I couldn't get the clips into a good enough position to hold the plank down whilst drying. I am hoping that after a light sanding these will be hidden well enough as my plan is to stain and varnish the hull. The planks meeting the bow also isn't particularly neat, but I am hoping to fix this up as much as possible with a bit of surgery and when sanding after planking is completed. The last couple of planks applied I have begun to notice that there is a fair bit more vertical bend required. I am going to apply the next planks as partial length and let them lie naturally across the hull and cut to fit.

I have also been chipping away at putting together the various small deck fittings between plank drying times. I did manage to bust one of the edges of a grate, totally and also have dislodged the top of the handrail. The grate edge, I guess I will have to live without it and try to hide it somewhere/somehow. The handrail I ended up totally removing it and will glue back on at a later stage.


IMG_4207 - Copy - Copy.JPEG

IMG_4209 - Copy.JPEG
IMG_4210 - Copy.JPEG
IMG_4211 - Copy.JPEG

Thanks for looking.
Next step will continue on with more planking, hoping to finish this stage in the next week or so. It appears I am now at the stage where the planks will require some shaping to fit and will probably have to apply some partial length planks as well to reduce the vertical bending stress on the planks and glue.
 
The planking is coming along well, my trimmed pieces are fitting in nicely. I really think this will come up well after a light sanding, stain and varnish.
I am enjoying this build so much that I decided to buy the upgrade pack and sails which should arrive in a few weeks. So i'll leave doing the cannons till it arrives.
I have also asked for the Model Shipways Shipwright 3 Kit Combo Series for Christmas / Birthday (Birthday is in a couple of weeks) from the better half.
From what I can see this is a good quality kit aimed at teaching beginners how to make these magnificent wooden ships.
So my aim is to complete this kit, then finish the Shipwright Series and then onto the Harvey or if confident, I will jump straight into my Corel Endeavour.

IMG_4216 - Copy.JPEG

IMG_4219 - Copy.JPEG

IMG_4220 - Copy.JPEG

IMG_4222 - Copy.JPEG


Thankyou for following along.
 
A hobby that I’ve wanted to start for a while now.
I have very little modelling background, I built some plastic plane kits when I was a kid. Later, I built and painted some Warhammer and Star Wars miniatures.

My goal at the moment is to progress through a couple of the cheap kits, a 1/100 Halcon and then a 1/96 Harvey before moving on to my Corel 1/60 Endeavour. Hopefully along the way picking up some skills and getting some great feedback from here.

I have opened and inspected the 1/100 Halcon kit. Having never attempted anything like this, it looks quite challenging.

Looking at kicking off tomorrow and hopefully update with some pics then.
Hallo @The Don
we wish you all the BEST and a HAPPY BIRTHDAY
Birthday-Cake
 
Quick update, I’ve got the planks all on and have started sanding the hull. Was quite tricky getting the last few partials in as some of them were smaller than some splinters I’ve pullled out before!
My upgrade pack arrived. I also added the sails and some pins with loops that I’ll use to help with rigging.
Due to being that busy time of year, no pics this time but will post them up asap!
 
A hobby that I’ve wanted to start for a while now.
I have very little modelling background, I built some plastic plane kits when I was a kid. Later, I built and painted some Warhammer and Star Wars miniatures.

My goal at the moment is to progress through a couple of the cheap kits, a 1/100 Halcon and then a 1/96 Harvey before moving on to my Corel 1/60 Endeavour. Hopefully along the way picking up some skills and getting some great feedback from here.

I have opened and inspected the 1/100 Halcon kit. Having never attempted anything like this, it looks quite challenging.

Looking at kicking off tomorrow and hopefully update with some pics then.
Hallo @The Don
we wish you all the BEST and a HAPPY BIRTHDAY
Birthday-Cake
Are you still working on this project?
 
Back
Top