- Joined
- Jun 22, 2026
- Messages
- 61
- Points
- 58

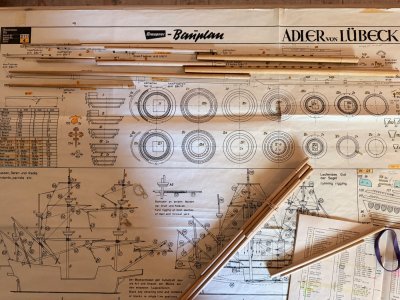
Welcome to my build log for the Graupner Adler von Lübeck.
Before I begin posting updates, I’d like to share the remarkable story behind this project.
The original Adler von Lübeck was one of the largest warships of the 16th century, constructed by the Hanseatic city of Lübeck and launched in 1566. Built during a period of growing naval competition in the Baltic, she was intended to be a powerful symbol of the city’s wealth and influence. Although her active service was relatively brief, her immense size, formidable armament, and striking appearance secured her place in maritime history.
The model documented here has a history almost as remarkable.
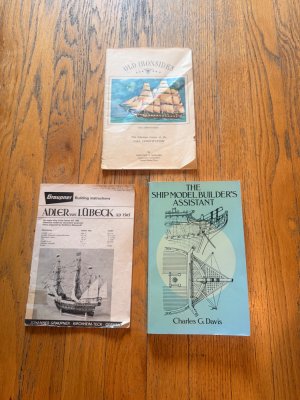
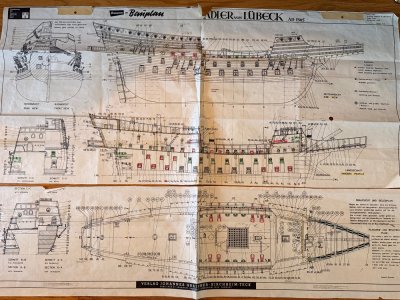
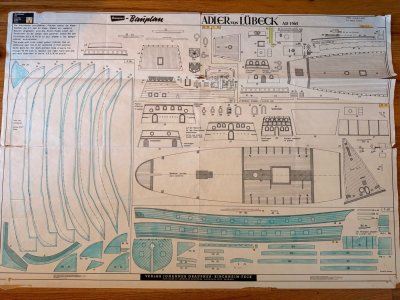
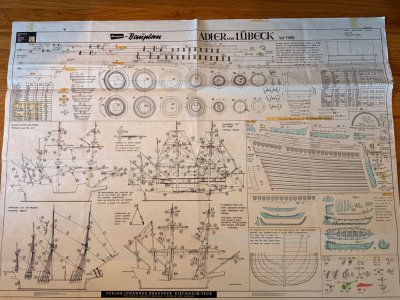
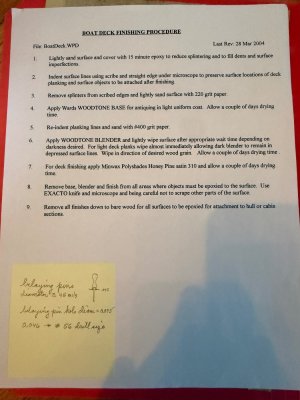
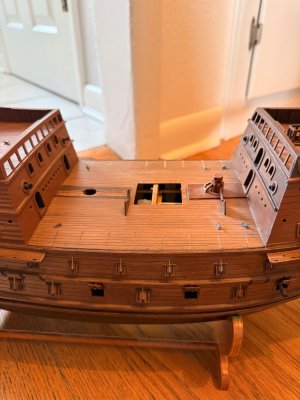
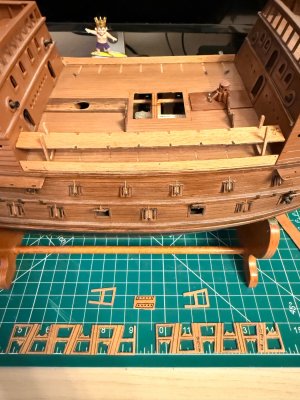
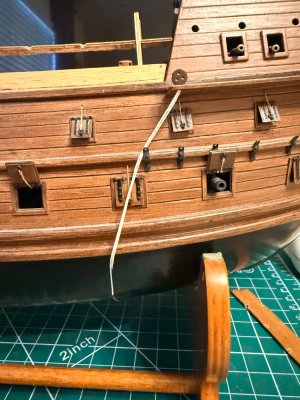
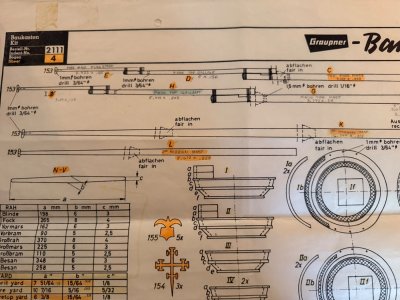
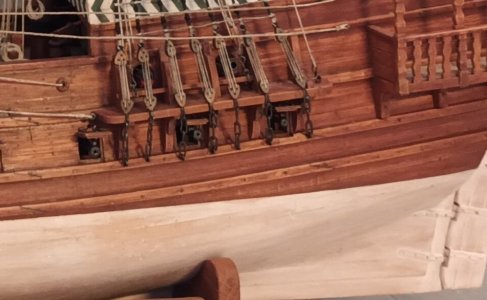
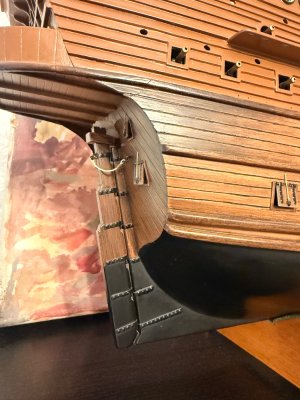
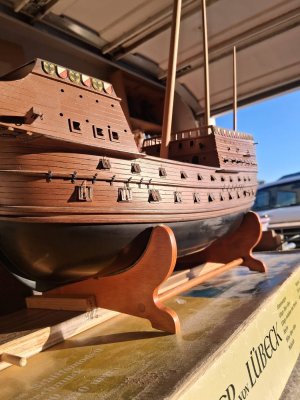
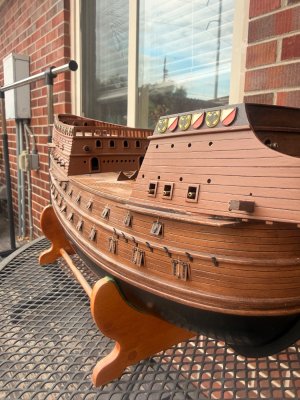
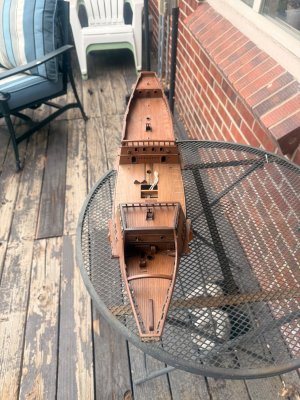
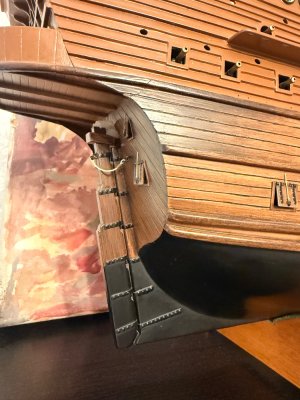
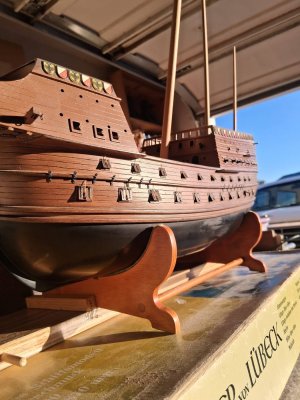
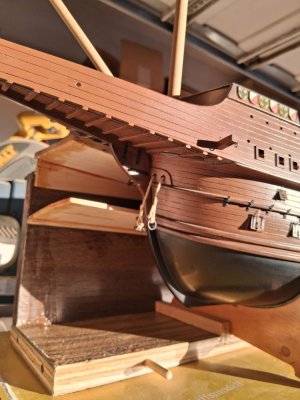
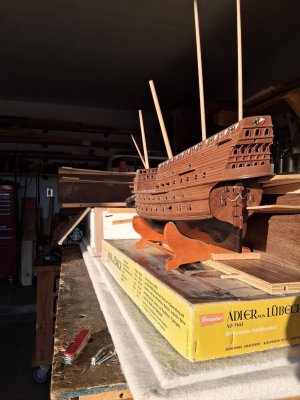
The Graupner kit was purchased in December 1969 by the original builder. Over the next two years, he carefully shaped and planked the hull, bringing the project to a significant milestone. By December 1971, the hull had been completed—a remarkable achievement considering the craftsmanship required and the limited resources available to modelers at the time. And then… The shipyard fell silent.
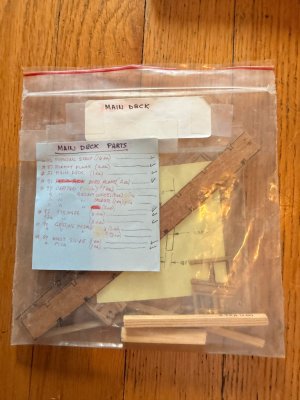
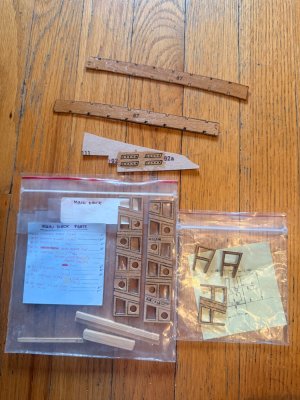
For reasons now lost to time, the project was carefully set aside. Decades passed. The unfinished Adler remained preserved on shelves and in storage while the world changed around her.
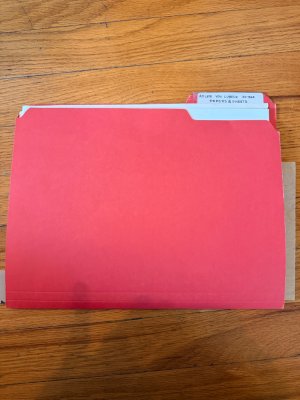
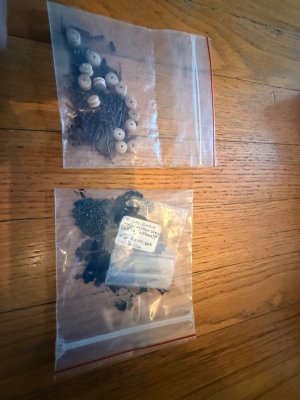
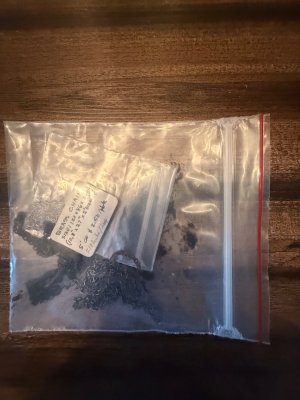
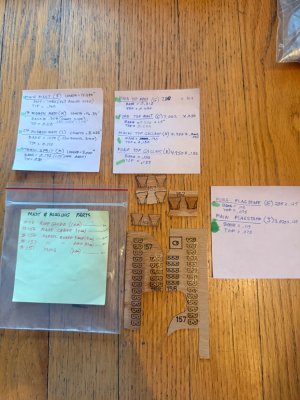
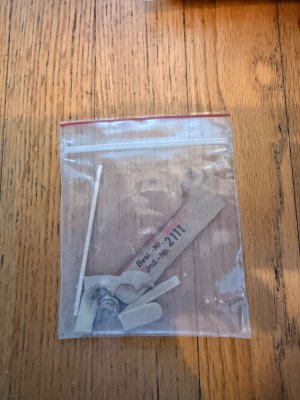
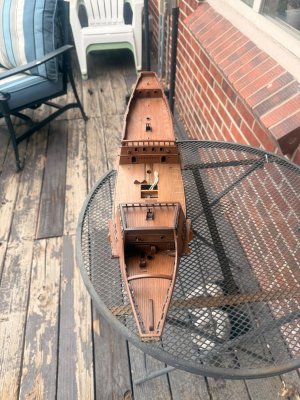
More than fifty years later, I was given the opportunity to acquire the model from the builder’s son. After spending over half a century unfinished, this Adler has arrived on my workbench to begin the next chapter of her journey.
This will not be a traditional build log.
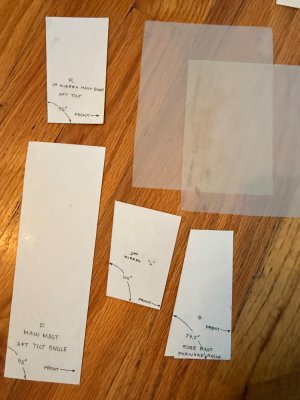
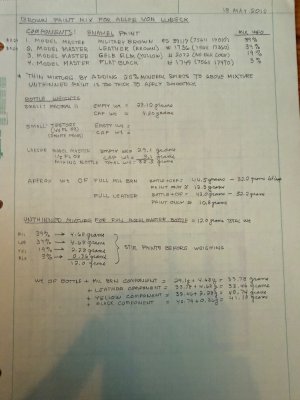
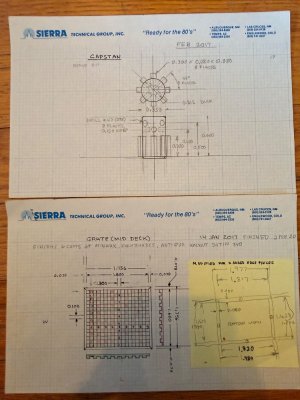
The hull, the foundation of every ship model was completed by another craftsman whose work I greatly admire. My task is not to begin this vessel, but to continue it. My goal is to complete a project that has bridged generations while preserving the vision of the man who first opened the box in 1969.
Throughout this restoration and build, I’ll document each stage of the process while making every effort to remain faithful to the original builder’s craftsmanship and intent.
Look forward to this journey with you all. And please any and all advice is appreciated and welcomed.
-Matty
Before I begin posting updates, I’d like to share the remarkable story behind this project.
The original Adler von Lübeck was one of the largest warships of the 16th century, constructed by the Hanseatic city of Lübeck and launched in 1566. Built during a period of growing naval competition in the Baltic, she was intended to be a powerful symbol of the city’s wealth and influence. Although her active service was relatively brief, her immense size, formidable armament, and striking appearance secured her place in maritime history.
The model documented here has a history almost as remarkable.
The Graupner kit was purchased in December 1969 by the original builder. Over the next two years, he carefully shaped and planked the hull, bringing the project to a significant milestone. By December 1971, the hull had been completed—a remarkable achievement considering the craftsmanship required and the limited resources available to modelers at the time. And then… The shipyard fell silent.
For reasons now lost to time, the project was carefully set aside. Decades passed. The unfinished Adler remained preserved on shelves and in storage while the world changed around her.
More than fifty years later, I was given the opportunity to acquire the model from the builder’s son. After spending over half a century unfinished, this Adler has arrived on my workbench to begin the next chapter of her journey.
This will not be a traditional build log.
The hull, the foundation of every ship model was completed by another craftsman whose work I greatly admire. My task is not to begin this vessel, but to continue it. My goal is to complete a project that has bridged generations while preserving the vision of the man who first opened the box in 1969.
Throughout this restoration and build, I’ll document each stage of the process while making every effort to remain faithful to the original builder’s craftsmanship and intent.
Look forward to this journey with you all. And please any and all advice is appreciated and welcomed.
-Matty