Aedes Ars Country Diorama

Joined
Jul 7, 2015
Messages
1,253
Points
443

Location
Berwick, Australia
HI all
After looking at Ekis Medieval Village, I got the urge to have a go.
After hunting around I found that Aedes Ars, the maker of the Medieval kit, had others available on Amazon Australia international

I purchased the kit for $180 Australian.
This is my build of the Country Village Diorama.

I have never done a Diorama before, so not only is the kit going to be fun but I will learn how to do realistic rivers, fields & landscapes.
Whilst there is no scale on the kit, others in the series ( This kit consists of 3 sub kits at 1:150 scale) I iwll assume its all 1:150.
For model rail enthusiasts its N guage.

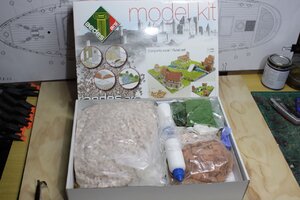
Anyway here is the kit as supplied and the start of the build.
The unboxing:
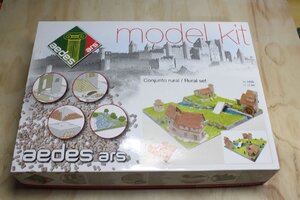
IMG_3514.jpg
Open box
IMG_3515.jpg
The kit contains all the parts you need plus the glue.
You need to supply the tools ( For the actual model builds a sharp No 11 cutter, pair of scissors and nail file boards.)

The contents consisted of a bag of miniature bricks, Roof tiles, Paving , grass, bushes sand & dirt, ( I will not be using the blue river sand!)
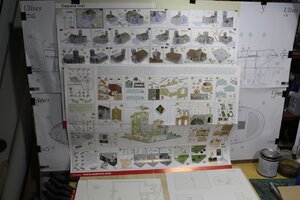
Aldo there is two a3 sheets .
Three sides of the sheets contain the step by step plans for each of the buildings, plus general instructions on how to to do things. These are in multiple languages including English.
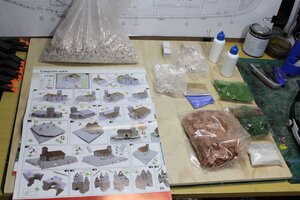
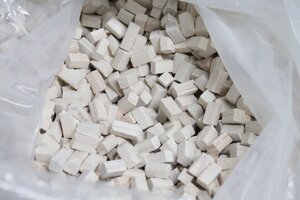
IMG_3516.jpg
Lots of bricks
IMG_3517.jpg
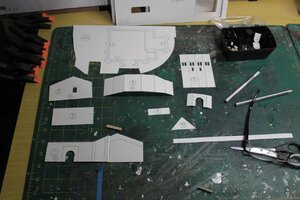
Next there are the cardboard sets for each of the builsings as well as hardboard bases for the four sections.
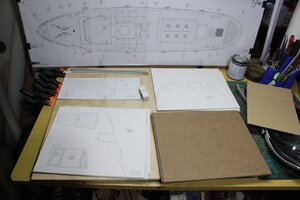
IMG_3518.jpg
Also supplied are cardboard tabs to attached the building parts
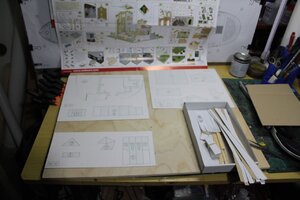
IMG_3519.jpg
 
And away we go:
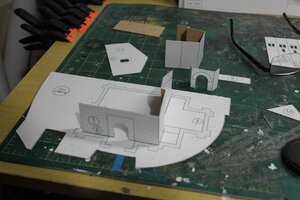
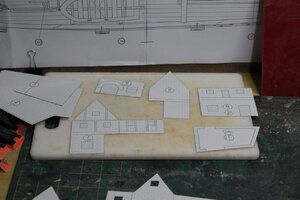
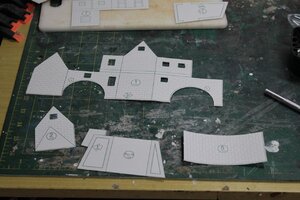
First thing was to follow the plan page & press out all the parts needed for the first building
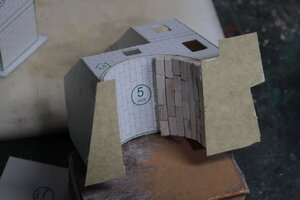
This was very easy as the base & the parts needed are all stapled as a single item
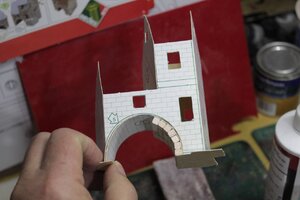
IMG_3520.jpg
IMG_3521.jpg
The only section that needed to be cut by hand was the window & doorways. These were stored & labled for size ref for door & window shutters later
As this is a multi level dorama, the first base was cut ready for the building to be mounted

The building was then placed on the marked lines and glued into place.
IMG_3524.jpg
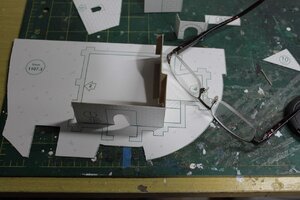
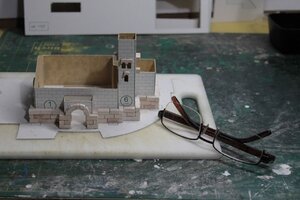
Note the size in comparison to a pair of glasses ( These are NOT large buildings)
IMG_3526.jpg
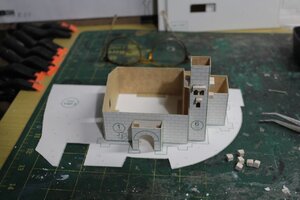
The buisng was then completed to the wall only stage as suggested
IMG_3527.jpg
Next the brick work commences:
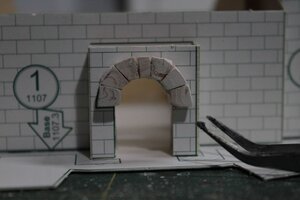
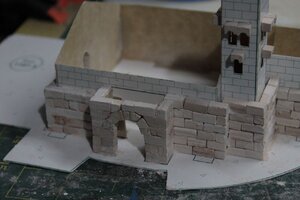
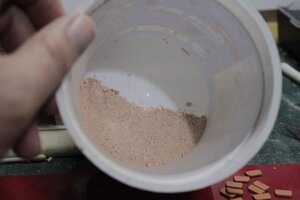
Archway parts are provided in this kit, however they do need to be shaped to fit with the nail files ( Brick is a very sandable product, but does need to be done over a container due to the dust.
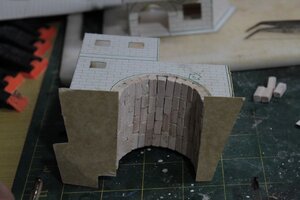
IMG_3536.jpg

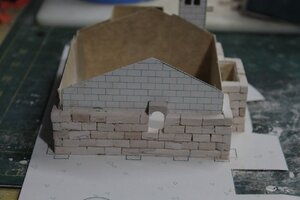
The wall layering commences. Note you need to build from the corners out to get correct wall edge alignment. Some shaping is required to get a correct fit, however the brick sizes vary and most of the time with a little trial & error they line up.

Once you have a wall side layer of bricks test laid & selected they can be glued into place with PVA. As per any brickwork they must be staggered.
IMG_3539.jpg
Lots of fun so far!
I can see it could be addictive.
As it the final build is 550 x 500 I might make the display the basis for a infilled illuminated glass top coffee table!.
 
Great project.
I have always been interested in building one of these historical dioramas.
Please keep us updated with your progress - the good and the bad :)
 
Tks guys.
And so we continue....
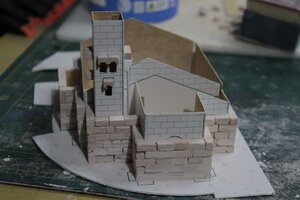
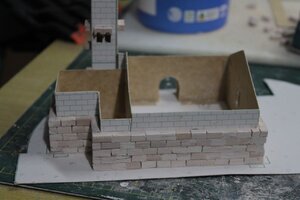
The bricks ( in this scale huge Slabs) are slowly added around the perimeter of the building( carbo00ard walls). The bricks come in two major sizes - ( I call them normal and a bit longer.) The normal and a Bit longer vary a lot in both size and width and condition, so its a pick and choose to fit.

In some instances they require a "Brick Bolster" ( no 11 blade) to break to a smaller size ( this normally results in an uneven cut that needs to be sanded to size and flat. ( Anyone who has done Brickwork - Paving etc will understand( its just in miniature). Your fingertips however look jut like normal brick laying hands!!!)

Once you reach the top of the was, they are left until the outer roofing walls are done and once dry ( overnight) sanded down to the roof line and beveled on the edges. This is to allow the roof to sit correctly.
IMG_3541.jpgIMG_3542.jpgIMG_3543.jpgIMG_3544.jpg
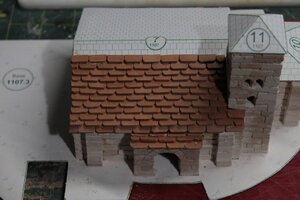
Roof added
IMG_3546.jpgIMG_3548.jpgIMG_3547.jpg
IMG_3549.jpg
The risers were then sanded straight and all the walls given a light sand to make the surface flat and even.
Al least you end up with some nice dust for hole filling & pathways
IMG_3553.jpg
Next the roof tiles are added.
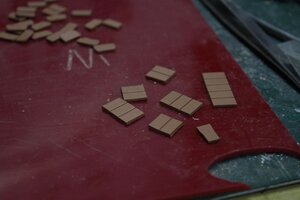
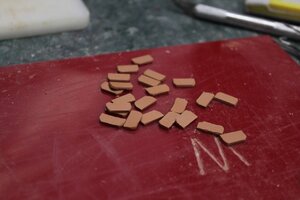
They are flat clay and need shaping.
IMG_3550.jpg
to this
IMG_3551.jpg
and you get this
IMG_3552.jpg
They are then added to the roof from the edge up. They can be nicely lined up with the lines on the roof. This is a SLOW but satisfying process and anyone who has done coppering will relate to it.;)
IMG_3554.jpg

For these considering these projects

Have i done it before or any diorama work NO:
Is it hard to do NO
Is it fun YES YES YES
Its it relaxing VERY.
Is it Messy:, somewhat
Is it fiddely :A LIttle.


See you in the next installment.
 
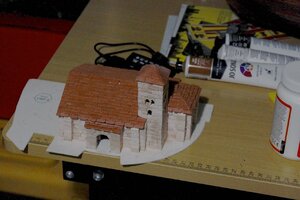
1 down 6 to go
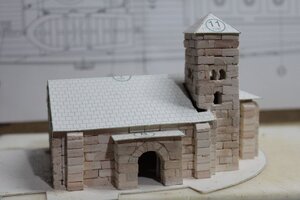
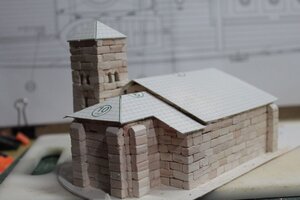
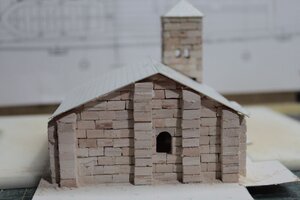
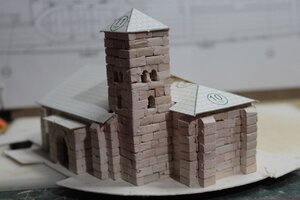
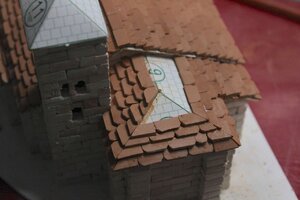
First building finished. Hardest part the little roof of the tower as the final sanded roof tiles were very very small to sand.
IMG_3556.jpg
IMG_3557.jpg
IMG_3558.jpg

On to the next.
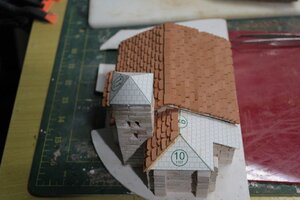
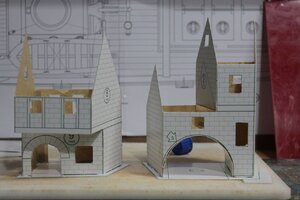
This building consists of two separate buildings with angular walls, overhangs & arched walkways.
IMG_3561.jpg
IMG_3560.jpg
IMG_3563.jpgIMG_3564.jpgIMG_3566.jpg
IMG_3567.jpg
Arch finished & on to the funny angle walls.
 
aye, looks good indeed. I always thought those were just assembled - seems like there's a lot of interesting creative work as well
 
Hi Sulaire.

There is a lot more to it. The put together is only the frame. The kit is a build the brick & wood veer, then build the landscape. The actual Bricks, Tiles & pathways you have to shape you size & fit.

Its good value for what you get.
 
Back
Top