-

Win a Free Custom Engraved Brass Coin!!!
As a way to introduce our brass coins to the community, we will raffle off a free coin during the month of August. Follow link ABOVE for instructions for entering.
-

PRE-ORDER SHIPS IN SCALE TODAY!
The beloved Ships in Scale Magazine is back and charting a new course for 2026!
Discover new skills, new techniques, and new inspirations in every issue.
NOTE THAT OUR FIRST ISSUE WILL BE JAN/FEB 2026
You are using an out of date browser. It may not display this or other websites correctly.
You should upgrade or use an alternative browser.
You should upgrade or use an alternative browser.
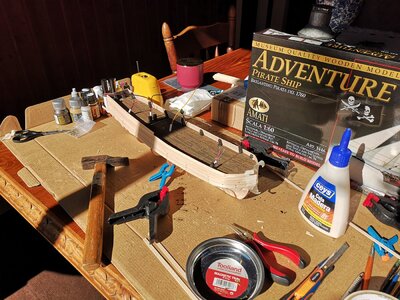
Amati Adventure :: Pirate Sloop :: 1/60 :: First Build
- Thread starter CaptainRicGarces
- Start date
- Watchers 7
Thanks guys! Yes it is relaxing  I hope I do a good job. There are so many tricks to learn! If you want to leave your ideas you are most welcome!
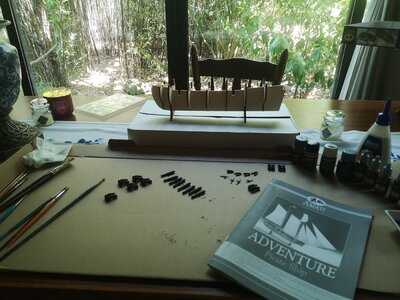
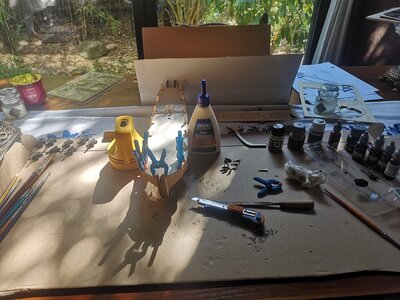
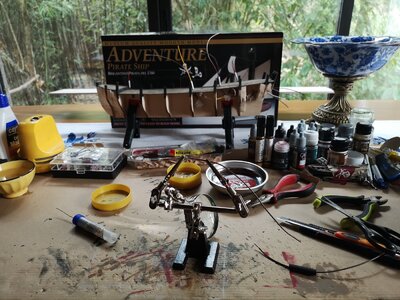
At the present time, the only thing I did extra was paint the cannons and paint the fake deck in black. I will post new photos soon as I am detached in Spain at the present time doing firefighting.
I did managed to check out the Madrid Naval Museum and get some photos and ideas for this build.
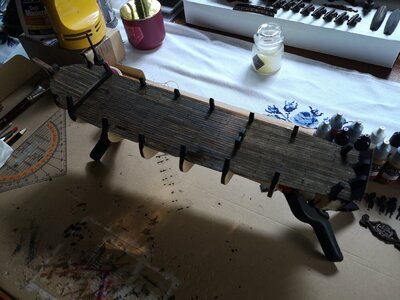
I painted the fake deck in black because it helps to hide mistakes. I think it will also be good as crevices between the planks. We shall see!
I bought a few extra acessories and details for the model.
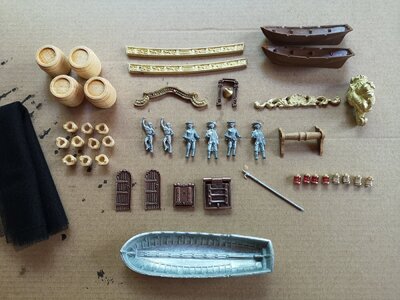
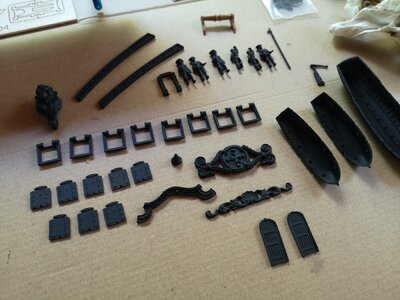
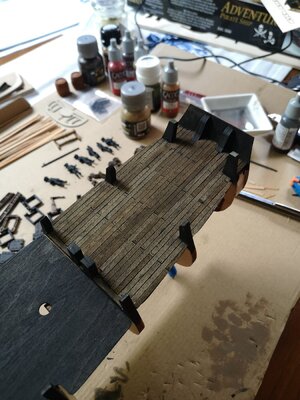
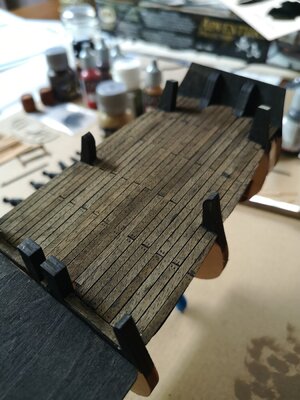
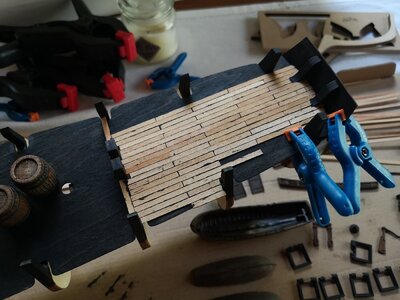
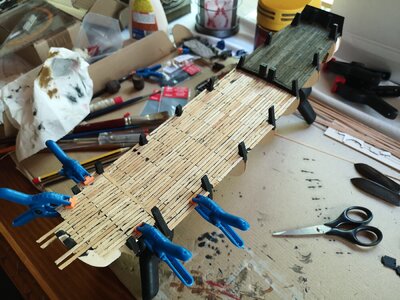
I painted the fake deck in black to hide faults, and started planking. I didn't mind that much the black stains on it because I think they will look pretty cool and realistic when finished.
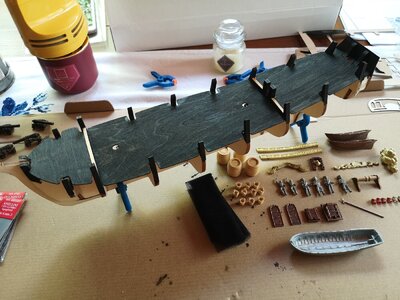
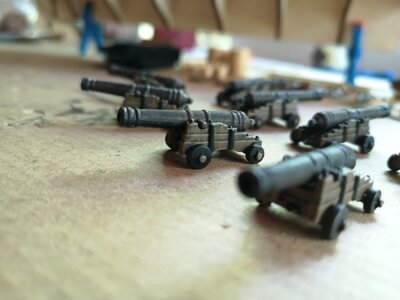
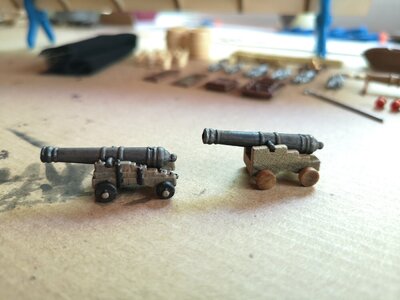
Painted the cannons that came with the kit, but I don't like the look and lack of realistic detail in them, so I bought wooden canon bases, and later I will detail them.
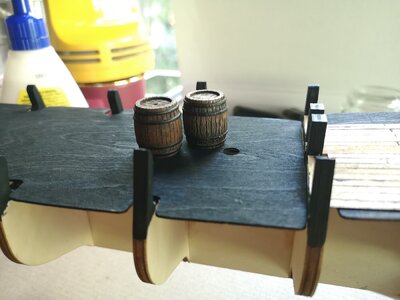
I also did a test with some barrels. I like the way they turned out. Tomorrow will try to finnish decking the rear so that I can paint it and see if it will look good or not.... Cheers!


I painted the fake deck in black to hide faults, and started planking. I didn't mind that much the black stains on it because I think they will look pretty cool and realistic when finished.


Painted the cannons that came with the kit, but I don't like the look and lack of realistic detail in them, so I bought wooden canon bases, and later I will detail them.


I also did a test with some barrels. I like the way they turned out. Tomorrow will try to finnish decking the rear so that I can paint it and see if it will look good or not.... Cheers!

Last edited:
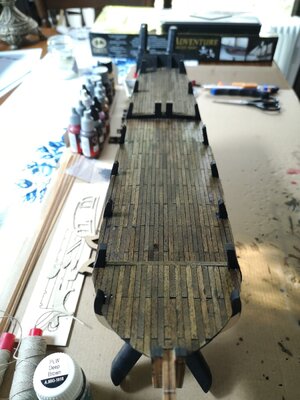
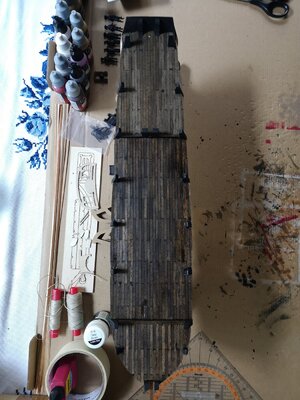
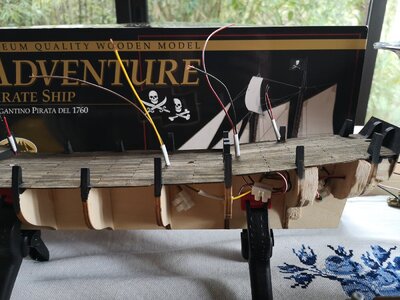
Finished planking the deck finally!
I love details, so I decided to work on this one:
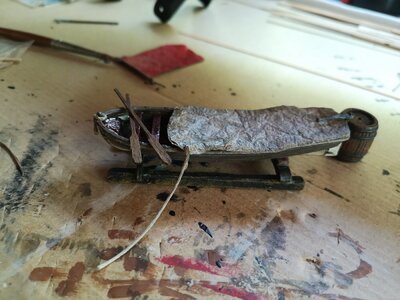
I was not liking the cover... had to much noise to it... so I made it again. I also made the paddles and the holding structure was made with parts of the wood that held the sloop kit pieces.
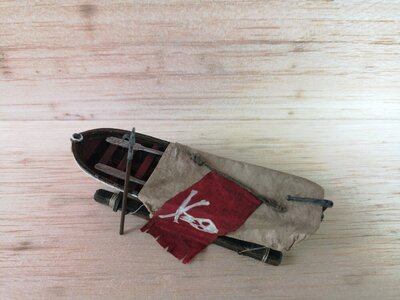
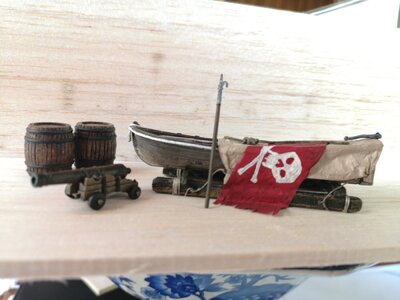
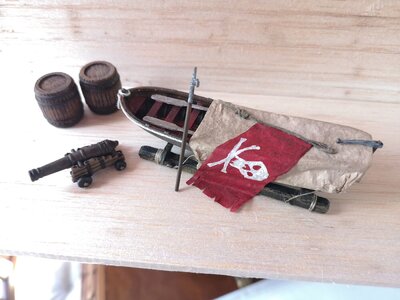
Real Pirate flags were red! They meant that they would kill everyone onboard if they did not surrender. Black flags meant there was disease onboard.

I love details, so I decided to work on this one:

I was not liking the cover... had to much noise to it... so I made it again. I also made the paddles and the holding structure was made with parts of the wood that held the sloop kit pieces.


Real Pirate flags were red! They meant that they would kill everyone onboard if they did not surrender. Black flags meant there was disease onboard.
Thanks!! for your kind words!It’s coming along beautifully.
I know that many of us like weathering our models, but I try to keep away from that.
Your model will be a great looking piece.
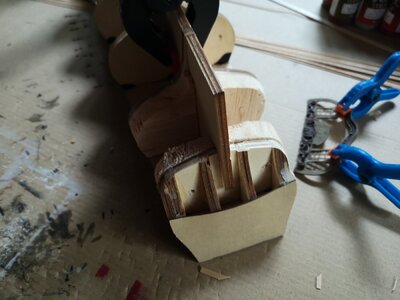
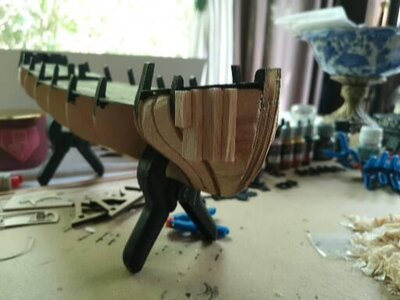
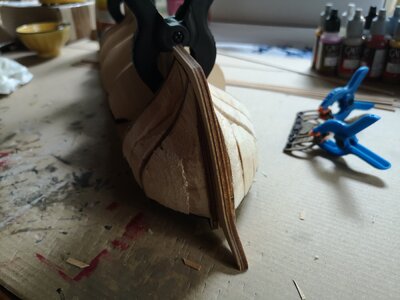
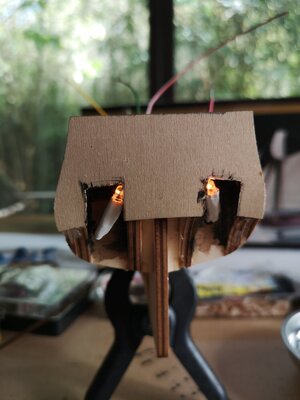
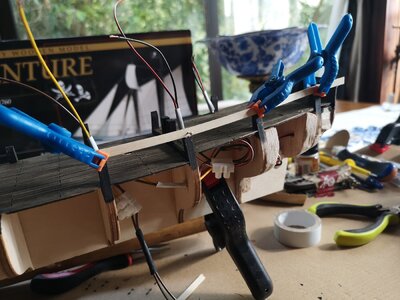
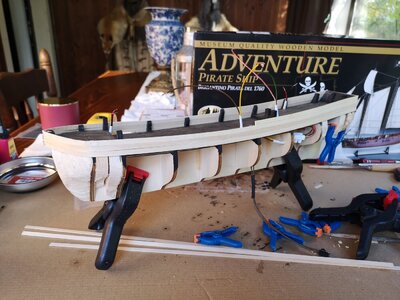
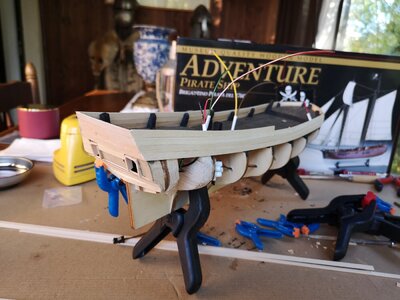
Finished planking the Hull and applied wood filler to close the gaps between the planks. I also grinded the Hull but I am not sure if it is well done or not. Can anyone tell me if it has to be very well grinded before applying the top layer of planks or can have some indents on some places?
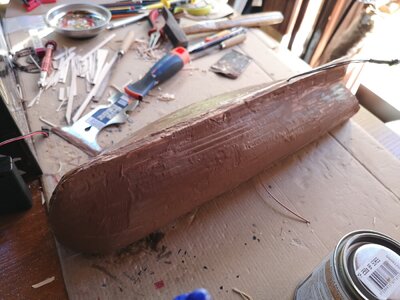
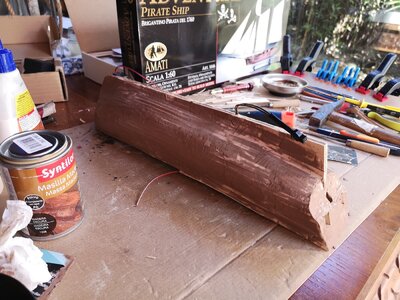
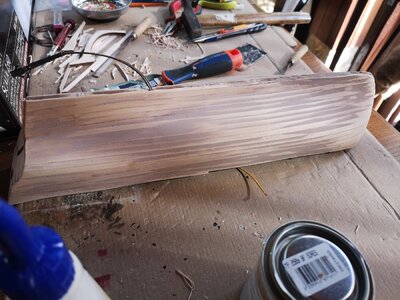
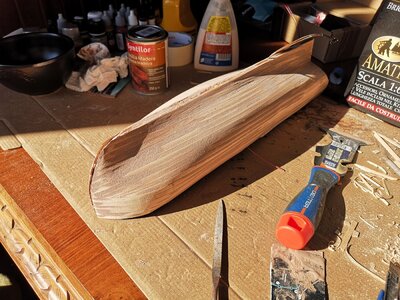
Now I am about to paint the Hull in black before applying the second layer so that if the planks are not perfectly aligned some black will show from between them giving the look of shadow and/or mold.


Now I am about to paint the Hull in black before applying the second layer so that if the planks are not perfectly aligned some black will show from between them giving the look of shadow and/or mold.
Last edited:
Your deck finish looks great - enjoy the wood grain showing through.Finished planking rear deck... and I was wondering if my idea for it would turn out well, so I decided to apply paint to it to check how it would turn out. Gladly I like itit's "Camera" OK. It lacks weathering yet. Now I am going to apply the remaining decks.
View attachment 250489
View attachment 250490
I am new to this hobby, however I would sand it down to perfect shape to ensure the second layer planks fit without any deviation. I found the most important thing (learnt by my mistakes) is the shape must be symmetrical and no ridges anywhere. Cheers GrantFinished planking the Hull and applied wood filler to close the gaps between the planks. I also grinded the Hull but I am not sure if it is well done or not. Can anyone tell me if it has to be very well grinded before applying the top layer of planks or can have some indents on some places?
View attachment 269924
View attachment 269928
View attachment 269929
View attachment 269931
Now I am about to paint the Hull in black before applying the second layer so that if the planks are not perfectly aligned some black will show from between them giving the look of shadow and/or mold.
Thanks Grant. I kinda already given it a black wash...I am new to this hobby, however I would sand it down to perfect shape to ensure the second layer planks fit without any deviation. I found the most important thing (learnt by my mistakes) is the shape must be symmetrical and no ridges anywhere. Cheers Grant
- Joined
- Aug 6, 2024
- Messages
- 1
- Points
- 1
I was always intrigued by sailing ship models, I have one now thirty years old never attempted, and now it is my bucket list item. I am currently reading a recent update of the history of Edward Thache or Blackbeard. It is titled "Blackbeard The Birth of America. I also have read the book -"The Wager". Hence my interest in the model of the sloop "Adventure".By the way even if Blackbeard did not live past 1718, your kit builder must have found the sloop a lot later.
Last edited:


