Follow along with the video below to see how to install our site as a web app on your home screen.
Note: This feature may not be available in some browsers.
Ships of Scale has incorportated an extra level of security when you log In. Please follow
on-screen prompts to acknowledge that you are not a robot via a "Check Box" or a "Pictorial Check Box Puzzle". This is needed due
to higher level of AI Activity Security.
The beloved Ships in Scale Magazine is back and charting a new course for 2026!
Discover new skills, new techniques, and new inspirations in every issue.
NOTE THAT OUR NEXT ISSUE WILL BE July/August 2026
Win a Free Custom Engraved Brass Coin!!!
As a way to introduce our brass coins to the community, we will raffle off a free coin during the month
of August. Follow link ABOVE for instructions for entering.
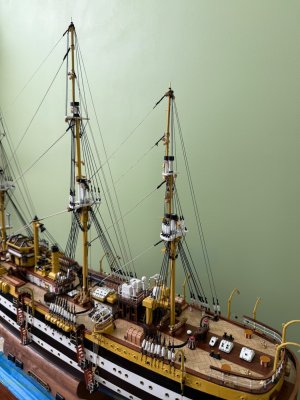
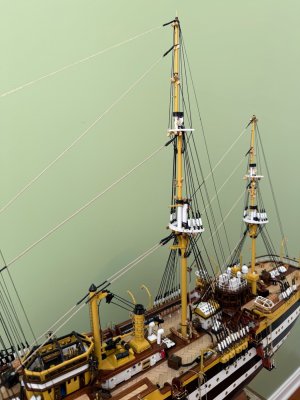
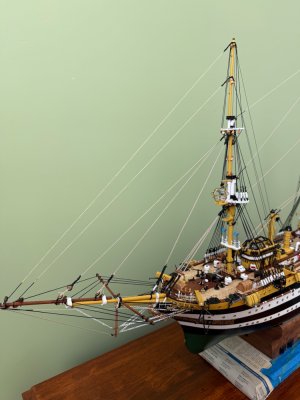
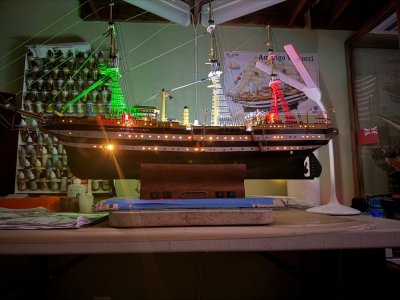
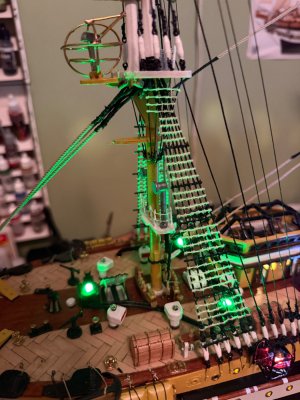
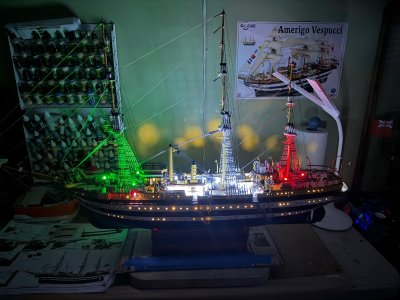
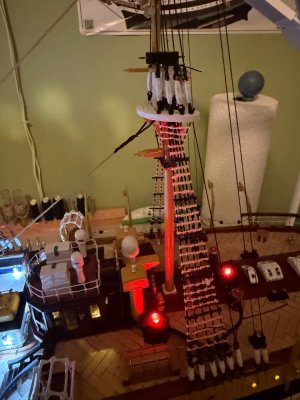
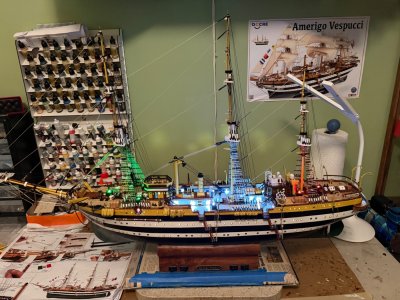
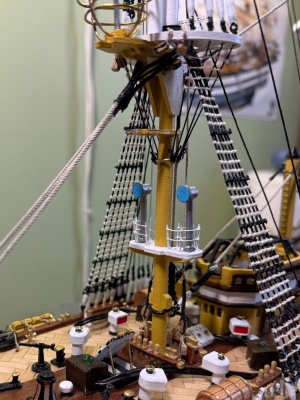
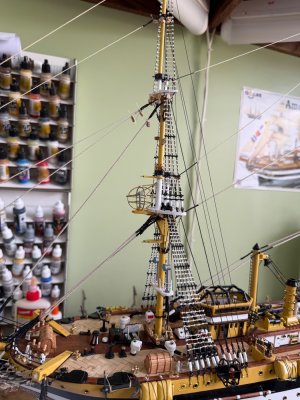
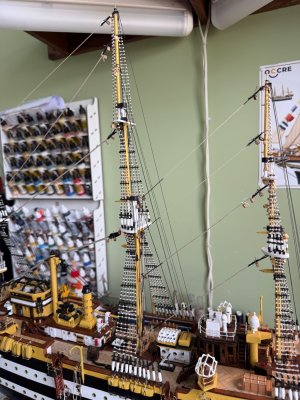
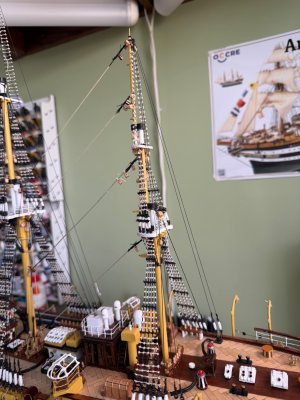
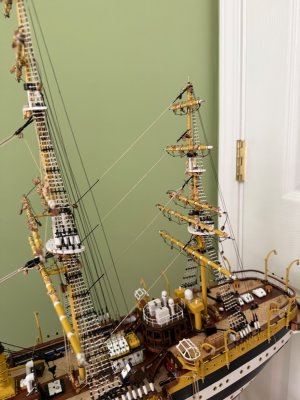
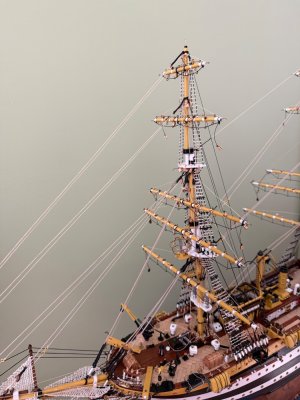
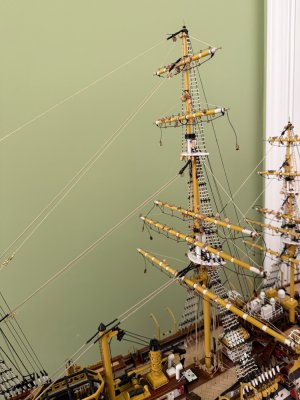
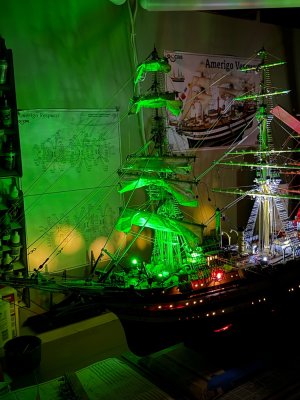
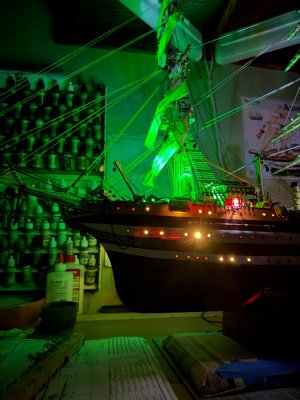
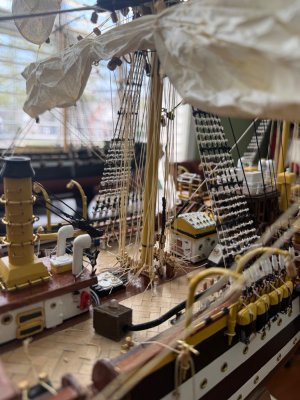
Finished the standing rigging except for all the ratlines. As I mentioned before I used light beige thread for the stays and will also use similar thread for the ratlines. This light color thread will capture the green, white, and red lights shining up into the masts.
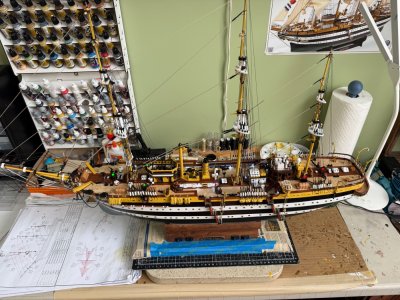
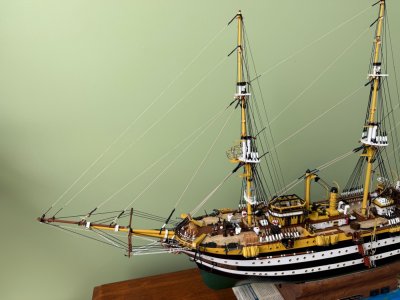
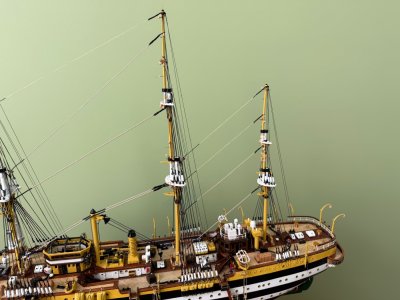
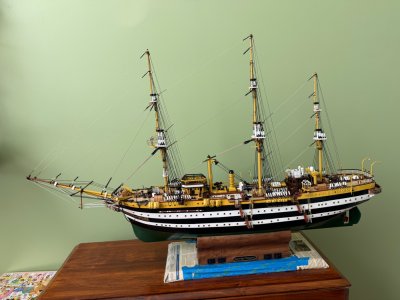
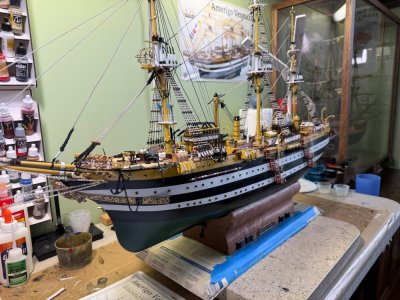
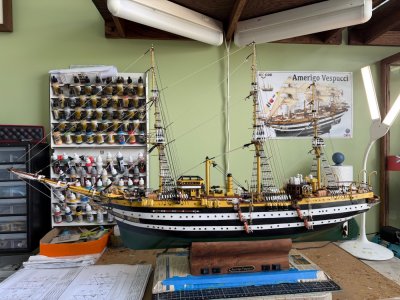
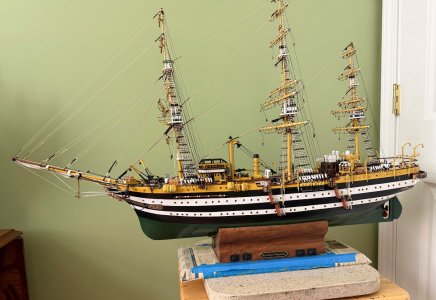
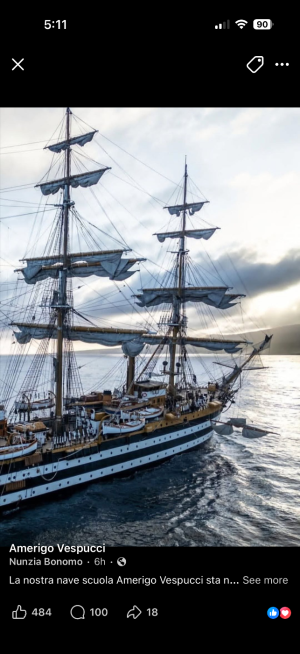
Currently working on three separate fronts building my OcCre Amerigo Vespucci.
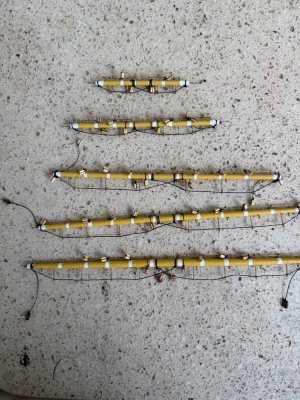
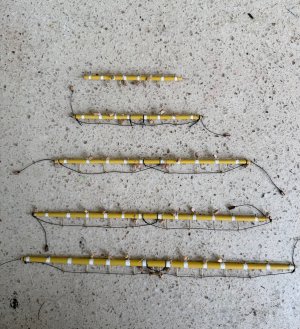
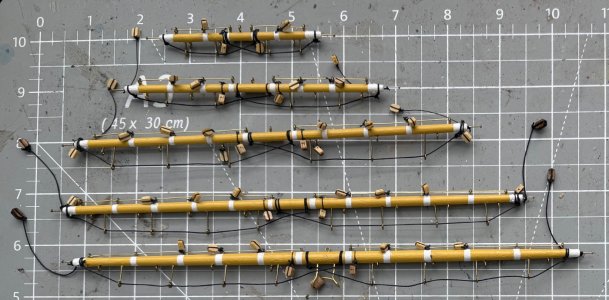
Rigging the 15 yards (5 each mast) with all the eyebolts, blocks, and foot ropes. I plan to make all my sails from silkspan and sew each sail to its respective yard prior to attaching the yards to their mast.
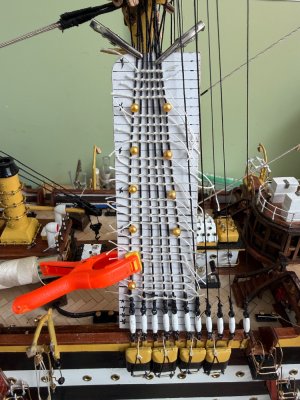
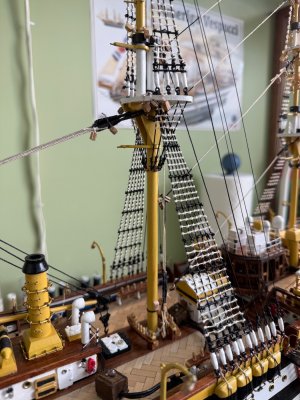
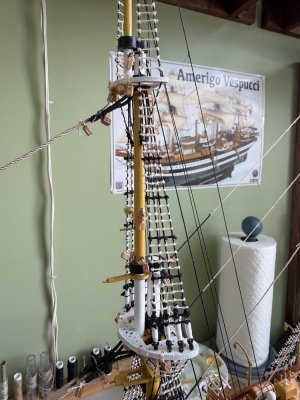
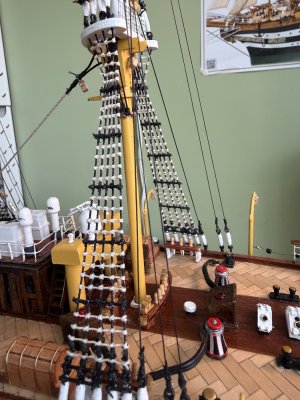
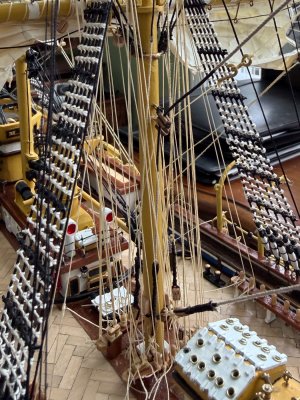
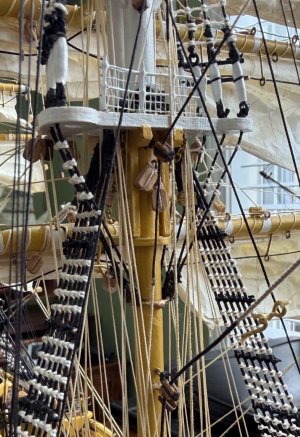
Working on the ratlines now that all the standing rigging is hung. A metal rod will be placed between each set of 4 ratlines just as on the actual ship. These rods are employed by the crew to stand on while the ship is on full display usually coming into port
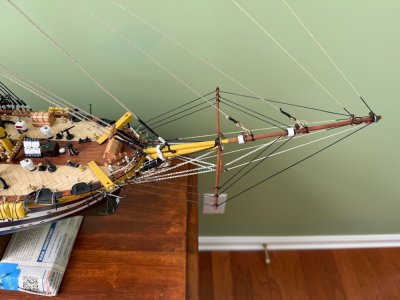
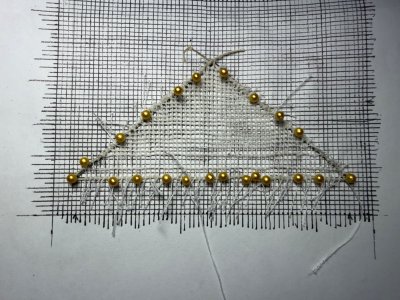
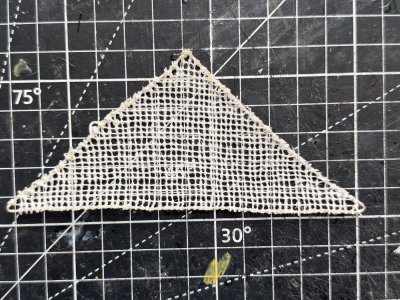
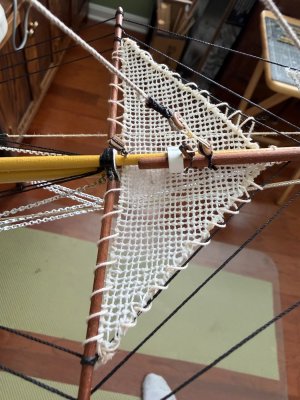
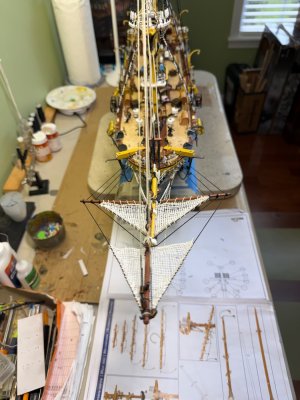
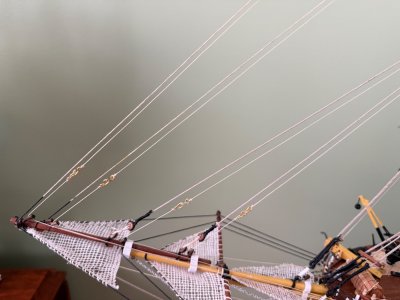
Continuing the hand tying of the bowsprit safety nets. Two down and the one in the photo to go.
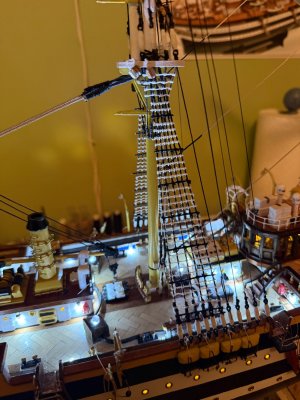
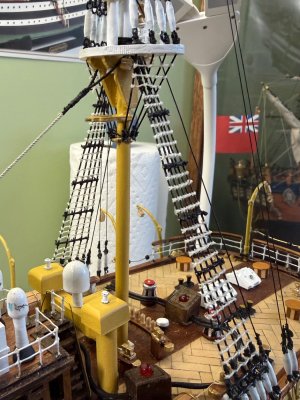
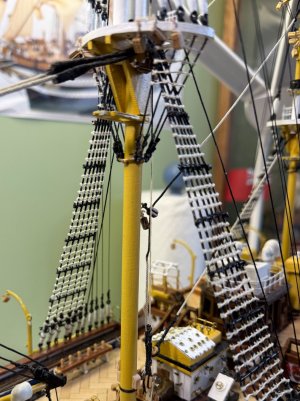
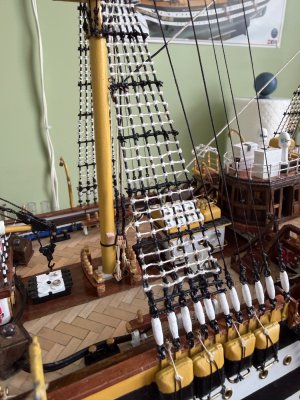
Finished the lower shrouds to include the ratlines. The actual Amerigo Vespucci has a bar instead of a ratline spaced every 5th position used by the crew to stand on for display. I replicated that on my lower shrouds. As I mentioned before I used light beigh thread for the ratlines to pick up the green, white, red colors of the Italian flag.
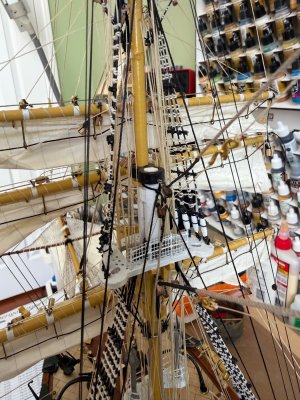
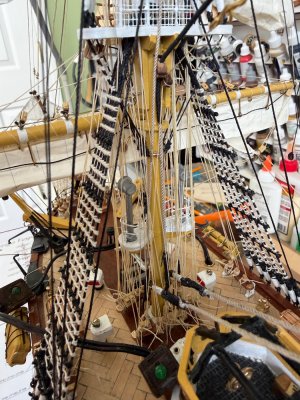
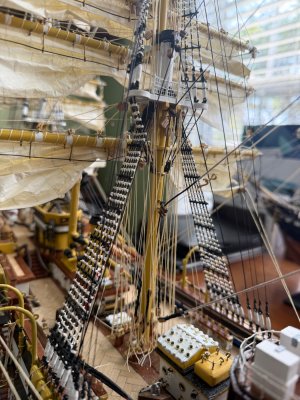
OK finally finished all the lower shrouds, ratlines, and futtock shrouds. Included the pole placed at every fifth ratline position. As I mentioned this is far the crew to comfortably stand on in a static position. Also used a light beige thread for the ratlines to capture the deck lighting.
I also finished the second of the three hand tied bowsprit safety nets. When I tied it in position I see it is a little shorter than I desired but no way I am going to spend the countless hours to tie a new one. I still have the third bowsprit net to tie.
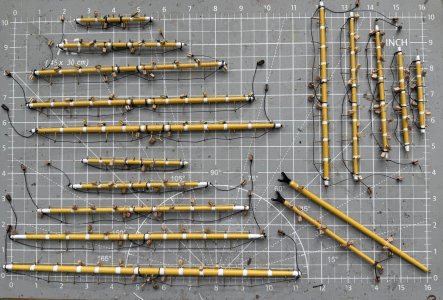
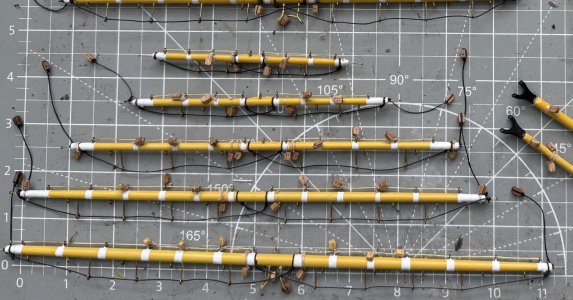
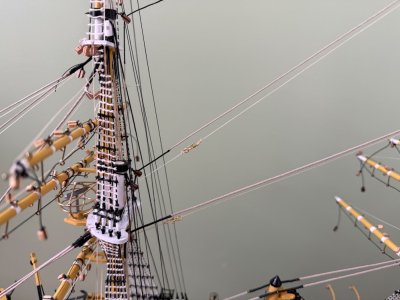
Another large step in the rear view mirror. Have the fifteen yards, the driver boom, and gaff shaped, painted, and rigged with all the blocks, foot ropes, etc. Now they await being attached to the masts with follow on running rigging and sails.
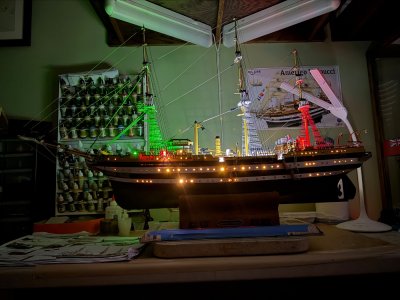
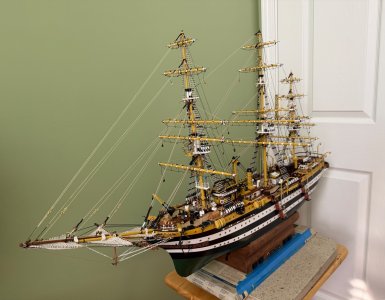
Sixteen month mark today working on my OcCre Amerigo Vespucci. Today I finished the second major task. First was the building of all the yards, as shown above, and the second is the standing rigging to include, shrouds, ratlines, stays, and back stays. A low estimate is more than 1000 half hitch knots tying all the ratlines. I am pleased with the way it came out using the light beigh thread for the ratlines and stays to capture the tri-color Italian flag deck lighting. Next up will going back now and doing a bit of touch up and minor repairs at the deck level before moving on to the running rigging and sails.
Since my last update I have added the yards and started the running rigging on my OcCre Amerigo Vespucci. For the fore and main mast I have the lifts and tyes so far. Still I have to get on the mizzen mast. I am not going to add the stay sails or the sails above the bowsprit but I did add the rigging that would have operated those sails. My research showed that the ends that would have attached to the sail are just brought together with a lashing or hooks. I went with some brass hooks and the designated belay points at the deck.
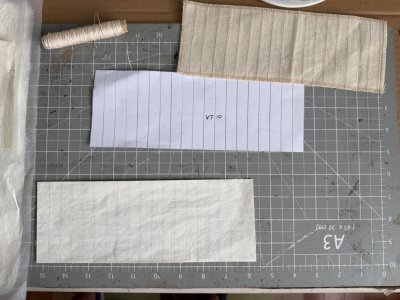
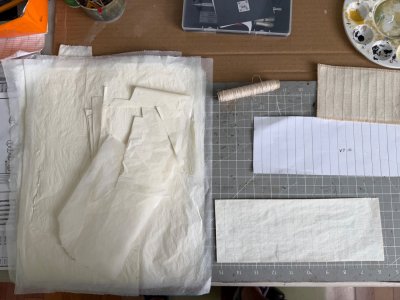
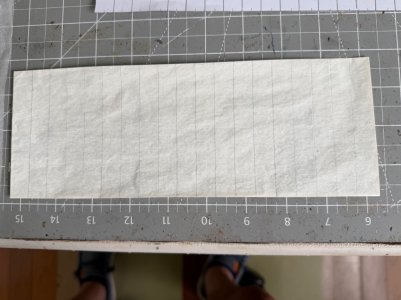
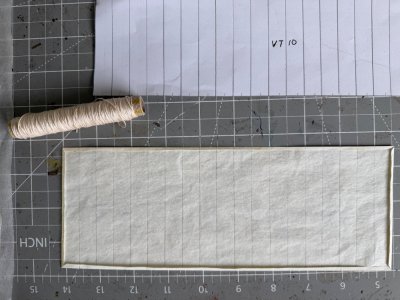
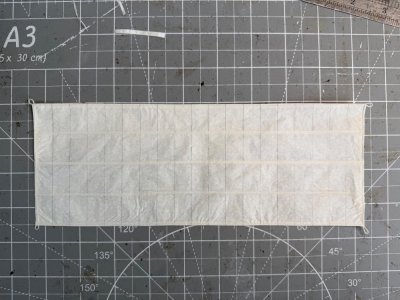
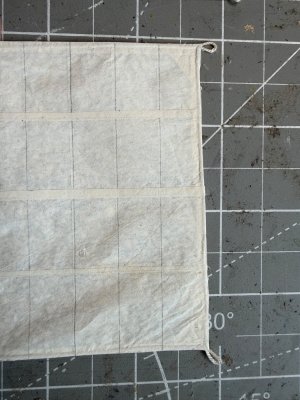
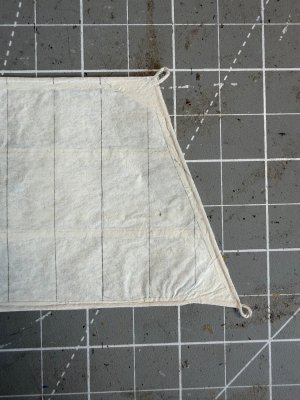
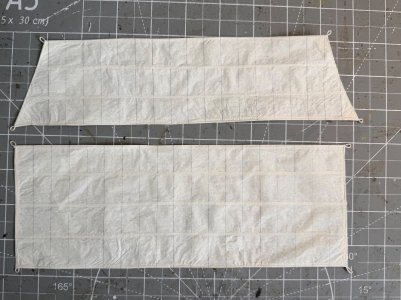
Beginning the process of making the sails for my Amerigo Vespucci using silkspan. Those who have used it to make sails no the positive attributes of the material to make realistic scale canvas. For color I used titanium white acrylic paint and added drops the OcCre yellow ochre that I used to paint parts of the ship. My goal was to have a color that blended well with the ship. I used the paper sail patterns that came with the kit to layout the sails on the painted silkspan. I used a very thin hard lead pencil to lightly draw the panel lines. Using diluted tacky glue I folded over the edges of the sail with a thread buried under the edge forming loops in the four corners. I further added corner reinforcement pieces and reef lines from scrap silkspan.
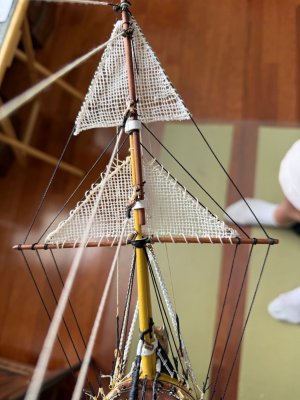
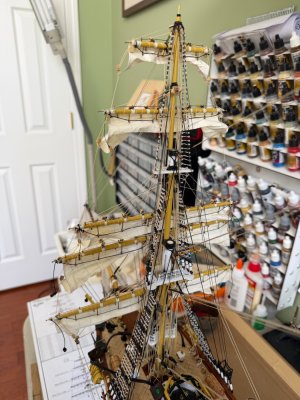
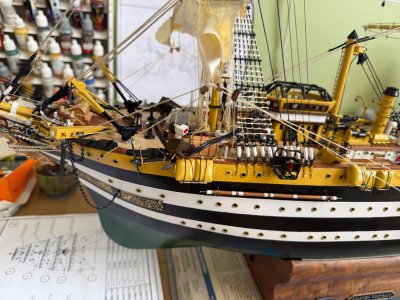
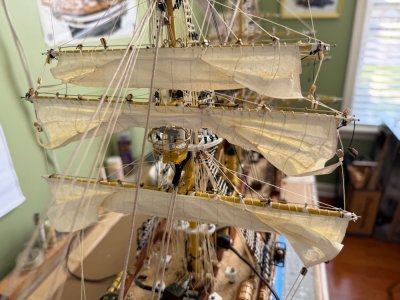
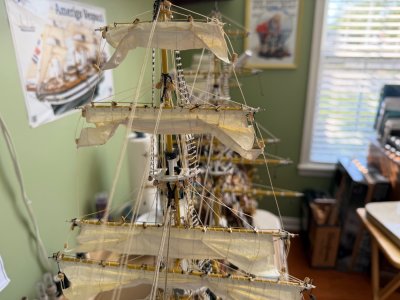
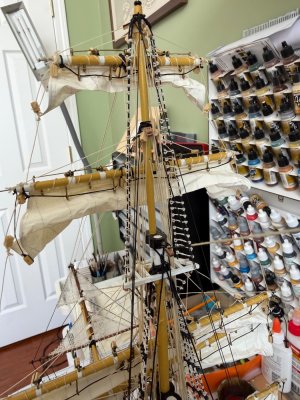
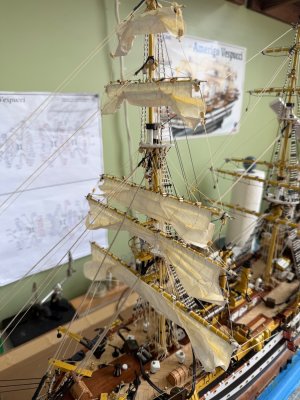
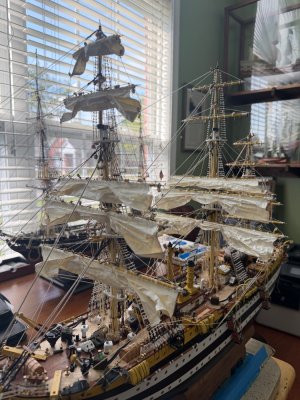
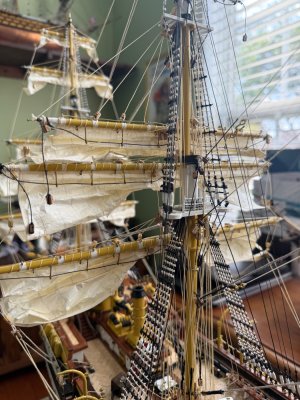
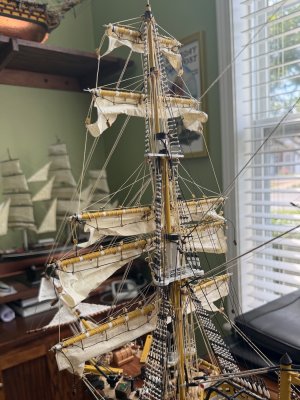
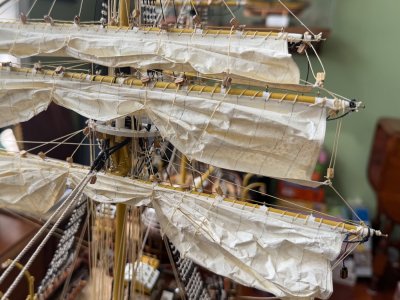
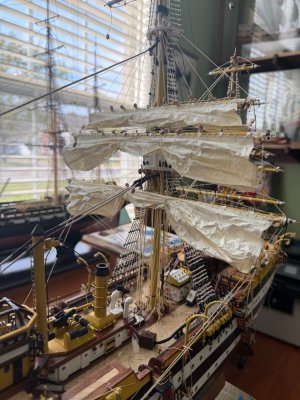
In my most recent update I was working on making my silkspan sails. In this new update I have added the sails I made to the foremast and completed all the running rigging on the sails. I have not added the braces for the 5 yards. I will do that last after all 3 masts are completed. This will make getting to the sails easier. I did a loose furrow of the silkspan instead of tightly furrowed. I did not want to set the sails fully unfurled nor tightly furrowed I wanted more of the sail exposed to reflect the upward green light as you can see in the photo. This will be the same on the main and mizzen mast. His not would be the norm for the ship the crew would most often have the sails tightly wrapped up under the yard. However I did find a few photos of the sails as I have them. In comparison to all the ships have built, including Heller’s HMS Victory and Soleli Royal, this has been the biggest challenge. What a task this has been. It is no surprise that this is the case being that the fore and main mast each have 5 yards and the mizzen 4. The five sails for the fore mast took a total of nearly 50 ropes (threads).
I deviated a bit from the OcCre running rigging instructions. Looking at a number of actual ship photos, and my other research I determined the running rigging was a little different. For all the sails the OcCre instructions read to draw the clew lines up and end diagonally toward the mast. This is how I have always done on other builds. However the Amerigo Vespucci clew lines pull the corner of the sail up verticle to a block on the end the yard then run across eyebolts on the underside of the yard and on down to belay point on the deck. Another deviation I did was the rigging of the sheet and tack for the fore course sail. The OcCre instructions show running the two lines inboard to belay points. Viewing the actual ship, and again my research, I found the sheet and tack actually run outboard to points on the outer hull then pass through holes in the hull before tying off at belay points on the deck. I could not find in pictures exactly where the hole for the lines is on the actual ship so I placed them similarly to the position of these pass through holes on my other ships. Always a big challenge to me, and something I work very hard toward, is not having any line cross another line on it’s way down the length of the mast to the belay point. It drive me absolutely crazy to find a line a ran is causing another line to bow because the second line is rubbbng against it and pulling it out of line. As I mentioned above there are nearly 50 lines running down the fore mast and passing through the mast top and sometimes the futtock shrouds. Many times I was forced to untie a line from it’s belay point and rerun it to prevent the unwanted rubbing against another line. The rigging in the actual comes down the mast, passes behind the pinrail, then through sheaves under the belay points, then tie off on the pins. I did not do that at the rails next to the mast but did try to accomplish that method on the pinrails at the outer edge of the deck. One thing I found particularly frustrating is the number of lines that are shown to go to the same belay point. In most cases there are at least two and in some places 3 lines tying off to the same point. Looking at photos of the ship this does not appear to be as frequent as the kit instructions had me do it. I still need to trim the threads ends add rope hanks along the rails at the end of each thread to resemble the stacked coiled rope ends. The on to the main mast. At this point I think I can say my Amerigo Vespucci is finished back to, and past, the fore mast.
Good morning Bill. I just played some catch up with your build log. The Vespucci is one of my favourites and I really like what you are doing here. Kudos. Cheers Grant
Continuing the making of my own silkspan sails and one by one hanging them on their yard and adding the rigging on my Amerigo Vespucci. This is a slow and methodical process. As I mentioned before I am leaving the sails in a partial furrowed state to further capture the tri-color mast lighting the AV is famous for. The flexibility of the silkspan when wet produces a real wind swept sail with the various wrinkles and no uniformity in the folds. Ten lines going down to the deck and belay points for each sail requires attention to detail to avoid any lines crossing.
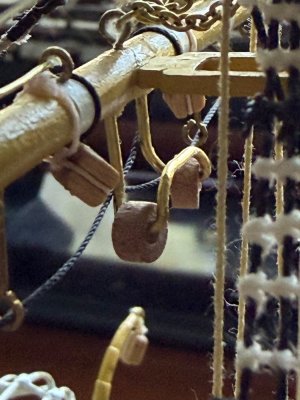
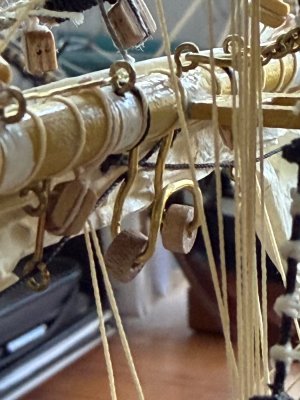
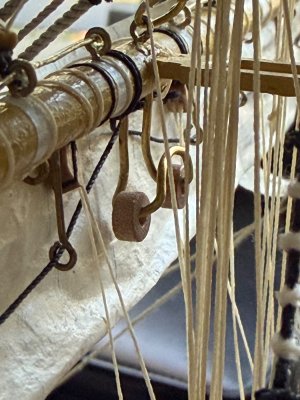
Any body have an idea what these things the OcCre instruction for the Amerigo Vespucci had me add to the underside of the 3 course yards (fore, main, and mizzen)? I am working my way through installing the yards and adding all the running rigging. I have yet to see anywhere in the instructions where I am to use them in any way.
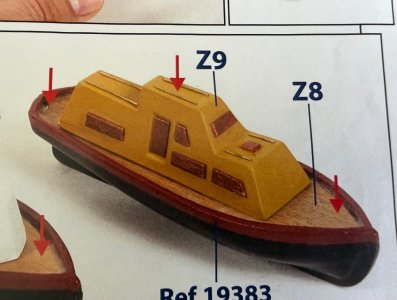
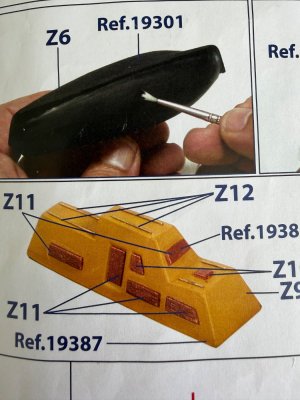
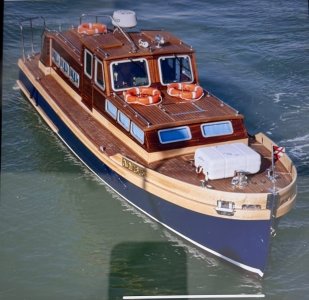
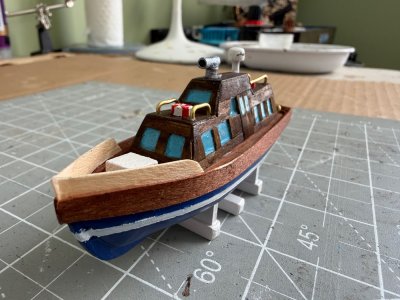
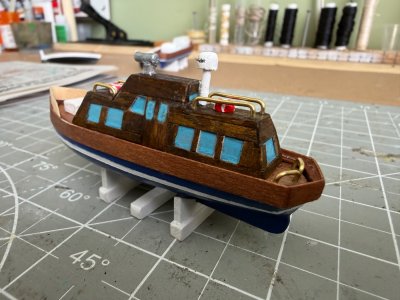
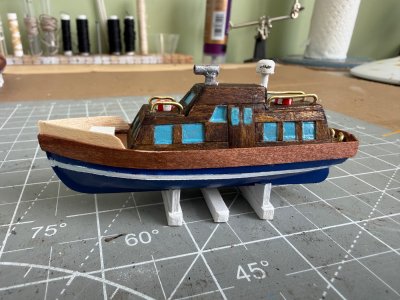
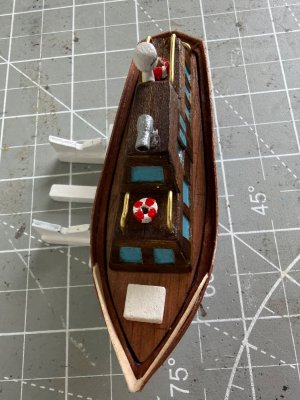
Took a little break from making and rigging the sails for my Amerigo Vespucci. Still have the mizzen mast to complete. Decided to spend some time on one of just a few things remaining to be made. I thought I would work on one of the boat tenders. There are two tenders along with a number of lifeboats. For the tender I picked to work on OcCre supplied a metal hull and metal upper house and a section of wood for the deck. I opted to take it a little further than the instructions directed. My goal was to get a tender something close to the actual AV tender I found in a photo. I veneered the upper housing, added a veneer bulwark, life preservers, a horn, radar tower, and brass railings.