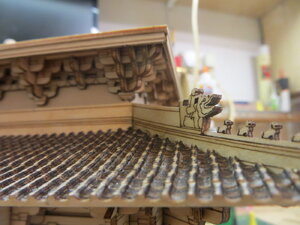
Ancient Chinese Temple 1:75 - CAF Models

Joined
Nov 29, 2019
Messages
74
Points
103

I have built many model ships over the years but fancied something a little different and a while ago stumbled on the CAF Model website - after staring in awe at some of the wonderful boat kits I noticed the Ancient Chinese Temple kit and immediately knew that this was something I wanted to try. It was different, it looked challenging and was about the same price as most boat kits I am used to. So I ordered it and, a few weeks later, it arrived by courier from China to my workshop - thanks to Tom at CAF for the info & assist. The following is my build log of this wonderful kit - I hope it is of interest to anyone who just fancies a break from our great hobby and is looking for something that little bit different.

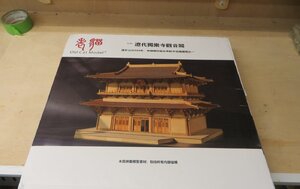
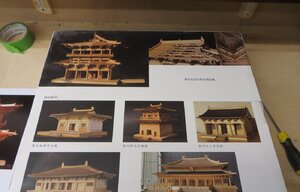
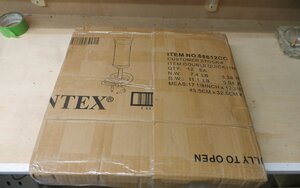
The parcel arrived well wrapped though clearly beaten up by TNT/Fed Ex (I understand they are the same company now) but looked intact so no probs. Inside was a nice box with a photo of what I had bought with a few pictures of other temples on the back. All OK so far:
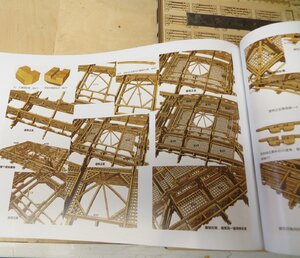
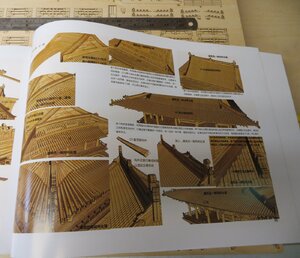
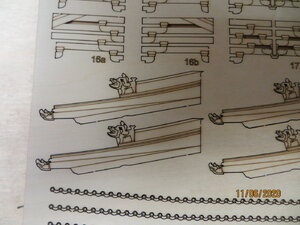
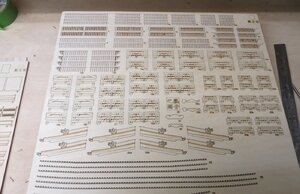
Inside the first thing I found was a large A3 size glossy manual with step by step construction photos and a great wad of ply sheets of varying thickness with literally thousands of finely detailed laser cut parts. After picking my jaw up off the floor I counted 18 sheets of ply then sat back and wondered just what had I done - this thing was AMAZING!!

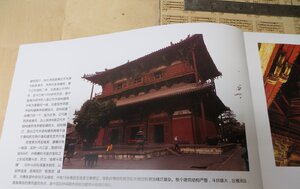
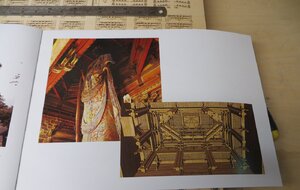
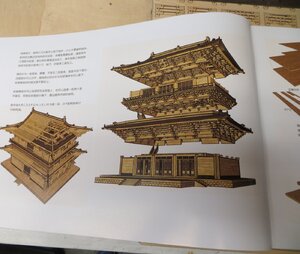
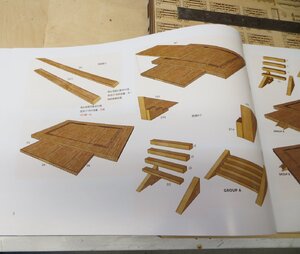
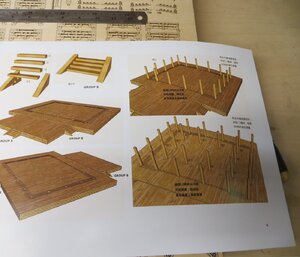
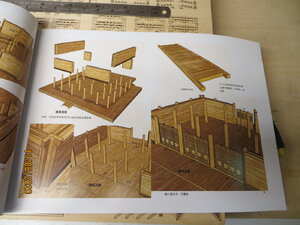
I literally couldn't wait to start but I also knew this was gonna be a real challenge so slowly slowly....first things first - lets have a look at the impressive manual - and I must admit here that I have long been a fan of (most) chinese kits but have despaired over the crappy manuals that usually accompany them - but this thing is very different - real quality, probably comparable to the best I've seen from the likes of Victory Models Revenge and some of the Occre kits. Here a few examples of what I mean though the eagle eyed of you will notice that everything is in Chinese - a real problem until my son told me about Google Translate for my smart phone (simply amazing technology!) so I spent a few days translating all the instructions into a proper language.
IMG_0573.JPGIMG_0575.JPGIMG_0577.JPGIMG_0578.JPGIMG_0579.JPGIMG_0580.JPGIMG_0581.JPGIMG_0582.JPGIMG_0583.JPGIMG_0584.JPGIMG_0585.JPG!
 
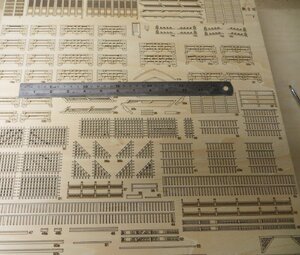
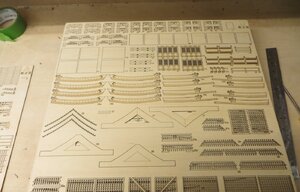
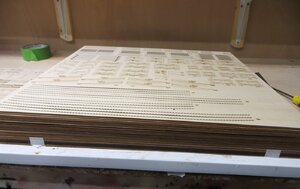
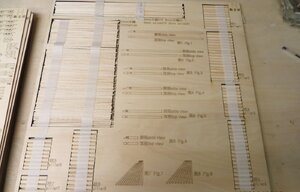
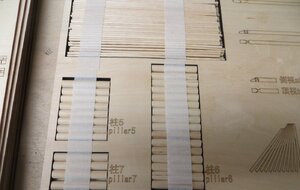
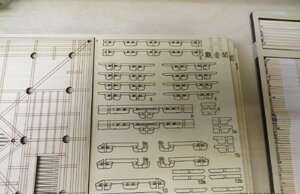
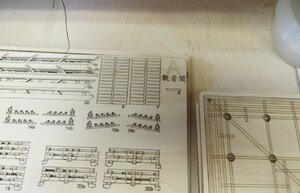
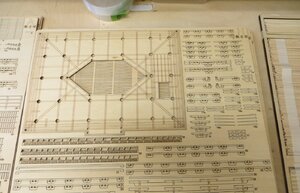
Here are just a few photos of the ply sheets - they are all 450mm (18") square to give you some idea of the size of them - and there are 18 in total - I really like how all the pillars are cut to length and stowed in neat little compartmets in a 6mm thick sheet and taped down - very clever packaging! There are even a couple of funny looking bits that turn out to be guides for checking angles to certain components when installing them and gauging the curves on tops of the pillars (more on that later).IMG_0586.JPGIMG_0587.JPGIMG_0588.JPGIMG_0589.JPGIMG_0590.JPGIMG_0605.JPGIMG_0606.JPGIMG_0607.JPGIMG_0586.JPGIMG_0587.JPGIMG_0588.JPGIMG_0589.JPGIMG_0590.JPGIMG_0605.JPGIMG_0606.JPGIMG_0607.JPGIMG_0608.JPGIMG_0609.JPG
 
OK – so after a few days familiarizing
myself with the kit and translating most of the instructions – (not that hard, just time consuming) – I was ready to start; I cleared a space in my small work shop – its not really small but I’ve got so much gear in there that I have ended up with a space about the size of a washing machine to work in – sound familiar?

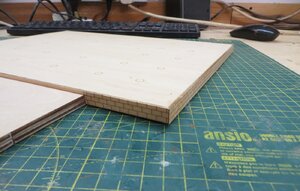
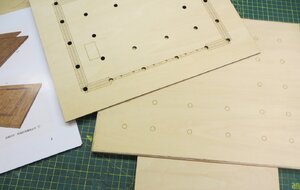
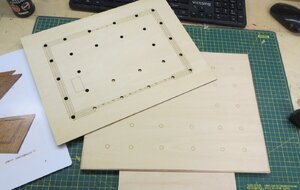
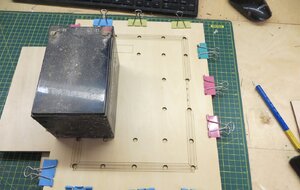
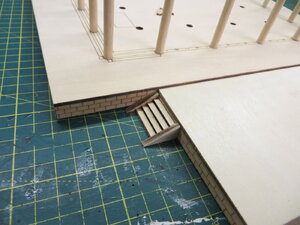
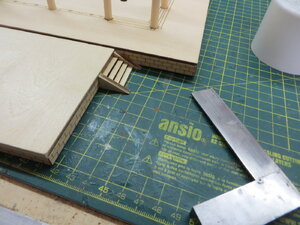
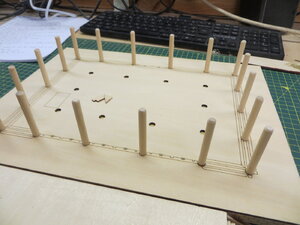
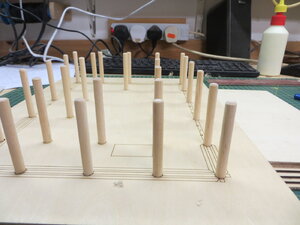
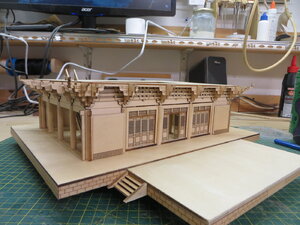
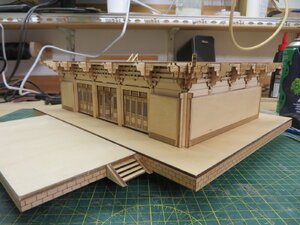
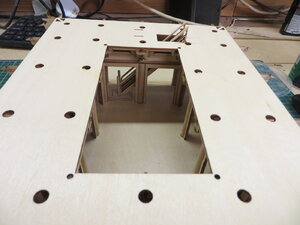
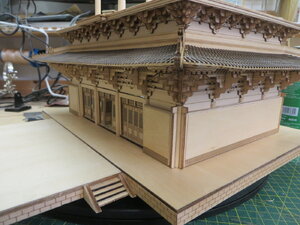
Following the manual I made the small steps which were pretty basic stuff – There are 4 sets of steps but I only fixed the ones on the sides as the front & rear steps stuck out quite a bit and I was worried they may get damaged so I have set them aside for fixing on near the end of the build. The base is just pieces of ply layered & glued with a laser etched brick pattern attached around its edge – simple but effective – on top of this goes an etched board with pre-cut holes, into which the ground floor pillars will go.
IMG_0600.JPGIMG_0601.JPGIMG_0602.JPGIMG_0603.JPG
 
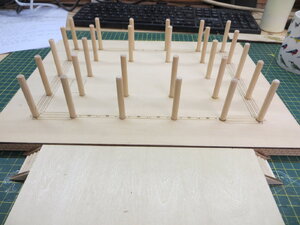
Once the glue had set I started installing the pillars – each pillar had to have a rounded edge on it top edge – it was desired to have a radius if 1.5mm and they provided a neat little template widget to check this – the point of the rounded edge eluded me at first but if the book says do it – who am I to argue?

While some of us are prone after a while to maybe skirt some of the written instructions, if you are like me and you see something written in BOLD then you probably take note of it – and in the book it was written not just in BOLD but RED BOLD that I must ensure the pillars were exactly perpendicular to the base in all directions – they even provided a neat little widget to make sure they were all exact – so I spent quite a bit of time checking them all as the glue dried – if its RED then it must be important - right?IMG_0615.JPGIMG_0616.JPGIMG_0617.JPGIMG_0618.JPGIMG_0619.JPG
 
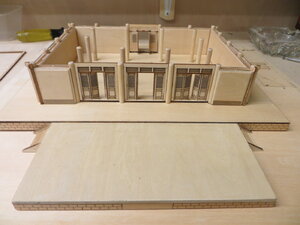
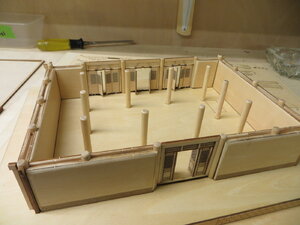
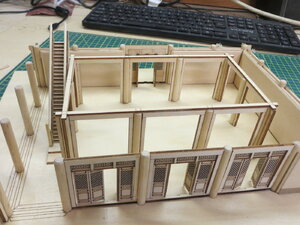
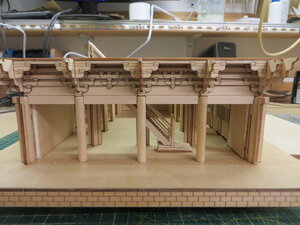
While I was waiting for the pillars to settle I made the panels for the ground floor walls - these were fairly straight forward - just various pieces glued together to make a sort of sandwich with the "meat" part slightly smaller than the "bread" part, thus creating a groove either end - sounds simple enough but sometimes the translated text seemed a bit confusing such as "insert components to form gutter on sideways" hmm - luckily pictures dont need translating and I could see that the panels, when completed simply slid down the pillars to form the wall. I did not glue the panels in place as the builder has the option of leaving sections open or closed to see the the interior - or not.
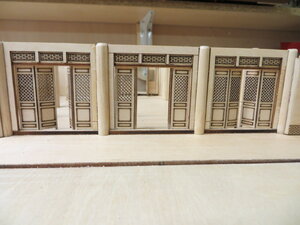
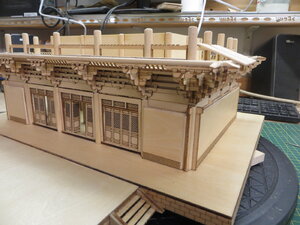
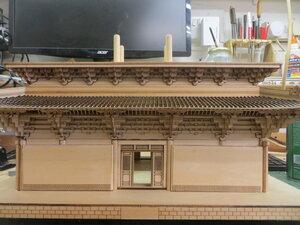
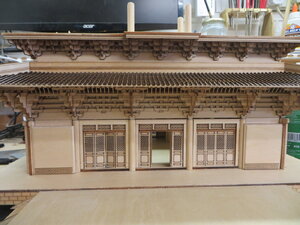
The panels all fitted perfectly and I next installed the doors etc - the pictures arnt that great but the detail on the door panels etc is remarkable - the doors are so fragile being only about 1/16" or 1.5mm thick but they open & close which is kinda neat.IMG_0620.JPGIMG_0621.JPGIMG_0622.JPG
 
Looking great Pat. I will following this thread with interest. Have you decided on any enhancements yet as regards to dressing and staining?
 
Looking great Pat. I will following this thread with interest. Have you decided on any enhancements yet as regards to dressing and staining?
Thanks ADC - it's a remarkable kit engineering wise. The detail and accuracy is astonishing - as far as enhancements go, I thought about it a great deal and decided that actually, as it's so different to anything I've ever done I would just build it straight outa the box. A kind of practice run if you will as I will definitely be doing another one. I found some of the pieces so delicate it was impossible to even remove the char from the edges but as it is very light anyway I have decided to just lightly sand it where possible. I quite like the contrast anyway.
 
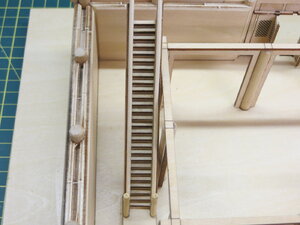
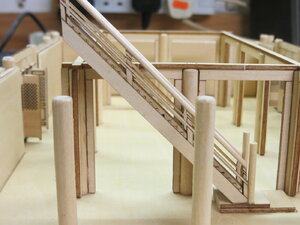
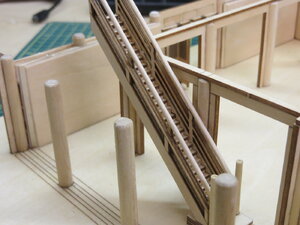
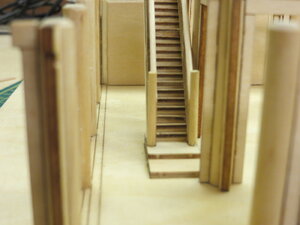
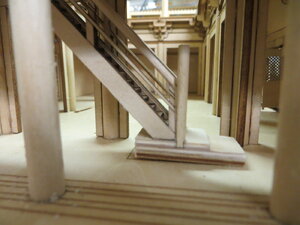
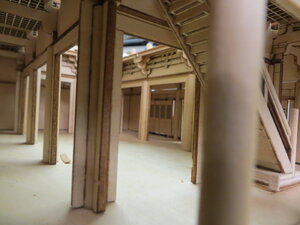
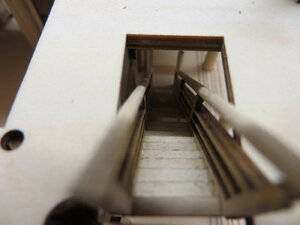
I have started on some of the internal structure, beginning with the large stairs leading to the first floor - a surprising number of steps but they all went together just fine.The handrails etc were added then the whole lot glued in place. IMG_0623.JPGIMG_0624.JPGIMG_0625.JPGIMG_0626.JPGIMG_0627.JPG


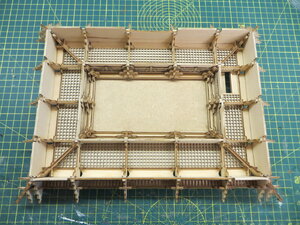
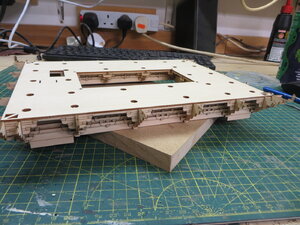
The first floor base is worked on upside down which sounds harder than it is - I progressed rather faster than anticipated and forgot to take stage photos, so it looks like a huge leap forward but what you see in the next few pictures is only a few hours work over a couple days - when it was all completed it was turned right side up and a quick prayer that all the pillars installed earlier were correct. (They were!)

IMG_0628.JPGIMG_0629.JPGIMG_0630.JPGIMG_0631.JPGIMG_0632.JPGIMG_0633.JPGIMG_0634.JPGIMG_0635.JPGIMG_0636.JPGIMG_0637.JPG
 
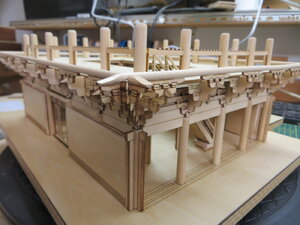
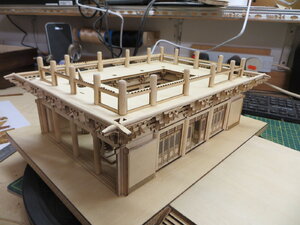
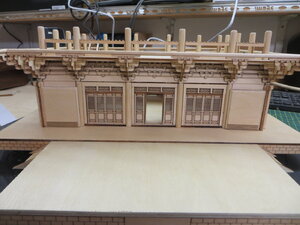
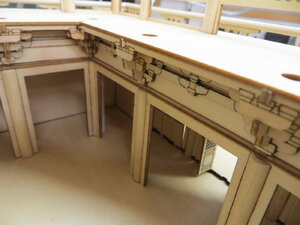
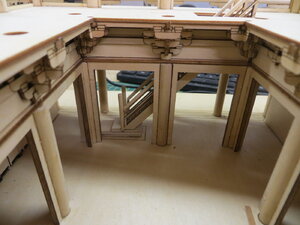
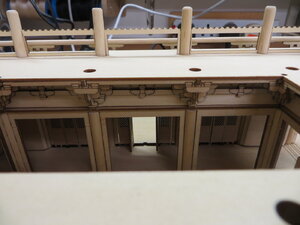
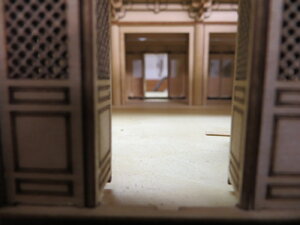
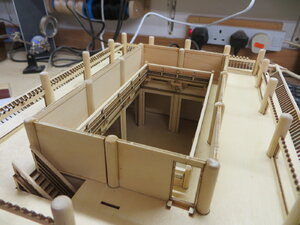
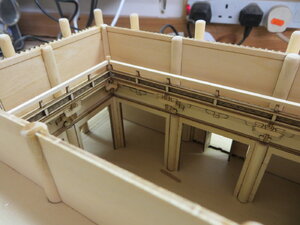
Well, thats the ground floor all but done so, onwards and ...umm - upwards - to the first floor. Going through the same process as the ground floor really - ensuring all the pillars are exactly perpendicular. Just a little note here - I mentioned in an earlier post that the builder has the option of leaving some of the structure open for viewing - to this end, the wall panels on the ground floor are all removable which means, of course, the first floor base/floor is not glued down - it is a nice snug fit over the pillars but easily lifts off. I have left off one side panel for viewing but will prolly reinstate it later. The truth is, as I progress I have come to realise this model screams out for further detailing and even painting to do it full justice - I think it would look amazing with internal lighting, some scale statues etc. Something I will certainly consider when I do the next one.
IMG_0639.JPGIMG_0640.JPGIMG_0641.JPGIMG_0642.JPGIMG_0643.JPGIMG_0644.JPGIMG_0645.JPGIMG_0646.JPGIMG_0647.JPG
 

Attachments

  • IMG_0648.JPG
    IMG_0648.JPG
    157.8 KB · Views: 7
  • IMG_0649.JPG
    IMG_0649.JPG
    134.4 KB · Views: 8
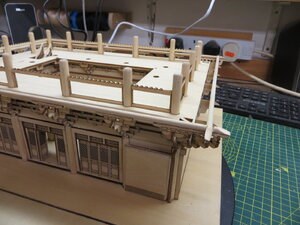
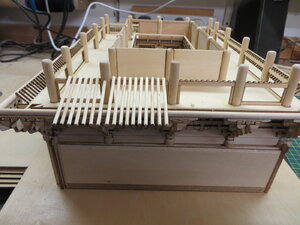
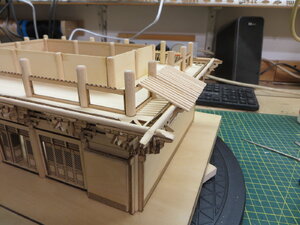
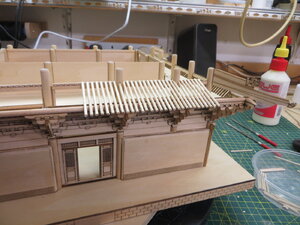
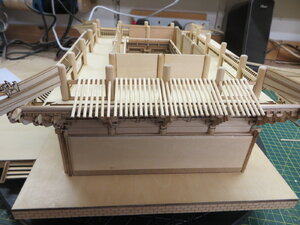
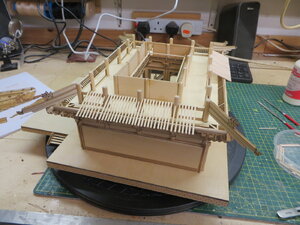
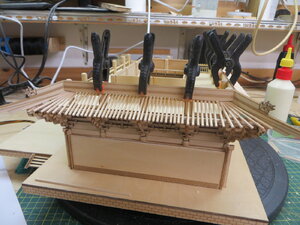
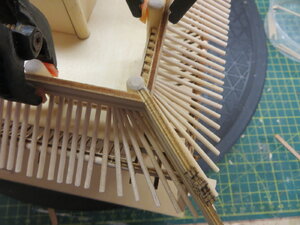
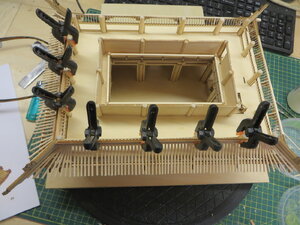
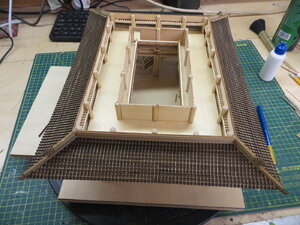
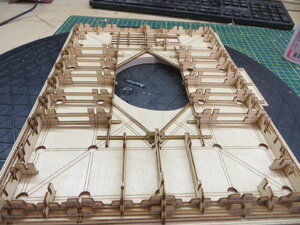
More work to the first floor, including the balcony and starting the first beams on the lower roofs. These are 2mm rods all cut to 67.2mm length (who the heck can cut to 67.2mm?!!!) There are hundreds of them so I set up the mini table saw to 67mm (I dont think the 0.2mm will be an issue). I tried to lay them exactly parallel but it was just about impossible and anyway, they wont be seen so wasnt too fussed that a few were slightly off kink.IMG_0650.JPGIMG_0651.JPGIMG_0652.JPGIMG_0653.JPGIMG_0654.JPGIMG_0655.JPGIMG_0656.JPGIMG_0657.JPG
 
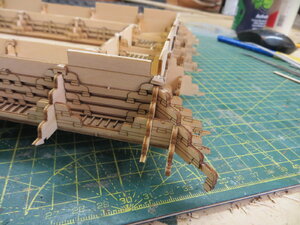
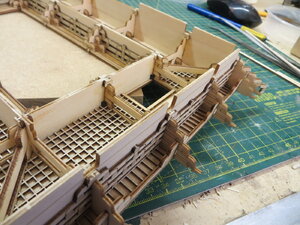
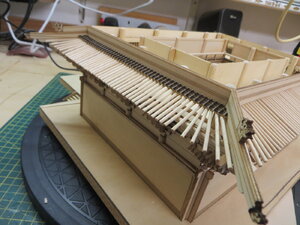
After cutting and placing hundreds of the 2mm rods I could finally start the roofing to the first level - it was kinda fiddly but satisfying once it was all done - just repetative - but it was worth taking every care as these rods support the roof tiles and will determine how they lay. IMG_0659.JPGIMG_0661.JPGIMG_0666.JPGIMG_0668.JPG
IMG_0670.JPGIMG_0674.JPG
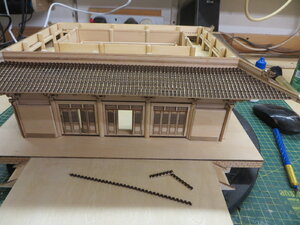
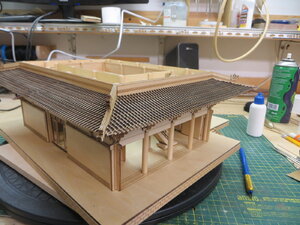
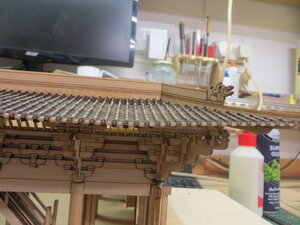
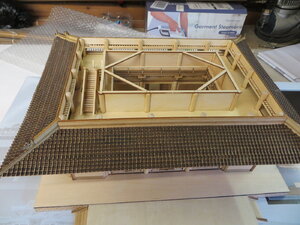
In the picture below you can see the roof tiles - they come laser cut from one of the ply sheets and have to be cut out and fitted in one length trimming the ends to 45 degrees but let me tell you - those things are fragile!!! just cutting them out of the ply and they break into a dozen pieces and if you even look at them with anything other than genuine affection they break apart in a kind of panic. In the end I was happy if each piece was 2 inches long or more - they fitted back together well enough and you can't even see the joins - though there are literally dozens of them.
IMG_0682.JPGIMG_0684.JPGIMG_0686.JPG
 

Attachments

  • IMG_0678.JPG
    IMG_0678.JPG
    196.7 KB · Views: 14
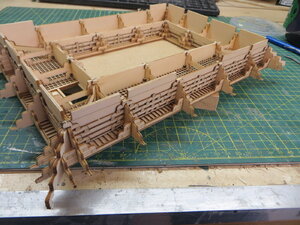
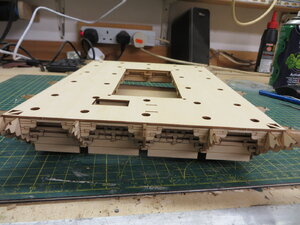
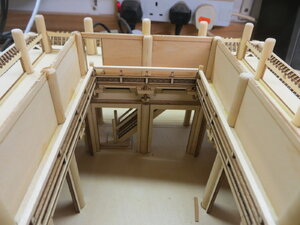
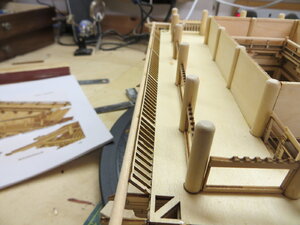
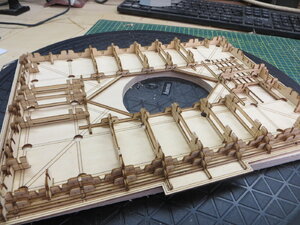
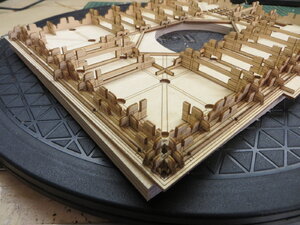
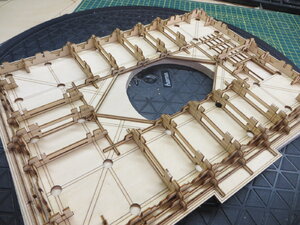
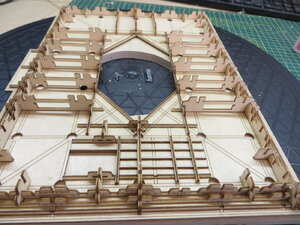
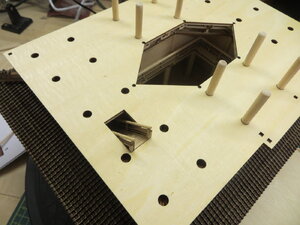
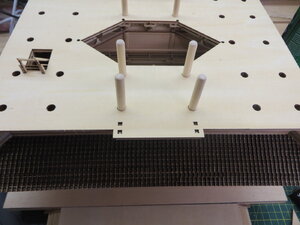
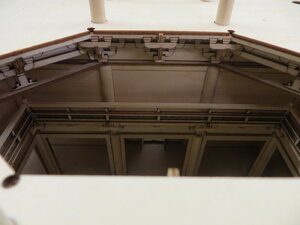
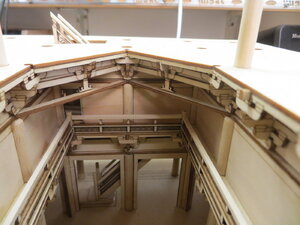
Have started work on the next level - as with the previous one the initial work is on the supports & beams to what will be the ceiling. The whole thing will then be turned right side up becoming the 2nd floor. Also as before, I am just hoping that all the pillars I put in are correct as they all interlock with the beams I have been putting in place.
IMG_0688.JPGIMG_0689.JPGIMG_0690.JPGIMG_0691.JPGIMG_0692.JPGIMG_0693.JPG
 
Pat, it's a beautiful building. All the pieces seem to fit together perfectly to form the temple.
You're right, I think a little patina with colors and a little weathering would give a really great result to this kit.
Bravo for this assembly! :)
 
Back
Top