Hi,
This is a build log of Panart’s 1/16 scale, Armed Pinnace, though as I commenced this model quite a number of years ago, the log actually starts from where I finished back then.
If I’d known then what I know now about model ship/boat building, I would have approached the build of this kit somewhat differently. I would have planked the hull using scale lengths, for instance. Also I would have thought ahead about the colour scheme and painted/stained various parts before assembling.
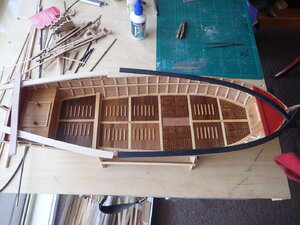
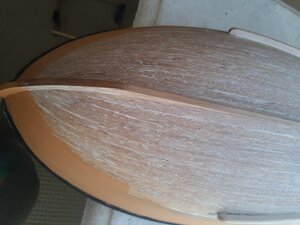
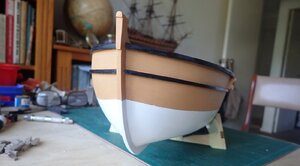
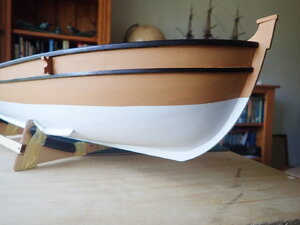
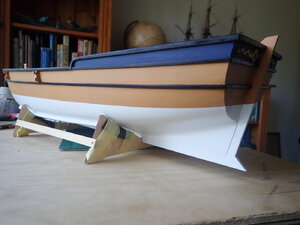
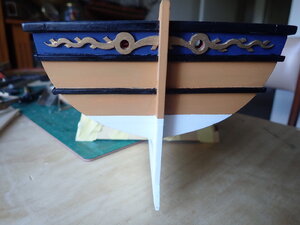
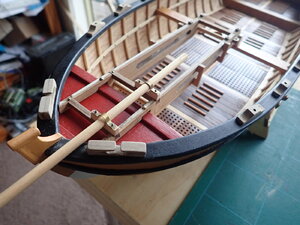
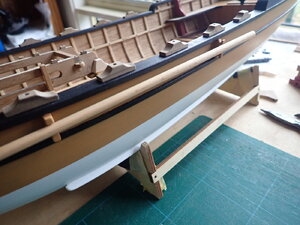
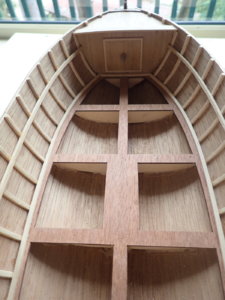
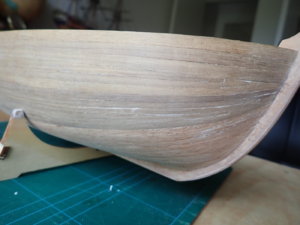
I’d finished the basic triple-planked hull construction and done a reasonable amount of work on the interior. I was however not happy with the wood supplied for the outer planking as I thought the grain was too obvious for my liking. The instructions say that this wood is walnut, but it looks as if it might be beech with a very pronounced flecked grain. I did use this for the hull below the waterline as this is to be painted and the grain won’t be a problem. Above the waterline I used walnut strips which I had available. The two different types of wood can be clearly seen in the photos.
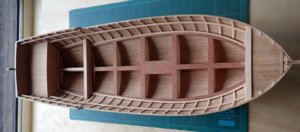
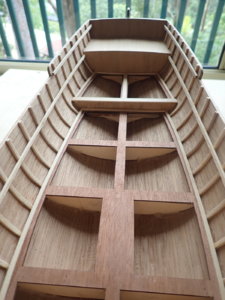
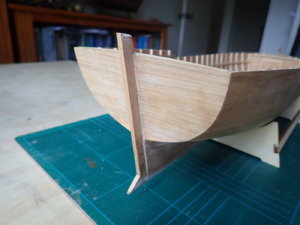
Several drop planks can be seen at the bow in the photo below.
Other build logs mention a problem with the foredeck being undersized, but I cannot remember if I had that particular problem, though the appearance of the deck as I’ve built it, does not quite match the drawing on the plan. This may affect the installation of the gun slide, so we’ll see.
As well as the hull planking, I’d finished installing the ribs, the stringers, the decks, planking at the stern and bow and fashioned and glued in place the bow hatch. The instructions actually say to fit the cap rail (that goes on top of the planking and the ribs) before putting the ribs in place, but this would have been extremely awkward as the ribs would have had to butt up against both the deck and the cap rail. Very fiddly indeed. Instead the ribs were installed and easily trimmed at the top ready for the cap rail at a later date.
Then the next thing to do was to reacquaint myself with the plans and the instructions, the latter not being the greatest.
The infill blocks between the ribs at deck level were installed and the decorative nails at the rib/stringer junctions were pushed home after drilling pilot holes. The supplied nails were shortened as they were not meant to penetrate all the way through the planking. The stern hatch cover was made and glued in place.
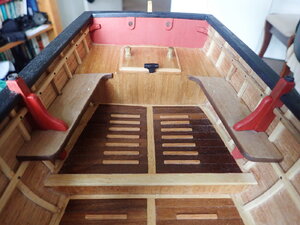
The shuttering was then made. This was actually the very last of the instructions, which doesn’t make sense as these need to be fitted before the interior of the boat, including the cannon carriage and slide, is completed. I also didn’t follow the instructions anyway, but simply fitted and glued the transverse planks directly to the deck. The cutouts from the deck that I should have used, gluing the planks to these before putting the shutter in place, had gone missing anyway.
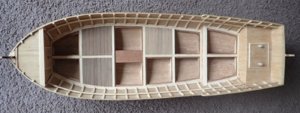
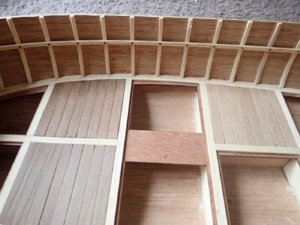
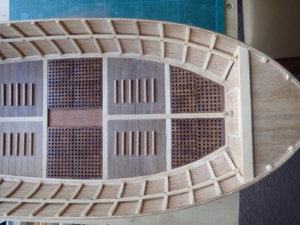
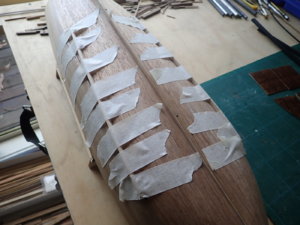
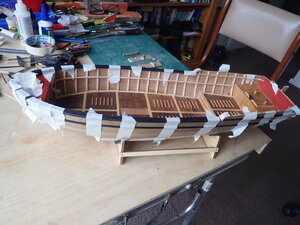
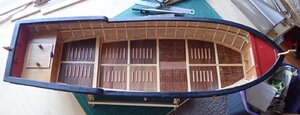
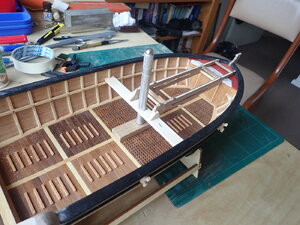
The shutters completely installed but not yet sanded.
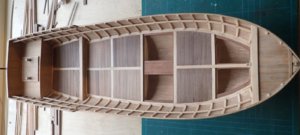
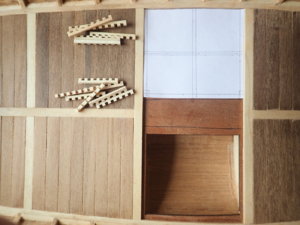
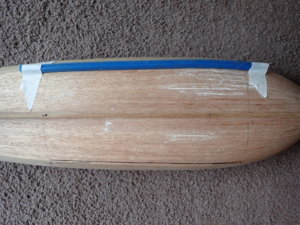
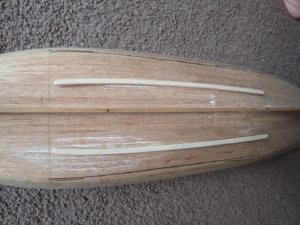
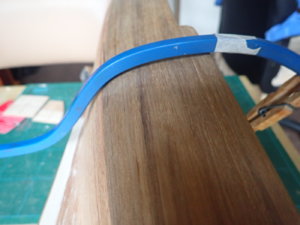
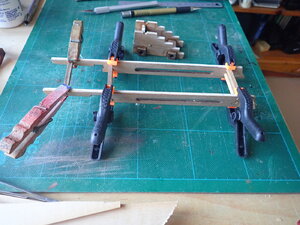
The anti-slip strips were cut to size and glued onto the shutters. A strip of wood was taped to the shutters to allow the strips to be aligned.
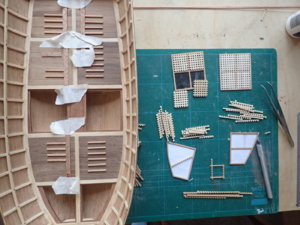
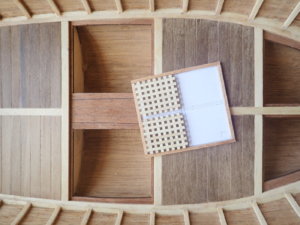
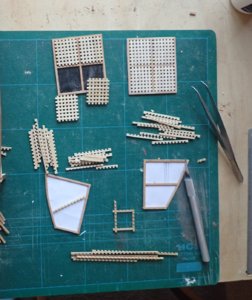
The partly assembled gratings, which will cover the four remaining holes in the deck, are also visible in the above photo. These will be the subject of the next post.
Cheers.
Richard
This is a build log of Panart’s 1/16 scale, Armed Pinnace, though as I commenced this model quite a number of years ago, the log actually starts from where I finished back then.
If I’d known then what I know now about model ship/boat building, I would have approached the build of this kit somewhat differently. I would have planked the hull using scale lengths, for instance. Also I would have thought ahead about the colour scheme and painted/stained various parts before assembling.
I’d finished the basic triple-planked hull construction and done a reasonable amount of work on the interior. I was however not happy with the wood supplied for the outer planking as I thought the grain was too obvious for my liking. The instructions say that this wood is walnut, but it looks as if it might be beech with a very pronounced flecked grain. I did use this for the hull below the waterline as this is to be painted and the grain won’t be a problem. Above the waterline I used walnut strips which I had available. The two different types of wood can be clearly seen in the photos.


Several drop planks can be seen at the bow in the photo below.

Other build logs mention a problem with the foredeck being undersized, but I cannot remember if I had that particular problem, though the appearance of the deck as I’ve built it, does not quite match the drawing on the plan. This may affect the installation of the gun slide, so we’ll see.
As well as the hull planking, I’d finished installing the ribs, the stringers, the decks, planking at the stern and bow and fashioned and glued in place the bow hatch. The instructions actually say to fit the cap rail (that goes on top of the planking and the ribs) before putting the ribs in place, but this would have been extremely awkward as the ribs would have had to butt up against both the deck and the cap rail. Very fiddly indeed. Instead the ribs were installed and easily trimmed at the top ready for the cap rail at a later date.
Then the next thing to do was to reacquaint myself with the plans and the instructions, the latter not being the greatest.
The infill blocks between the ribs at deck level were installed and the decorative nails at the rib/stringer junctions were pushed home after drilling pilot holes. The supplied nails were shortened as they were not meant to penetrate all the way through the planking. The stern hatch cover was made and glued in place.
The shuttering was then made. This was actually the very last of the instructions, which doesn’t make sense as these need to be fitted before the interior of the boat, including the cannon carriage and slide, is completed. I also didn’t follow the instructions anyway, but simply fitted and glued the transverse planks directly to the deck. The cutouts from the deck that I should have used, gluing the planks to these before putting the shutter in place, had gone missing anyway.


The shutters completely installed but not yet sanded.

The anti-slip strips were cut to size and glued onto the shutters. A strip of wood was taped to the shutters to allow the strips to be aligned.

The partly assembled gratings, which will cover the four remaining holes in the deck, are also visible in the above photo. These will be the subject of the next post.
Cheers.
Richard
Last edited:


