- Joined
- Oct 28, 2018
- Messages
- 760
- Points
- 403

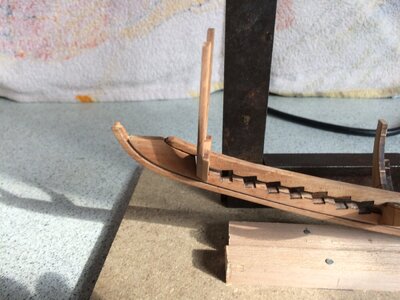
I see when I put it a bit straighter, that it fits exactly with the drawing
Your camera is your biggest critic")
Your camera is your biggest critic
Last edited:

 |
As a way to introduce our brass coins to the community, we will raffle off a free coin during the month of August. Follow link ABOVE for instructions for entering. |
|
Hi Henk,Not a big update..
Frame nr 5
I do one on one at night..
So you can calculate when the next update is with the keel included
This is my tool what is used, most toilet paper (for clean up the char( (LOL)
View attachment 240391View attachment 240393View attachment 240397


")


Ok, Henk.Ok
Thanks Peter
I am not yet ready to have the frames in the mold
few steps too early…
The inexperience (uncertainty) plays a part.
I have a lot to look at your photos and check back regularly, for construction.
Regards,
Henk