• LUCZORAMA SHIPWRECK SCAVENGER HUNT GIVEAWAY. 4 Weeks of Fun • 1 Legendary Prize ((OcCre’s Fram Ship)) • Global Crew Welcome!
    **VIEW THREAD HERE**

Buccaneer - Second Build

Joined
May 7, 2025
Messages
41
Points
48

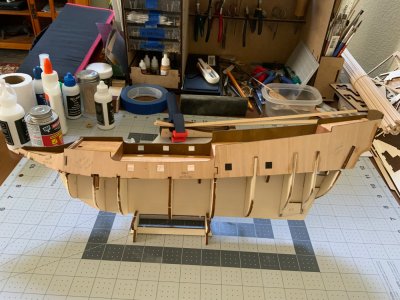
I just started OcCre’s Buccaneer as my second build. My first was the Occre Albatros and a lot of mistakes were made, but I learned a lot. Based on watching the build logs of Rebus and HughLo, I’ve decided to tackle the Buccaneer. The planking will be a level above what was needed on the Albatros. I started taking pictures a little late, but here is where I am at.

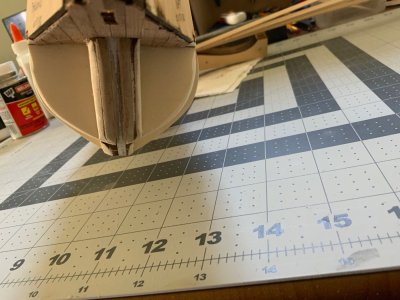
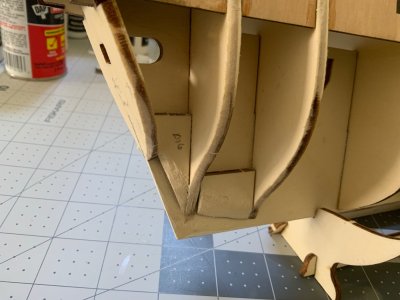
I added some scrap pieces from the Albatros to the front of the keel to give me some extra room to attach the planks.

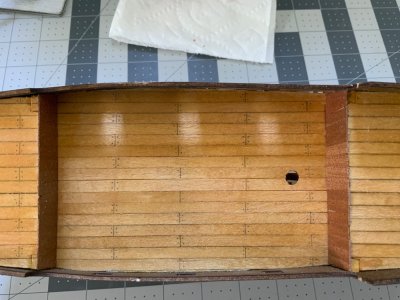
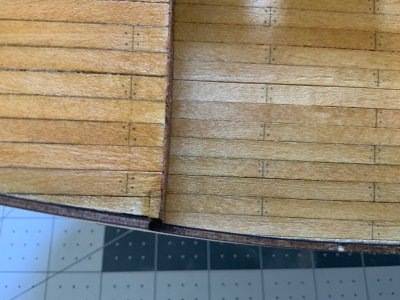
I made some mistakes by cutting out more of the deck than what was necessary and had to make some repairs. There are a couple of places that will be covered with railing. I stained the deck with pine dye and satin varnish.

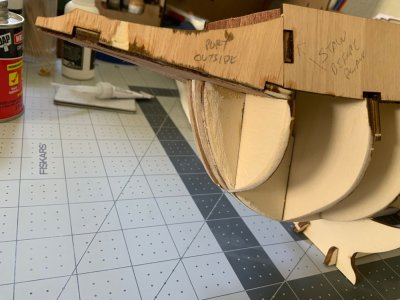
The bulwarks went on without much problem. I test fitted the rear gallery (deck) and I’m going to have to do some sanding to get it to fit.

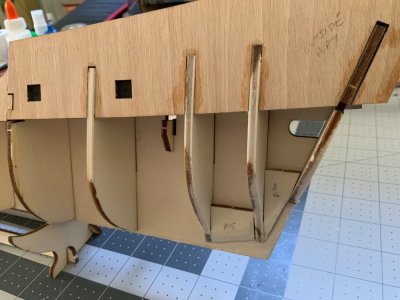
I have a few hours of sanding left before I’m ready to start planking. I’m not sure where I’ll start. I’m a little concerned about how the planking will fit around the bow with the front deck. I’ve been looking at HughLo’s build log and he began 20mm below the bulwarks and that worked out, so I may copy his planking plan.

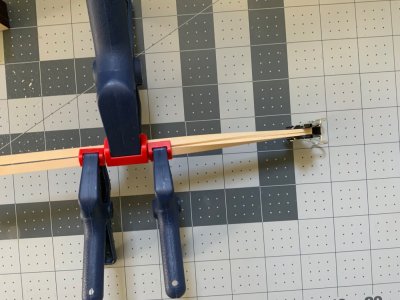
When I got tired of sanding I started bending some planks. The picture is the planks which will go at the keel.

If anyone who has built this one has any advice or have run into problems with the build, please speak up. I’m always open to suggestions, advice, and constructive criticism.
IMG_1927.jpeg

IMG_1928.jpeg

IMG_1926.jpeg

IMG_1932.jpeg

IMG_1931.jpeg

IMG_1930.jpeg

IMG_1929.jpeg

IMG_1934.jpeg
 
I'm humbled to see you are using my log for your build. That was my first built with plenty of mistakes. Please skip over those parts and do better than I did. I'm looking forward to watching you build this ship. Looks wonderful so far!
 
I'm humbled to see you are using my log for your build. That was my first built with plenty of mistake. Please skip over those parts and do better than I did. I'm looking forward to watching you build this ship. Looks wonderful so far!

I’m just hoping my build turns out as good as yours did.
 
Pulling up a chair and getting comfy. I’m honored to have you watching my build of my Molino (ok Buccaneer).

Your build is looking great - don’t skimp on the sanding.

Given the speed that I build, I’m betting I’ll be following your lead before too long. For me, she’s on the shelf until my return to Vallarta in October.
 
I had time today to get more work done on my build. I spent a lot of time sanding and I think I did a much better job than I did on my first ship. I have a much better understanding of what needs to be done than I did the first time.

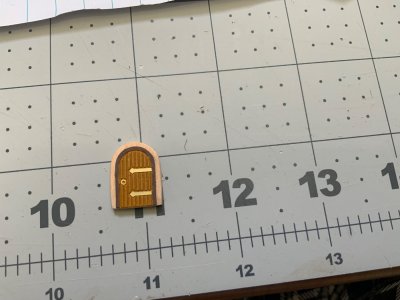
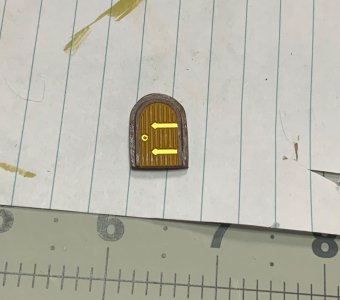
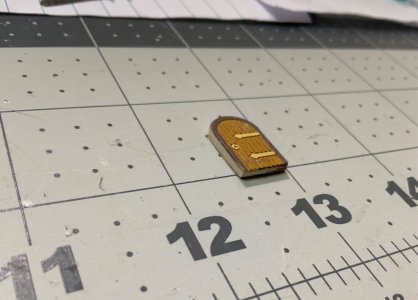
When I got bored sanding I decided to paint one of the doors and did a test fit. I didn’t like how the PE alone looked, so I took some scrap and made a frame. I think it looks much better than the PE alone. After I painted the door I sprayed it with matt clear coat so the paint wouldn’t rub off.

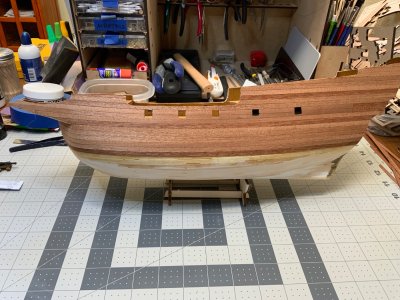
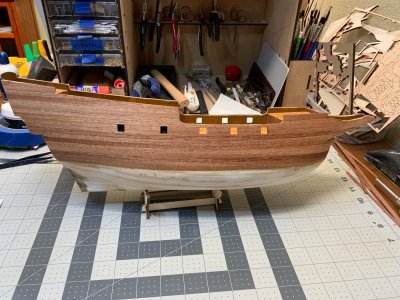
I followed HughLo’s build and started the planking 20mm below the bulwarks.

IMG_1944.jpeg

IMG_1955.jpeg

IMG_1953.jpeg

IMG_1951.jpeg
 
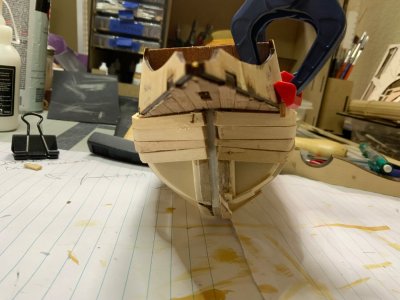
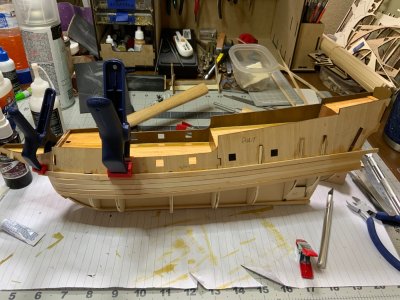
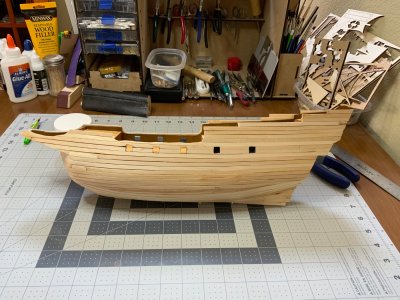
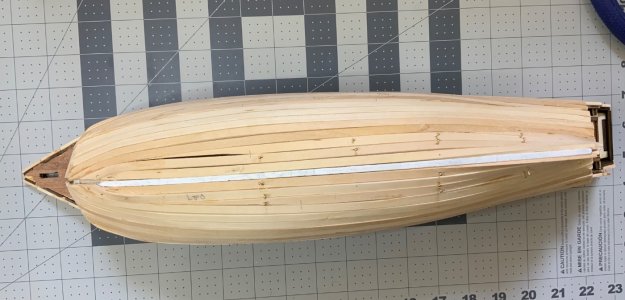
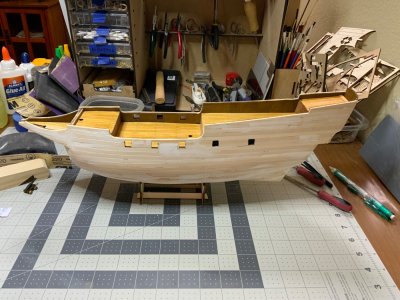
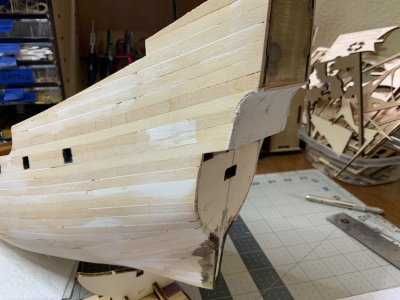
First planking is done. It certainly isn’t up to the standards of you experienced guys, but it is a lot better than the Albatros, my first build. I’m happy with this attempt. Now it’s time for a few days of sanding. I had to spend some time cleaning up and putting away tools. It seems like they start to take over my work area.

IMG_1969.jpeg

IMG_1970.jpeg
 
Sanding, sanding, and more sanding. And then when you think it’s done, more sanding.

I had a bit of motivation for extra sanding time as I sat on the malecón (beach) sanding and watching the world go by. Definitely my favorite part of my workshop in Vallarta. ️
 
When the wife retires next June we’ll be off to live in Clearwater, Fl. I doubt I’ll be sanding on the beach, but I will be out on the beach watching sunsets.

For those who have built this ship. How much sanding did you have to do to get the rear gallery (deck) to fit?
 
When the wife retires next June we’ll be off to live in Clearwater, Fl. I doubt I’ll be sanding on the beach, but I will be out on the beach watching sunsets.

For those who have built this ship. How much sanding did you have to do to get the rear gallery (deck) to fit?
I didn’t remember having much of an issue with the deck, but after refreshing my memory by reading through my build log, it did present a challenge. But slow and steady trimming and sanding got the job done.
 
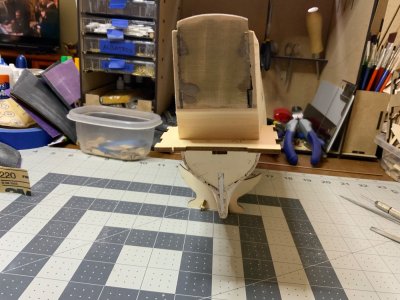
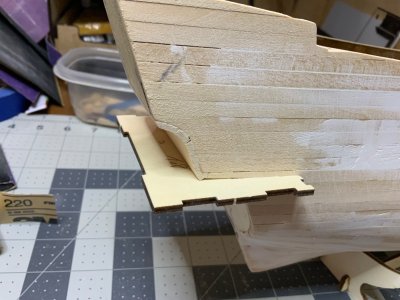
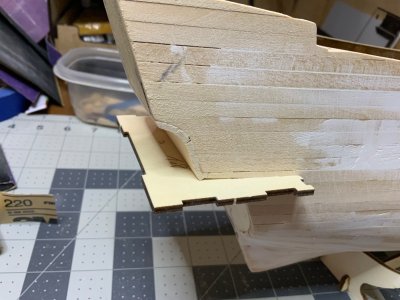
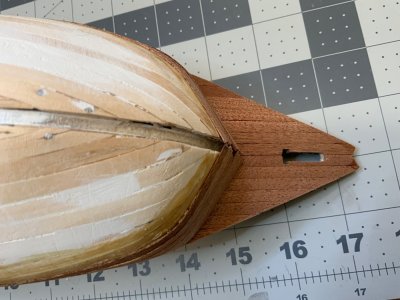
One more day of sanding and she should be ready for second planking. I spent some time sanding the rear gallery/deck and it fits pretty well now. It’ll need a little more sanding once the second planking is done.

IMG_1980.jpeg

IMG_1981.jpeg

IMG_1982.jpeg
 
Looking good. Another trick I use when sanding is to use my camera. Seems the camera sees more than my eyes.

Funny you should mention that. I’ve been looking at the pictures I took yesterday and can see some flaws I didn’t see before.

Thanks to those of you who went before me (looking at you HughLo and Rebus) and posted build logs. Reviewing those have been a great help. I missed HughLo’s advice on the false walls behind the cannons. It would have been much easier to cut out the gun ports had I placed them after.

I started the day tearing out the planking above the rear gallery/deck. As I was doing some dry fitting I saw I had put the planking on the outside instead of the inside. The rear gallery/deck looks much better now. The filler is done, I’m just waiting on it to dry so I can sand it.

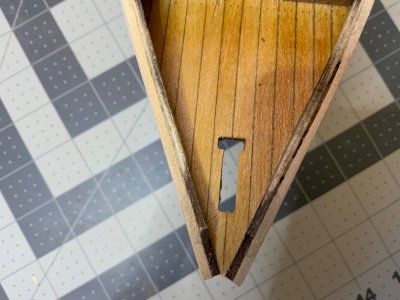
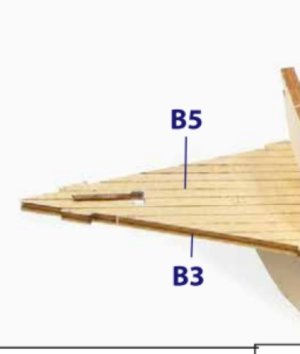
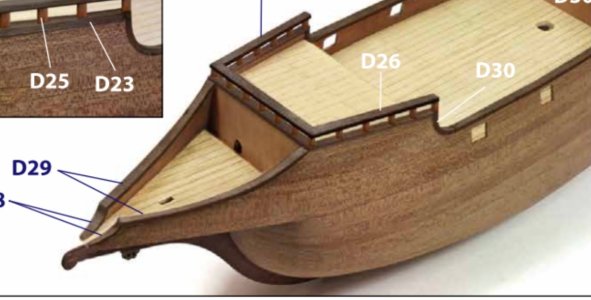
I think I may have made a mistake on the prow deck. The first picture in the plans show to cut out a ‘T’ shape, however, later, the picture in the plans show to simply cut out a narrow slit for the ropes to pass through and attach to the bowsprit. I’m not sure it’ll make much of a difference and I doubt anyone (except me) will notice it.

On this build I’ve sanded horizontally as well as vertically. On the Albatros I only sanded horizontally which I think was the cause of the second planking failing to lay flat. We shall see.

Between sanding sessions I worked on the doors some more. I need to paint, but I think the door looks much better now. I really didn’t like the PE part by itself. I don’t know, yet, if I’ll mount all of the doors on scrap wood or not.

Another half a day of sanding I think and I’ll be ready for the second planking. Thanks for tuning in…

IMG_1982.jpeg

IMG_1991.jpeg

IMG_1985.jpeg

IMG_1983.jpeg

IMG_1984.jpeg

IMG_1992.jpeg
 
Back
Top