• Ships of Scale has incorportated an extra level of security when you log In. Please follow on-screen prompts to acknowledge that you are not a robot via a "Check Box" or a "Pictorial Check Box Puzzle". This is needed due to higher level of AI Activity Security.
  • SUBSCRIBE TO SHIPS IN SCALE TODAY!

    The beloved Ships in Scale Magazine is back and charting a new course for 2026!
    Discover new skills, new techniques, and new inspirations in every issue.

    NOTE THAT OUR NEXT ISSUE WILL BE July/August 2026
  • Win a Free Custom Engraved Brass Coin!!!
    As a way to introduce our brass coins to the community, we will raffle off a free coin during the month of August. Follow link ABOVE for instructions for entering.

Build Log for Dapper Tom aka "SIREN"

Joined
Nov 20, 2021
Messages
44
Points
48

I started this kit back in January, 2022 while stationed at Naval Station Rota, Spain. A build log was originally posted on another site that was hacked into and all of the files/posts/photos were lost. I had set this build aside shortly after my Foster Mom passed away as the wind was out of my sails and I had lost interest. After retiring 31 March 2026 and settling in Cantonment Florida, I decided it was time to finish it. I also work on plastic models and paint figures so I will bounce back and forth. I will bring the build log up to speed over the next few days, backfilling in since the start.

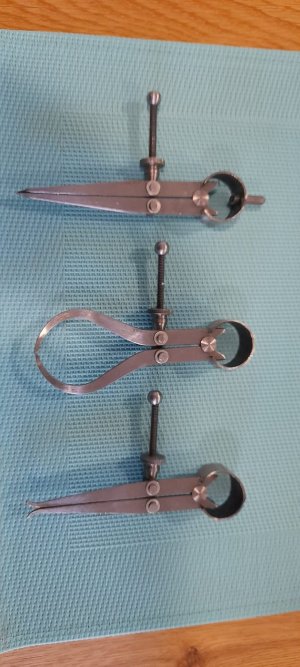
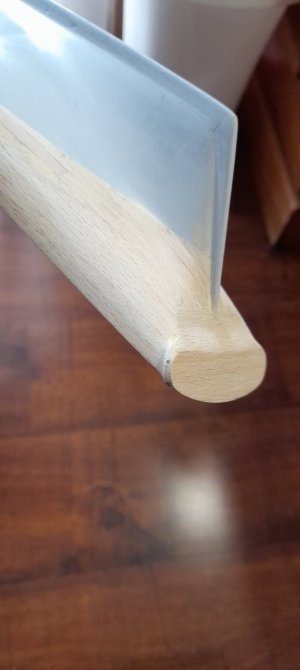
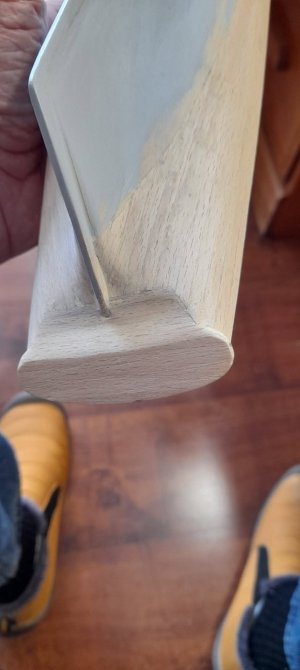
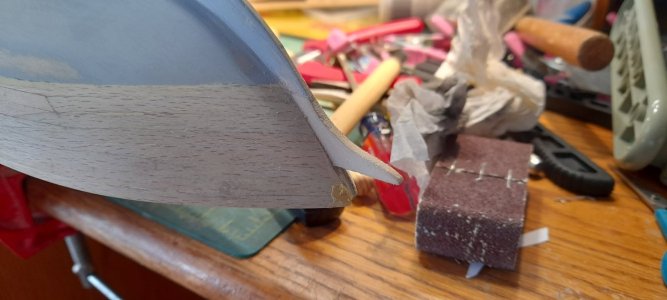
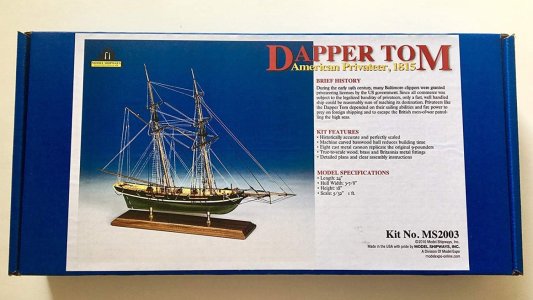
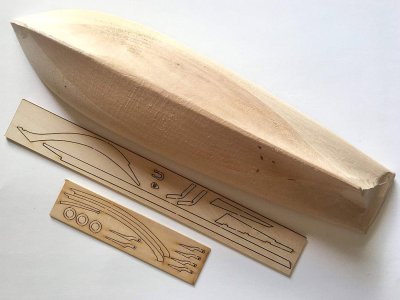
The kit is the Model Shipways Dapper Tom I picked up from an on-line Facebook auction for a whopping $25. I collected some tools on the economy and via mail order to augment what I already had from building plastic models. I found some of my Grandad’s tools in a box that I spent a couple days cleaning up and have used for the build (shown below). I started by making hull templates from a plastic "No Trespassing" yard sign and fastened a small block of wood to the deck to clamp in a vice to aid in shaping. A wood rasp was used to rough the hull shape followed by sanding with a small sanding block to meet the templates outer profile. Apologies as I cannot find the photos up to this point of initial shaping.
487298074_10229951352227912_574418252582955359_n.jpg

487298382_10229951352187911_3591358794837562493_n (1).jpg

487782153_10229958971898399_6397049283332574920_n (1).jpg
 
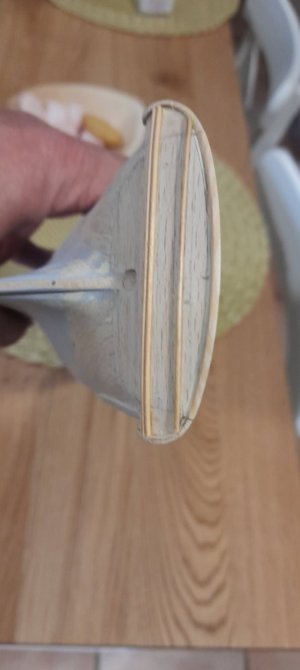
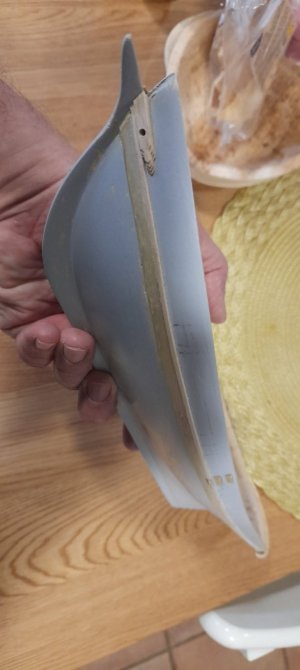
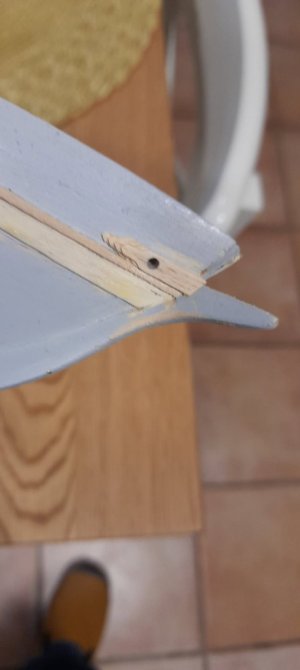
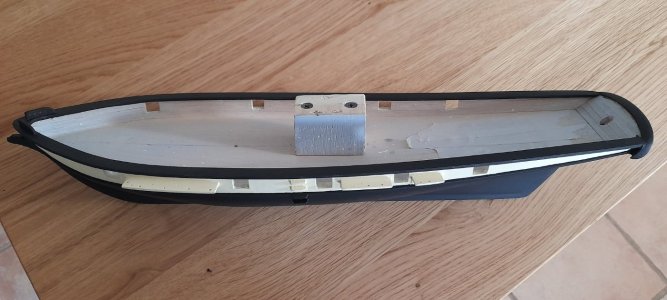
I then used some chisels and other tools to thin the bulwarks (sp.) down and shape the deck’s crown. This took a good week between work and other distractions. This was the messy part of the build and was done in the garage. After I was satisfied with the overall shape, I primed it with a grey boat primer I picked up at Leroy Merlin in Jerez, Spain (it’s the Spanish version of Home Depot). I wish I could find it here, it fills in cracks etc., sands really well and didn’t stink to high heaven.

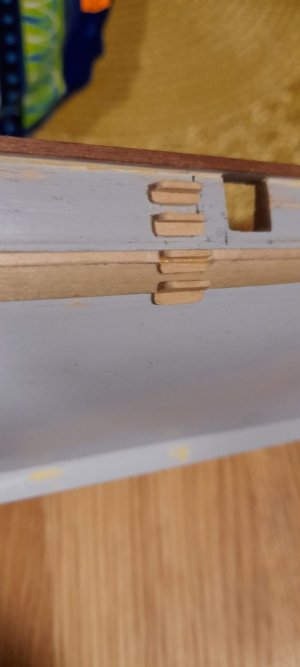
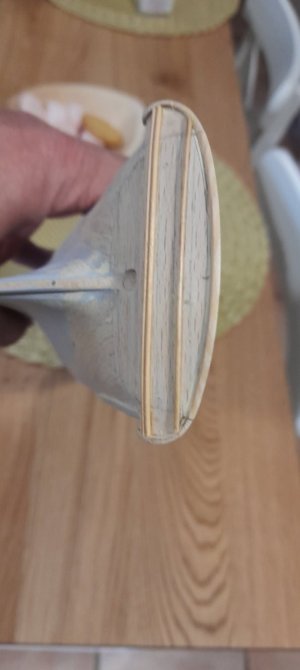
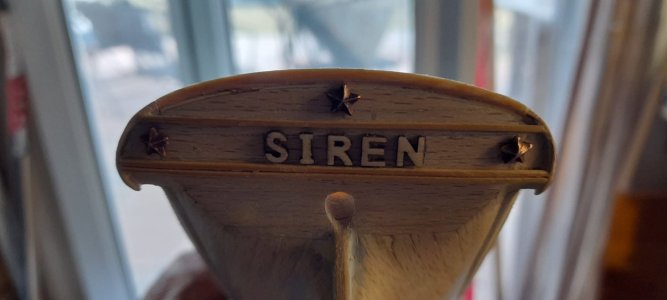
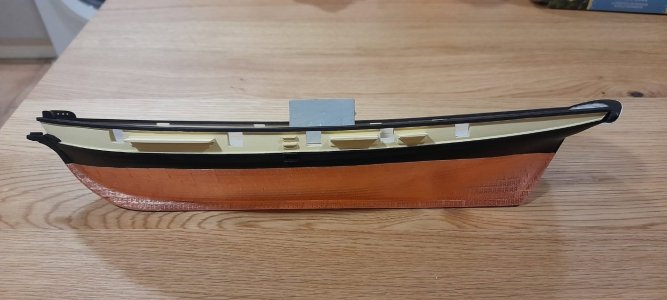
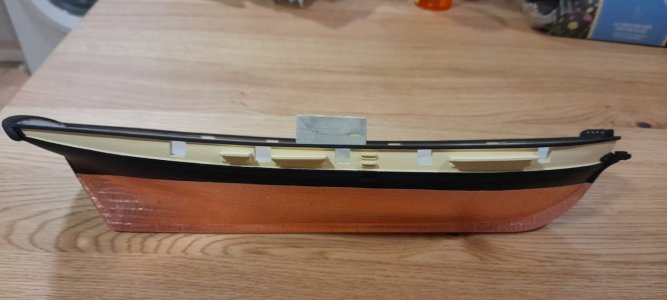
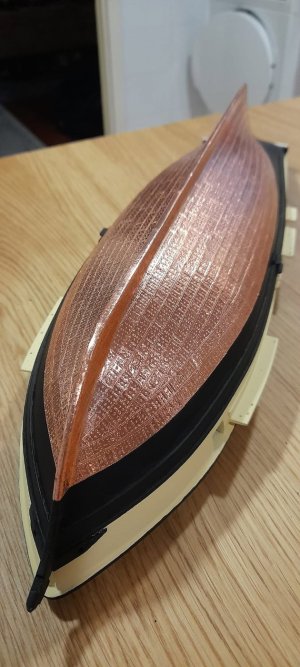
After priming I moved into the house into what was the family/hobby room and set up on a mobile typing desk for the continued build. I added the wales, trim, ship name (I chose Siren as a nautical term, I am a sailor after all) added the stern details, painted and coppered the hull. I had a roll-top desk as a second work platform I used for the building of the pieces prior to installation and the typing desk was where the hull was secured and also used as storage for tools and supplies.

487785191_10229964279591088_9068884034800723547_n (1).jpg

488069178_10229964281951147_1977376926005537895_n (1).jpg

488071266_10229986064455696_3211186510747007264_n.jpg

488180950_10229964267190778_7734968092445918596_n (1).jpg

488182665_10229986065095712_6342880636749772718_n.jpg

488429734_10229986062695652_6836779189122144656_n.jpg

488502674_10229986065335718_3944846886166018193_n (1).jpg

488600961_10229999082981151_7789375445905614962_n (1).jpg
 
I completed all of the exterior hull pieces, added the name from some small wood letters obtained from an online auction site, and added the stars from a packet of Bronze Stars left over from mounting my medals when I was on active duty. Sometimes being a pack-rat pays off. I then painted and plated the hull over a 3 day weekend and was very pleased with the result.

488182665_10229986065095712_6342880636749772718_n.jpg

488643883_10229999081701119_1153411460949220485_n (1).jpg

488981776_10230046337402482_2766758374303766863_n (1).jpg

489556707_10230046338162501_921472160406985835_n.jpg

489972029_10230046339042523_3323111241575407076_n (1).jpg
 
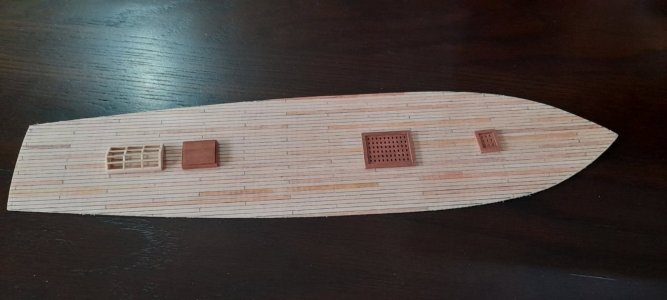
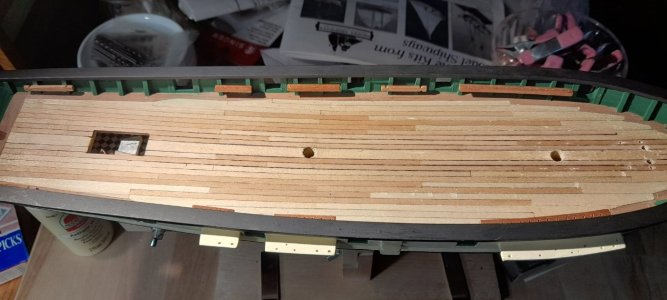
Progressing on to the deckI I used a sheet of scribed thin veneer vice individual strips (hey, it’s my first build so cut some slack) for the deck. I made a paper template from the shape of the carved deck and adjusted it to fit snug. I glued it to a .020 this sheet of plastic and weighted it down with stacks of books to ensure no bulges/bubbles were present. I then used 2 part epoxy to glue it down to the hull, leaving about a ¼” gap free of glue all around where I would carve away the sections to install the waterways etc. and the skylight above the captain’s cabin.

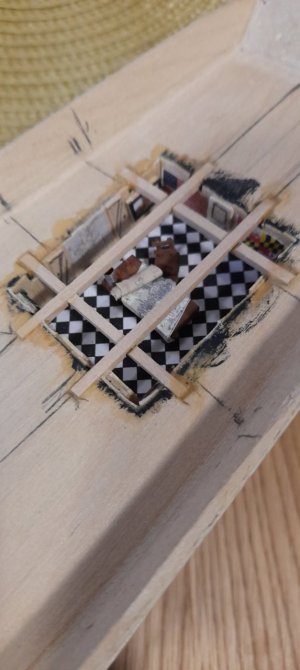
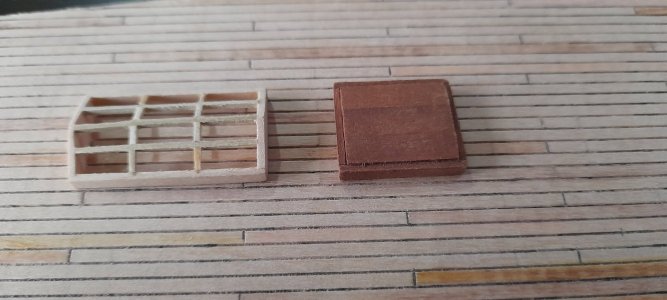
I the chiseled out the recess for the cabin, made the “carpet” from a sheet of paper printed with the checkerboard pattern and glued it down, made the bulkheads and doors from strips cut to fit, the table and chair from toothpicks and strips, the dividers from thin wire, the tankard from plastic tube filled with clear epoxy and painted with transparent red to simulate Port. The maps were reduced from period maps of the Chesapeake Bay and printed on plain paper as were the photos on the bulkheads. The skylight was made from strips of planking with clear plastic coated with future floor polish for windows. I then moved on to the deck hatches and other fittings as per the build instructions.

1000021108.jpg

488051294_10229986064655701_2701767475689215417_n (1).jpg

488208787_10229986065535723_5681492830880741040_n (1).jpg

488238963_10229986065775729_8864247462112355207_n (1).jpg

488799896_10229986061815630_446924559765158906_n (1).jpg

491454476_10230154136017380_1823202077742616695_n (1).jpg
 
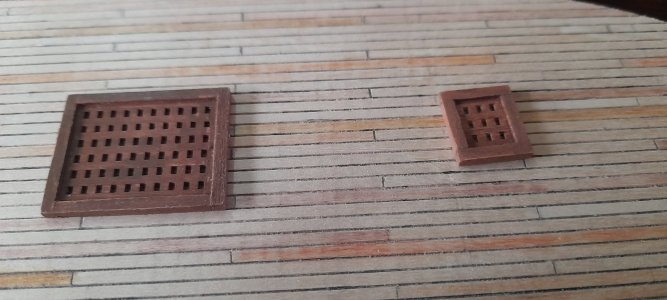
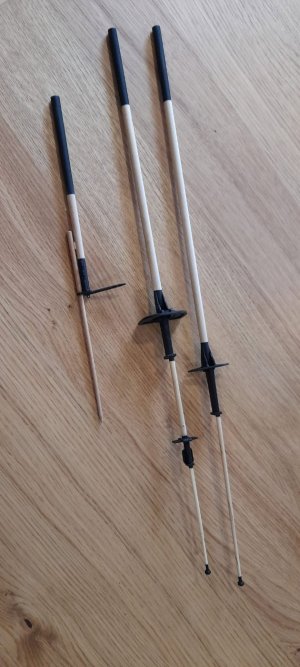
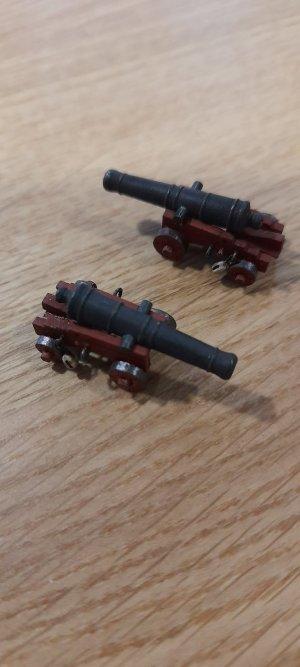
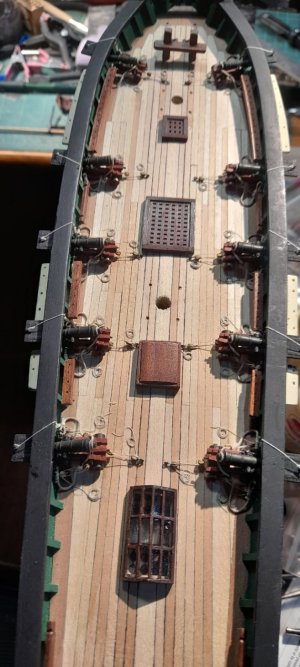
Update - Not going to go into lengthy detail on each photo but prior to leaving Spain, I finished the cannons, the Captain's Cabin, skylight, the grates and hatchways, masts, spars, weathered the copper plating and painted the hull. I stopped at where I was ready to begin the rigging stage. The ship was carefully packed in a box, all of the tools and supplies in another box where they sat for 3 1/2 years.

490290057_10230057771808335_1084597854865592969_n (1).jpg

491970118_10230154134377339_280781190703128040_n (1).jpg

494035718_10230274378703372_1056176718538151443_n (1).jpg

20260915_121018.jpg
 
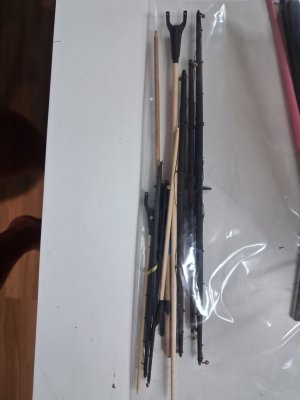
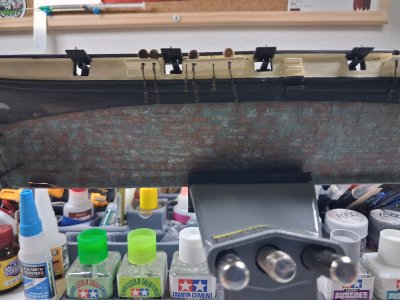
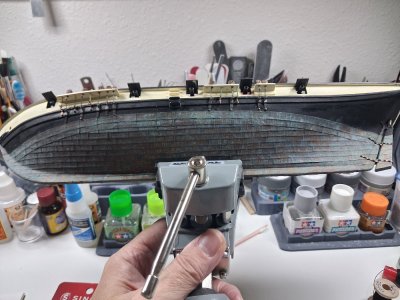
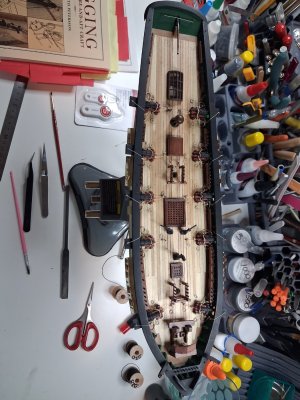
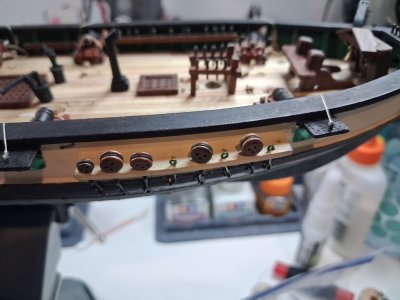
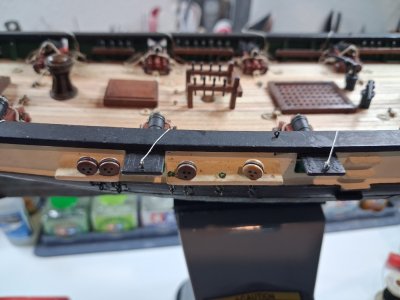
Fast forward to September where this blog started. I opened the boxes and to my surprise there was no damage to anything other than gluing a gun port lid back on. I reviewed the plans and rigging sheet to discover I was still a ways to go before rigging. While waiting for a few bits and bobs to arrive, I built my Serving Machine and performed a little more weathering on the hull plating. I am using the book Rigging Period Fore-and-Aft Craft by Lennarth Petersen as a guide in leu of the kit rigging sheet which resembles a 4th generation copy of a bowl of spaghetti. I seriously cannot make heads or tails of half of the lines and where they attach. The belaying plan and the book will be my guide moving forward. I discovered after snapping off the top of the main mast that it probably was not a good idea to glue the masts completely together for just this reason. Also, rigging would be easier to accomplish so I pondered rebuilding new masts but decided to go with them as they are. I had to drill out the broken section from the cap/crosstree, shape a new one and left is unglued. I blued and added the eyebolts and other fittings, belaying pins, the lower deadeyes and chain plates etc. and now I am at the point where I believe I am ready to install the masts and booms and commence the rigging. I do need some guidance from the saltier builders on where to start first:

1- The instruction sheet says to start with the Bowsprit. I am inclined to do the masts first because, knowing me and my focused/fixed attention span that is limited to the 4" square directly in front of me, I feel at some point, I will snap off the bowsprit if I install and rig it before the masts. What are your thoughts on this Shipmates?

20260915_121810.jpg

20260915_121825.jpg

20260915_120952.jpg

20260915_121034.jpg

20260915_121038.jpg
 
Back
Top