I have made a separate kit presentation of this 1:48 HMS Surprise where I go through the pros and cons of this kit.
Model making is my hobby for the dark winter months. I started this project last year, and for the start of this new “season” I will present the construction report from last season. I have a lot of experience of working with wood - but not at this scale! A huge part of the fun is learning this new skill, and researching the historical detail of how these ships were made. And of course a huge thanks to all the wonderful model makers on this forum from whom I learn so much!
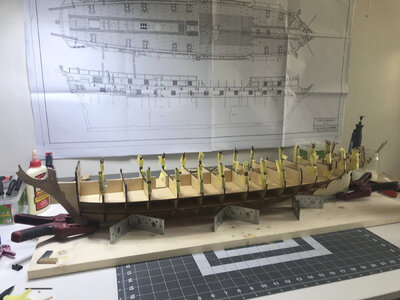
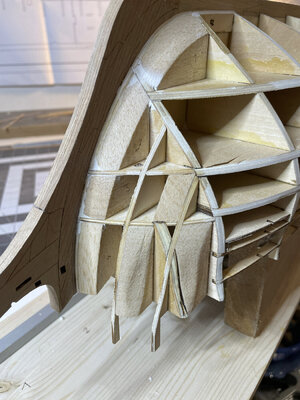
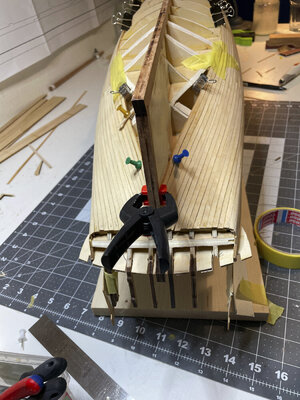
The frame of the kit is quite rigid, but the plywood is thin. I filled in the gaps with balsa at the bow and the stern. From stupidity and laziness I only filled them in partially!
The hull planks are made from basswood and are ready splined, so one only needs to do some fairing to achieve an acceptable result, even for a beginner.
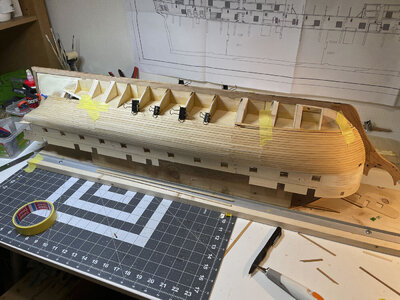
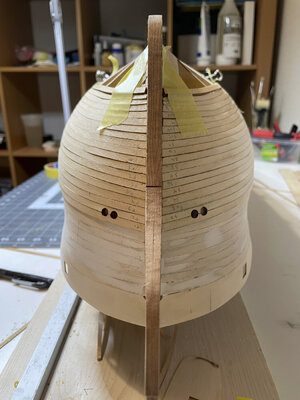
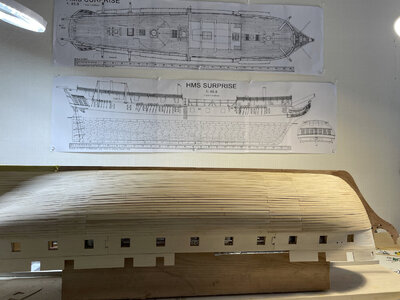
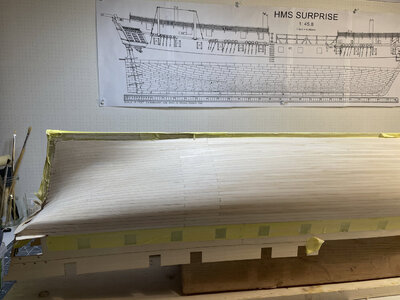
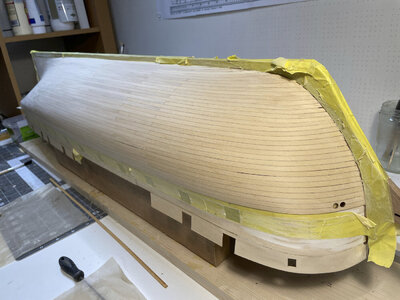
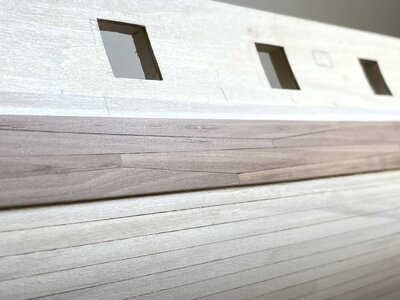
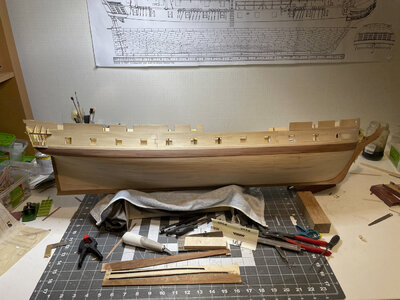
The kit ignores the wales so I made the main wale from cherry in anchor stock. Here it is covering the hawse holes that are in the wrong place in the kit.
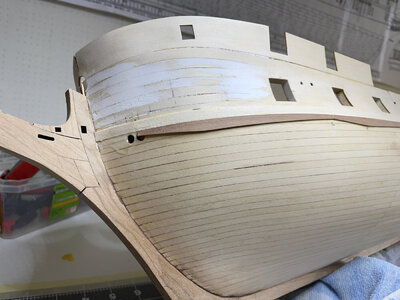
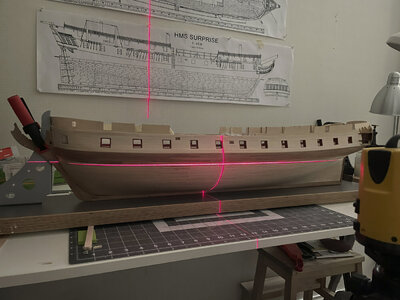
I used a laser level to get the water line - I had seen this done on another forum and seems like a fun way to do it!
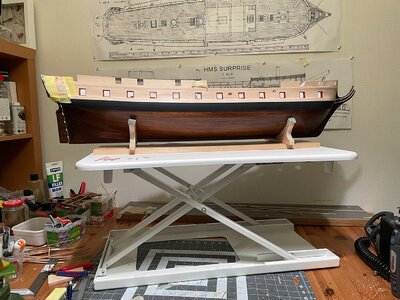
I decided to make the hull below the waterline asymmetrical - wood on one side and copper plating on the other.cFor the wooden side I abandoned scale for the beauty wood grain. I used a fine grain filler to give a light stain and fill in some of the unforgivable cracks in my planking attempt.
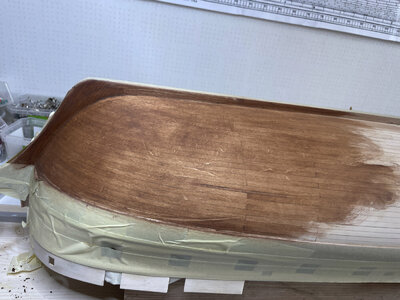
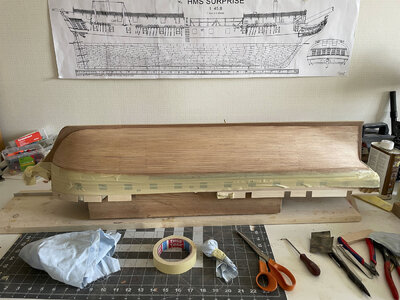
I used walnut juice to give the final dark stain that would highlight the grain but hide the incorrect division of the planks. Then I treated it with Danish oil and finally a few coats of wipe on poly to seal in the walnut stain.
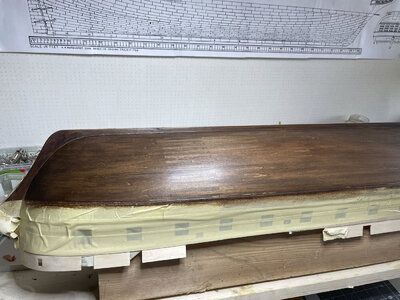
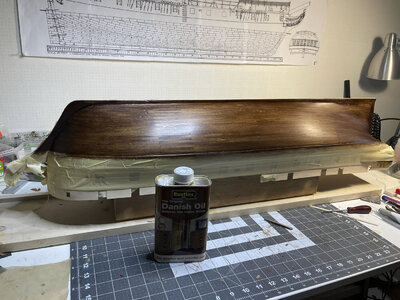
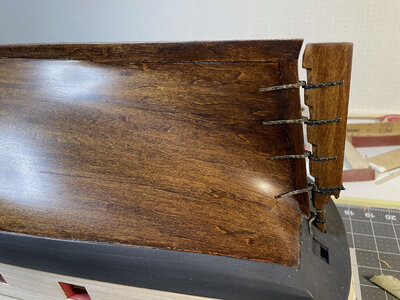
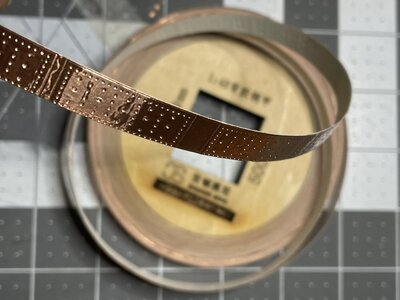
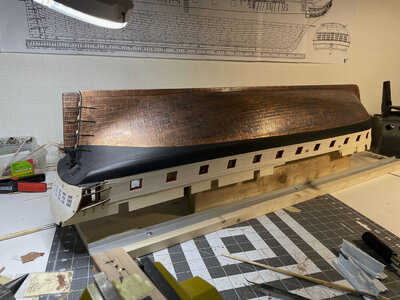
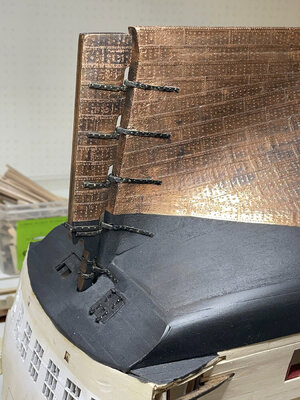
I used the copper plate stickers that came with the kit and treated them with liver of sulphur to age them (potassium sulphide, K2S). I know the order of the plates is wrong - keel to waterline and not waterline to keel - but once again I had to balance accuracy with the level of skill.
Model making is my hobby for the dark winter months. I started this project last year, and for the start of this new “season” I will present the construction report from last season. I have a lot of experience of working with wood - but not at this scale! A huge part of the fun is learning this new skill, and researching the historical detail of how these ships were made. And of course a huge thanks to all the wonderful model makers on this forum from whom I learn so much!
The frame of the kit is quite rigid, but the plywood is thin. I filled in the gaps with balsa at the bow and the stern. From stupidity and laziness I only filled them in partially!


The hull planks are made from basswood and are ready splined, so one only needs to do some fairing to achieve an acceptable result, even for a beginner.


The kit ignores the wales so I made the main wale from cherry in anchor stock. Here it is covering the hawse holes that are in the wrong place in the kit.


I used a laser level to get the water line - I had seen this done on another forum and seems like a fun way to do it!

I decided to make the hull below the waterline asymmetrical - wood on one side and copper plating on the other.cFor the wooden side I abandoned scale for the beauty wood grain. I used a fine grain filler to give a light stain and fill in some of the unforgivable cracks in my planking attempt.


I used walnut juice to give the final dark stain that would highlight the grain but hide the incorrect division of the planks. Then I treated it with Danish oil and finally a few coats of wipe on poly to seal in the walnut stain.


I used the copper plate stickers that came with the kit and treated them with liver of sulphur to age them (potassium sulphide, K2S). I know the order of the plates is wrong - keel to waterline and not waterline to keel - but once again I had to balance accuracy with the level of skill.


Last edited:


