The beloved Ships in Scale Magazine is back and charting a new course for 2026!
Discover new skills, new techniques, and new inspirations in every issue.
NOTE THAT OUR NEXT ISSUE WILL BE July/August 2026
Win a Free Custom Engraved Brass Coin!!!
As a way to introduce our brass coins to the community, we will raffle off a free coin during the month
of August. Follow link ABOVE for instructions for entering.
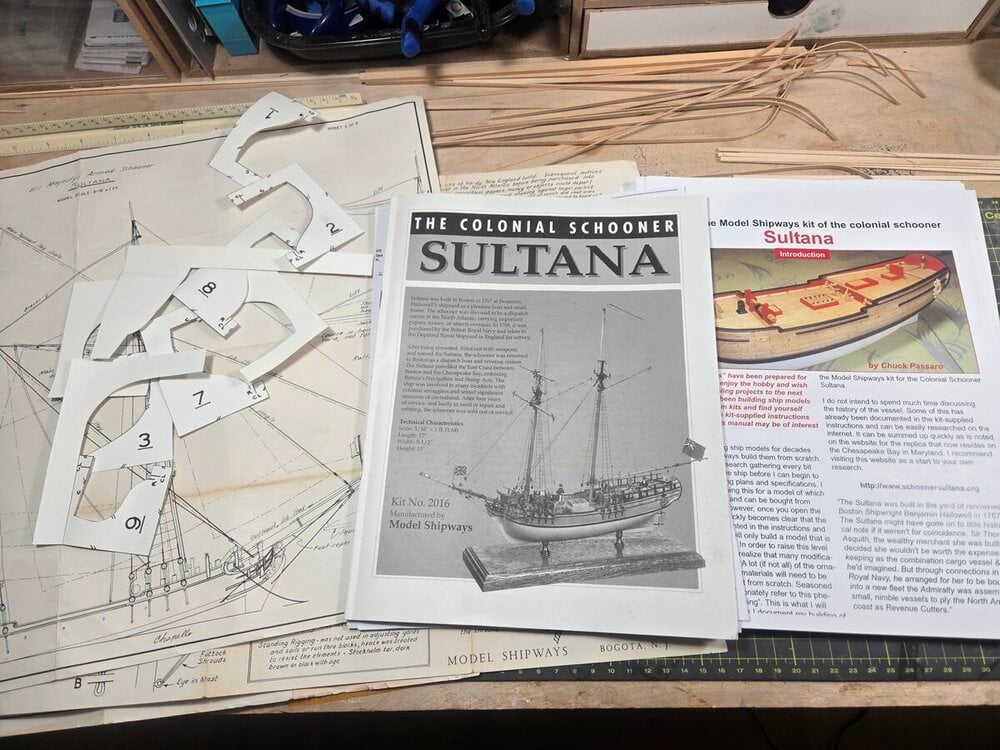
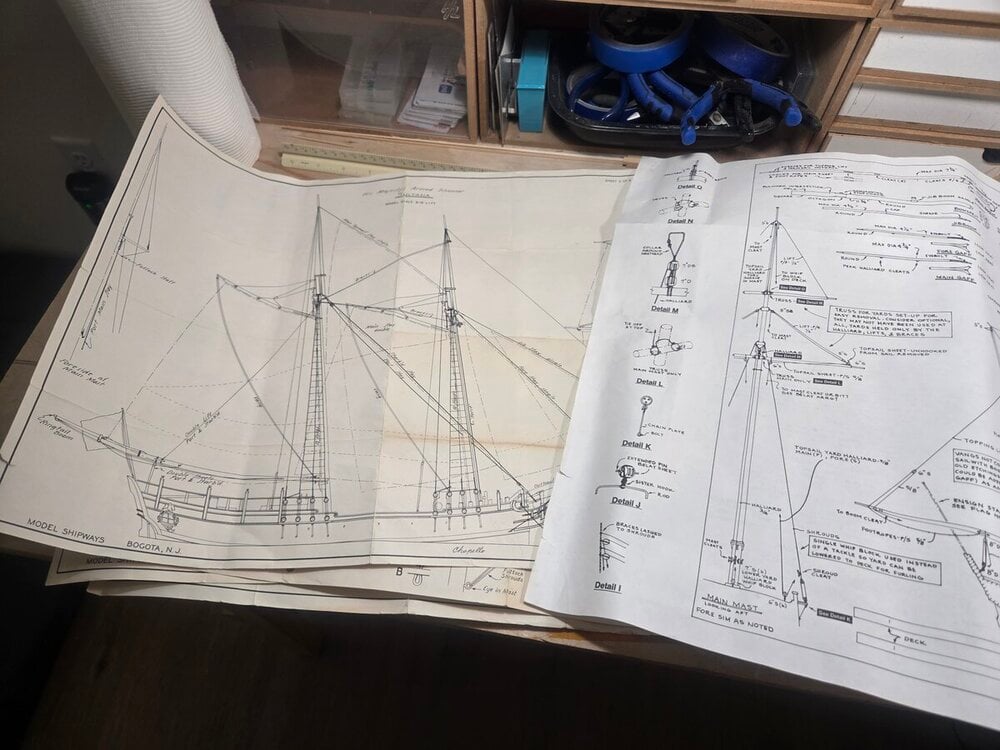
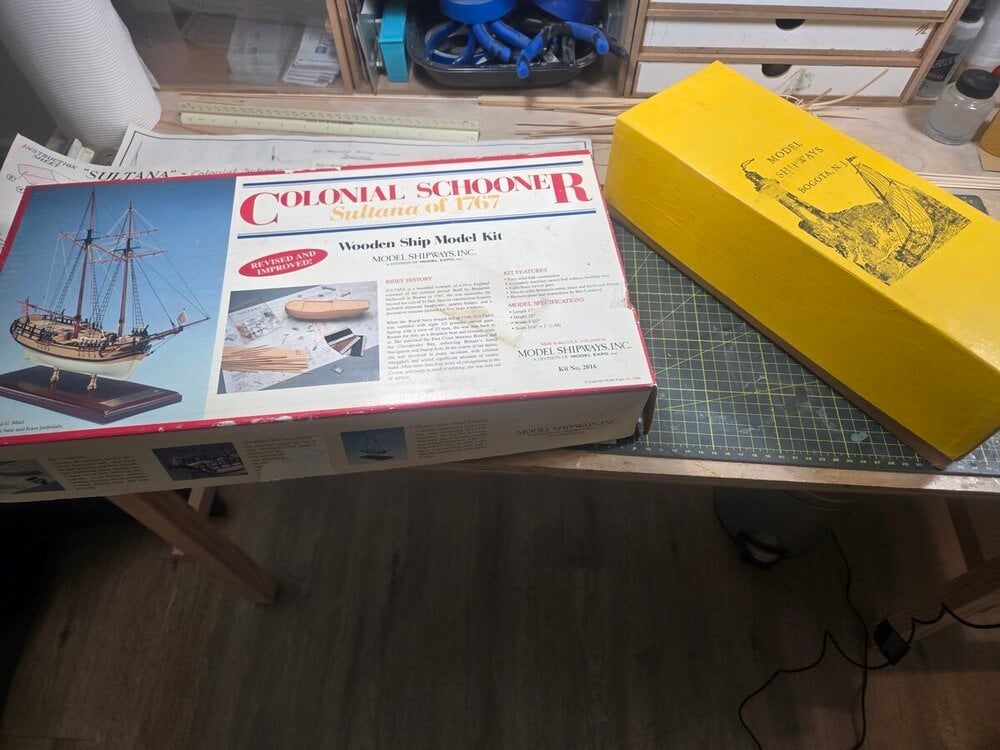
This is a repost of a lost Build Log. I had a very old Model Shipways yellow box solid hull kit which I planned to build. Just prior to starting the build, I got a good deal on an open box newer version of the kit. The big difference between the kits are the plans, instructions, hull templates, and some of the cast fittings. So, I decided to use whatever I could from either kit for the build. Also, I have a copy of Chuck Passaro's practicum which has some excellent detail and building tips.
After viewing several build logs and reviewing the practicum and revised kit instructions I decided to finish the build as outlined in the kit instructions.
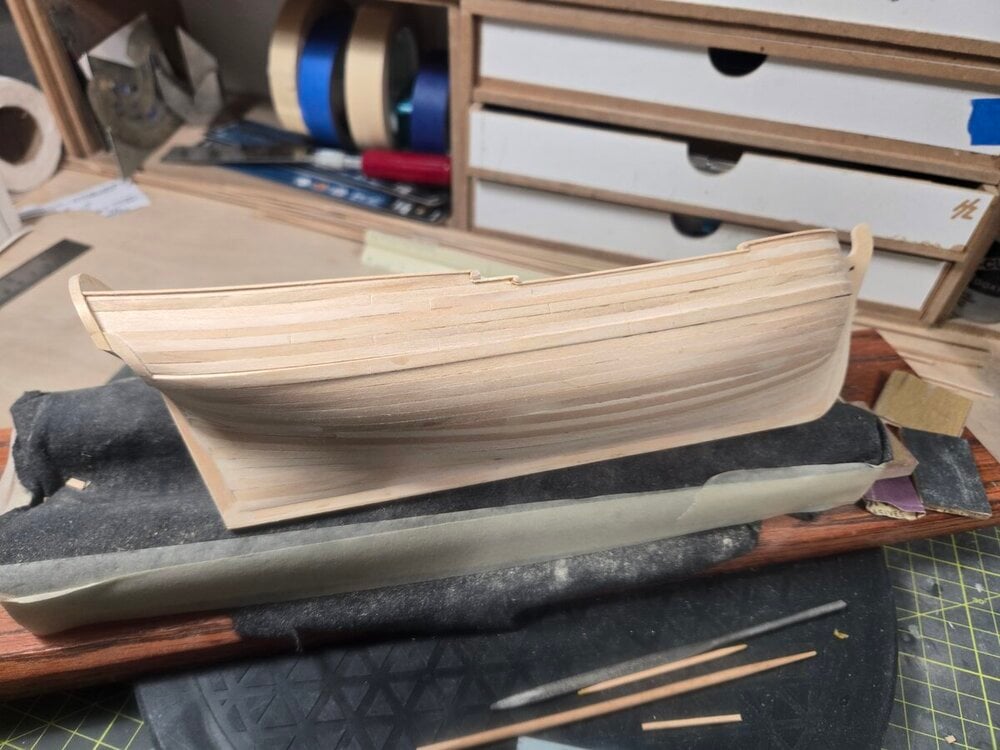
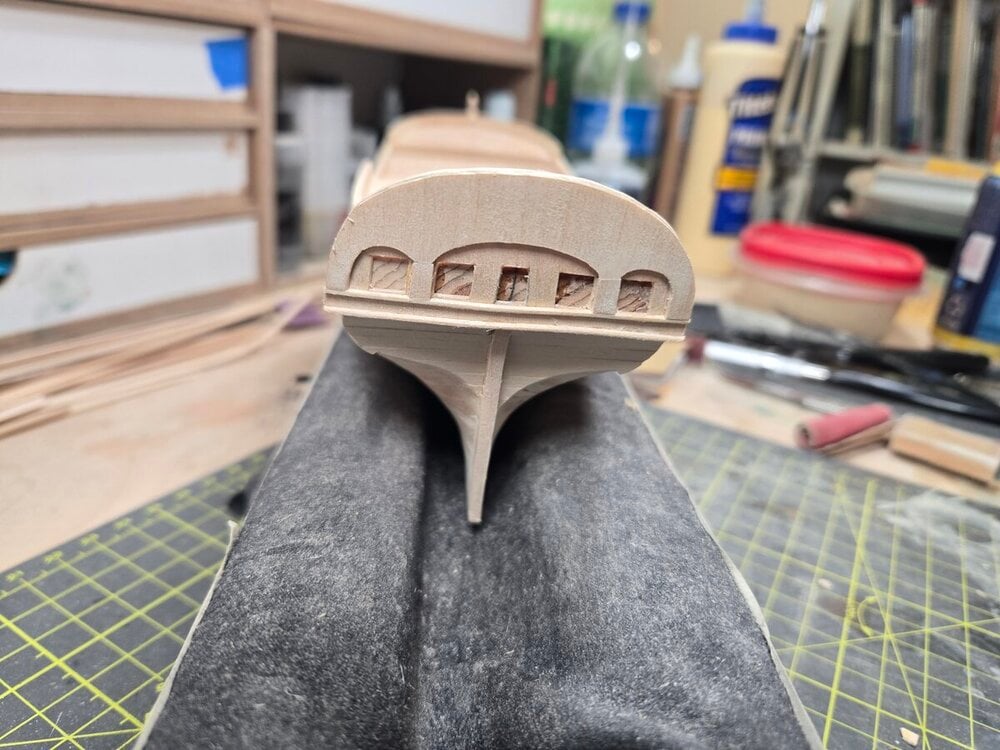
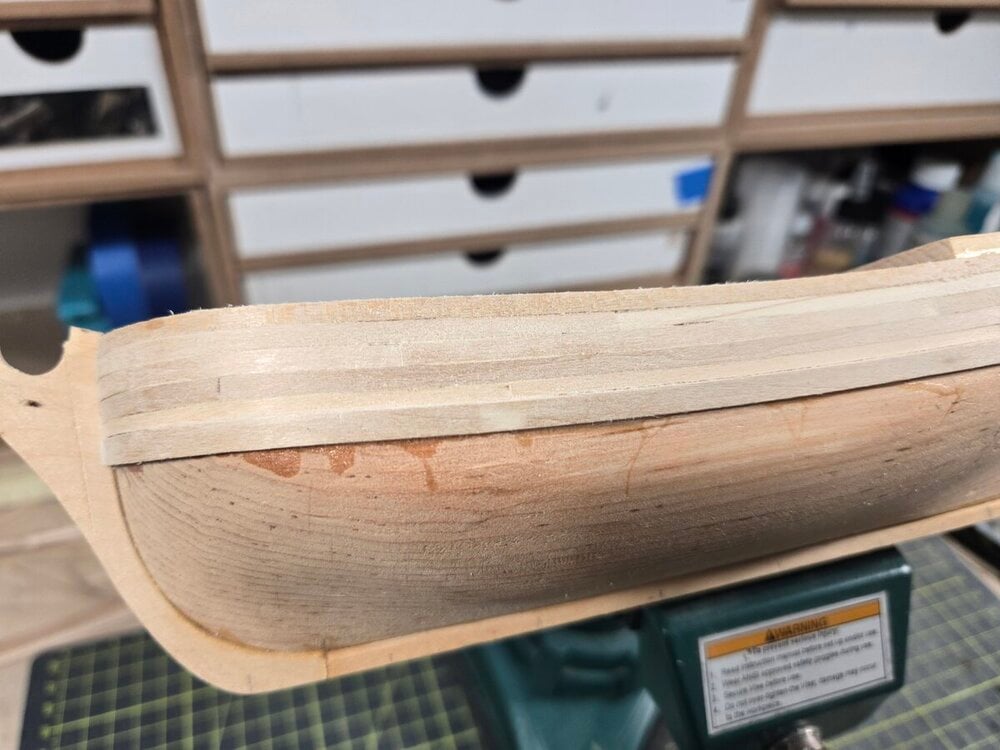
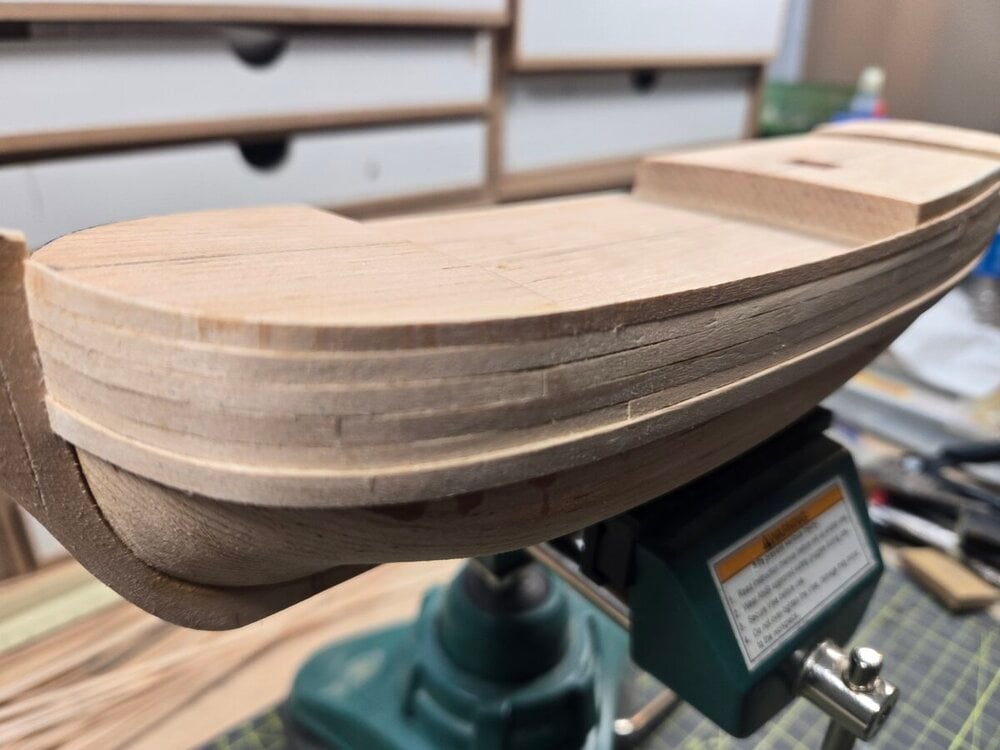
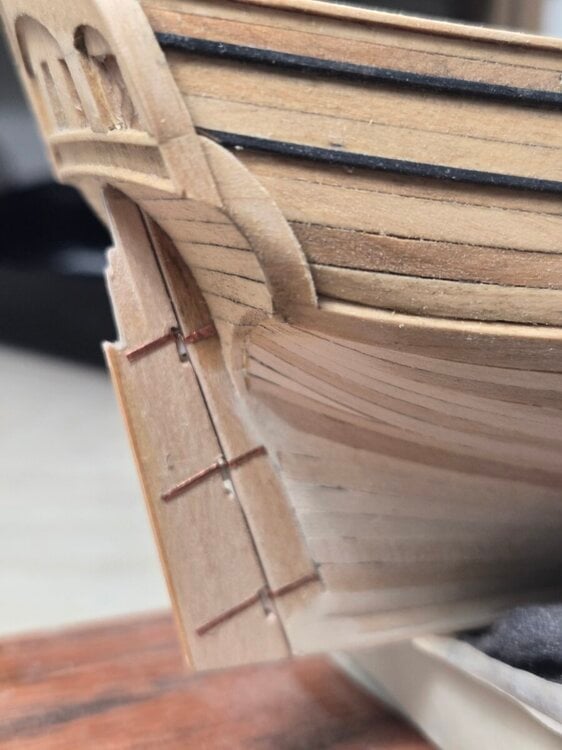
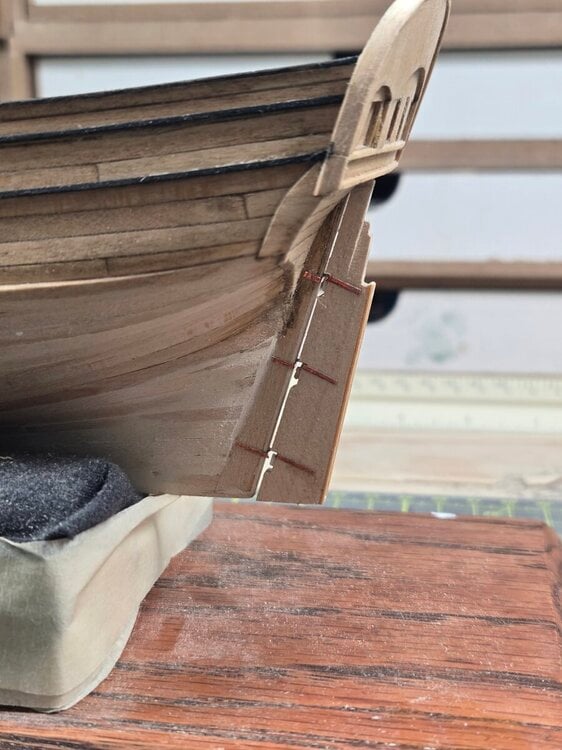
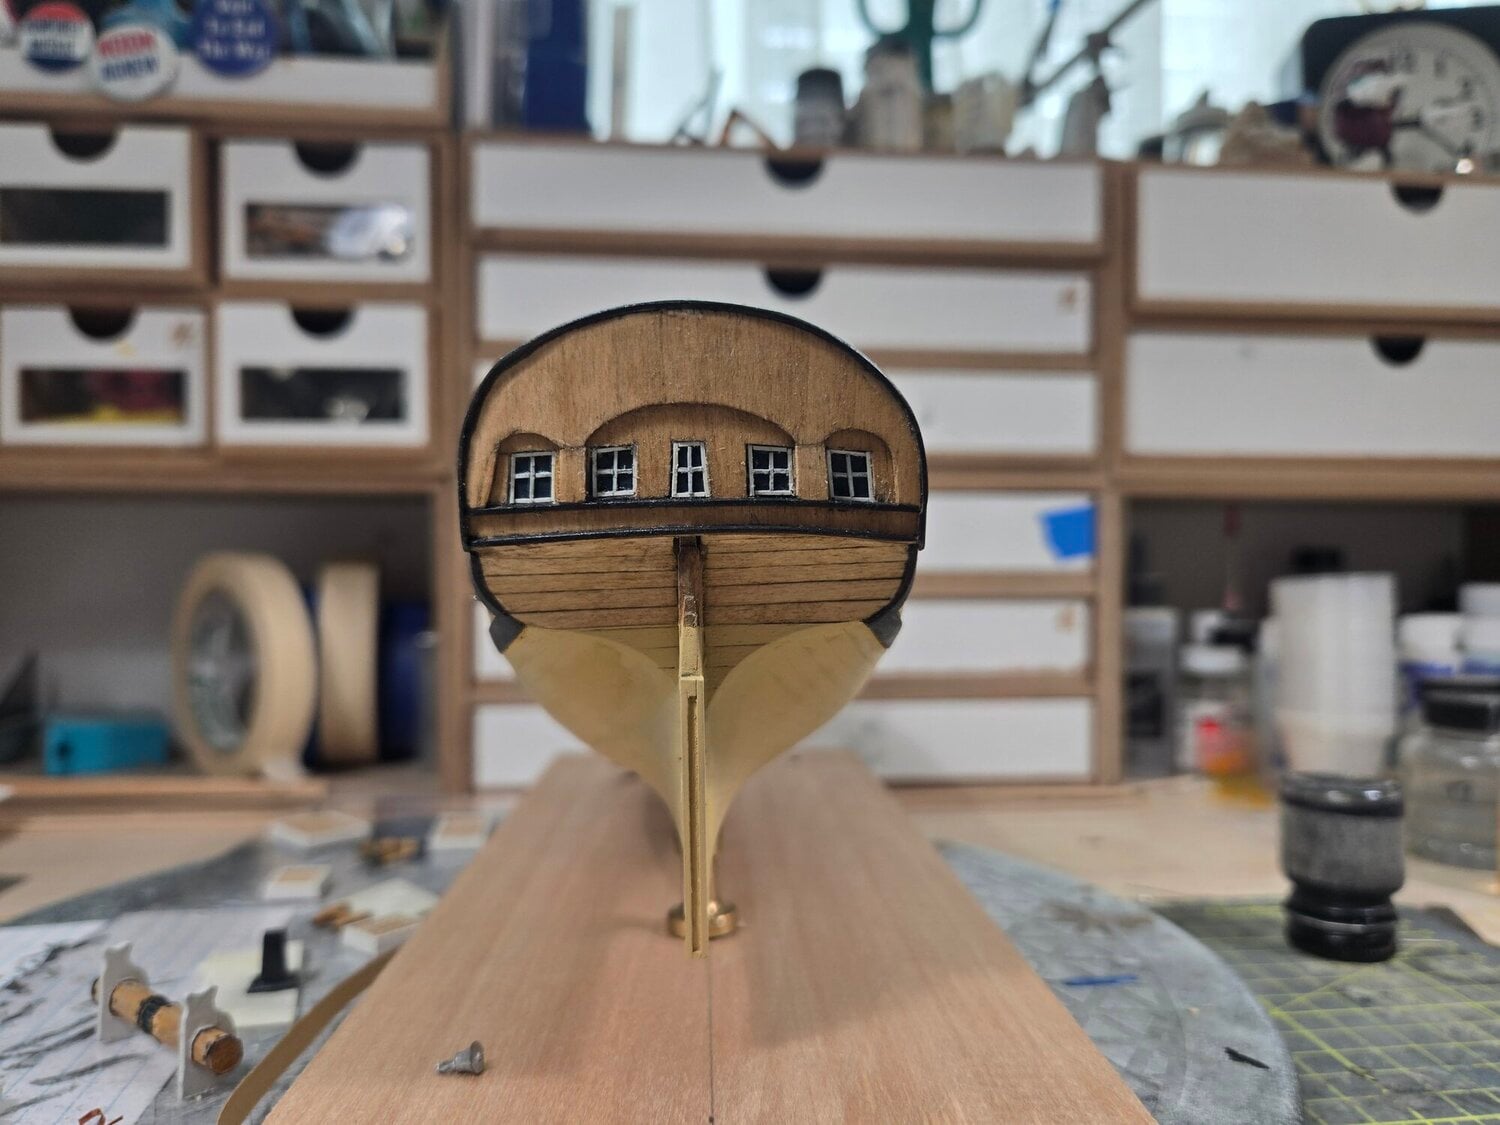
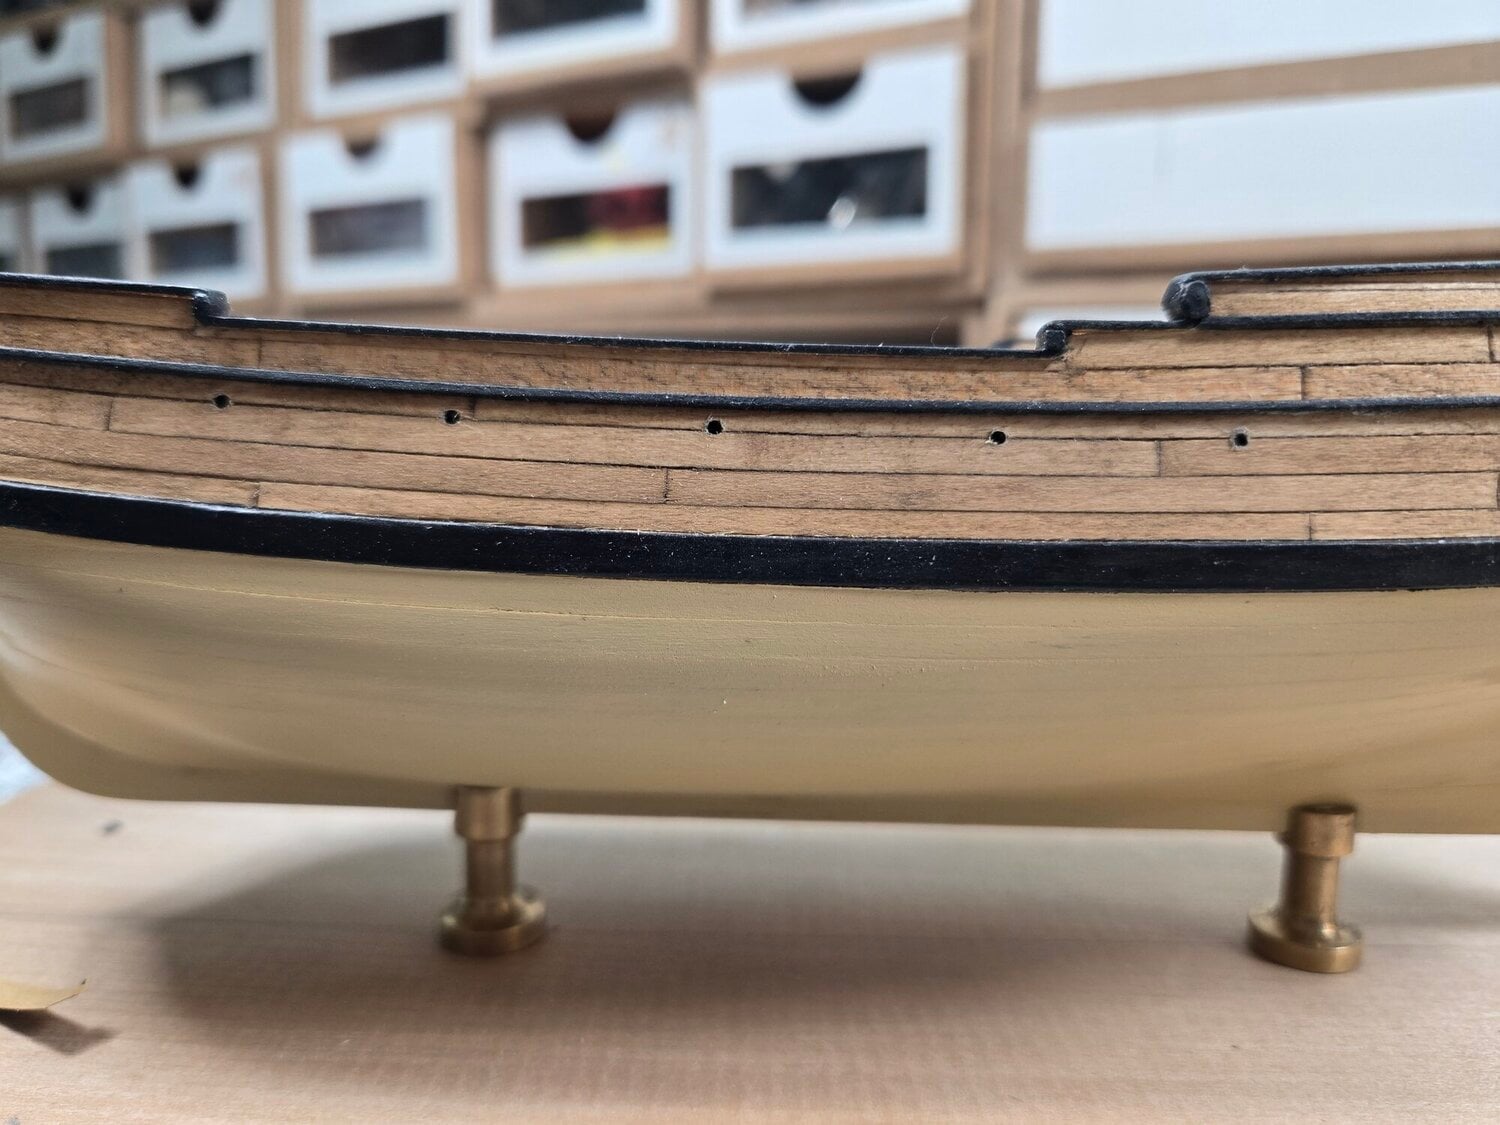
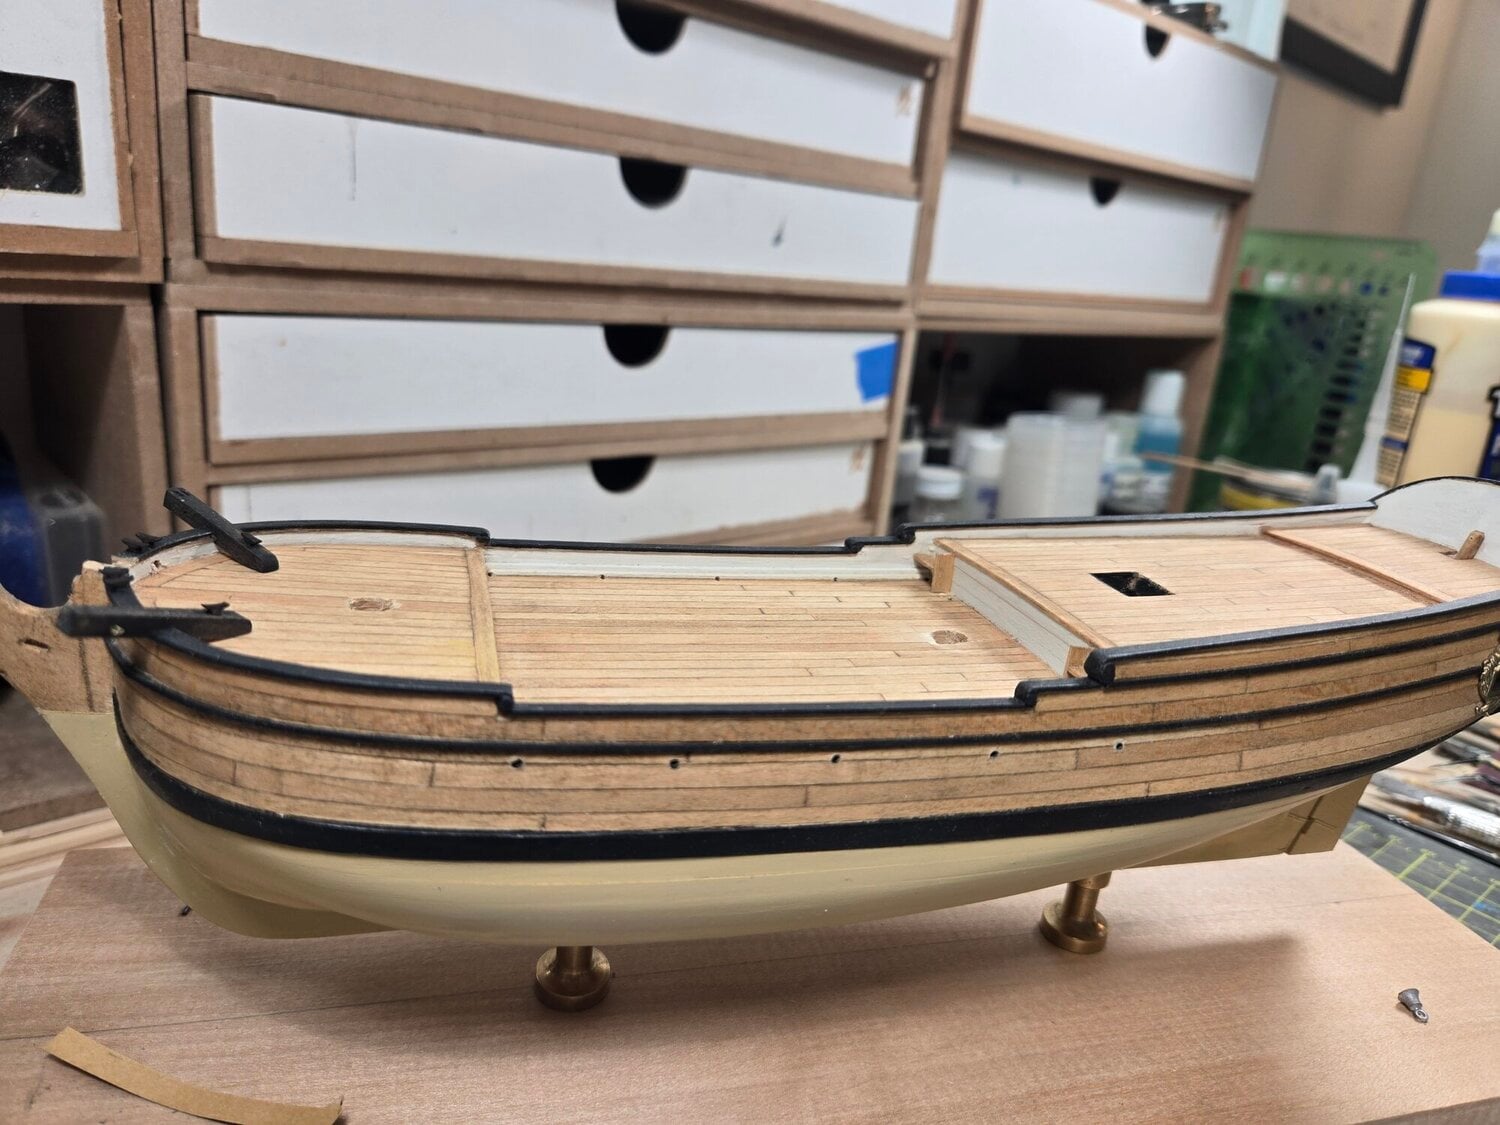
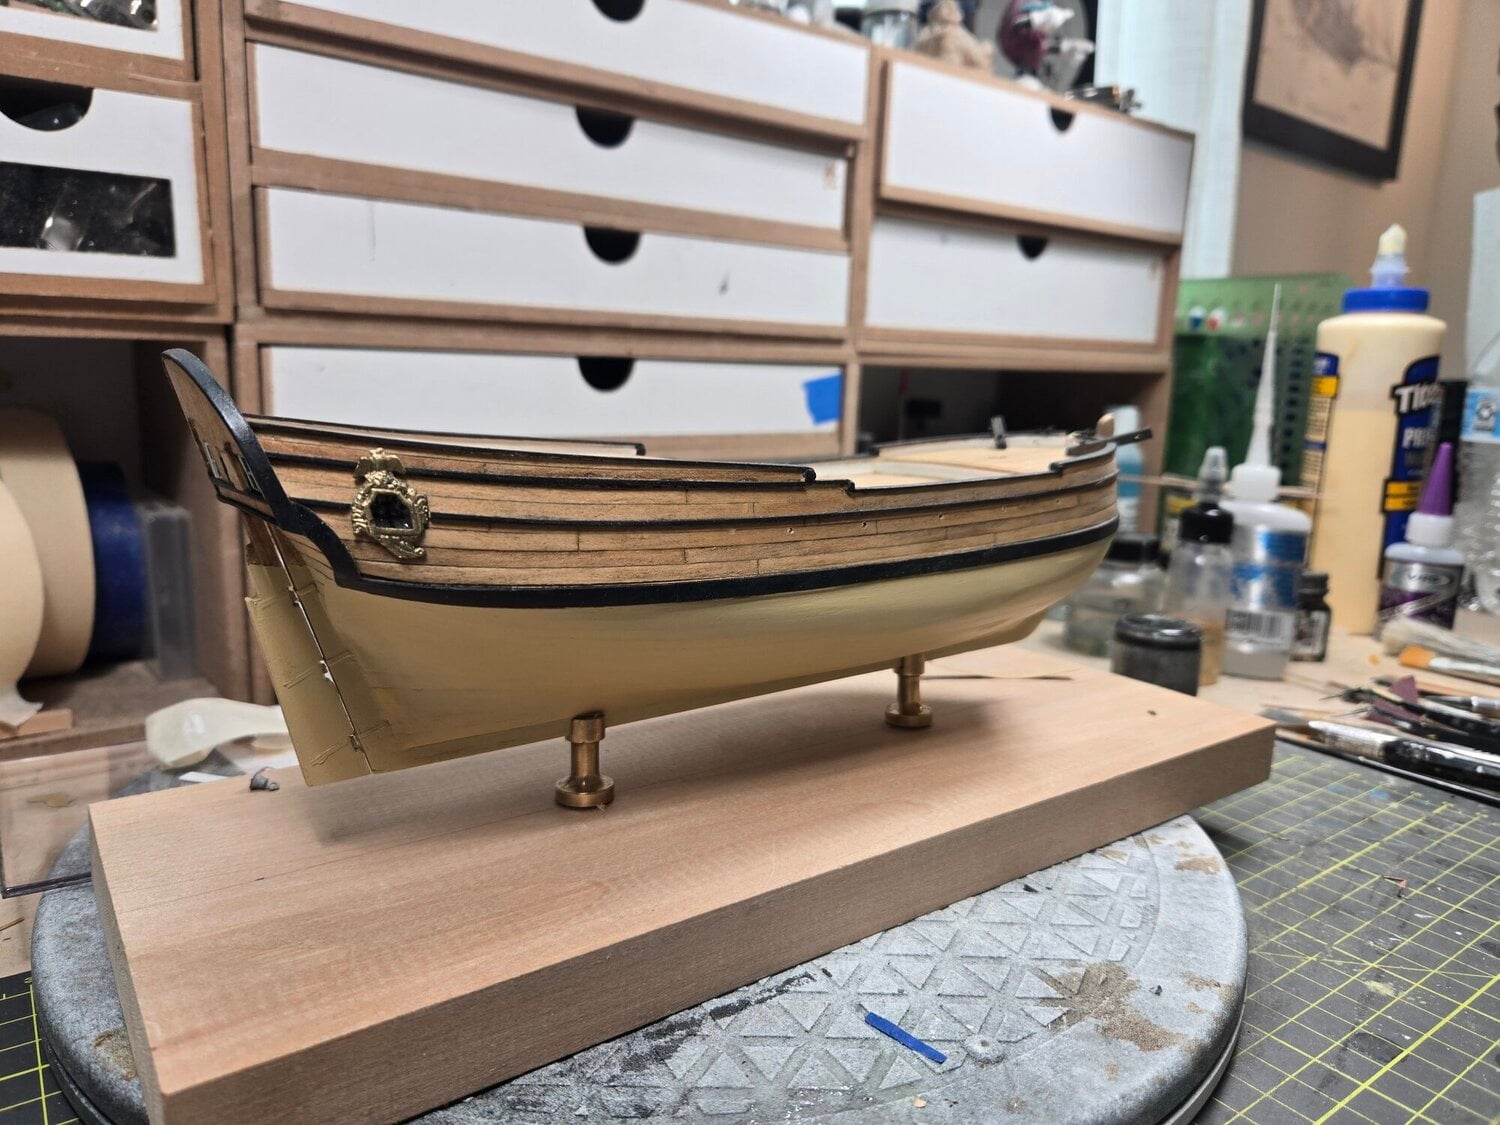
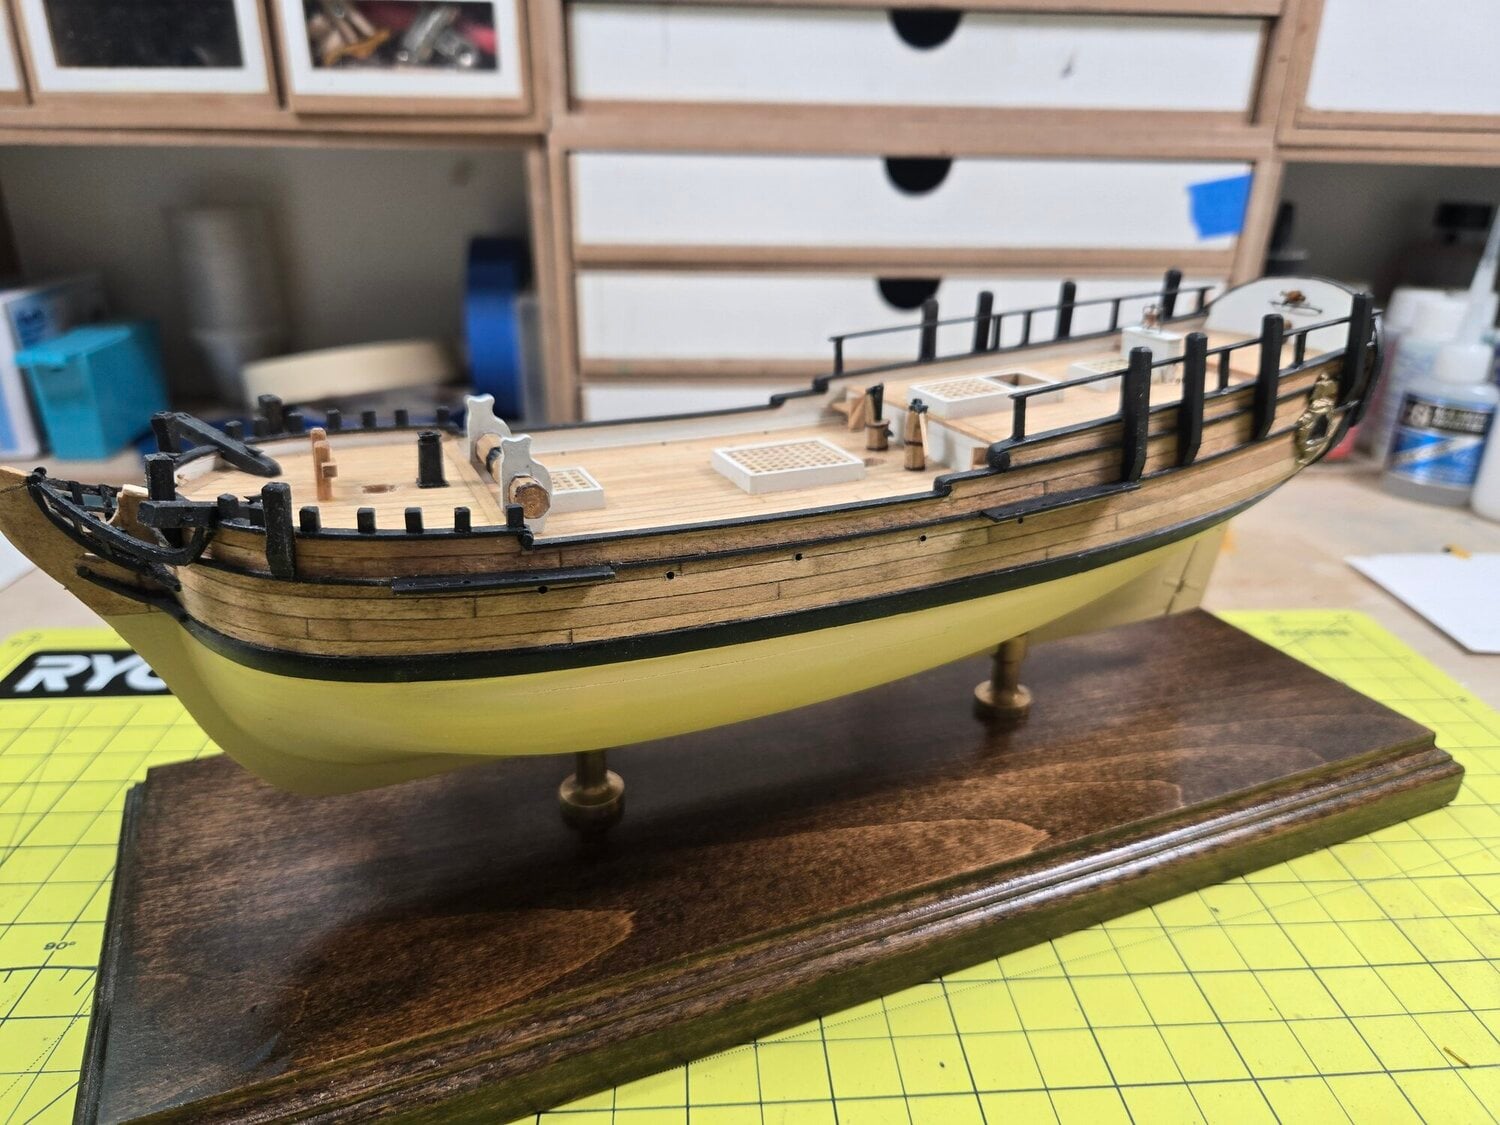
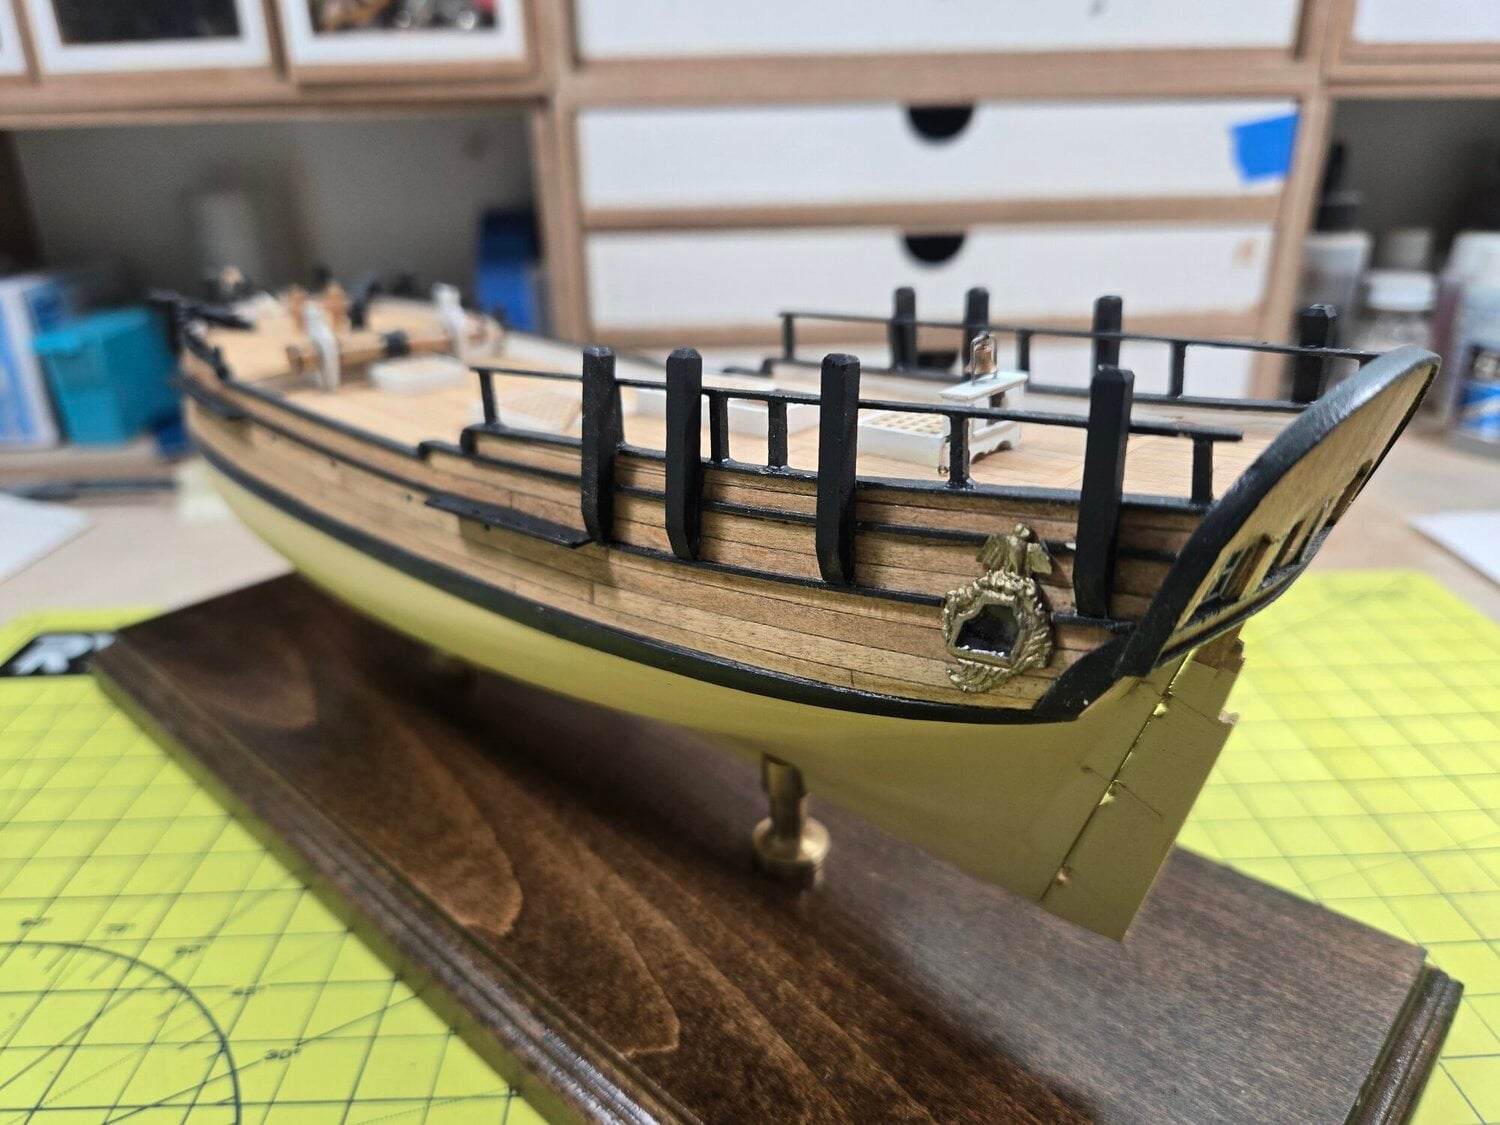
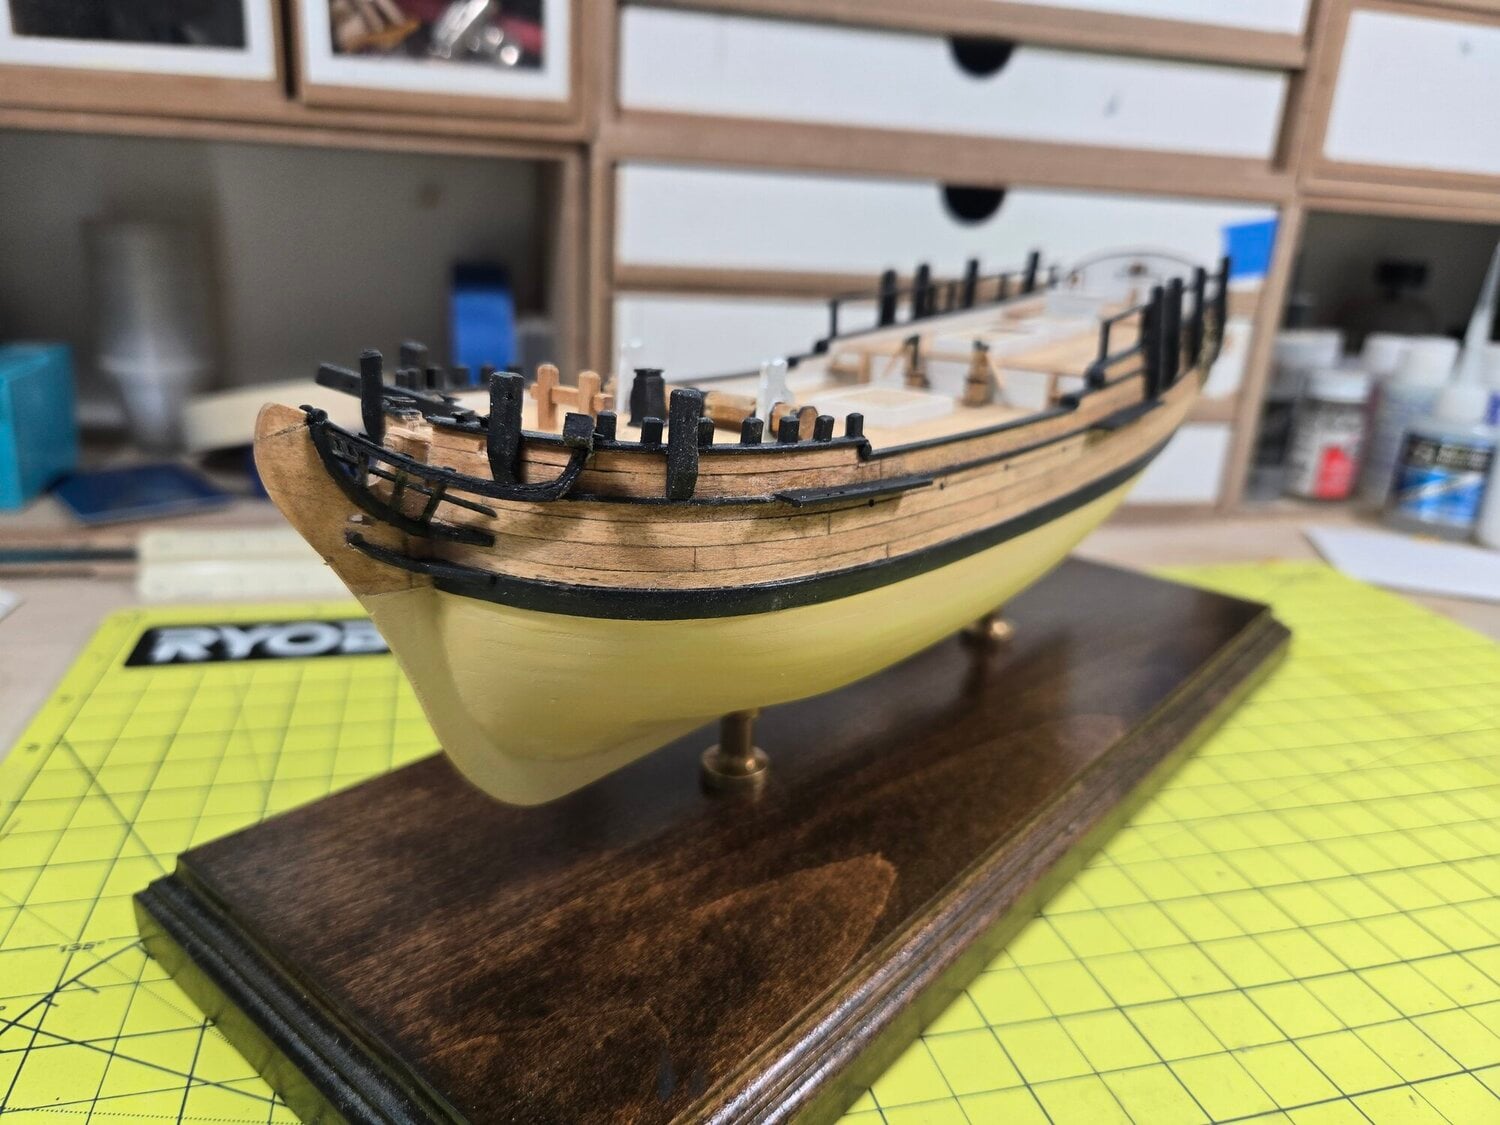
I planked the entire hull, finished the transom and rudder. Above the wale, the finish is "driftwood" and below the wale, "Tallow Coat" which more cream colored. Fortunately, I still have a jar of Floquil Marine Color Tallow. I'll need to reload additional photo's shortly to get this build log up to date.
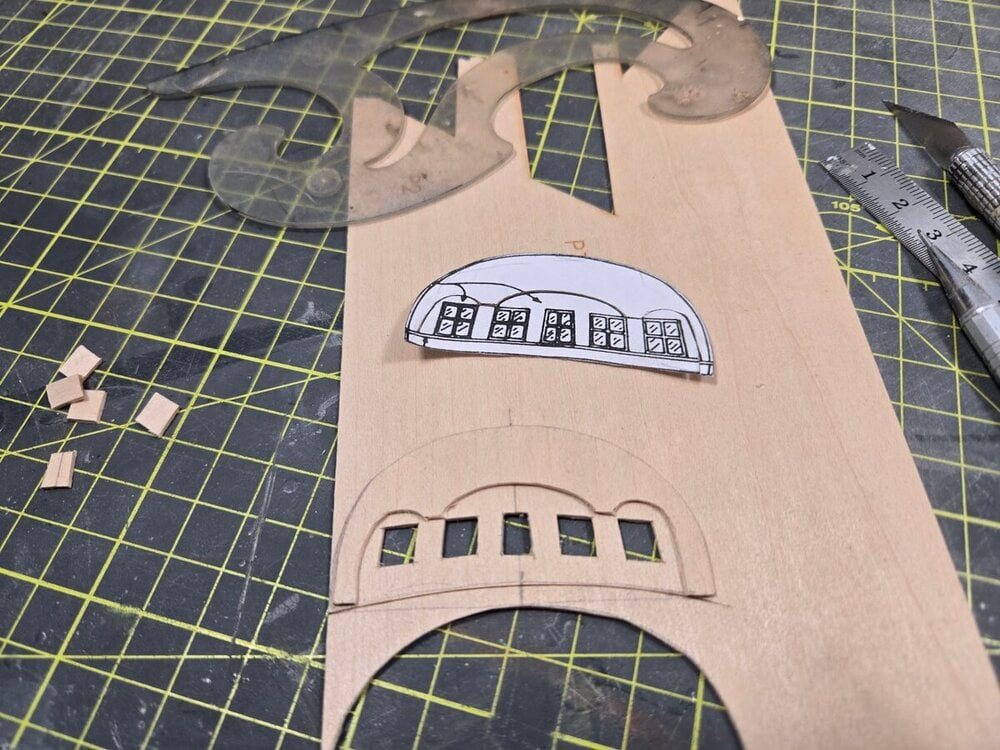
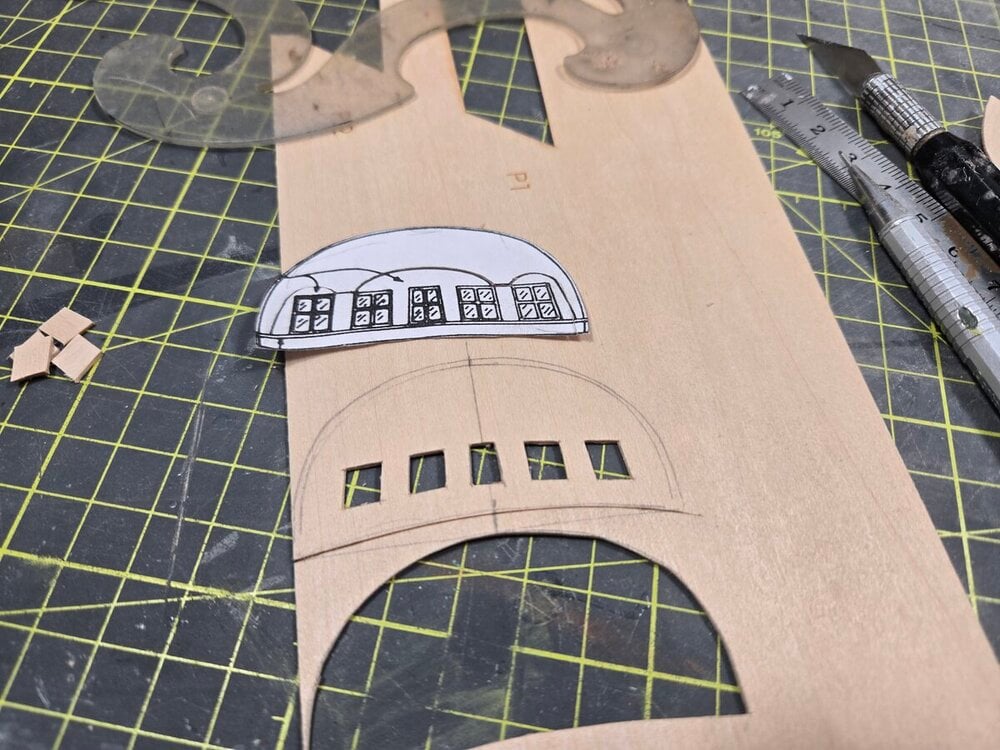
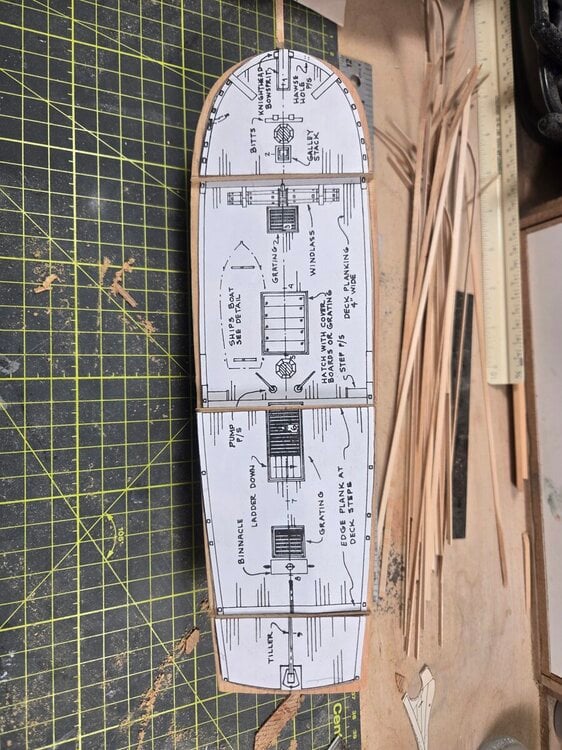
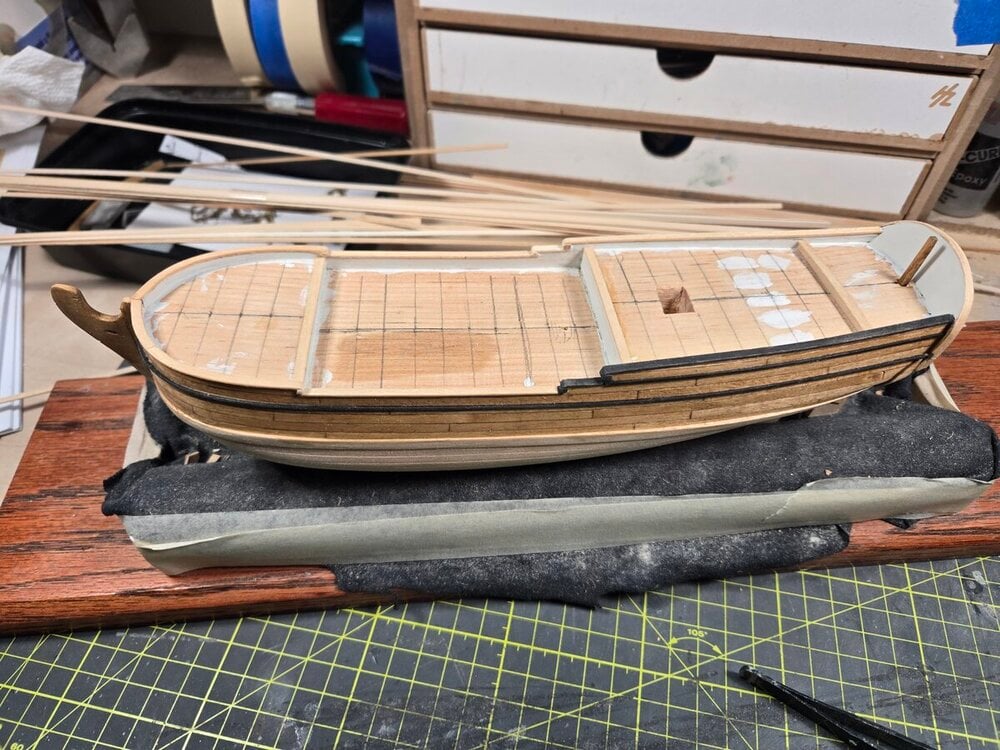
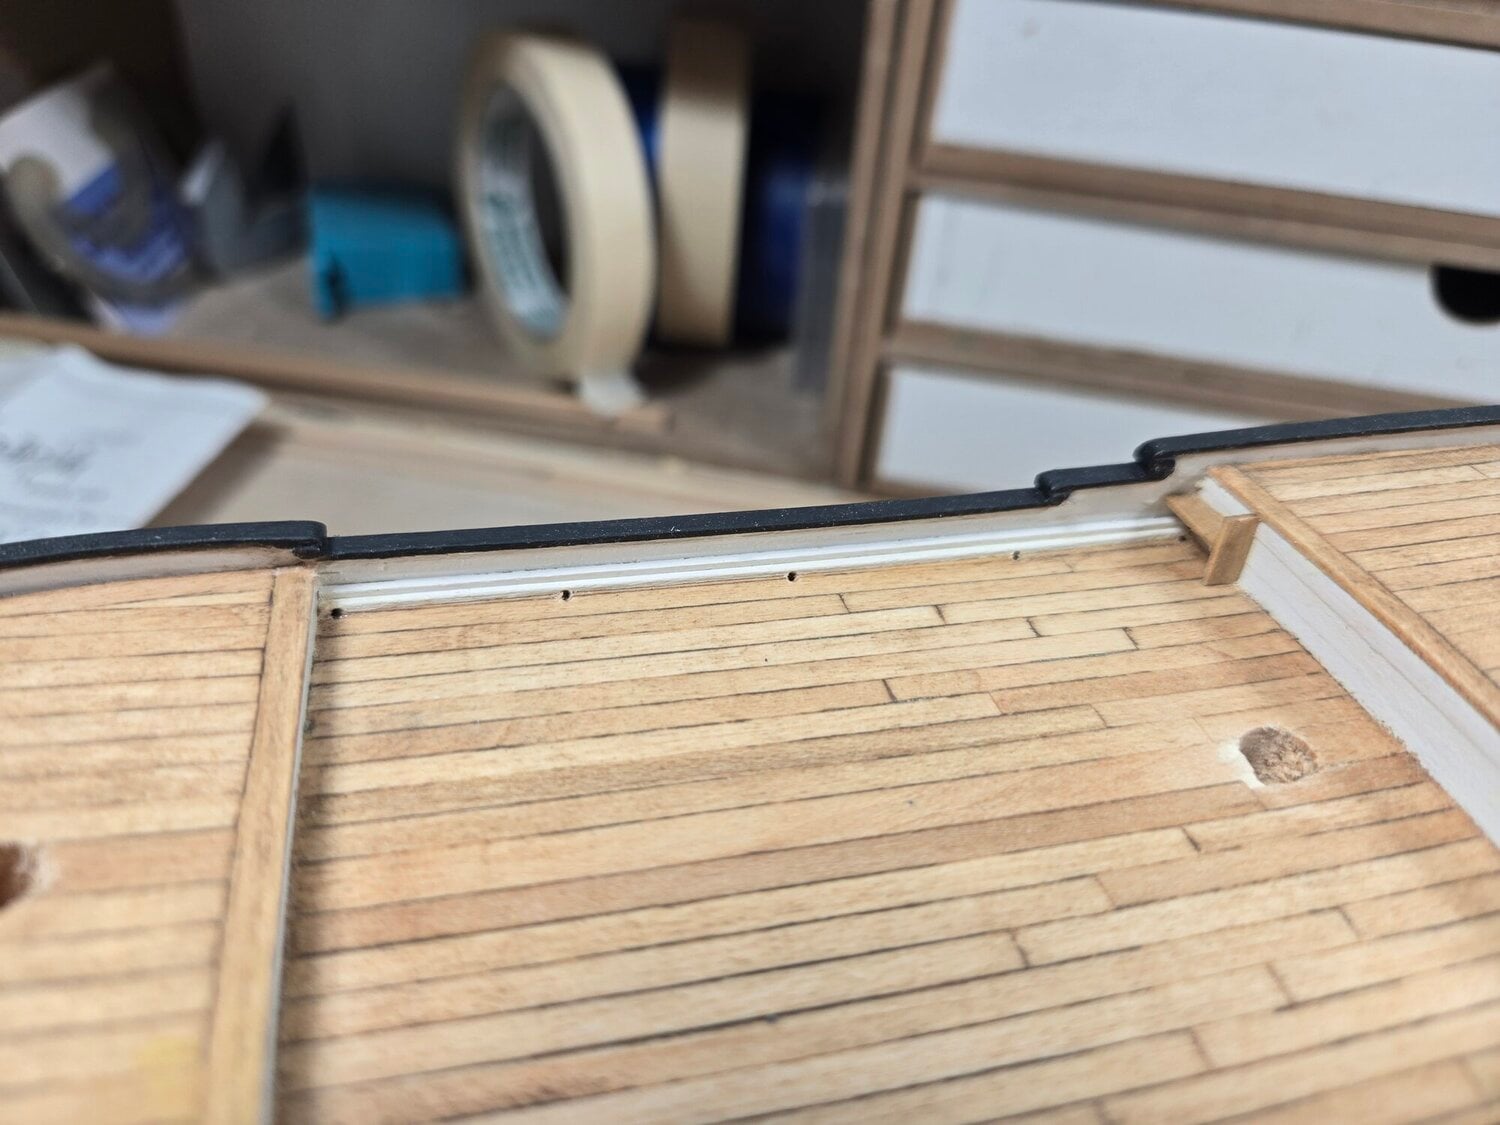
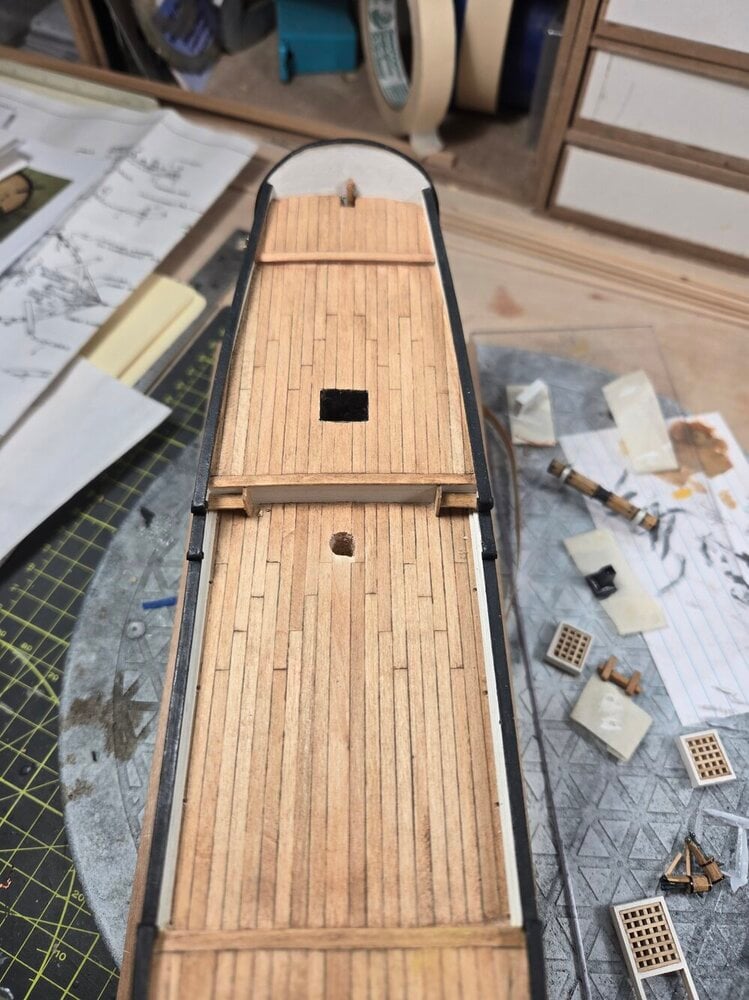
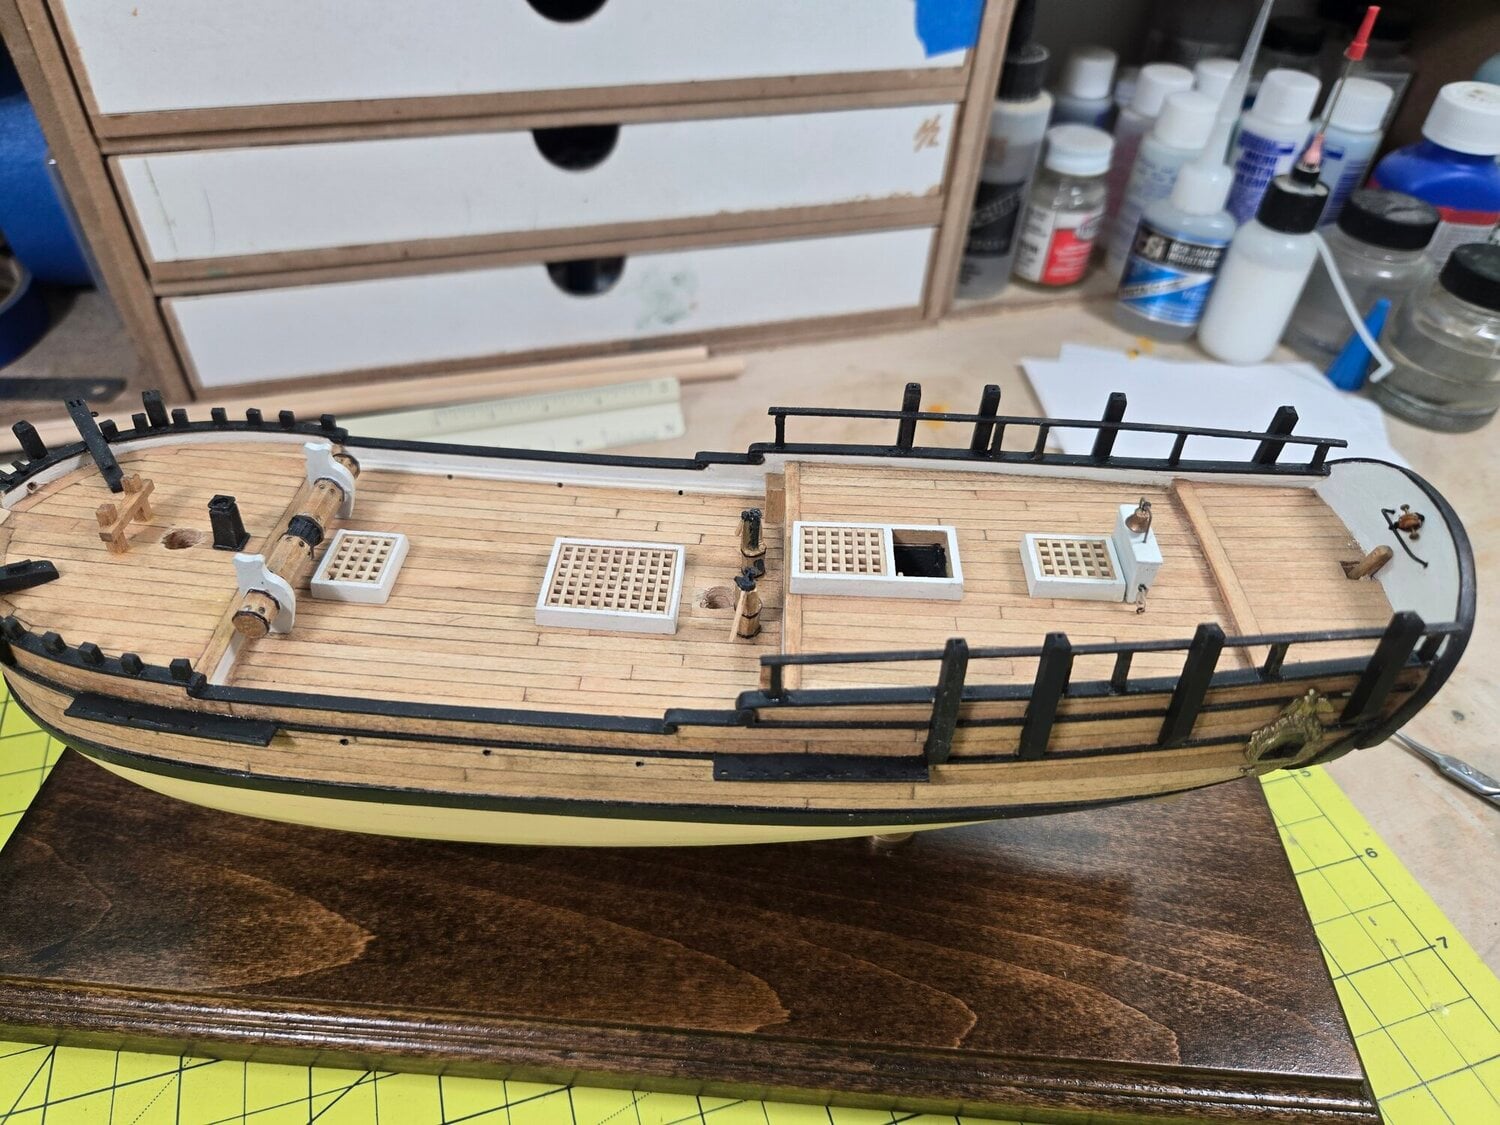
Still trying to bring my lost Build Log up to date. Finished planking the deck and added the window frames on the transom using small styrene plastic strips. Drilled the scuppers. I think I mentioned previously that I am following the kit plans which deviates from the practicum. The kit plans only show a waterway on the main deck.
Author
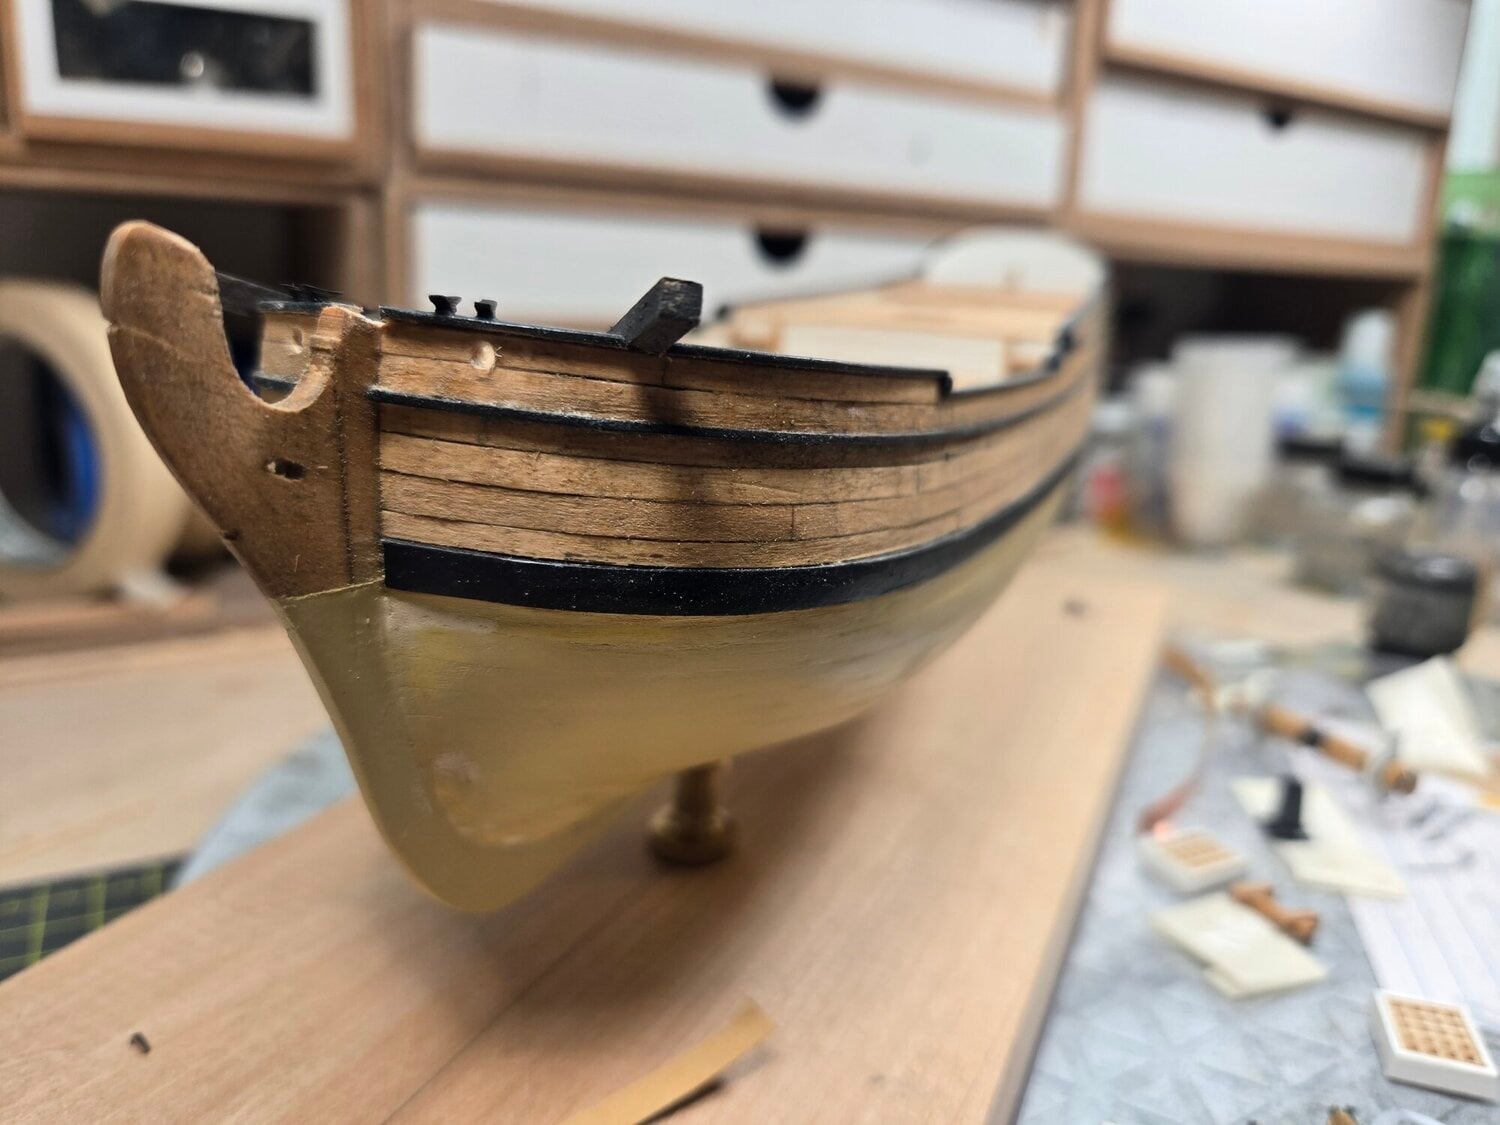
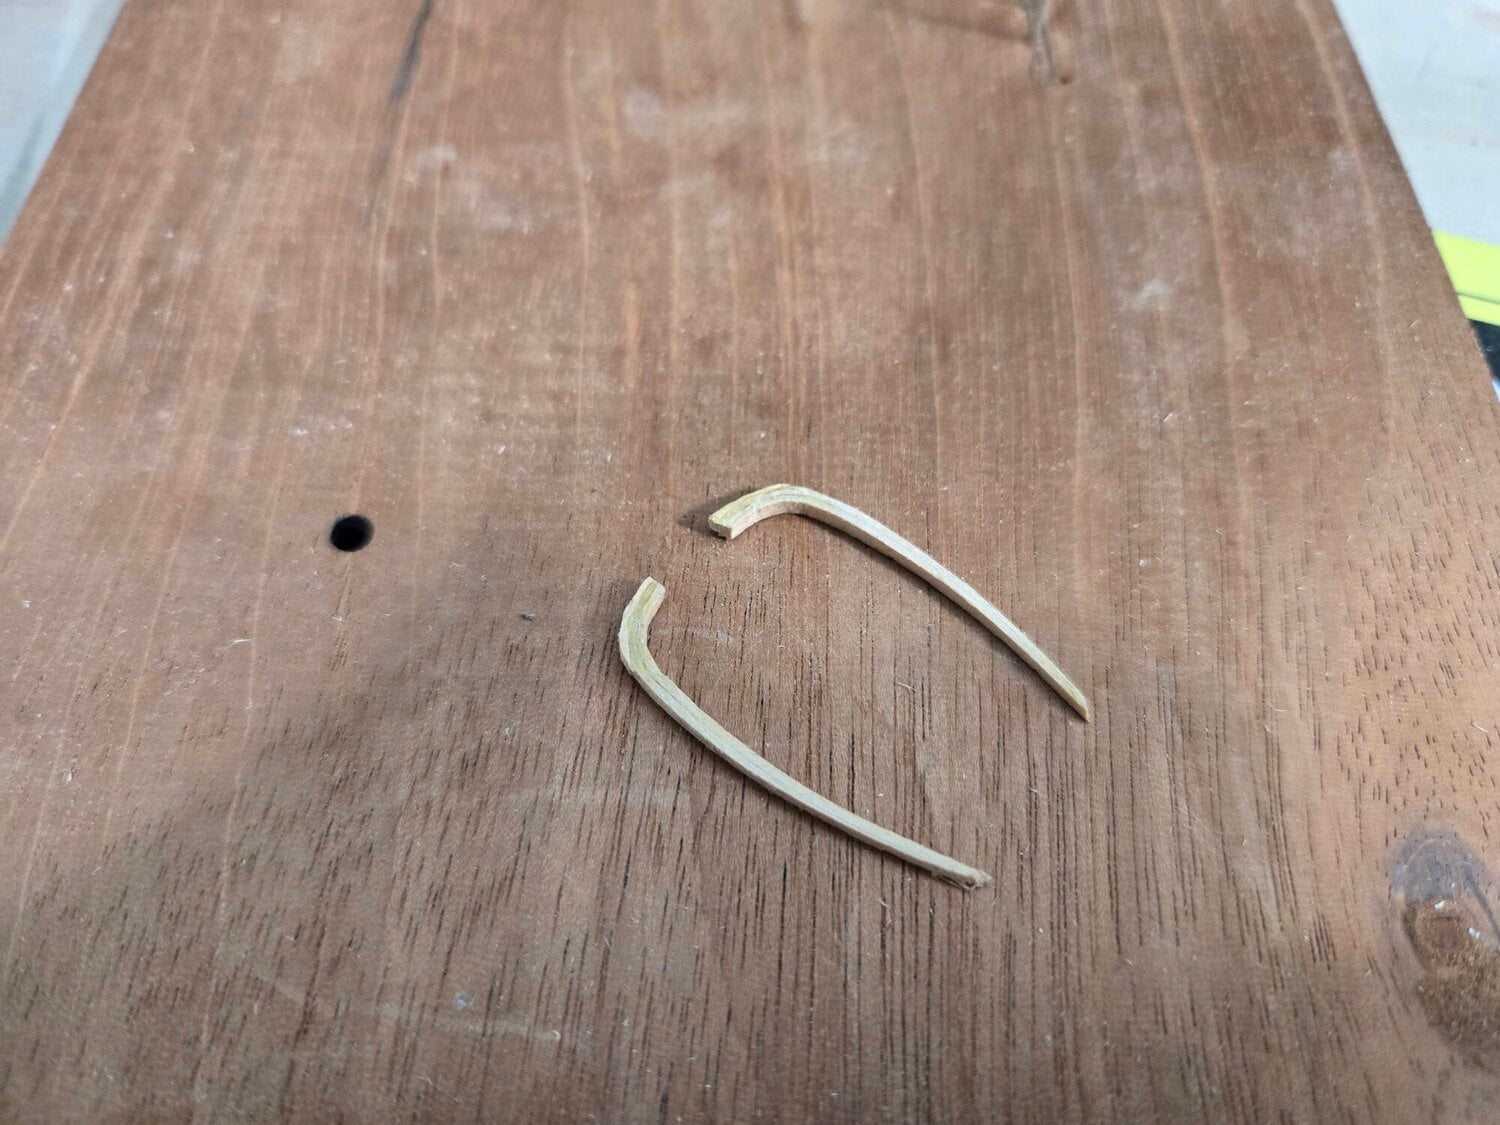
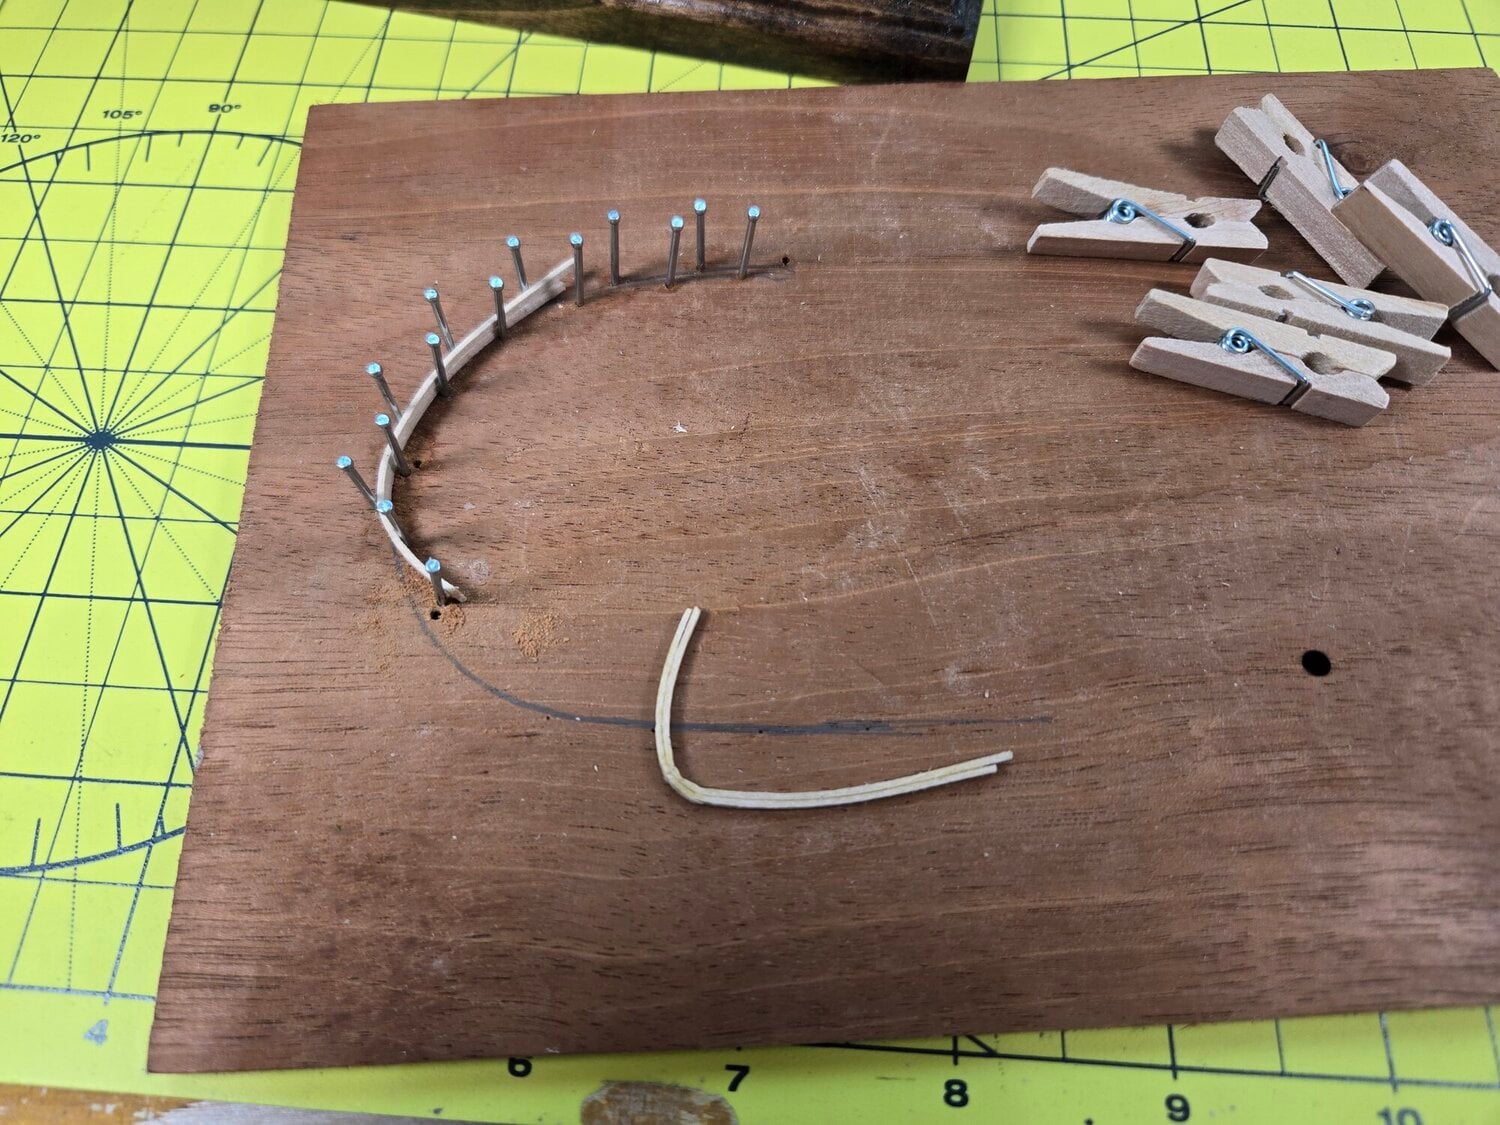
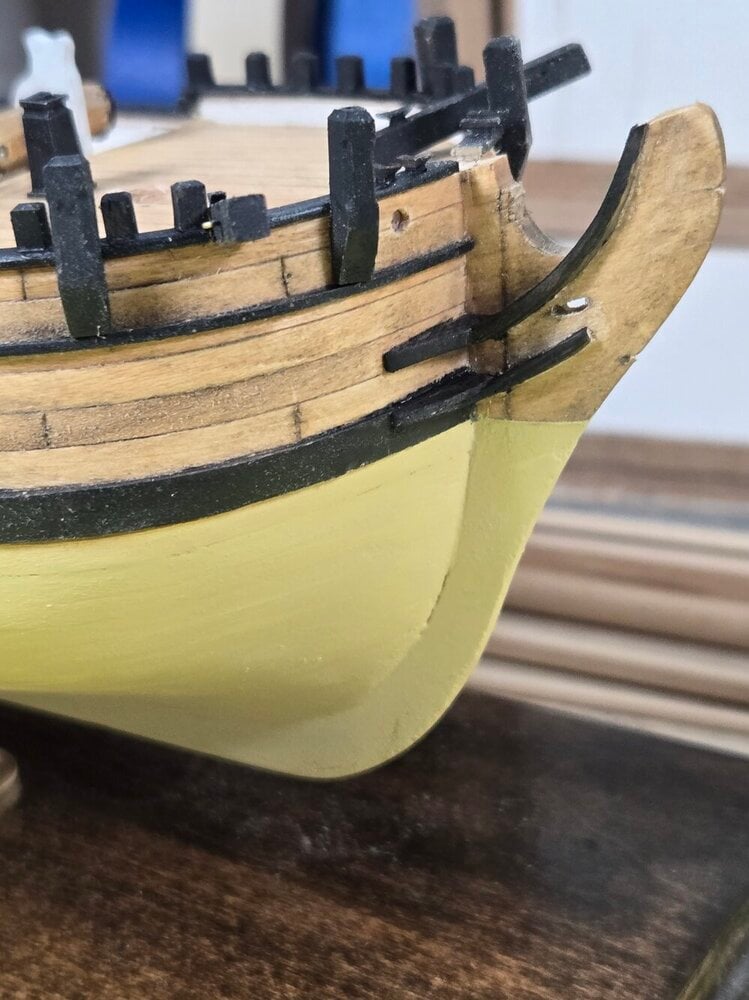
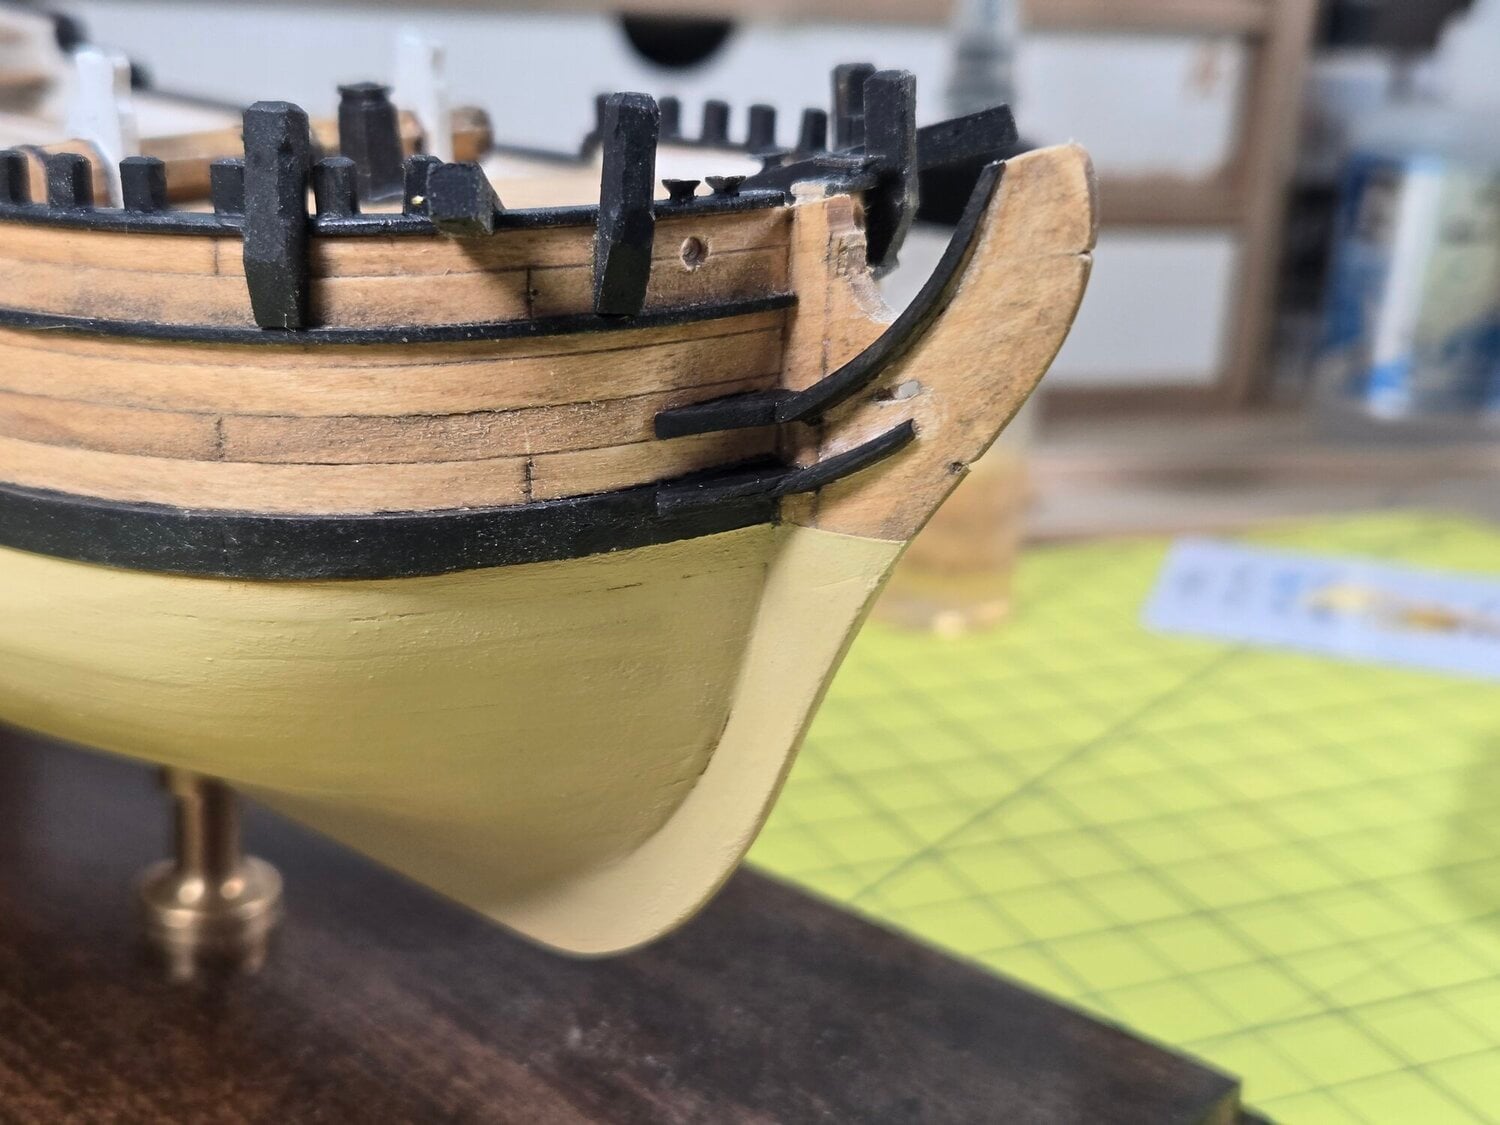
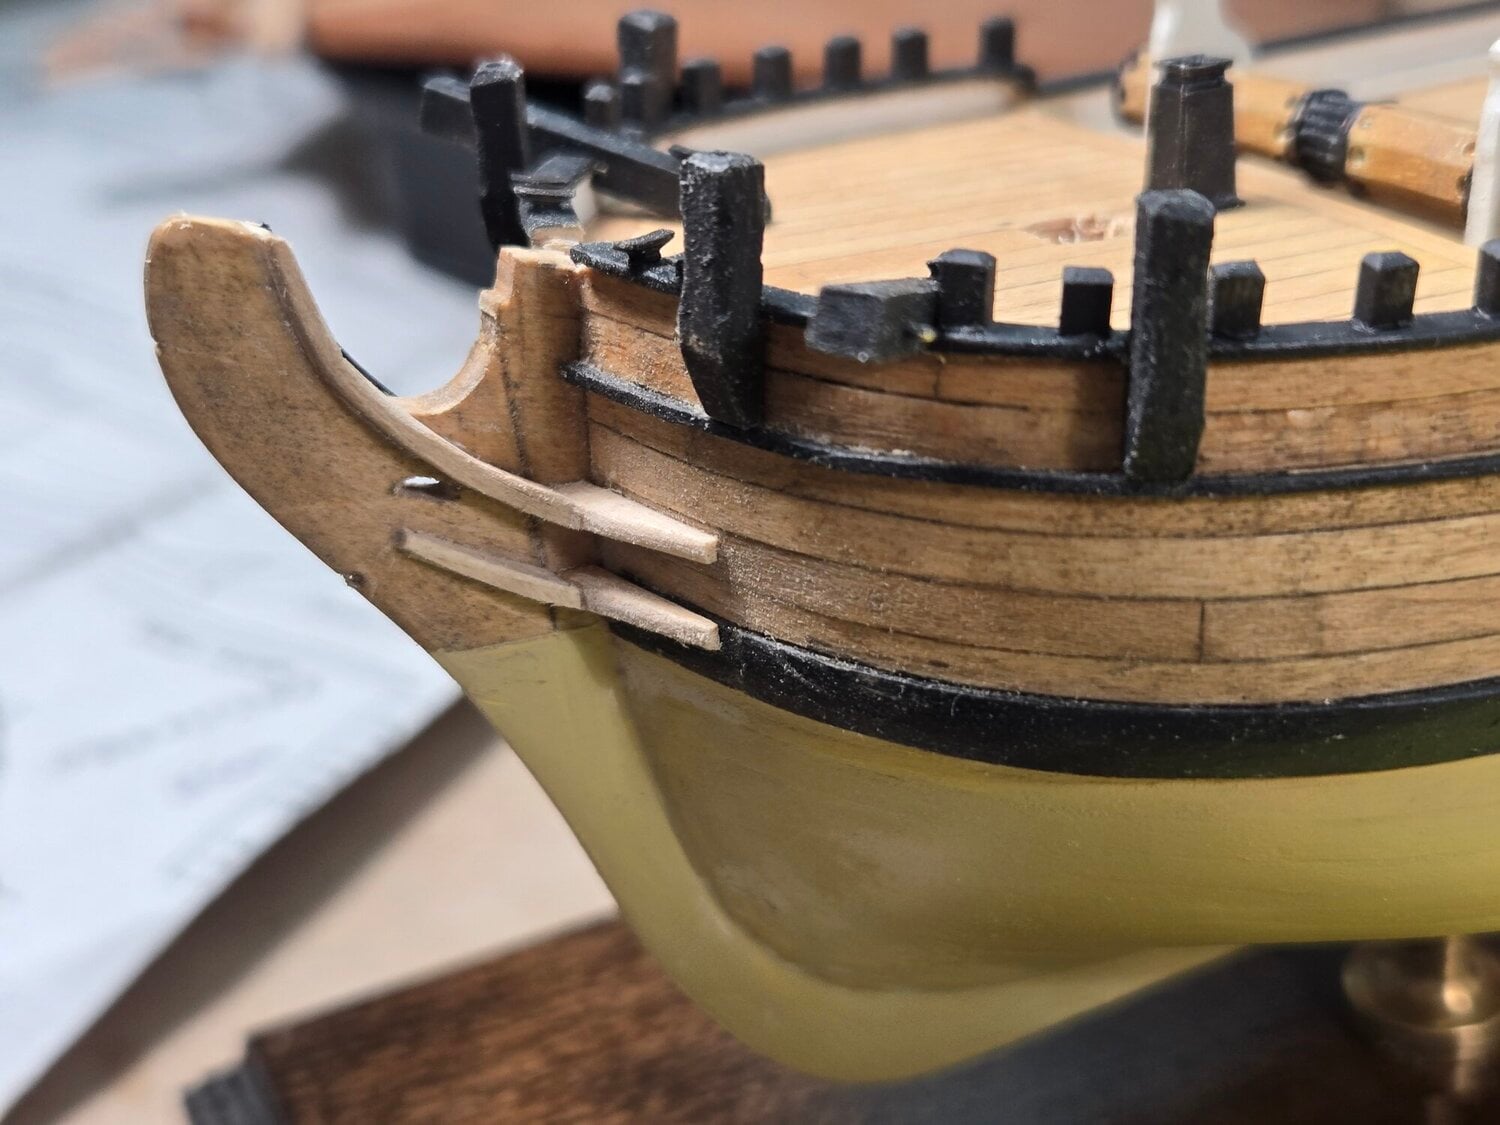
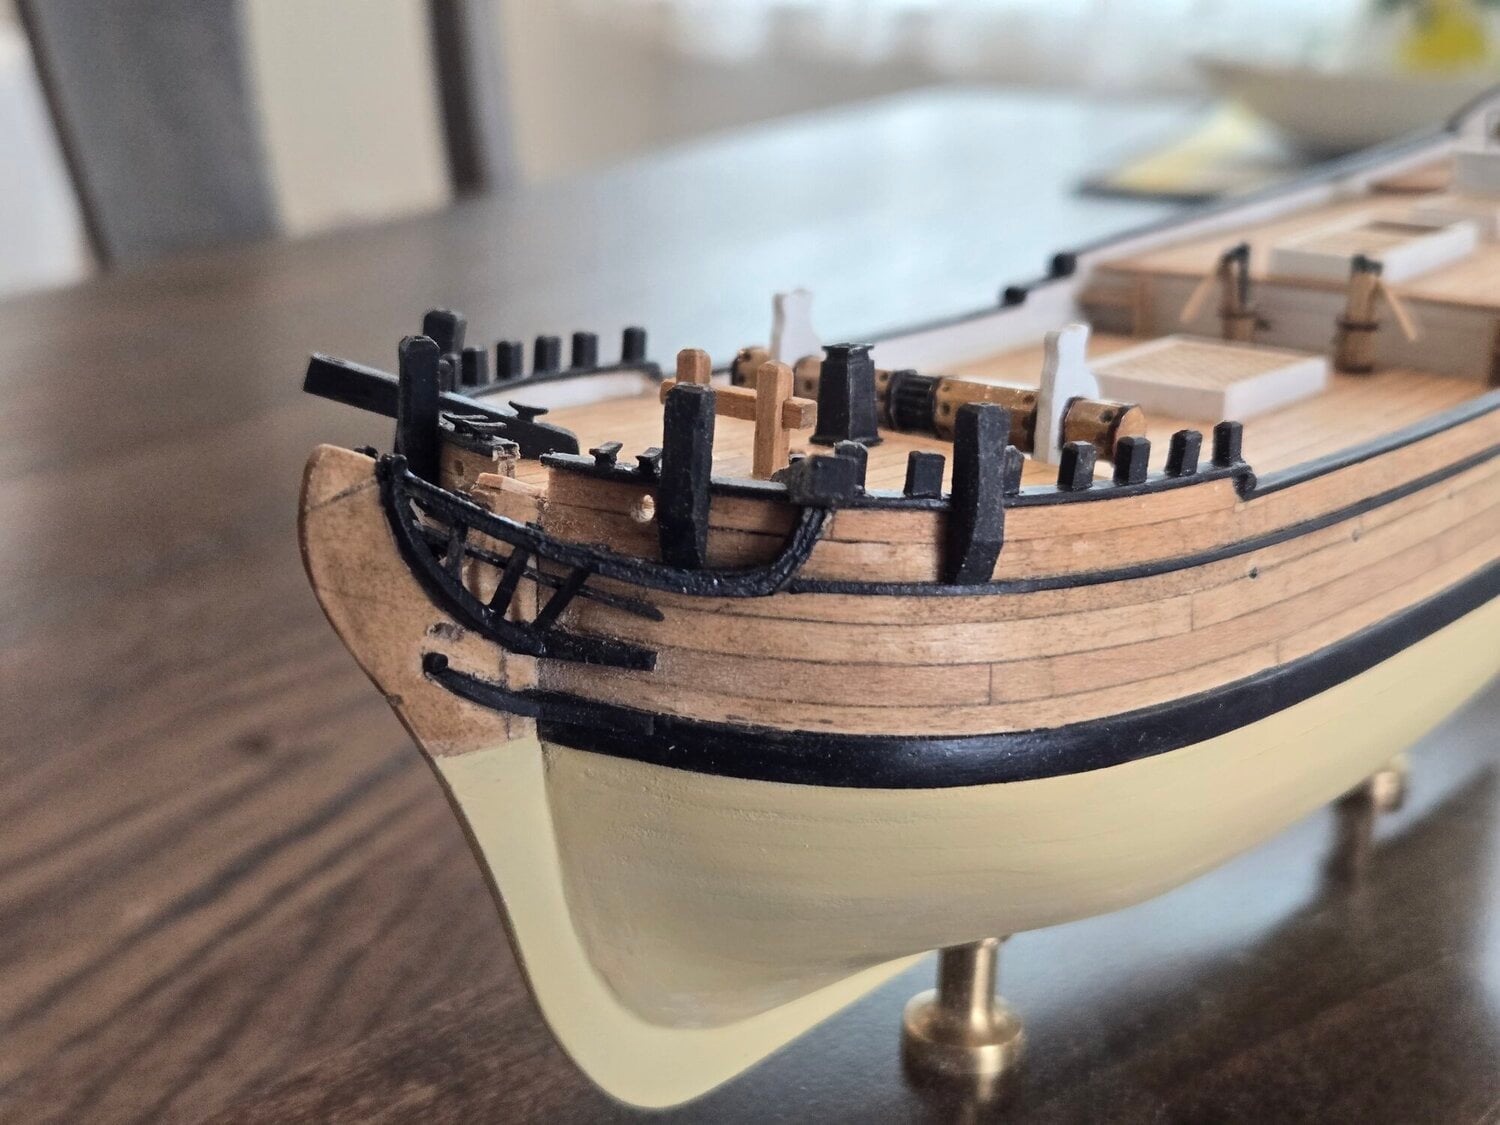
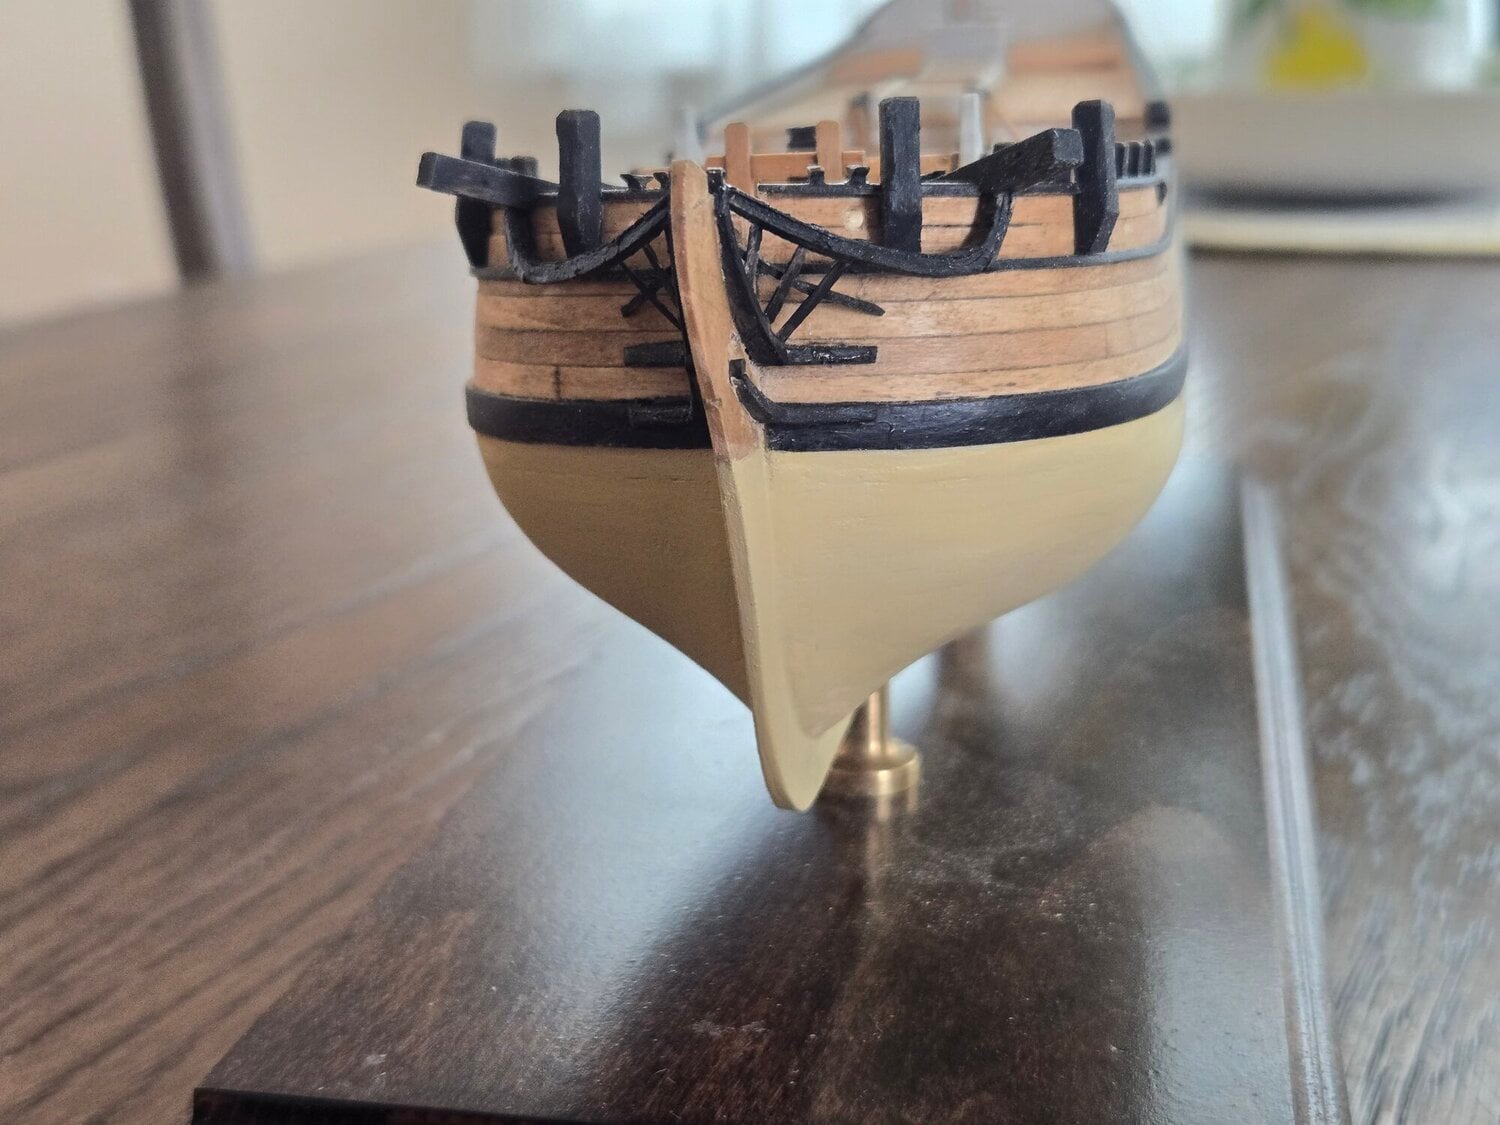
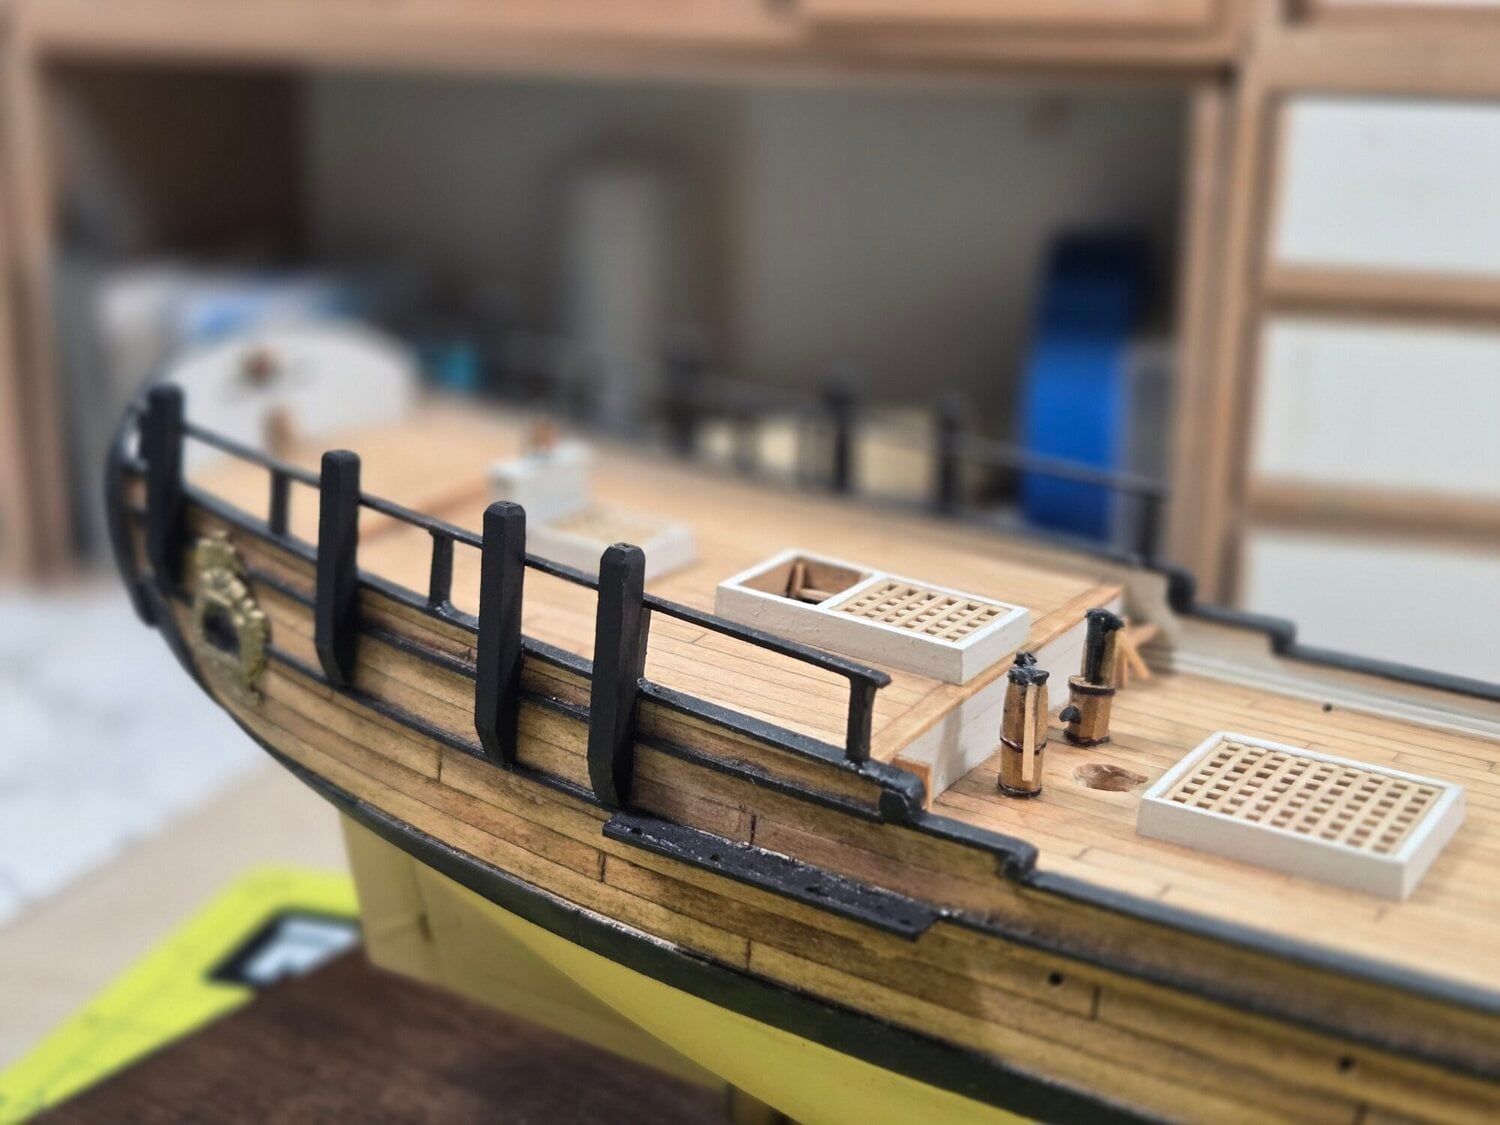
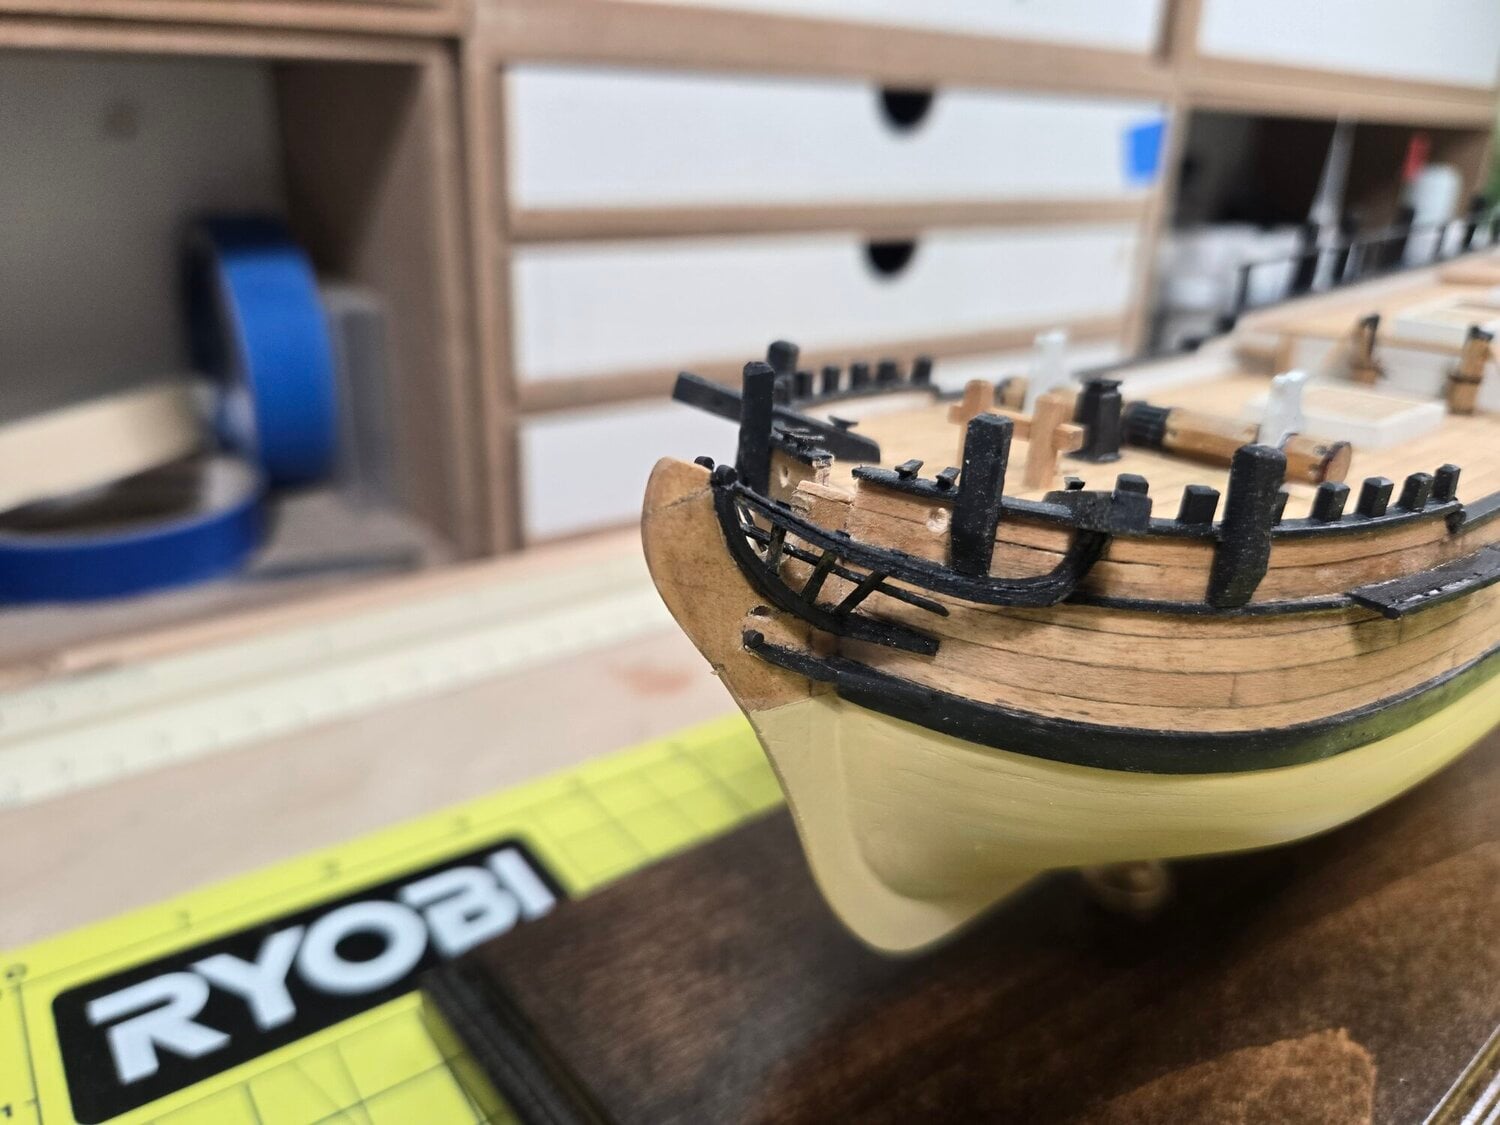
Just finished one of the more difficult parts of the build for me, Head Rails, Head Timbers and Cheek Knees! I tried a few different techniques and settled on using various sized pieces of strip wood, soaking them and bending them using the plank bending jig. Adding the Cheek Knees was fairly easy but adding the Head Rails was very time consuming. After finishing my first attempt I realized the Head Rails were too high and would interfere with the bowsprit. So, I had to start all over again. In any event, finally finished them and moved on to adding the deck structures.
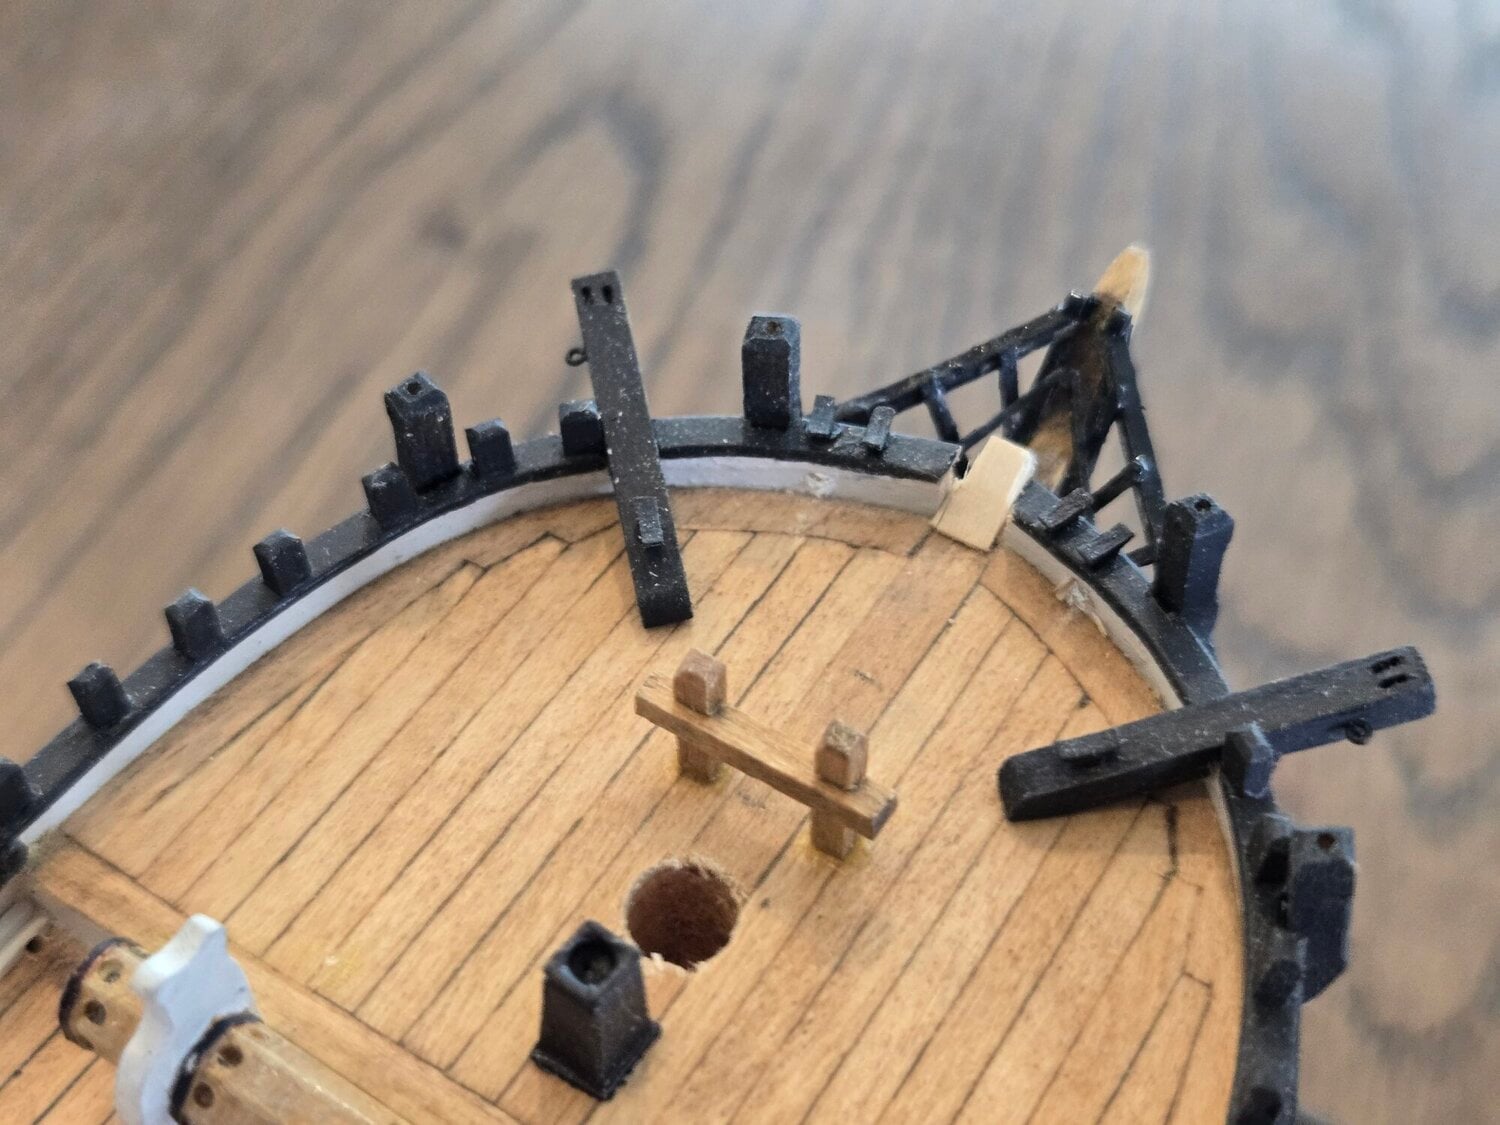
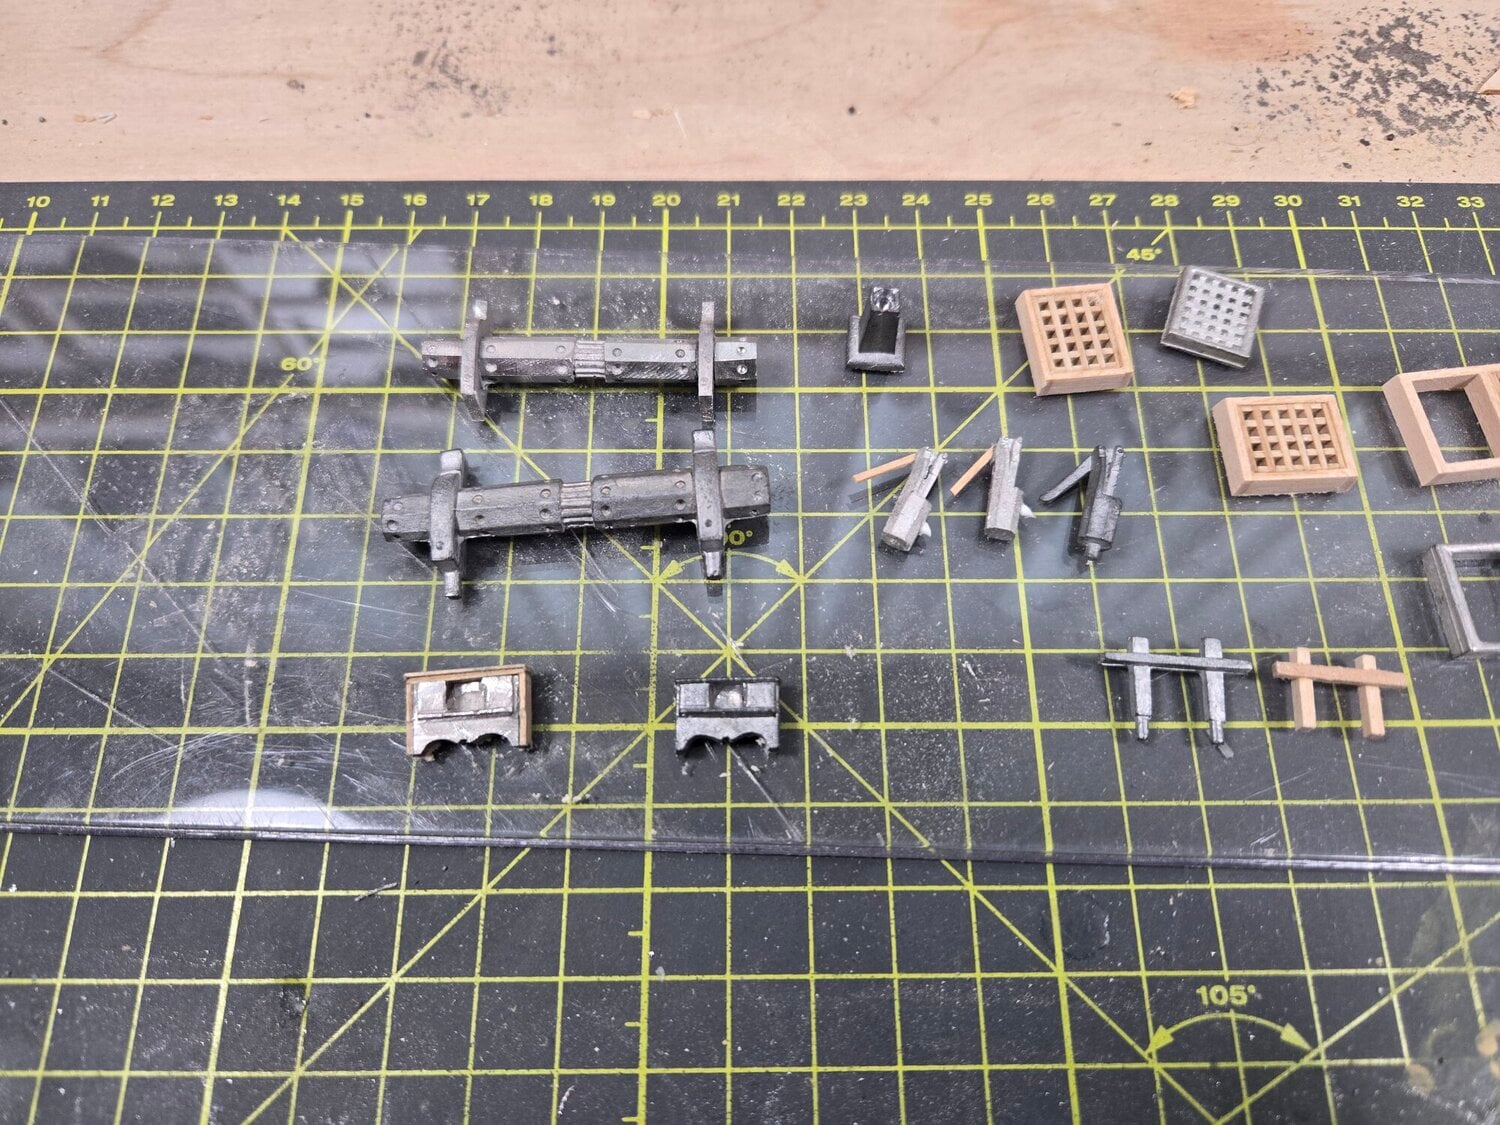
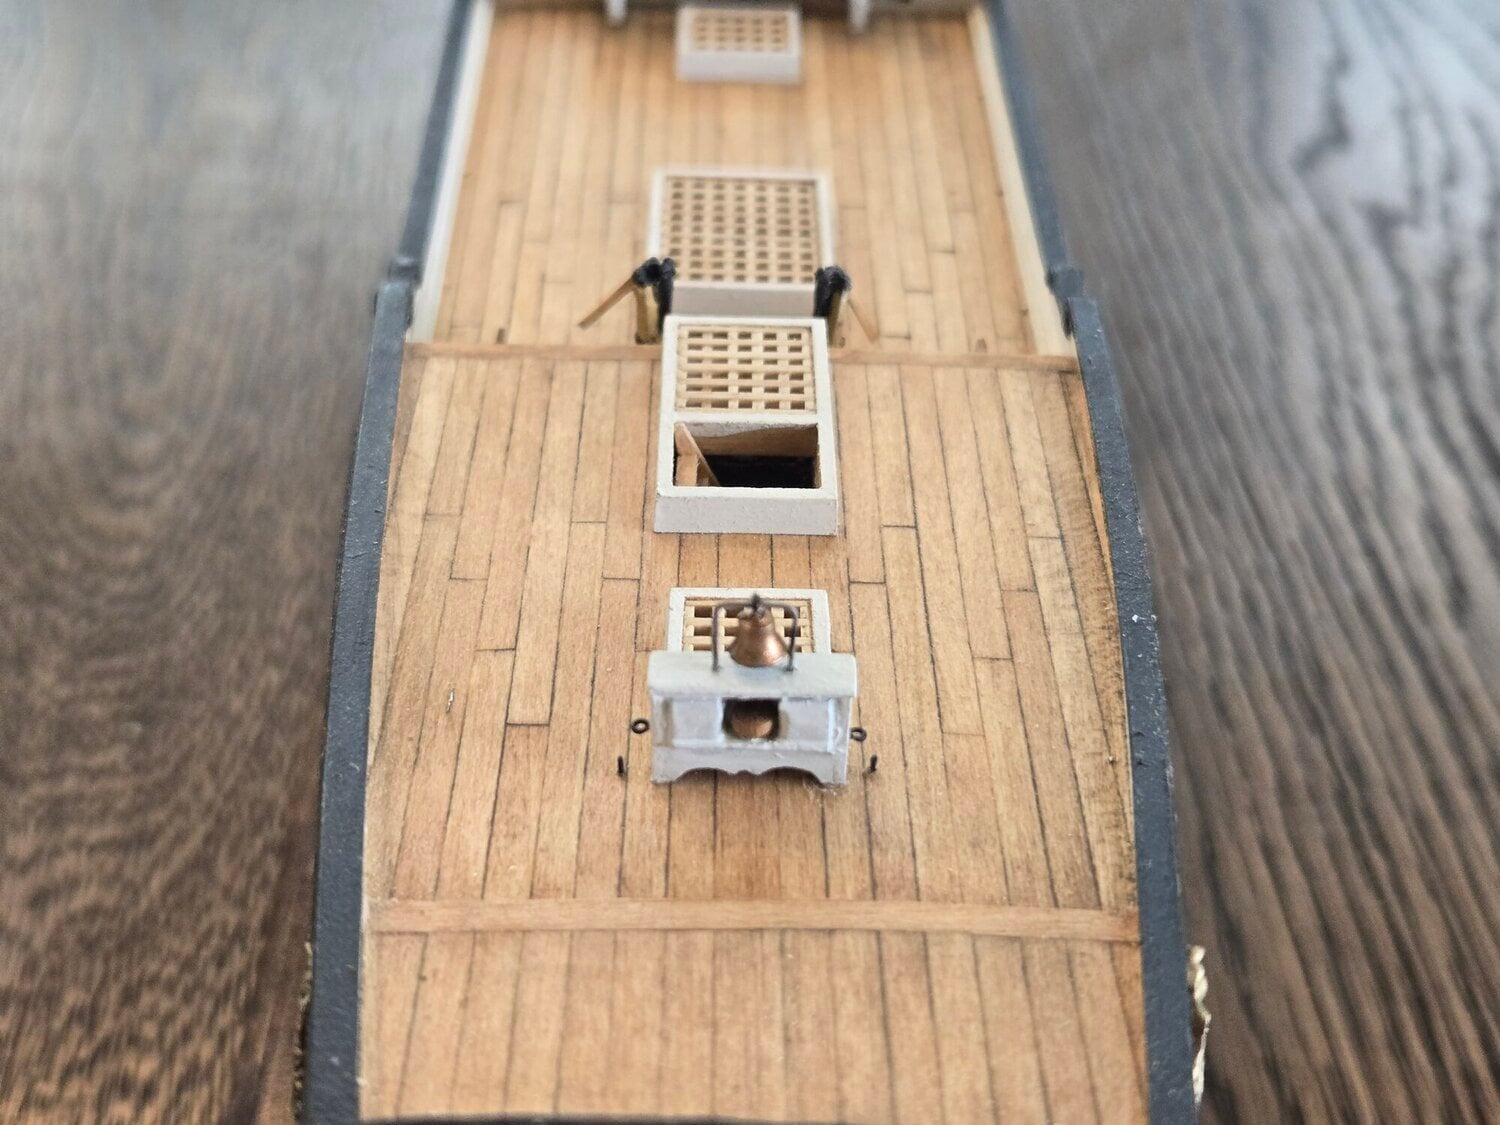
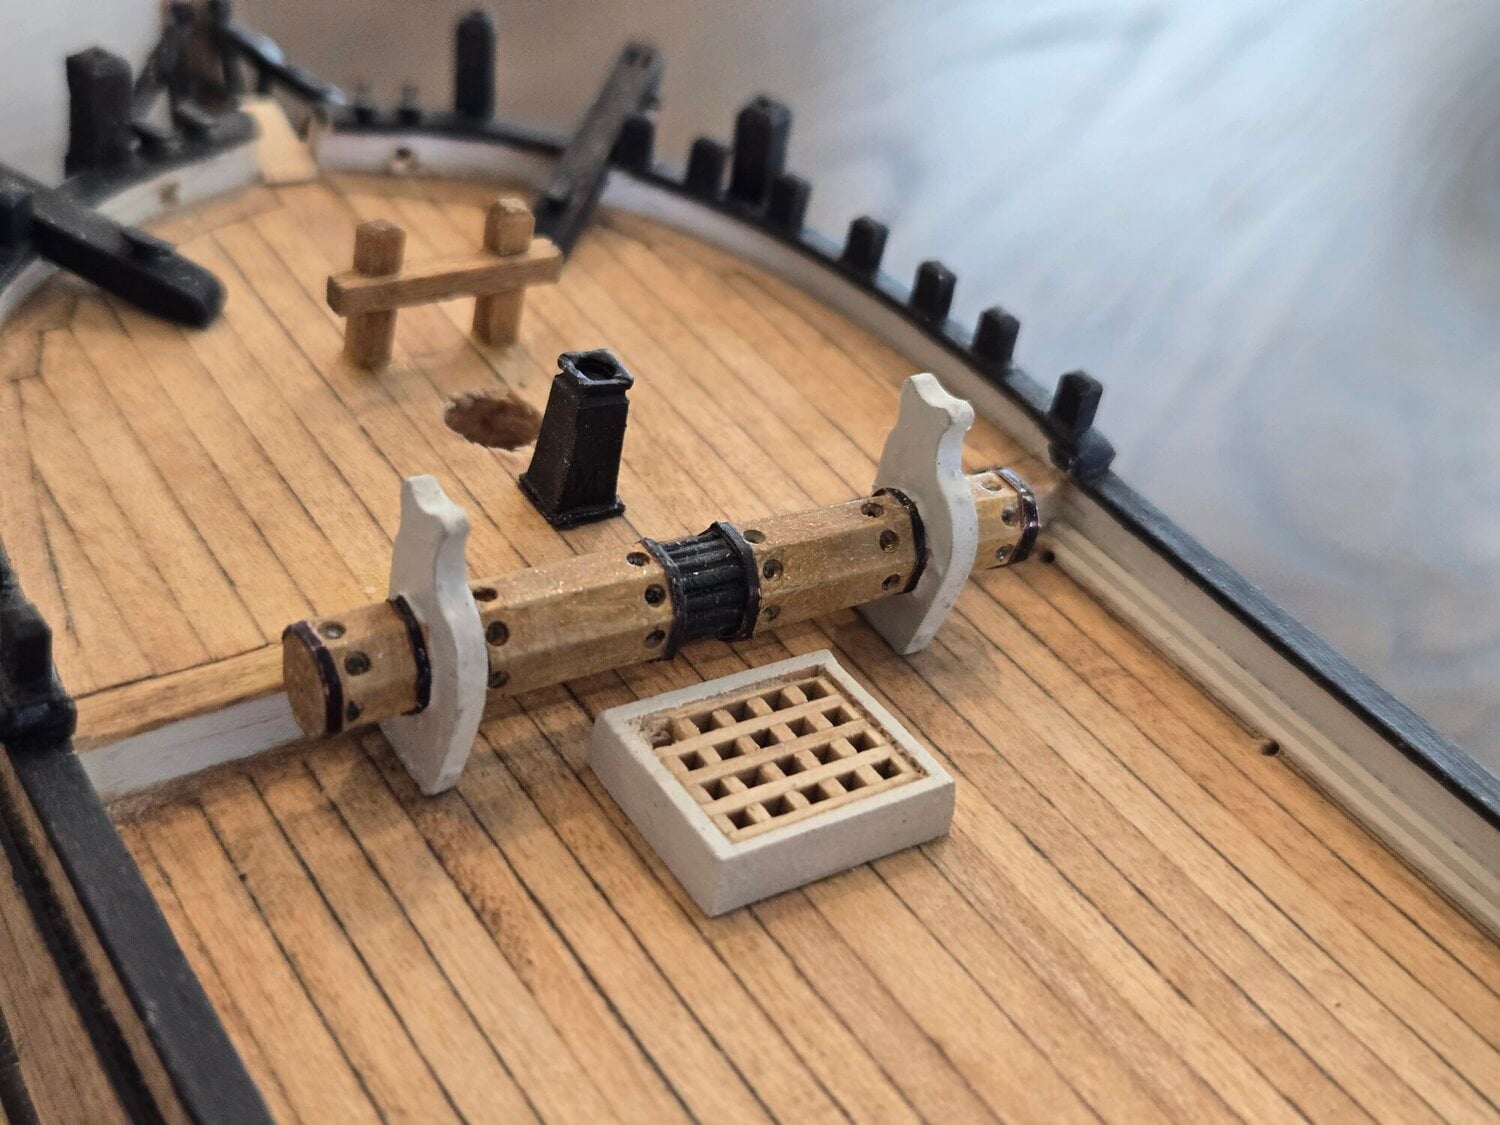
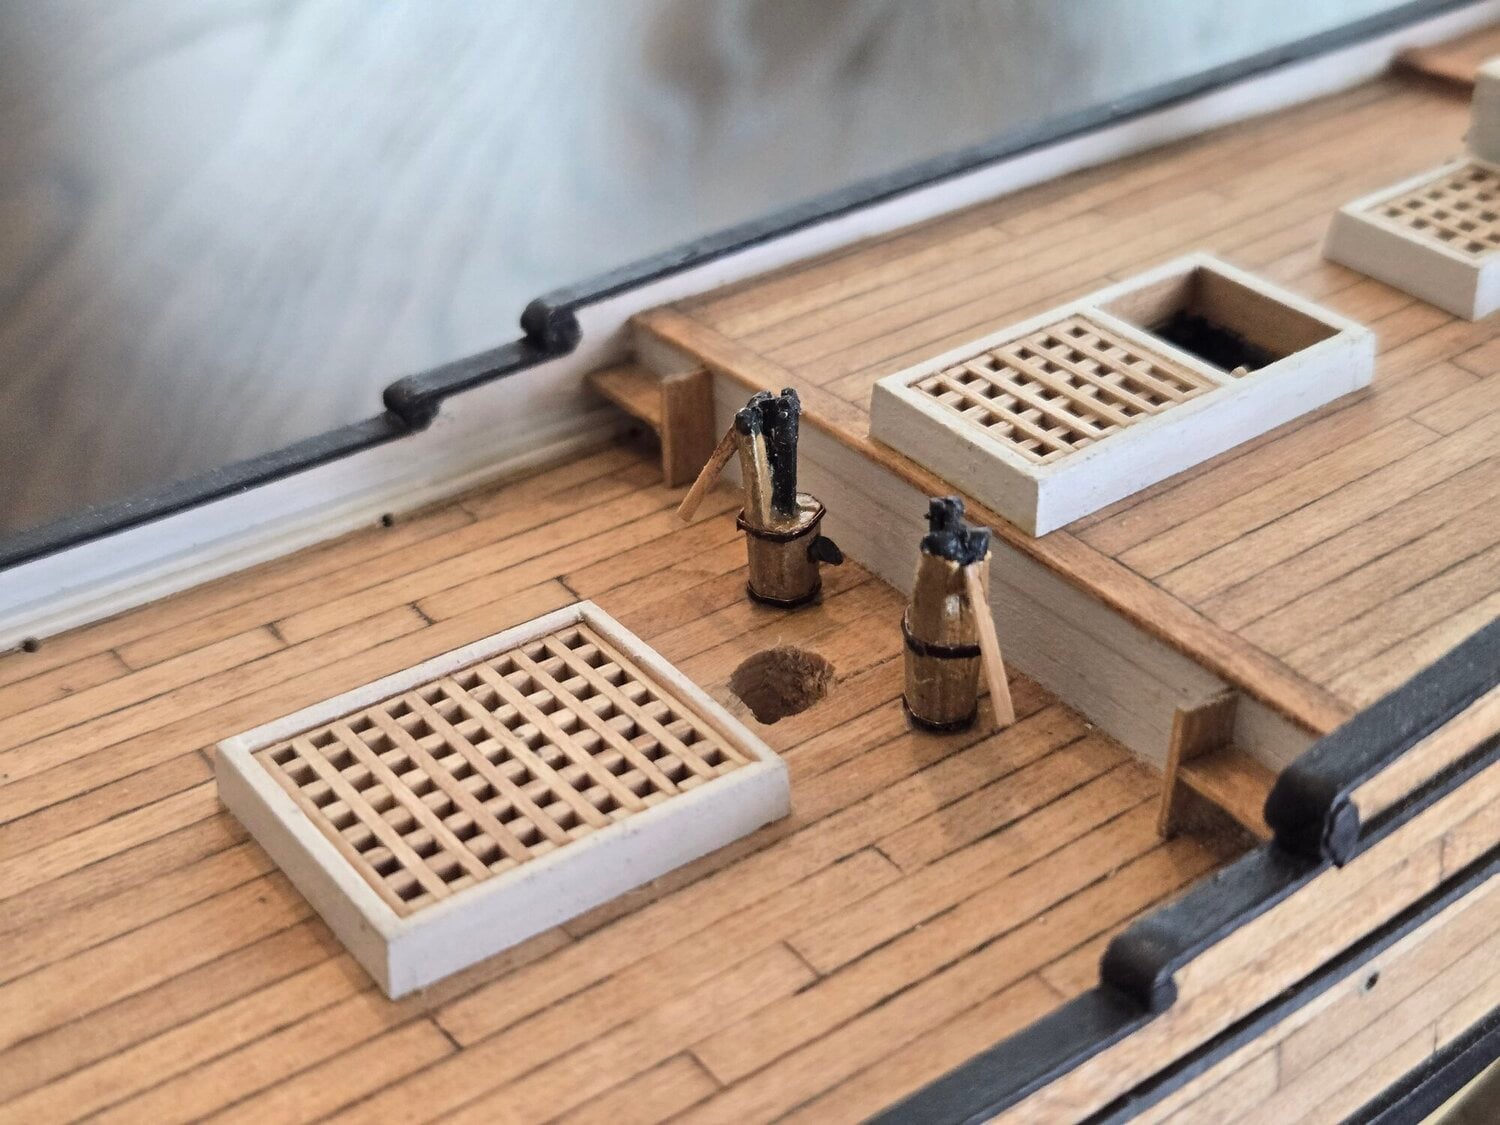
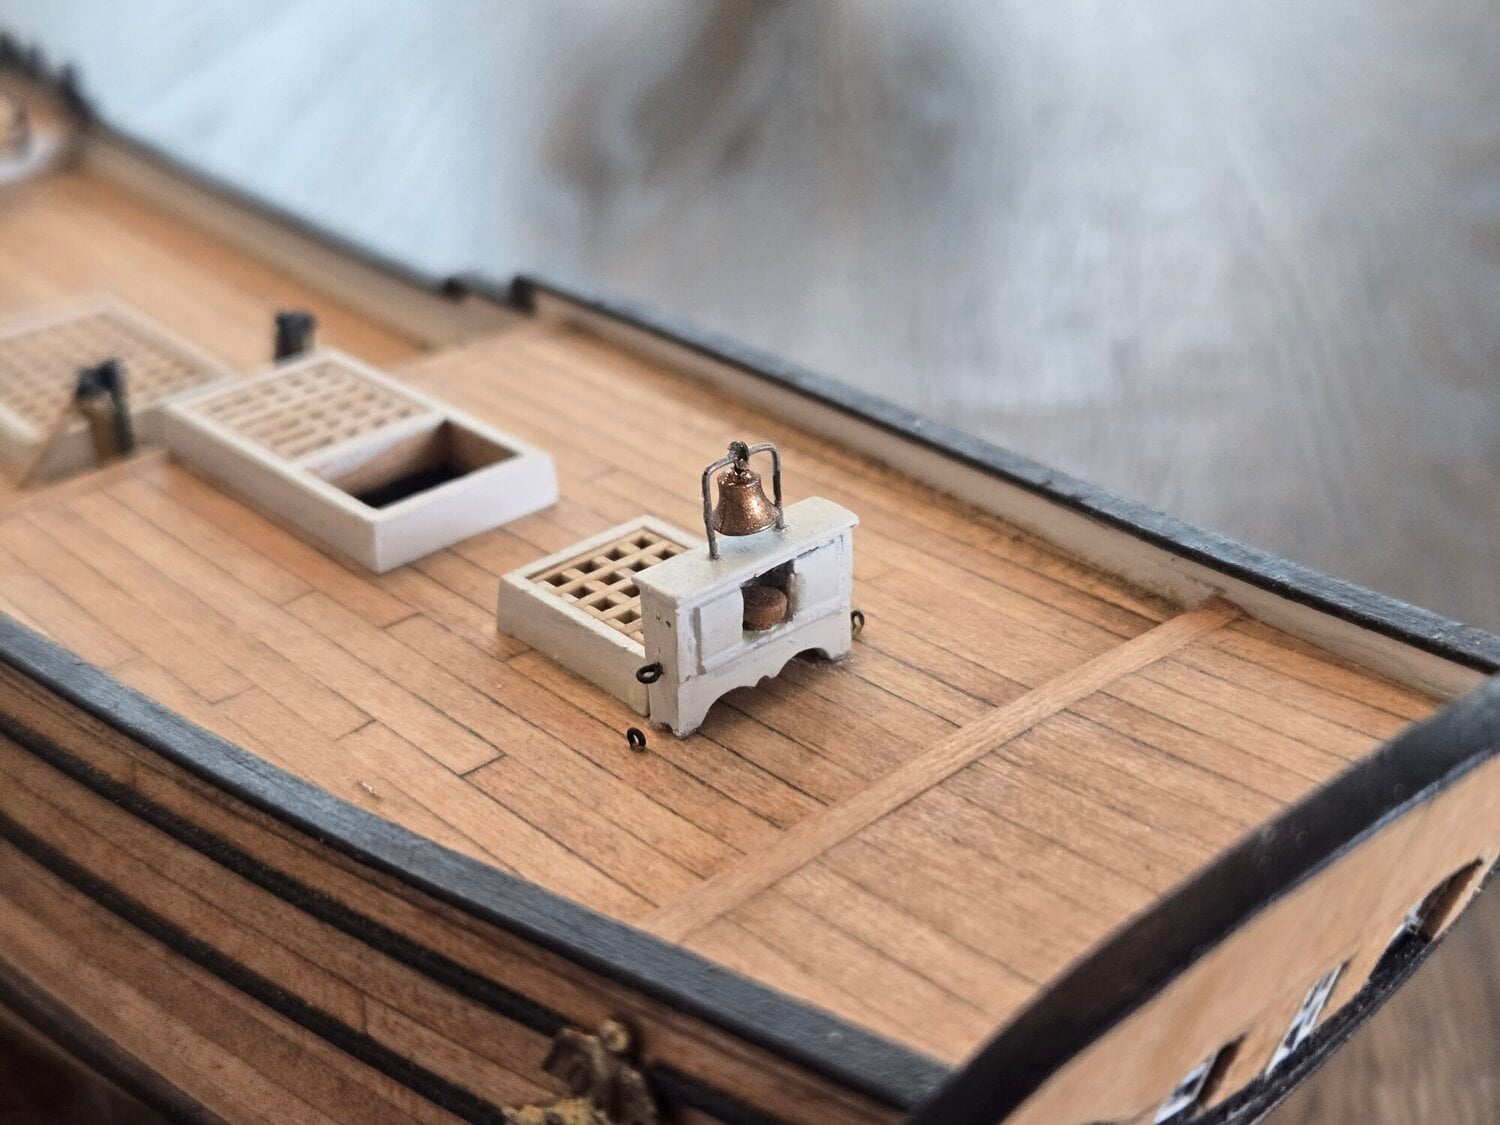
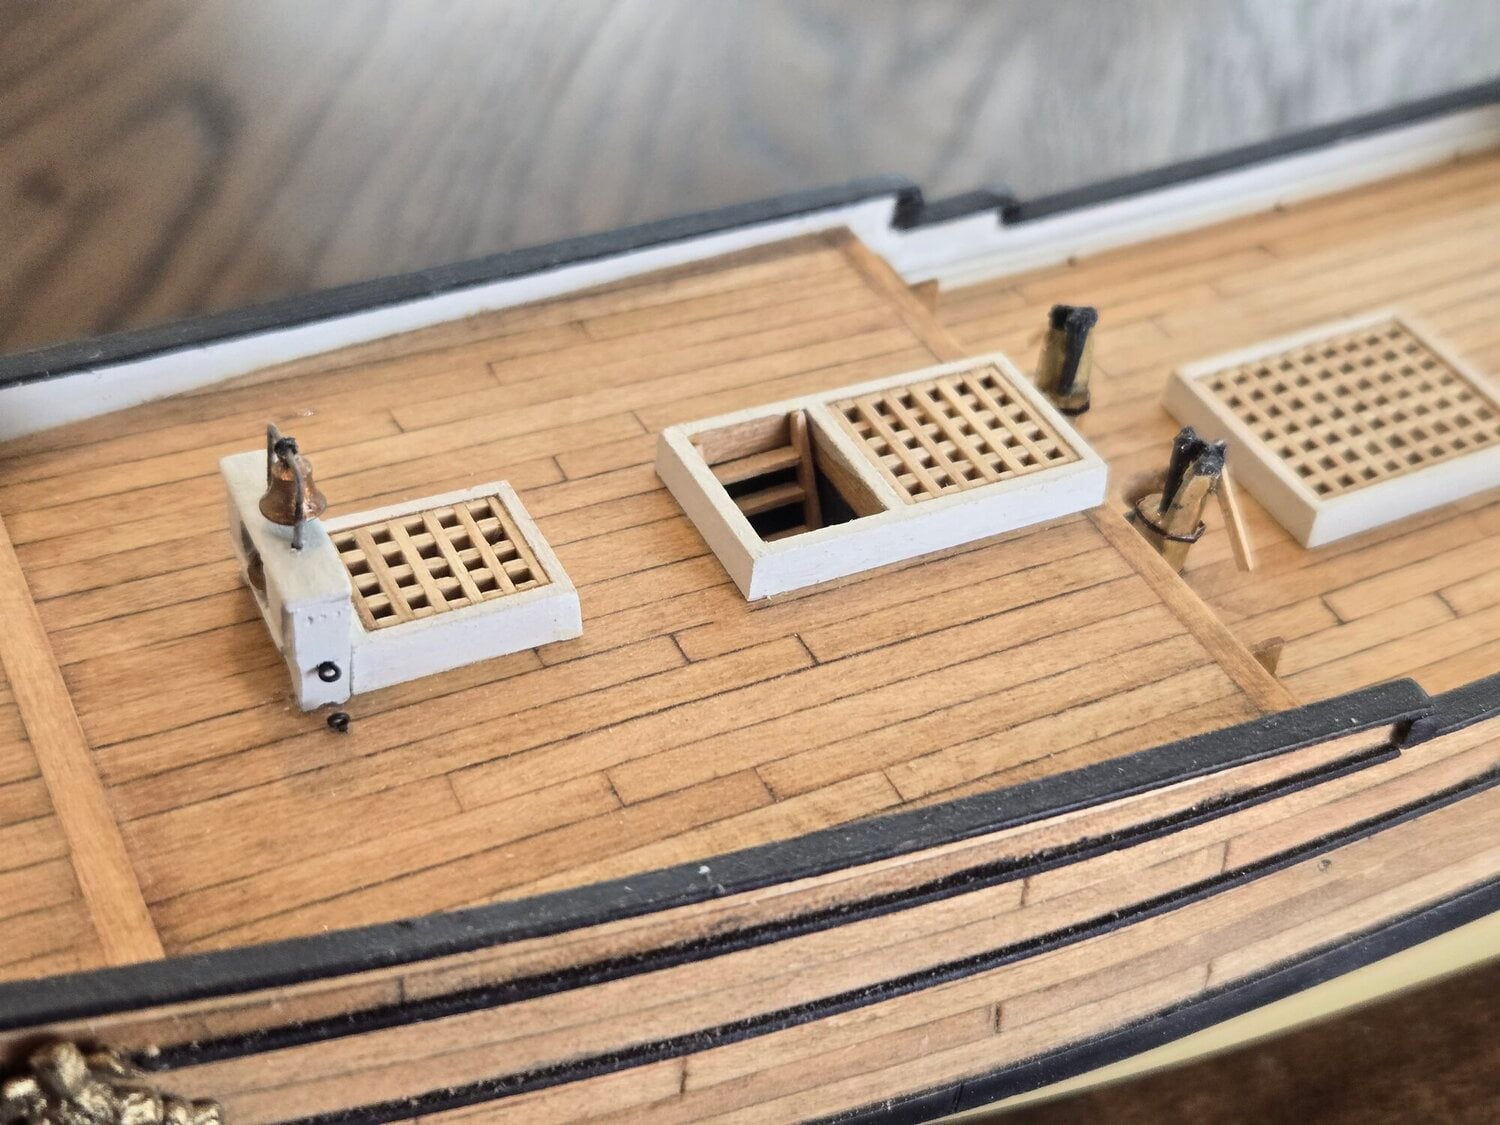
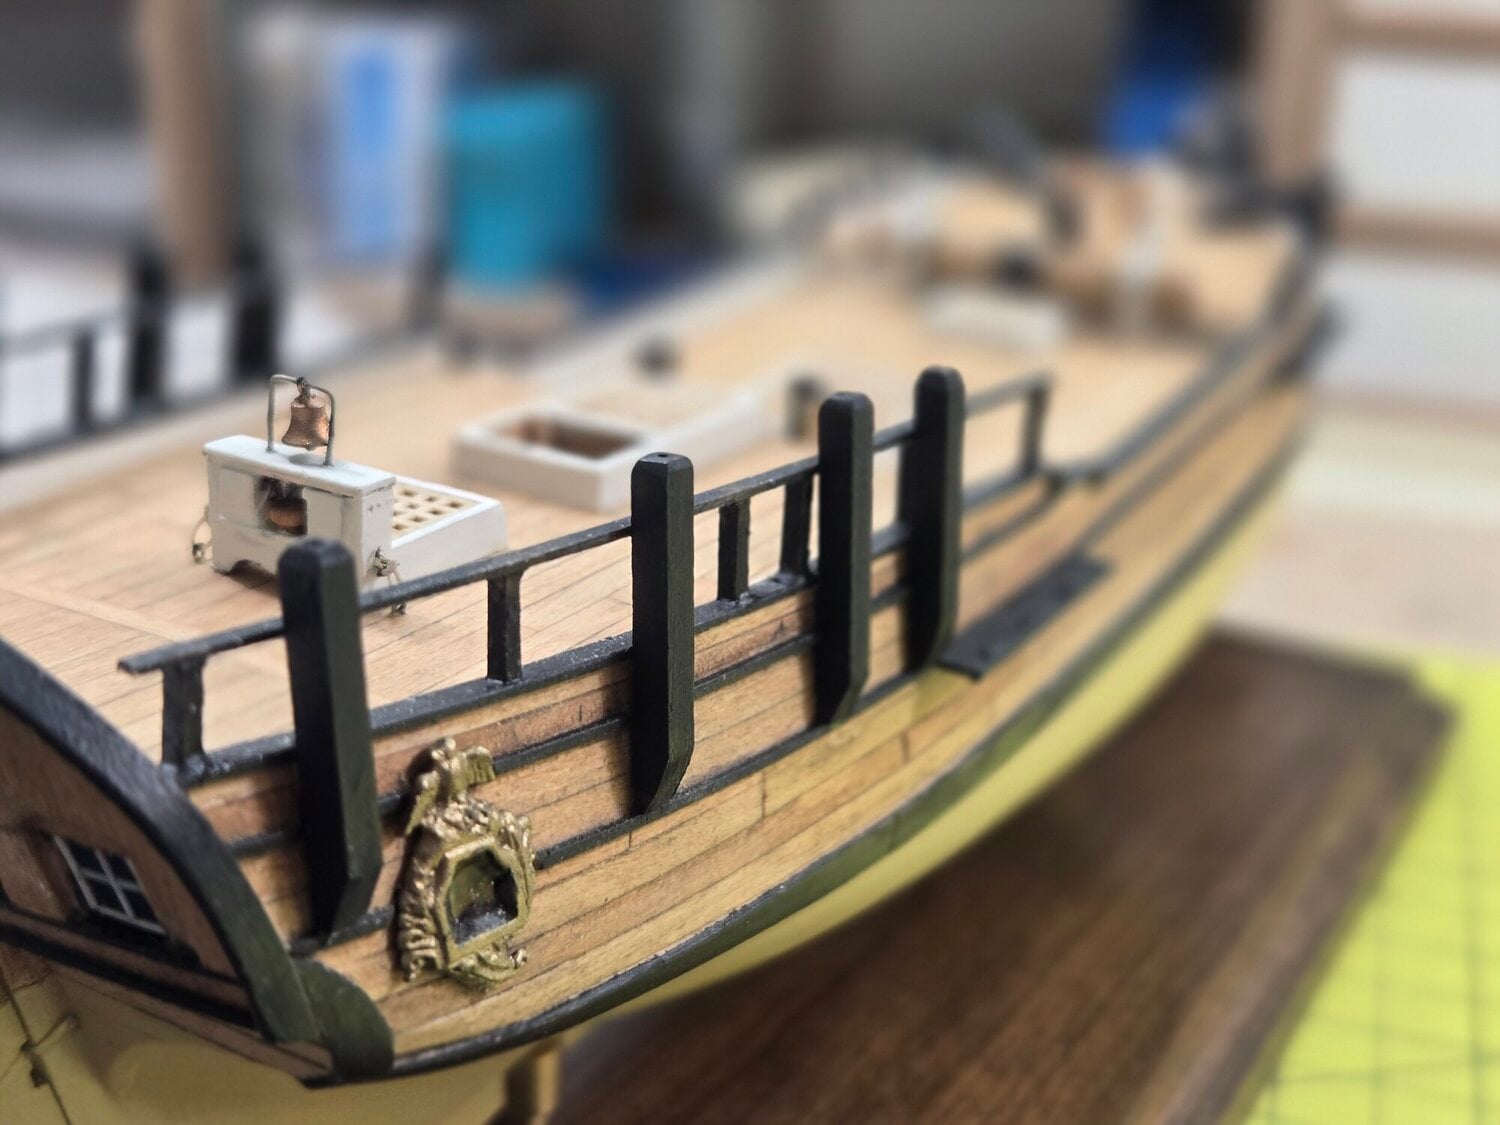
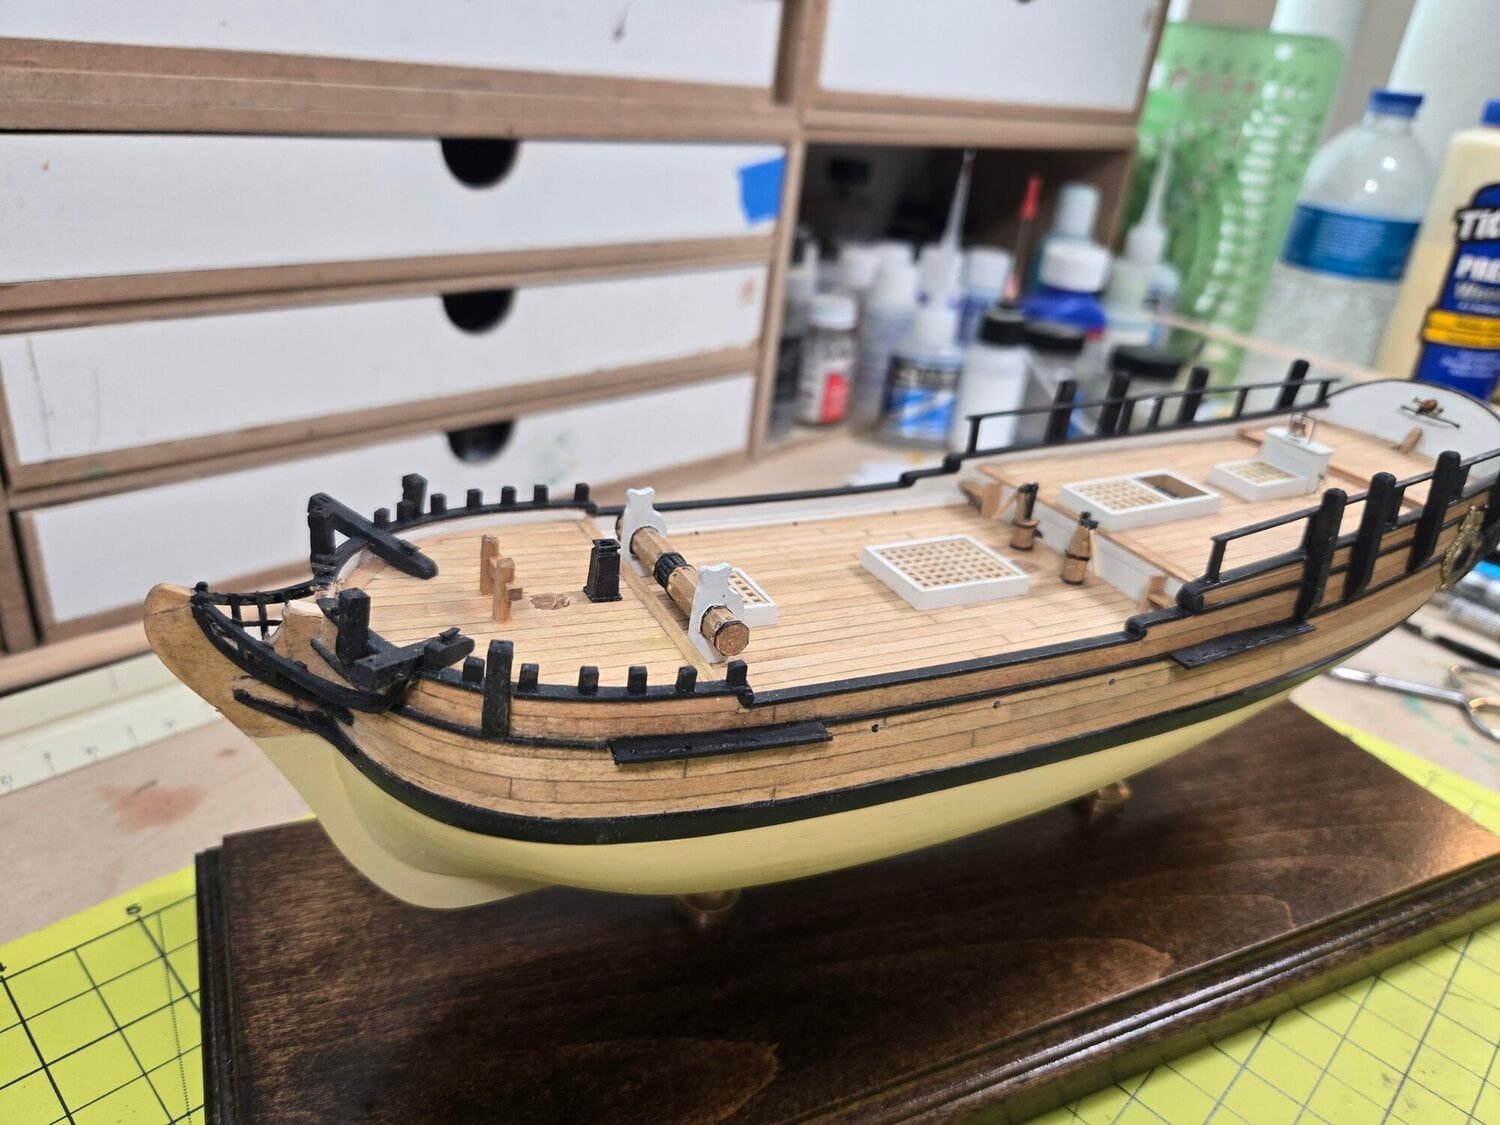
I considered scratch building all the pieces but after studying them I felt I could modify the windless, pumps and binnacle (galley stack was fine as is). Since I had two different versions of the kit, I took the best pieces to modify. The windless required the most work to bring it to scale. Scratch built the hatches and used Model Expo gratings. Had an extra ships bell in my parts box, added that along with a compass to the binnacle. The metal bands on the pumps and windless are made from copper strips.
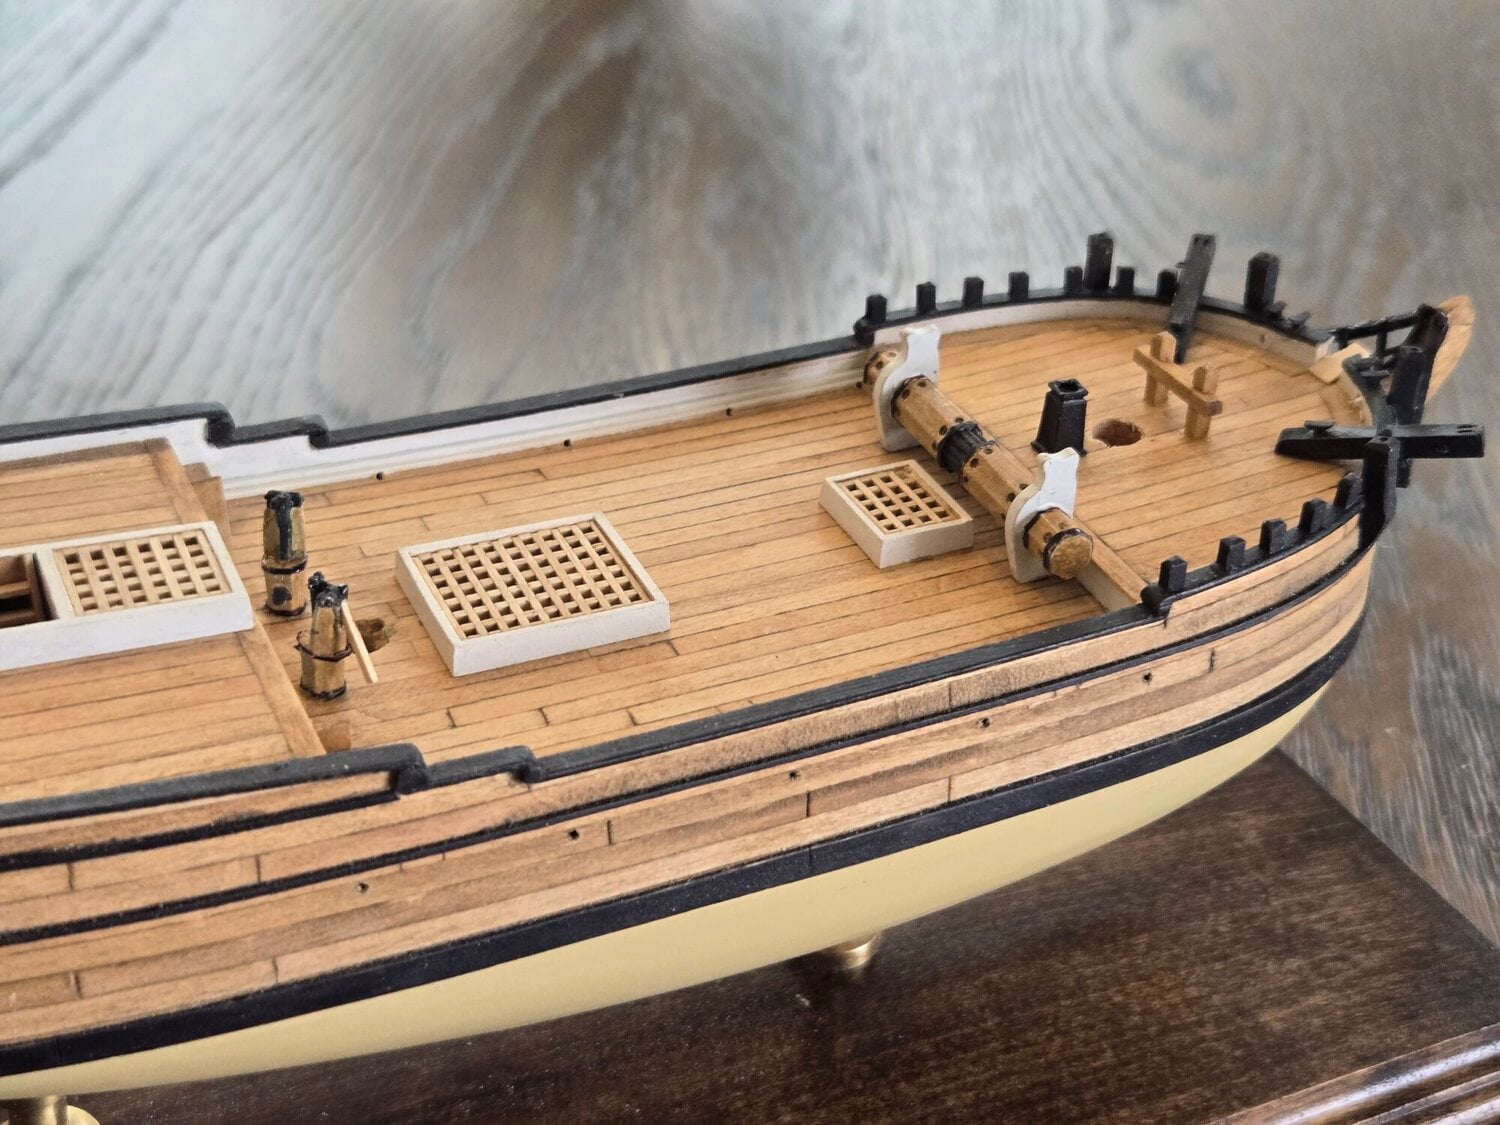
Finished the Quarter Badges, Bitts, Galley Stack, Windless, Hatches, Binnacle and pumps. Completed the Poop Rails and Swivel Gun Stocks.
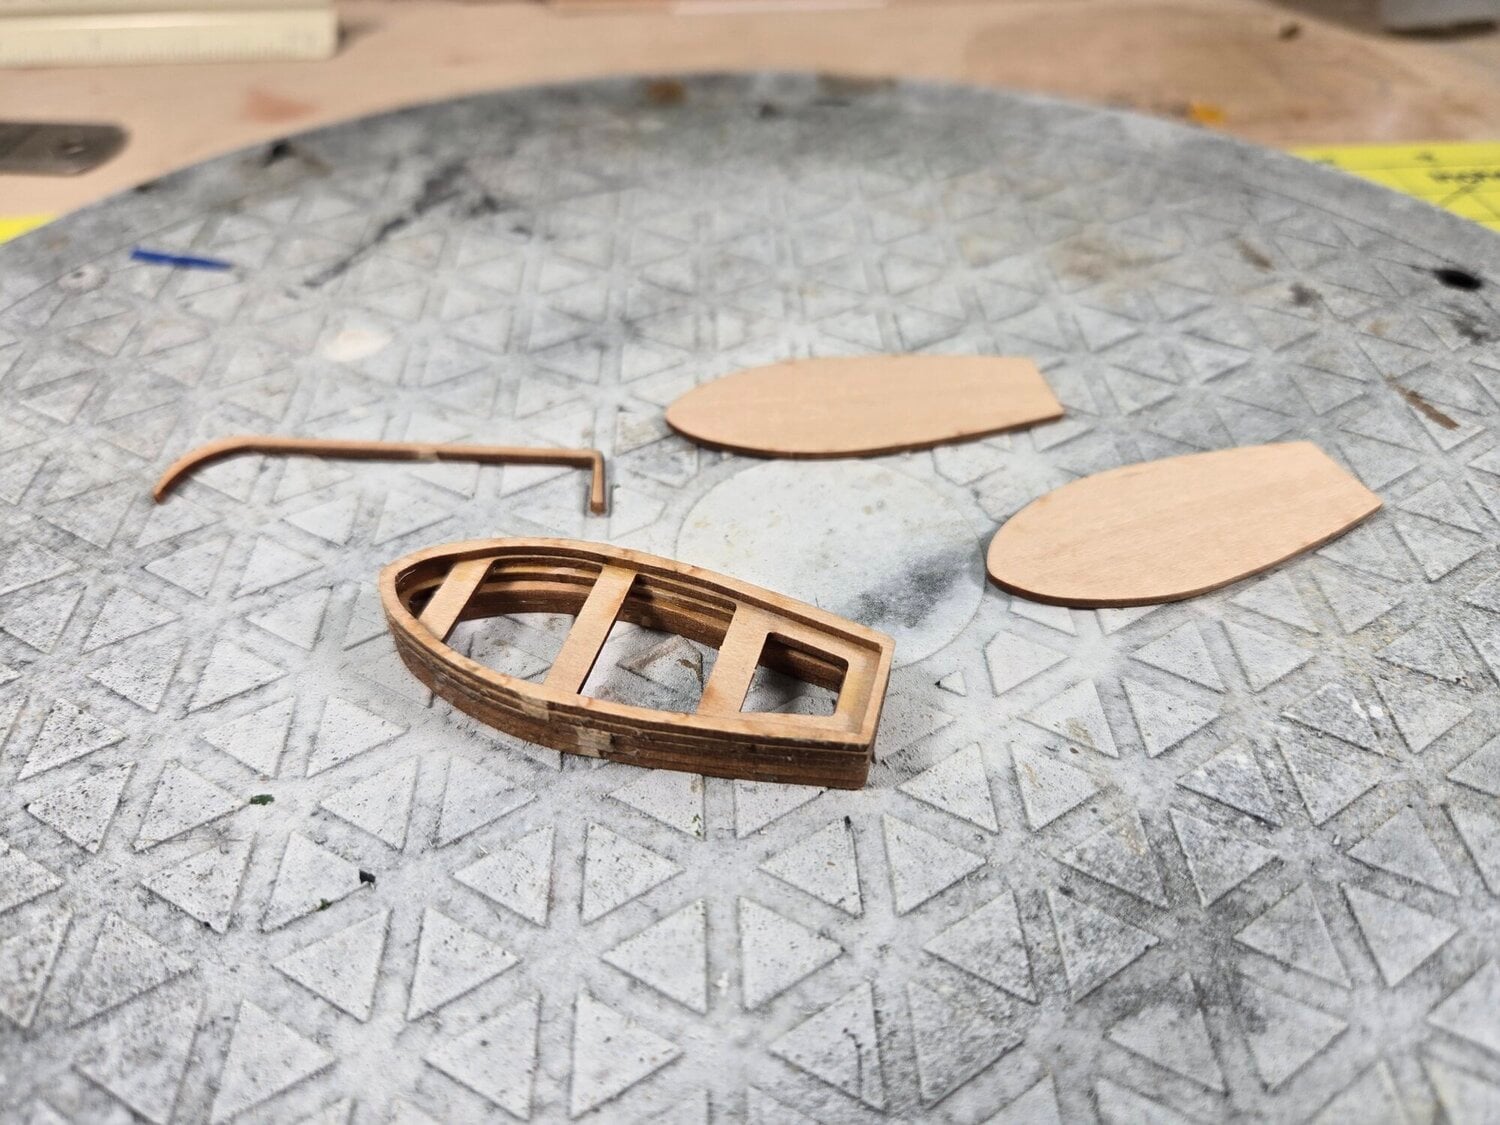
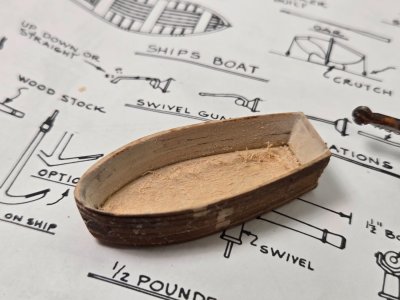
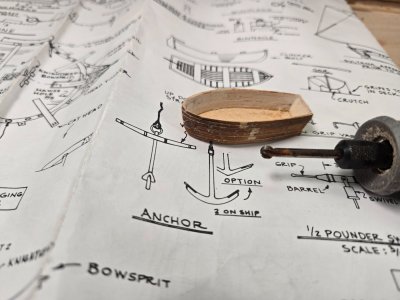
Started the Ships Boat. Based on my experience with these lasers cut kits I learned not to glue the bottom pieces on until the inside sides have been shaped. It's hard to sand or file these evenly with the bottom closed up.
This is my first Colonial schooner and has presented some challenges but it has also allowed me to learn some new techniques and skills. I feel I've now finished the most difficult stage of the build.
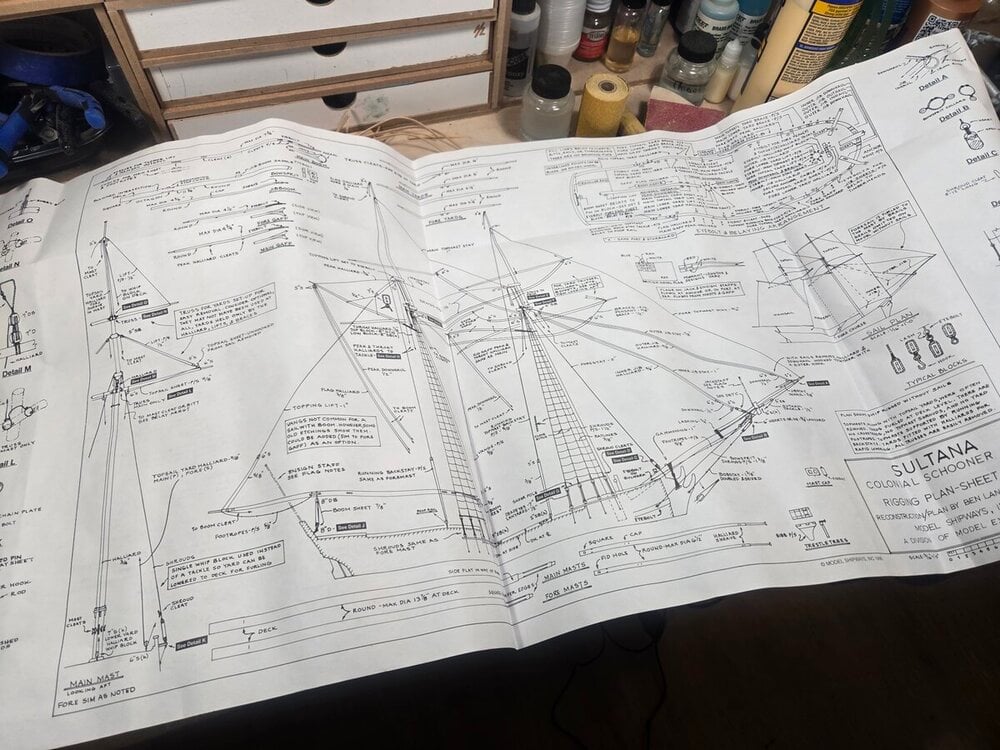
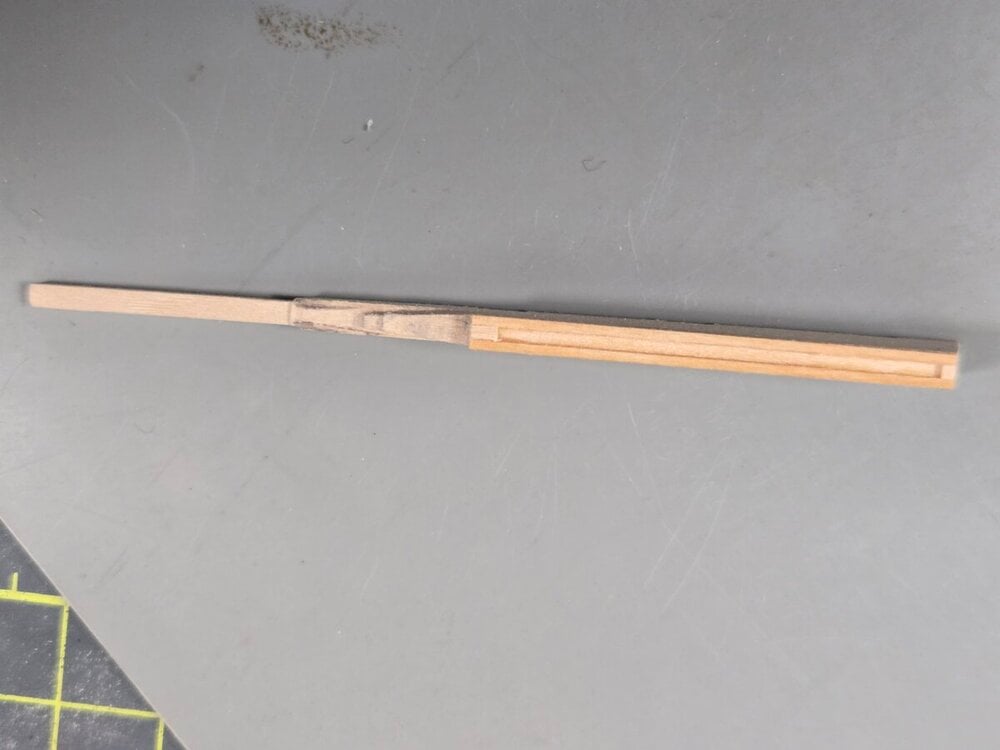
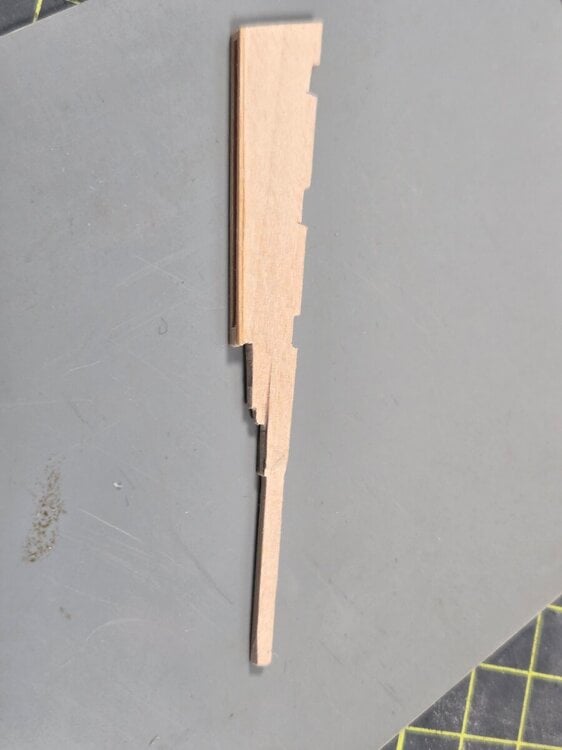
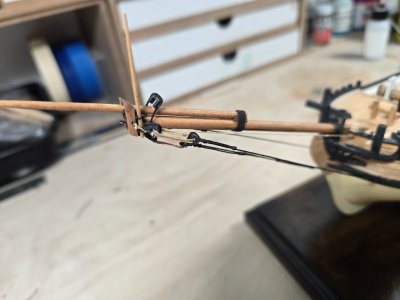
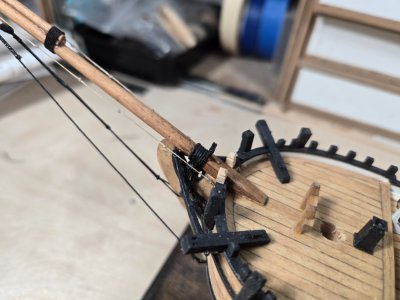
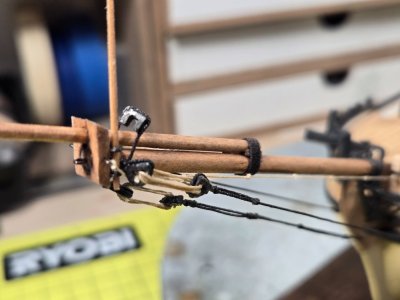
Finished the Bowsprit and jib boom. Scratch built the cap, open and closed hearts. Added the Knightheads, shrouds, Bobstay and Footropes. Continuing the ships boat. After thinning the sides added the bottom flat pieces. The real boat did not have a flat bottom so I'm attempting to curve the inside so when the ribs are added they'll have a slight cure at the bottom.