Hello all, I am building my first model ship and have many questions.
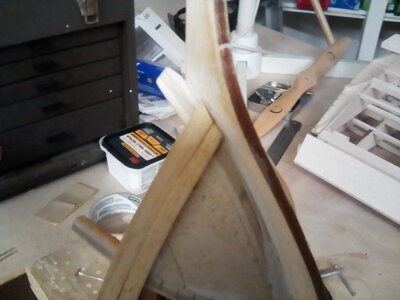
Today's question is how to hold and cut 2 planks at same time?
My planks are .120" wide and not sure what wood they are but x-atco blade not cutting it
Properly....mostly issue holding planks securely. I purchased nice small wood plane and if
I can figure how to hold planks I think I can make 2 the same. Thanks for helping....

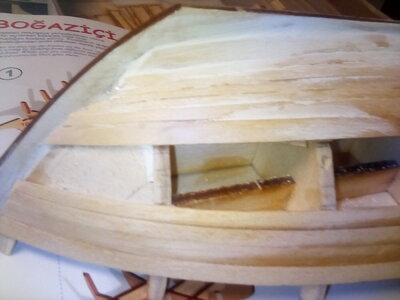


 .....then I would really have to bend plank up to meet plank above? What am I missing?