- Joined
- Dec 7, 2022
- Messages
- 115
- Points
- 78

After being drawn into a couple of recent discussions of this form - 'Why Do So Many Members Never Post' and 'The Cost of Kit vs Scratch Build' - I've gotten up the nerve to put a build log here on Ships of Scale.
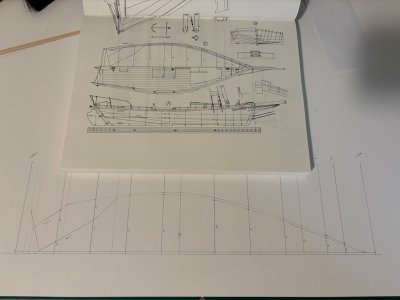
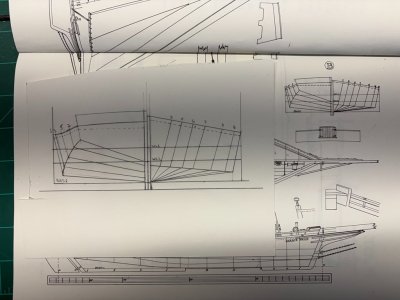
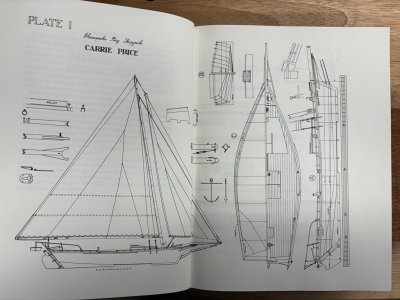
The project that I have chosen - a half-hull model of the skip-jack Carrie Price - is one I've looked at for nearly two decades. When I first started building model ships and an associated reference library, on of the first books I purchased was American Ship Models and How to Build Them by V.R. Grimwood - an extremely affordable Dover reprint which is available new for less than $15 dollars. The forward of the book was written by Howard Chapelle who gave a strong endorsement to the contents. Grimwood provides plans and some history for building a dozen model ships in order of increasing difficulty. The first model described is the half-hull model of Carrie Price that has no deck detail, it is followed by one with deck structures, and then by a full-hull version of the skip-jack before moving to other ships. The eleventh project - Oliver Cromwell - noted by Harold Hahn as he delved deeper into the that ship's history and then developed his beautiful model.
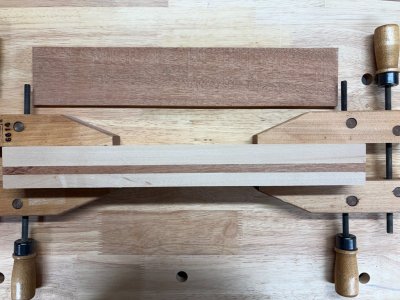
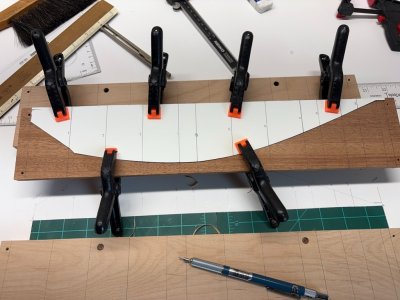
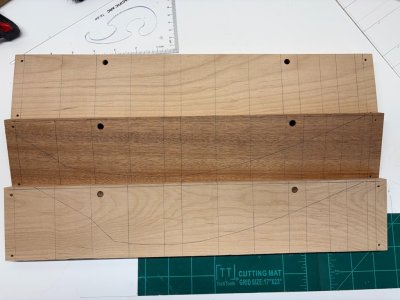
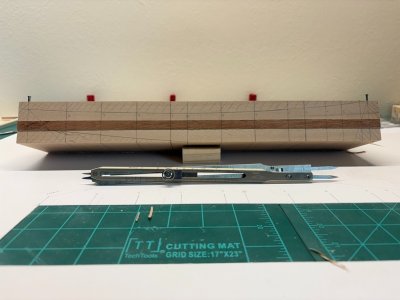
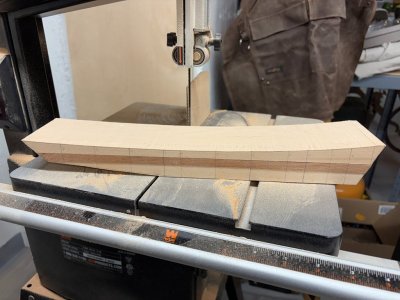
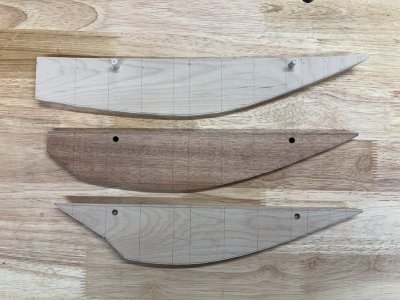
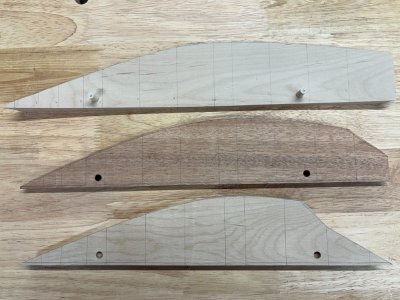
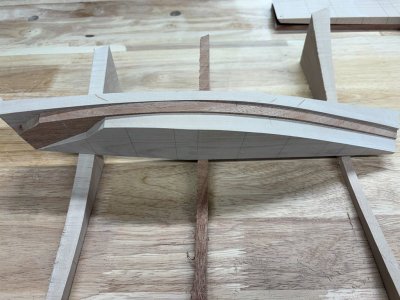
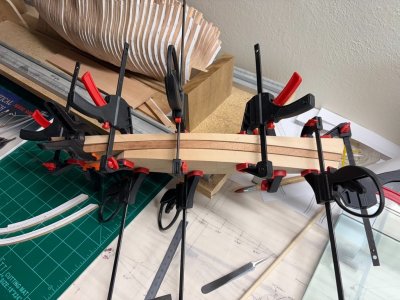
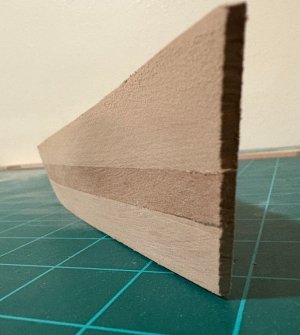
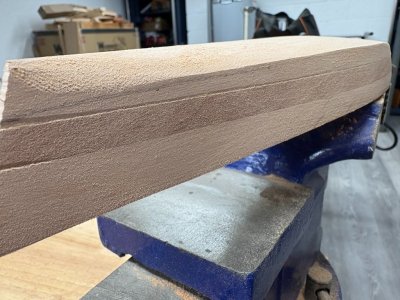
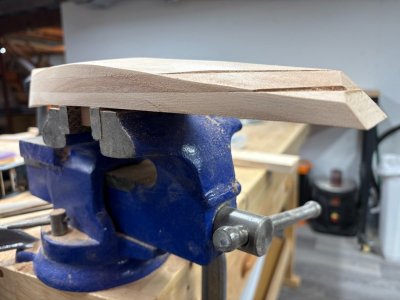
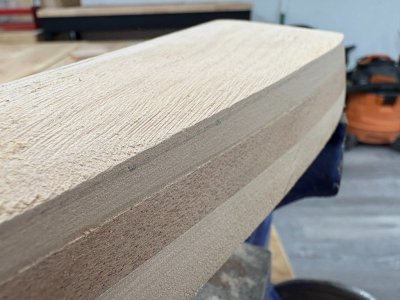
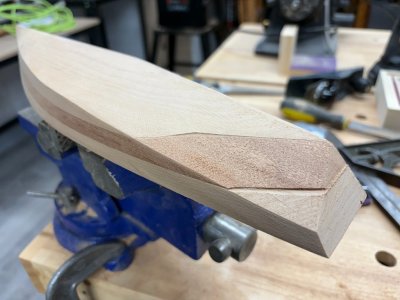
Here I will be making my attempt to build my first half-hull model based and my first model constructed using lifts. Instructions for the model call for 3 lifts. For the first (lowest) and third lifts I have selected a piece of Clear Alder and the second lift will be Mahogany. The deck will also be made from Mahogany. I procured the needed wood from a local lumber yard for $21.51. I don't think that I will need to purchase any additional materials for the model proper; however, I may need to purchase a board to mount the final product on if I don't see a nice match in my stash. So the material price is pretty reasonable and the needed consumables - glue, finishing products, etc. can all be found laying around from other projects.
Grimwood is an interesting book to me for a number of reasons, on of which is the time period in which it was first published - 1942. Hand tools clearly dominated in his exposition - all of which I am familiar with by name, but some (like the spokeshave) I've never used. I plan to follow his instructions as close as I can hoping that I can pick up / refine my skills with basic tools that I probably already should have proficiency with.
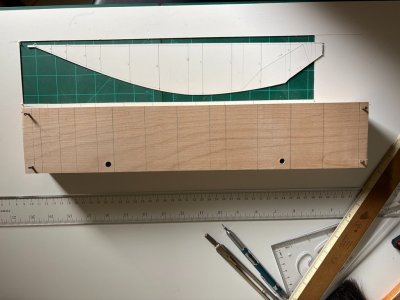
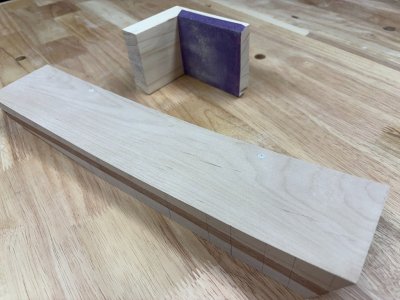
So the wood has been purchased. Grimwood suggests that one should purchase the wood at a location that will mill the wood to the needed dimensions. I will be taking care of that work myself. The three lifts are made from pieces of wood 3" wide and 16" long; the deck piece just a little smaller. I have the four pieces cut to those dimensions, but they need to be refined to the correct thicknesses. The first lift is to be 19/32", the second 3/8", and the third ~7/8" according to the book. The deck piece is to be 3/16" thick.
So next step is to get out the thickness sander and / or thickness planer and start getting the lifts to their proper dimensions!
I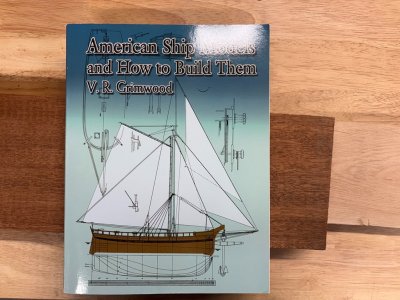


