- Joined
- Dec 1, 2016
- Messages
- 5,977
- Points
- 728

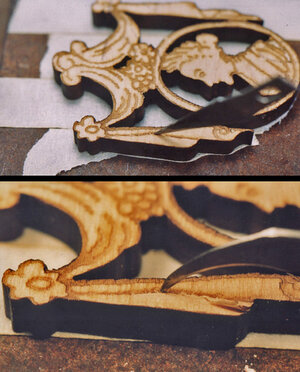
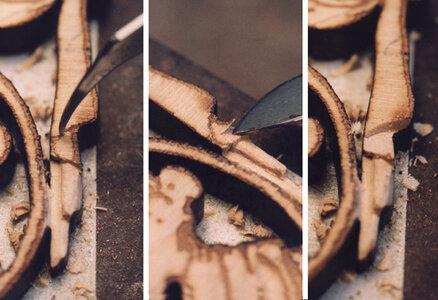
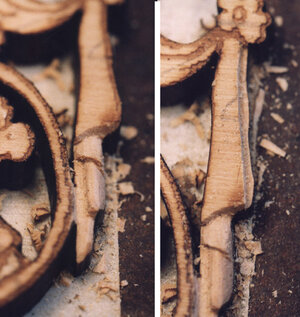
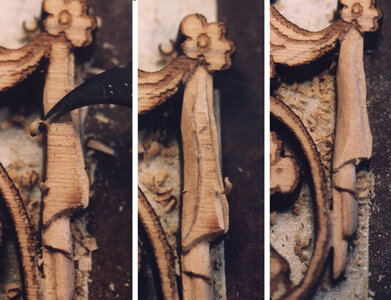
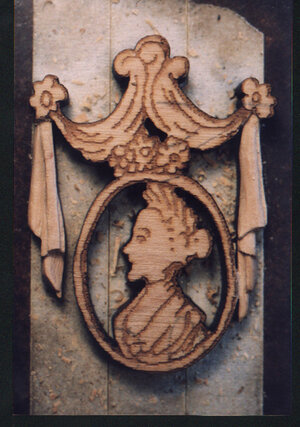
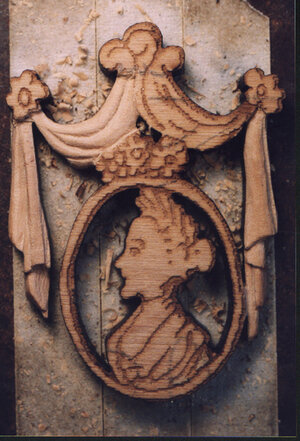
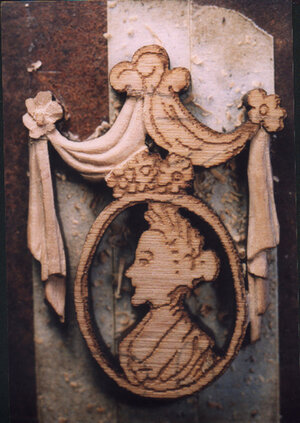
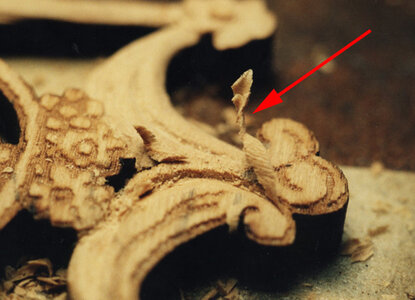
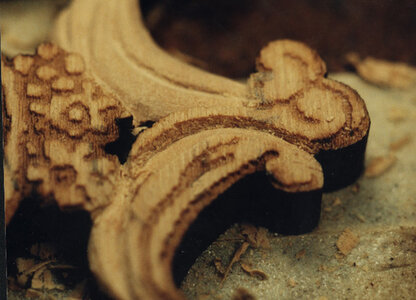
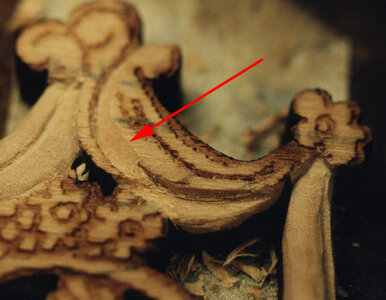
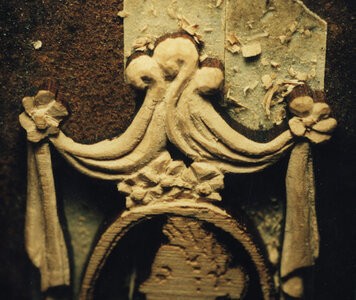
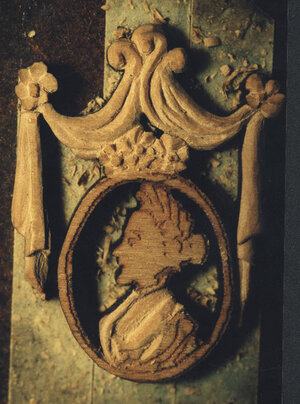
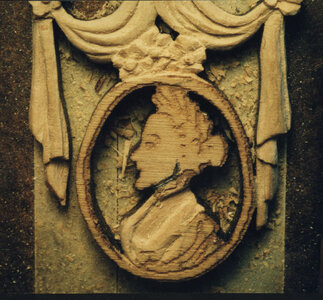
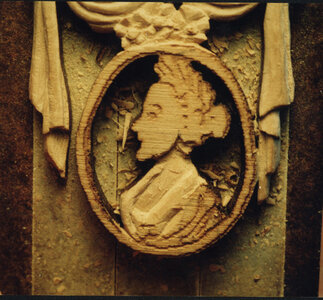
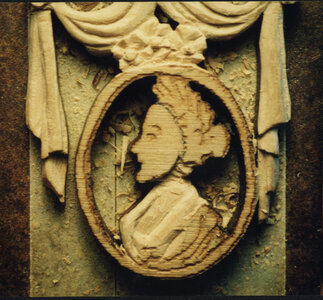
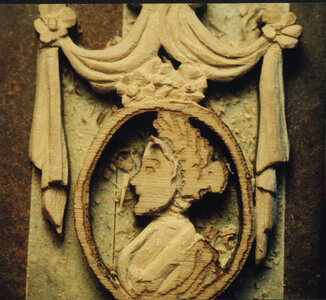
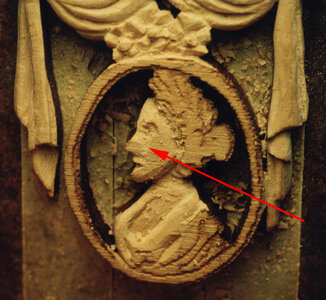
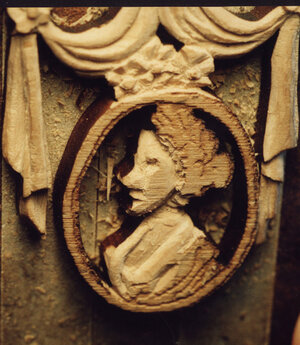
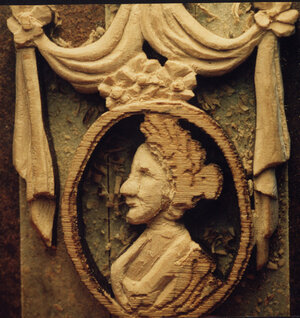
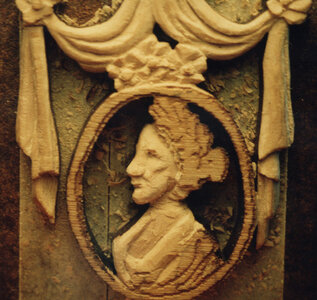
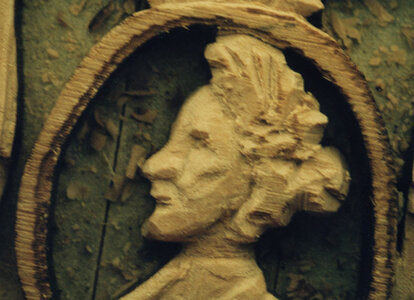
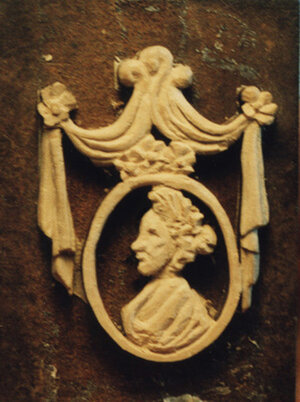
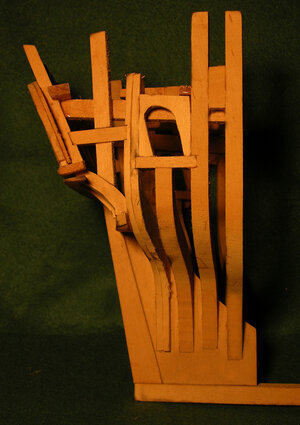
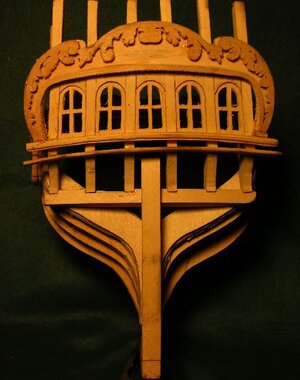
from my archives i found this tutorial on carving from laser cut blanks. The photography was done on a 35mm film camera so the photos are poor quality.
When you look at the ultra fine detailed carvings on some of the ship models, the first thought that comes to mind is I could never carve like that. Such carvings can be quite intimidating and seemingly beyond the capabilities of most model ship builders. These instructions are intended to offer a simple and doable approach to carving the decorations on ship models. In time and with practice anyone who can build a ship model can produce the carved decorations. The carvings presented are by far not master pieces of work. I would rather you look at the carvings and think “ I can do that” or better yet think “ I can do better than that with a little practice.”
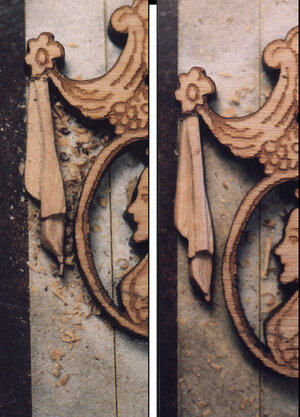
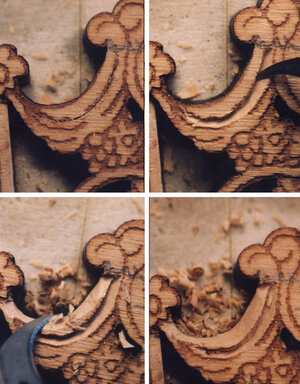
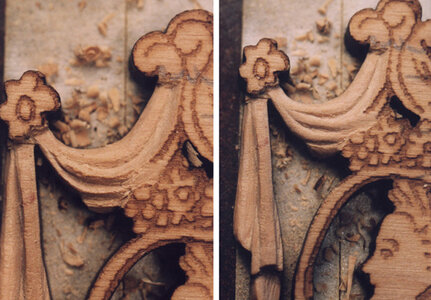
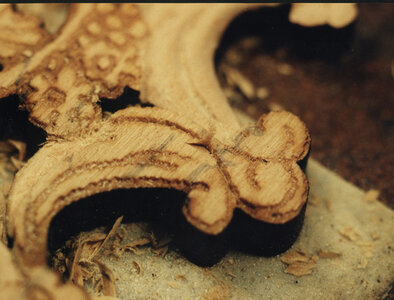
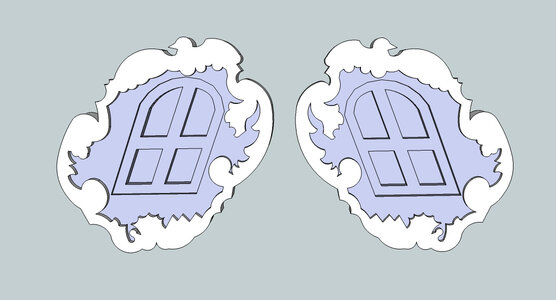
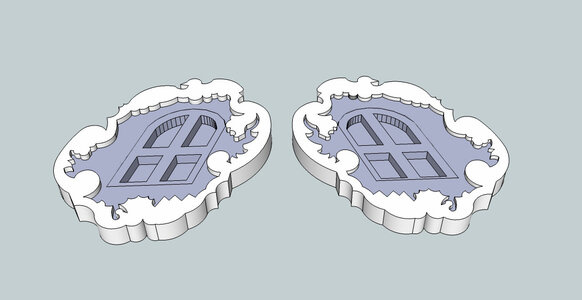
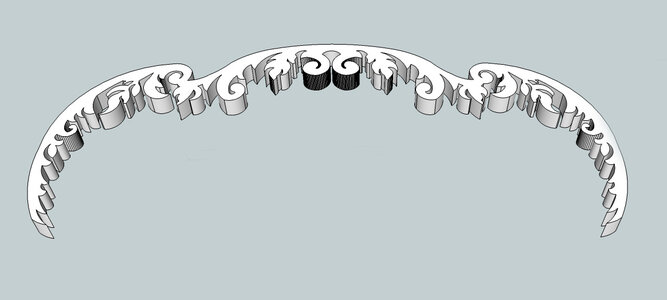
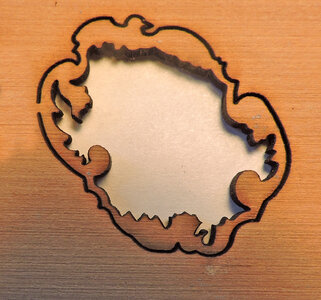
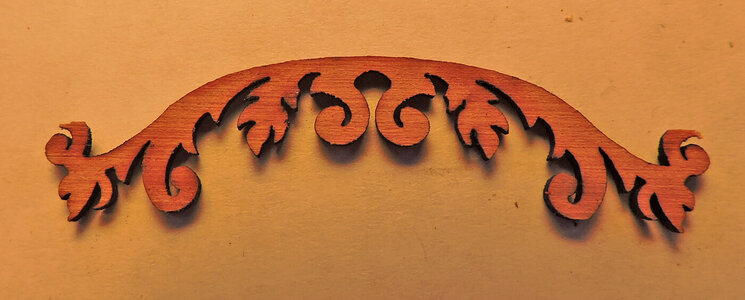
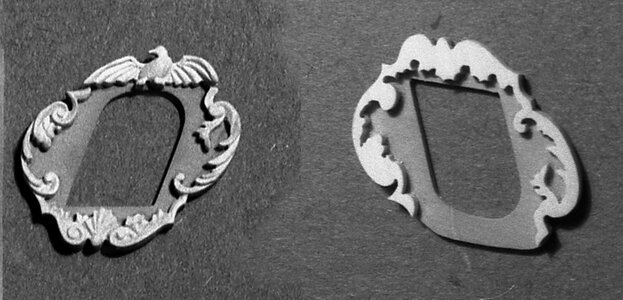
The first problem with carving is to keep everything in proportion. Nothing runes a carving more than to have pieces and parts out of proportion to each other. To solve this problem we will start with “blanks” What we will do with these blanks is to carve depth and some details. Carving is simply layers at different depths blended together.
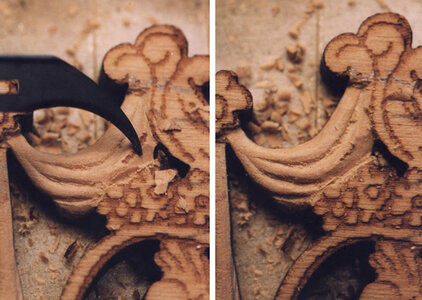
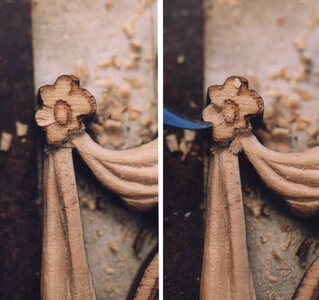
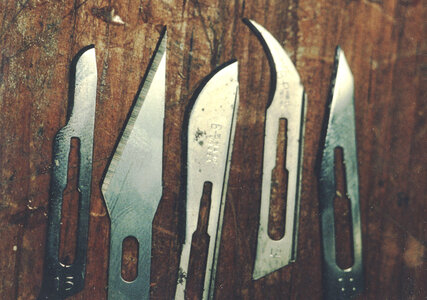
There are a number of ways and tools to approach carving. Some modelers will use power tools with various bits and carving burs, others prefer micro chisels and there is the use of knife blades. In these instructions carbon steel surgical blades of various sizes and shapes are used. Some advantages to these blades are the sharpness and to a degree their ability to flex and bend. The surgical blades are so sharp they make a clean smooth cut without ripping the wood grain. Cuts can also be made micro thin, creating shavings that are almost transparent. The photo shows the typical blades used for carving.
Wood for the small carvings are either boxwood, pear wood, dogwood or apple wood, there are other choices but the above are the top of the line. These woods have a very fine grain and a smooth texture. This makes it possible to cut with or against the grain.
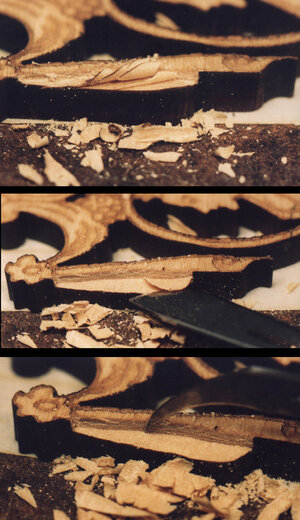
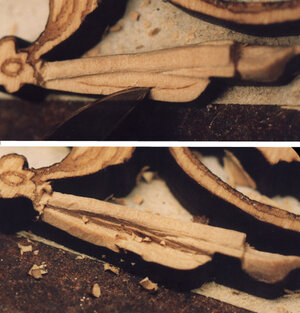
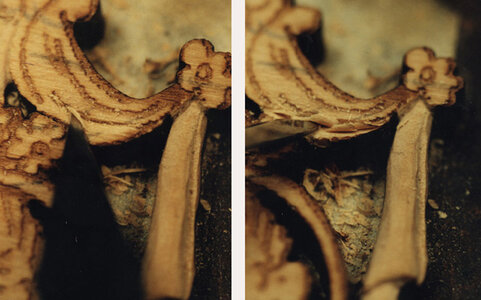
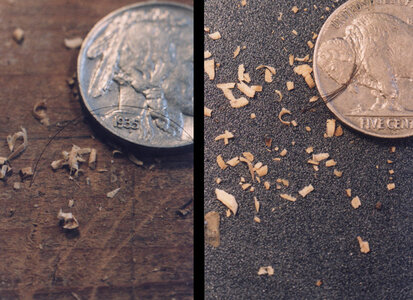
The next two pictures show the size of the chips from cuts. Judging from the hair in the first photo the shavings are very small. In the second photo the back round is 400 grit sandpaper, once again a few hairs show how small the shavings are. The surgical blades are so sharp it takes little pressure applied to a cut. A great advantage to using light pressure to make a cut is, the cut itself can be made in any direction to the grain without the cut veering off and following the grain.
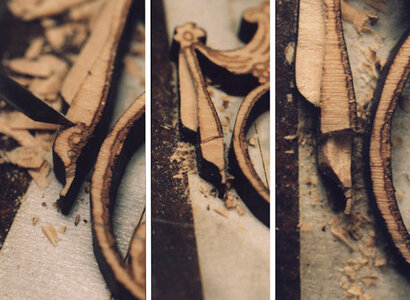
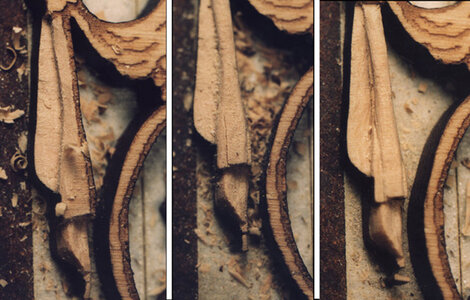
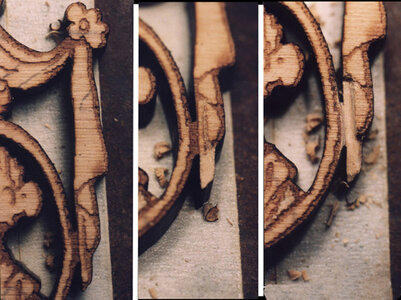
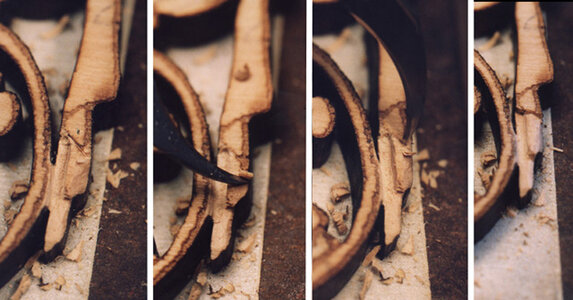
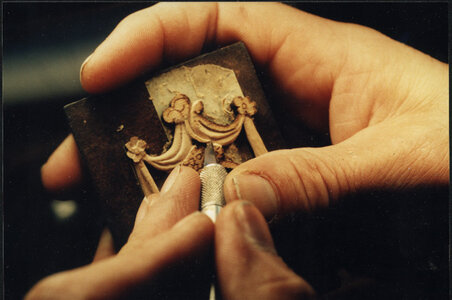
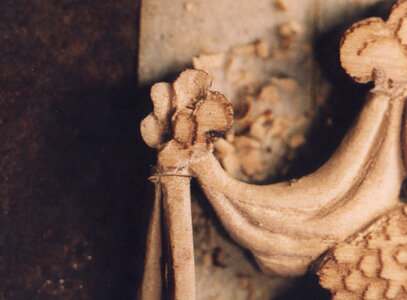
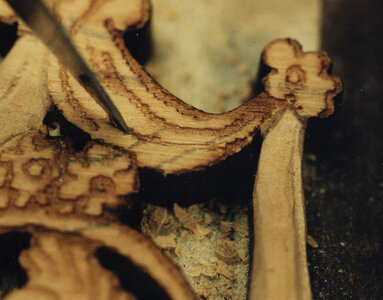
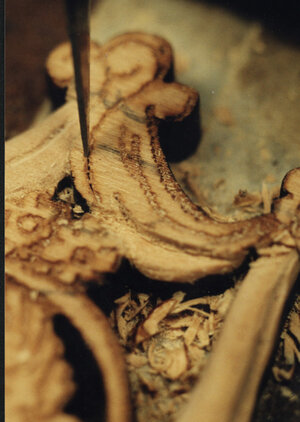
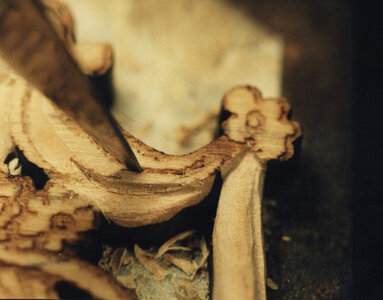
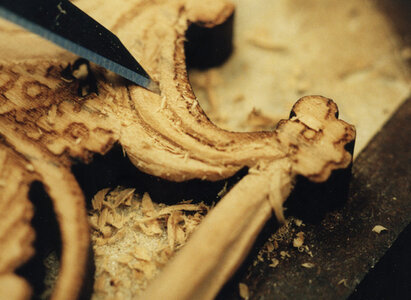
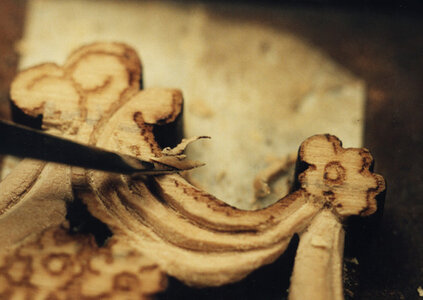
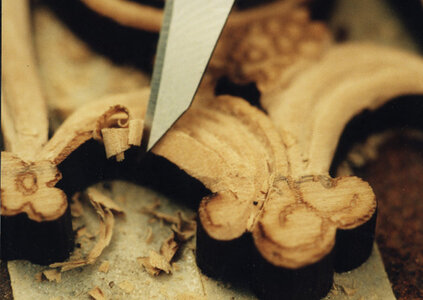
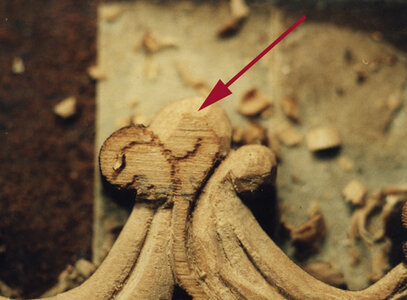
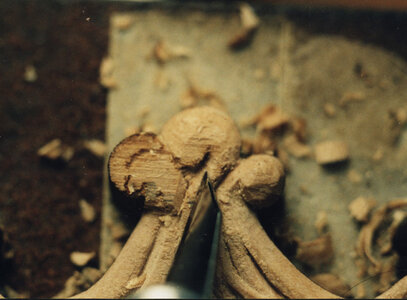
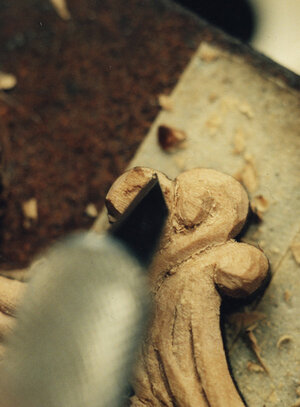
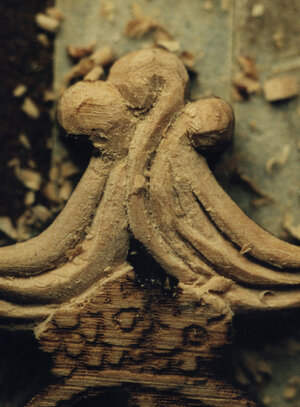
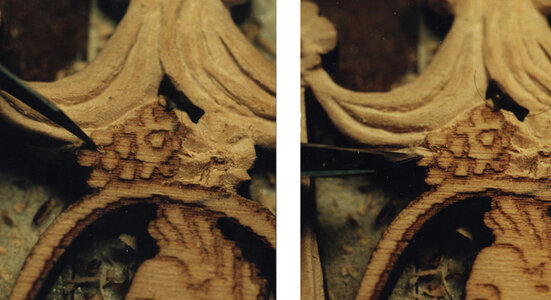
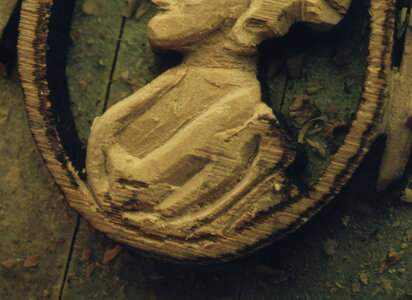
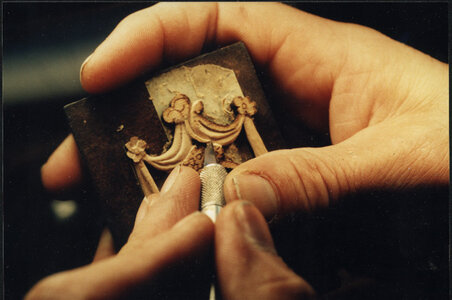
Photographs in this series, have been done with macro photography so you are looking very close at the carving work. At normal view the carvings will appear to have finely carved detail. To do the carvings it is recommended to carve under magnification. The carvings are small and they become more and more delicate as the detail is carved in. To prevent breakage while the piece is being worked on it is fastened to a block of wood or metal with two sided tape. It looks like i am holding the knife funny and actually i am my first finger is against my thumb and the knife is resting on my second finger personally i have more control over the knife holding it this way. As you learn to carve holding and controlling ther knife is a major part of the process.
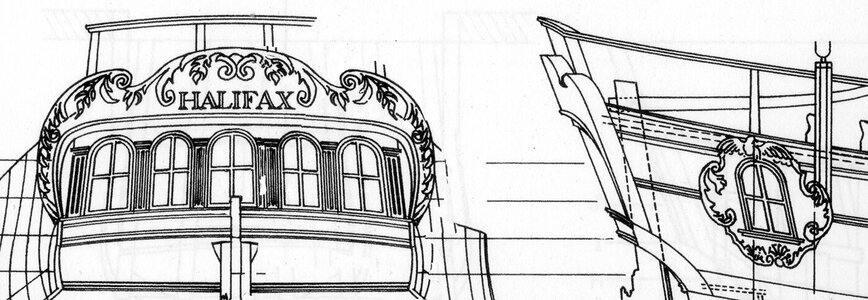
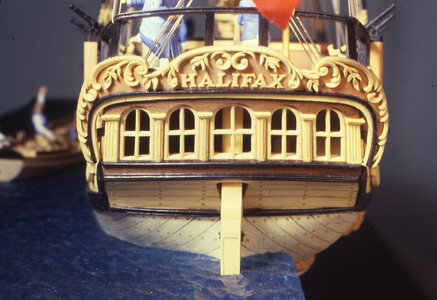
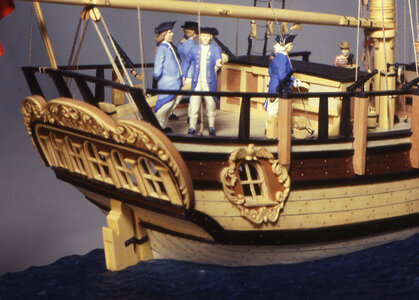
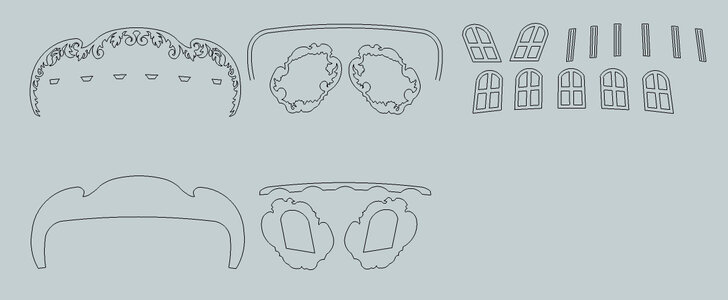
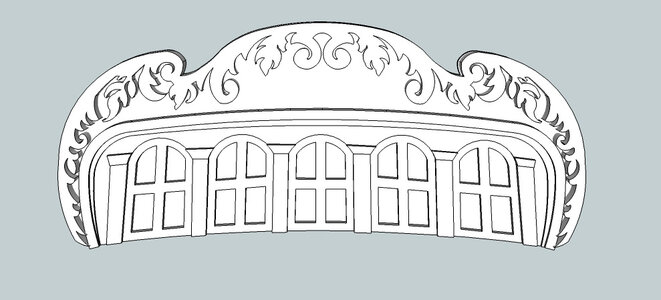
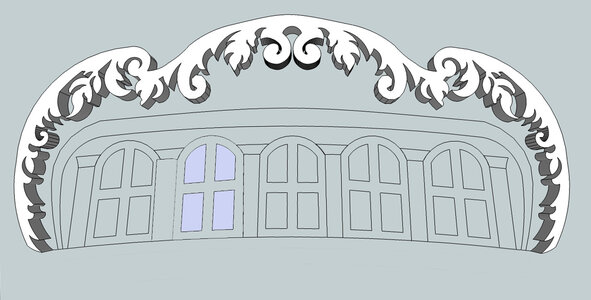
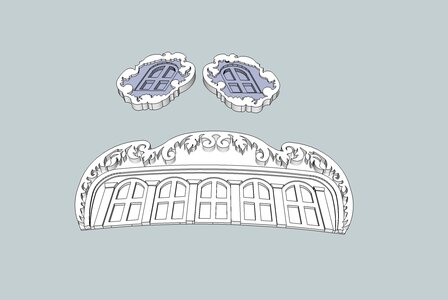
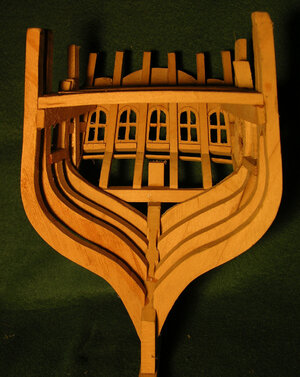
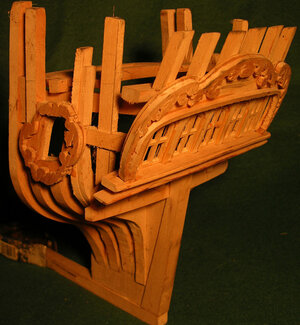
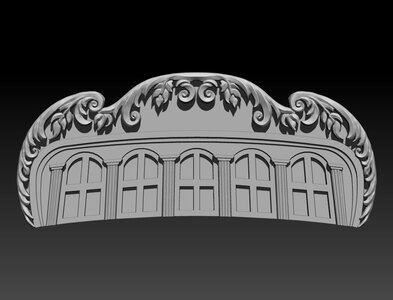
if there is an interest in trying your hand at carving i will laser cut blanks for the stern of the Halifax and do a step by step tutorial like this one. The stern of the Halifax will be at a scale of 1/2 inch = 1 foot making the carving easy to work on. I selected the Halifax because it is a design most anyone can do. I will also include the stern timbering for those who want to model the stern.
When you look at the ultra fine detailed carvings on some of the ship models, the first thought that comes to mind is I could never carve like that. Such carvings can be quite intimidating and seemingly beyond the capabilities of most model ship builders. These instructions are intended to offer a simple and doable approach to carving the decorations on ship models. In time and with practice anyone who can build a ship model can produce the carved decorations. The carvings presented are by far not master pieces of work. I would rather you look at the carvings and think “ I can do that” or better yet think “ I can do better than that with a little practice.”
The first problem with carving is to keep everything in proportion. Nothing runes a carving more than to have pieces and parts out of proportion to each other. To solve this problem we will start with “blanks” What we will do with these blanks is to carve depth and some details. Carving is simply layers at different depths blended together.
There are a number of ways and tools to approach carving. Some modelers will use power tools with various bits and carving burs, others prefer micro chisels and there is the use of knife blades. In these instructions carbon steel surgical blades of various sizes and shapes are used. Some advantages to these blades are the sharpness and to a degree their ability to flex and bend. The surgical blades are so sharp they make a clean smooth cut without ripping the wood grain. Cuts can also be made micro thin, creating shavings that are almost transparent. The photo shows the typical blades used for carving.

Wood for the small carvings are either boxwood, pear wood, dogwood or apple wood, there are other choices but the above are the top of the line. These woods have a very fine grain and a smooth texture. This makes it possible to cut with or against the grain.
The next two pictures show the size of the chips from cuts. Judging from the hair in the first photo the shavings are very small. In the second photo the back round is 400 grit sandpaper, once again a few hairs show how small the shavings are. The surgical blades are so sharp it takes little pressure applied to a cut. A great advantage to using light pressure to make a cut is, the cut itself can be made in any direction to the grain without the cut veering off and following the grain.

Photographs in this series, have been done with macro photography so you are looking very close at the carving work. At normal view the carvings will appear to have finely carved detail. To do the carvings it is recommended to carve under magnification. The carvings are small and they become more and more delicate as the detail is carved in. To prevent breakage while the piece is being worked on it is fastened to a block of wood or metal with two sided tape. It looks like i am holding the knife funny and actually i am my first finger is against my thumb and the knife is resting on my second finger personally i have more control over the knife holding it this way. As you learn to carve holding and controlling ther knife is a major part of the process.

if there is an interest in trying your hand at carving i will laser cut blanks for the stern of the Halifax and do a step by step tutorial like this one. The stern of the Halifax will be at a scale of 1/2 inch = 1 foot making the carving easy to work on. I selected the Halifax because it is a design most anyone can do. I will also include the stern timbering for those who want to model the stern.

Last edited:

