-

Win a Free Custom Engraved Brass Coin!!!
As a way to introduce our brass coins to the community, we will raffle off a free coin during the month of August. Follow link ABOVE for instructions for entering.
-

PRE-ORDER SHIPS IN SCALE TODAY!
The beloved Ships in Scale Magazine is back and charting a new course for 2026!
Discover new skills, new techniques, and new inspirations in every issue.
NOTE THAT OUR FIRST ISSUE WILL BE JAN/FEB 2026
You are using an out of date browser. It may not display this or other websites correctly.
You should upgrade or use an alternative browser.
You should upgrade or use an alternative browser.
- Joined
- Oct 17, 2020
- Messages
- 1,691
- Points
- 488

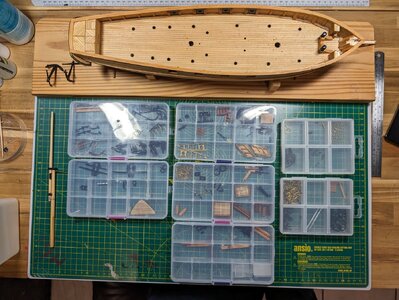
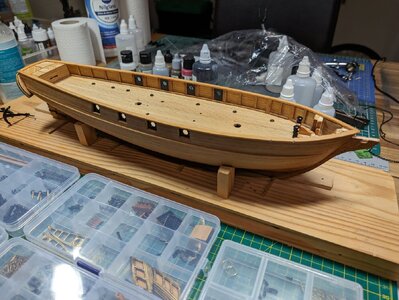
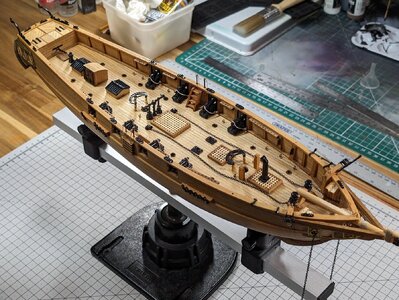
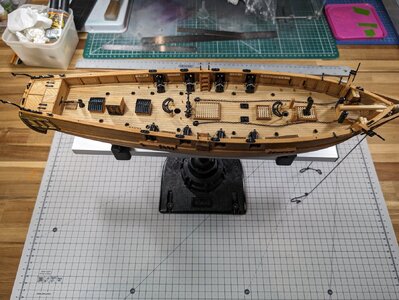
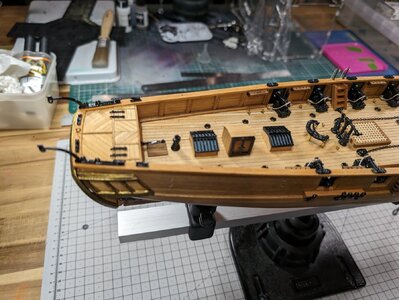
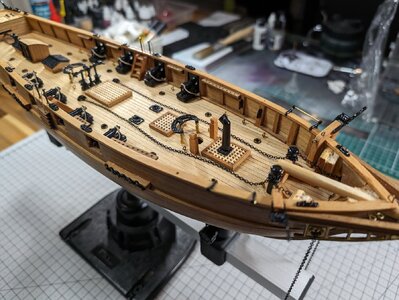
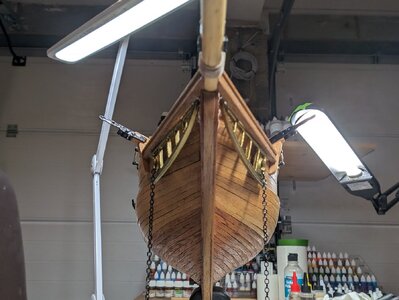
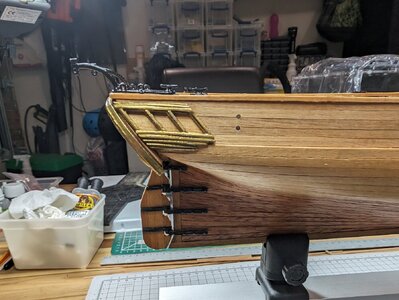
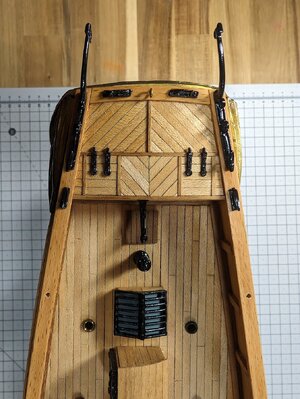
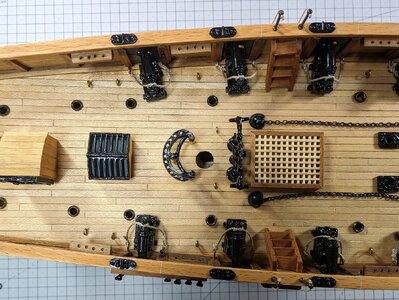
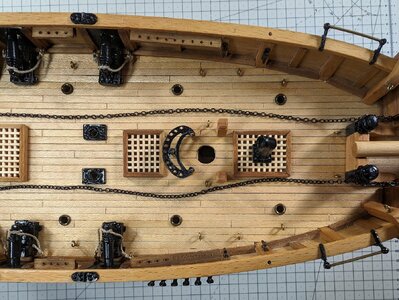
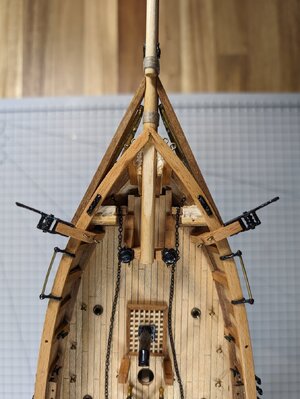
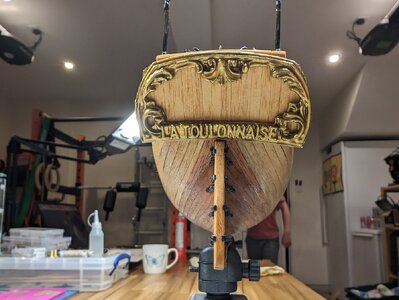
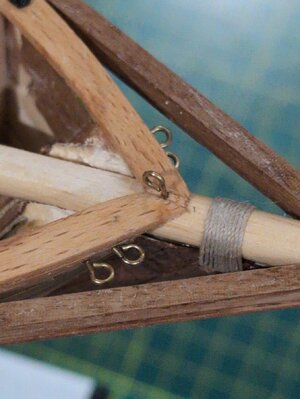
Hi Rufus, excuse me ,but in handrail in one axis (one piece) in my opinion is not possible.FrankSo, next step was the handrails which was trickhy. The kit said to immerse the wood strip in water, then bend to desired angle and leave to dry. This didn't work... I felt there was too much force being exerted by the strip to return back to its original shape. Instead I built a jig (which I've lost unfortunately) that had a 1:1 scale diagram of the deck and hand rail with guiding nails for the strip to fit into. Effectively, something which would force the shape of the hand rail so it bent over time before fitting.
In a way, this was lucky as I stopped working on it for a year or two and left the handrails in this jig for that period, so they came out thoroughly bent into shape. Then attached nails to the underneath, drilled these into the bulwarks and attached.
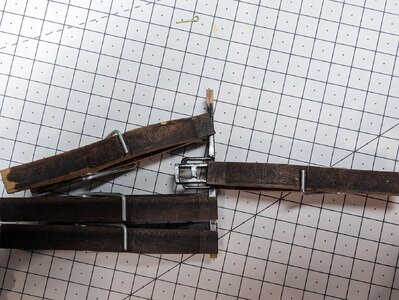
View attachment 429634
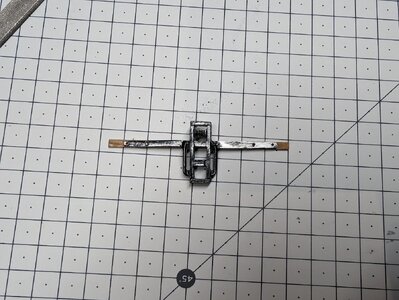
View attachment 429635
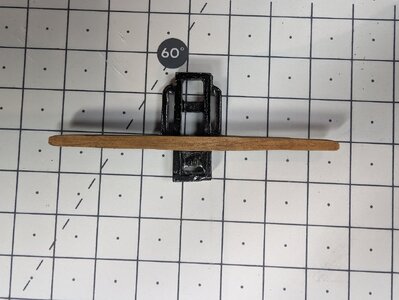
View attachment 429636
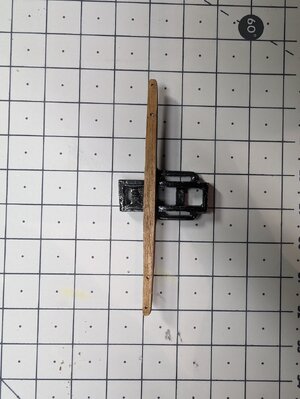
View attachment 429637
It was very difficult! But it has mostly worked. Although over time it has pulled out a little bit (1mm) at the bow. I've inserted another piece to cover this and I'm lucky a ring mount goes there, so it's not noticeable. Definitely won't do this approach next time!Hi Rufus, excuse me ,but in handrail in one axis (one piece) in my opinion is not possible.Frank
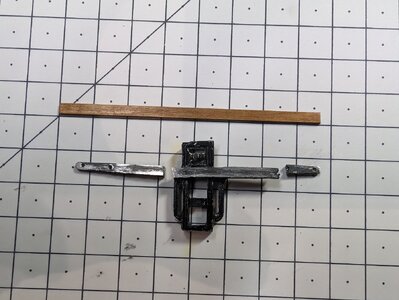
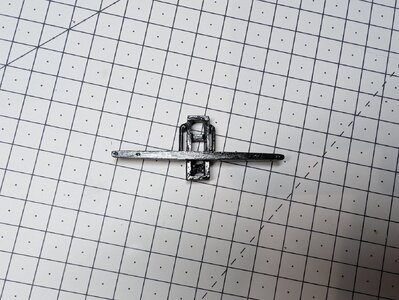
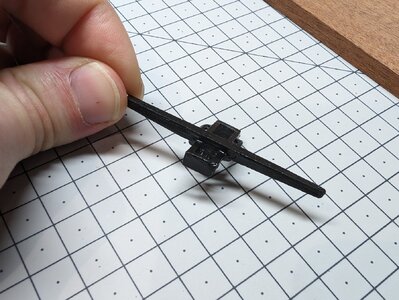
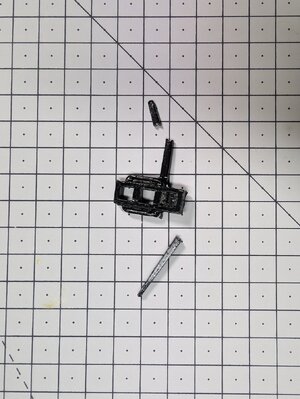
Disaster!! So, while drilling the holes in the crosstrees, one of them shattered into pieces. This one I think had a manufacturing problem as the others were more malleable. So I've got the options of; make my own out of wood, repair or order replacement.
I decided for repair as i didn't fancy making my own at this point. (Just want to get on with the masting!)
I decided for repair as i didn't fancy making my own at this point. (Just want to get on with the masting!)


