• Win a Free Custom Engraved Brass Coin!!!
    As a way to introduce our brass coins to the community, we will raffle off a free coin during the month of August. Follow link ABOVE for instructions for entering.

Cutting brass

Joined
Jun 13, 2022
Messages
285
Points
168

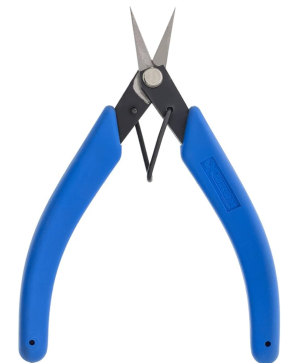
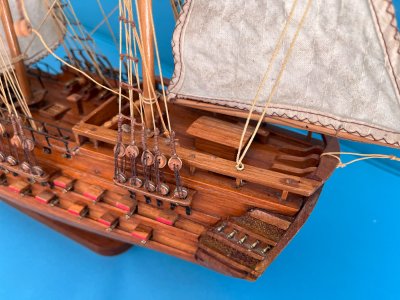
Ahoy shipmates. When cutting brass fittings are there any suggested tools/approaches? I have tried scalpels or just twisting off and then using a small file to tidy up. Thank you in advance for any guidance image.jpg
 
I use a pair of hobby nippers that have very short cutting faces at 45deg to the jaws. They fit into some pretty tight spaces, but sometimes PE is so small I have to take a bite from both sides of the fret to get a solid cut.

A chisel point X-acto blade also works well, but use it on a hard surface to avoid bending the part. That means a lot of wear and tear on the blade, which equates to frequent replacement/sharpening
 
I usually use a chisel point blade. What I do Is I have a small square of glass that I have put a piece of masking tape on. I cut the PE piece on the tape covered glass. It does not have as much give as a cutting mat. I find trying to cut a PE piece on a cutting mat can cause the small piece to be distorted. The masking tape does not have much "give" as the cutting mat but has enough to not have the PE piece fly away.

Rob
 
Ahoy shipmates. When cutting brass fittings are there any suggested tools/approaches? I have tried scalpels or just twisting off and then using a small file to tidy up. Thank you in advance for any guidance View attachment 523001
My way of dealing with those 'inappropriate' brass ladders was to chuck 'em into the 'might-come-in-useful' box, & make 'proper' wooden 'uns! ;) for my OcCre Beagle. Thinks:- maybe they are to represent metal stairs?
I use fine nippers to separate etched parts.
Stuart
Stuart
 
My way of dealing with those 'inappropriate' brass ladders was to chuck 'em into the 'might-come-in-useful' box, & make 'proper' wooden 'uns! ;) for my OcCre Beagle. Thinks:- maybe they are to represent metal stairs?
I use fine nippers to separate etched parts.
Stuart
Stuart
Thanks Stuart think I will try the brass ones first as probably more to scale for Endurance
 
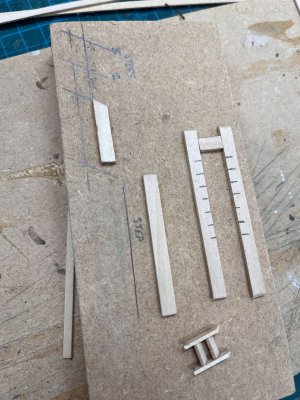
Well in the end I decided to ditch the brass steps and make wooden steps which I feel is more in keeping with the model and the actual scale. To help with the construction I created a jig as below ...
klyall_steps_2.jpg
The left sections of the jig are to prepare the stair edge and steps. The top left part of the jig is to cut the correct angle on the stair edge with marks for 2 and 5 step lengths whilst the bottom left jig is to cut the step width.

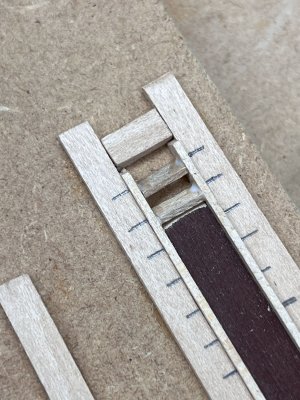
The jig to the right is to support construction of the stairs. As below the stair edge are inserted left and right with the brown spacer to hold them in place. The brown spacer is shaped at the top at the required angle for the steps and working step by step is pulled towards you as steps are added. The excess glue is not obvious in the final stairs as these are underneath as the top part in the photo below is actually the bottom of the stair.
klyall_steps_1.jpg
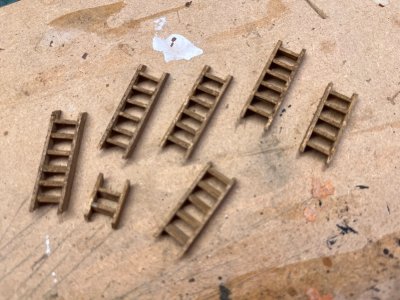
This worked well and I suspect much easier to construct than the supplied brass stairs.
klyall_steps_3.jpg
The only thing I would change in the future is to paint the individual parts before construction as the PVA glue prevented the paint from taking hold in places.
 
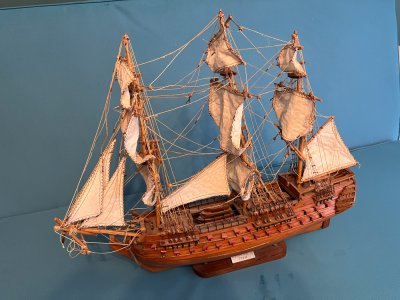
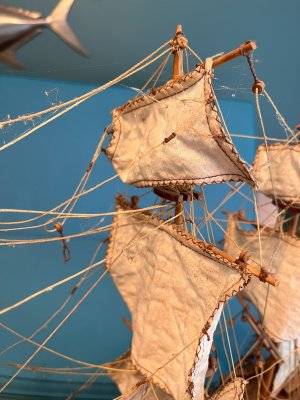
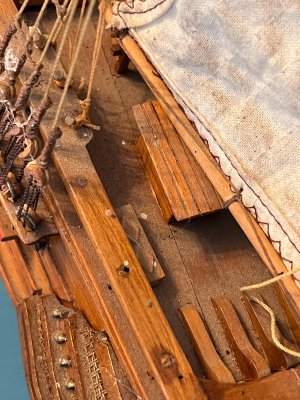
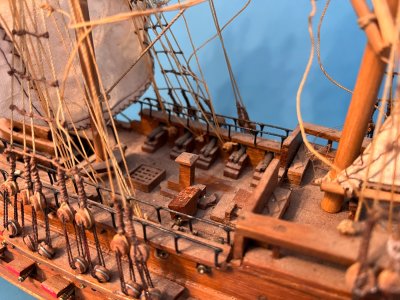
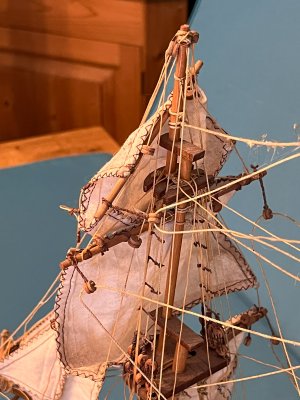
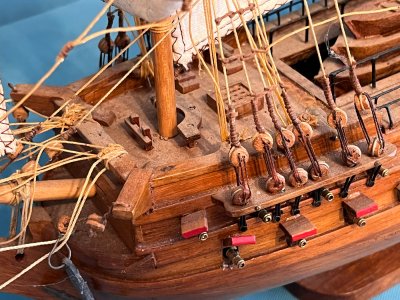
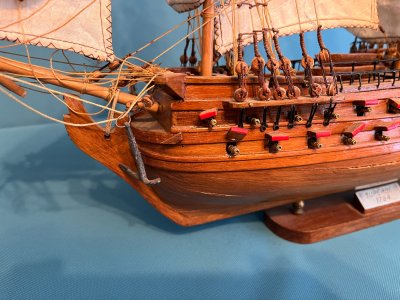
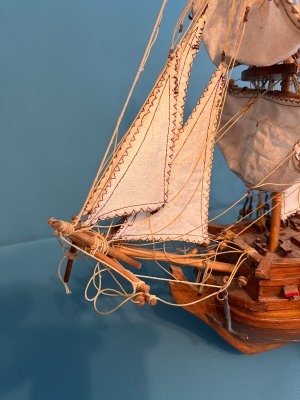
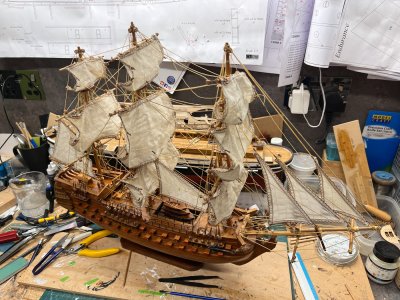
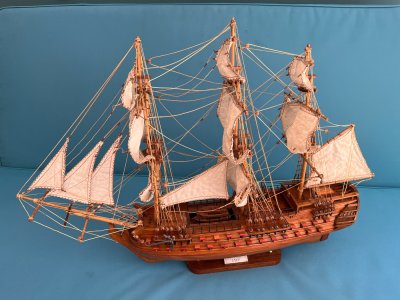
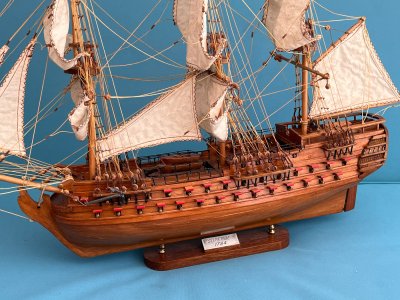
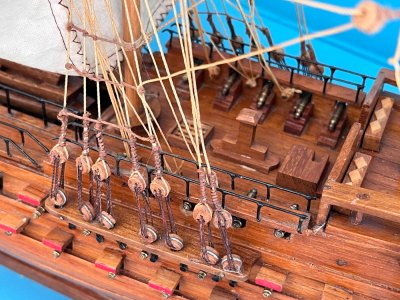
Superbe 1784 ... an interlude from the current Endurance build. After a friend saw my model ships she asked if I could repair an existing model ship which had sustained damage. She had been given a model of Superbe from a very close friend who has since passed and hence was the model held great sentimental value. The model had broken spars, a broken bowsprit, detached rigging, broken guns and gun ports, a myriad of spiders webs and dead spiders as well as many years of dust.
klyall_superbe_before_1.jpgklyall_superbe_before_8.jpgklyall_superbe_before_7.jpgklyall_superbe_before_6.jpgklyall_superbe_before_5.jpgklyall_superbe_before_4.jpgklyall_superbe_before_3.jpgklyall_superbe_before_2.jpg
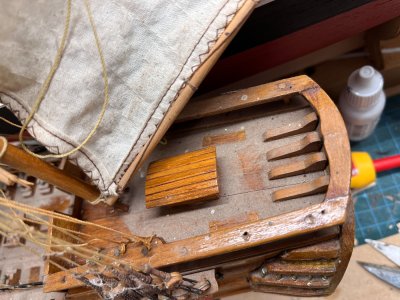
Always willing to accept a challenge I pulled the ship into dry dock and started work. Many cotton buds and methylated spirits later the hull and decks were cleaned of dust/dirt and fingers and tweezers used to remove the cobwebs and dead spiders. The top of the cabin shows initial cleaning progress contrasting to the deck.
klyall_superbe_drydock_3.jpg
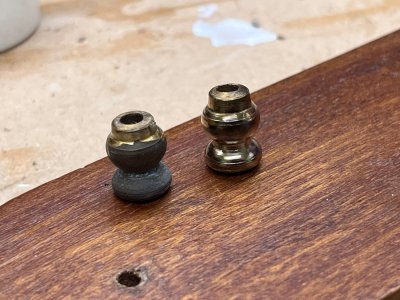
A wire brush on a Dremel brought cannons and other brass back to life. Before and after of brass plinth holders.
klyall_superbe_drydock_2.jpg
I tried to retain as much of the original model including the rigging. Removing the broken bowsprit and rigging ...
klyall_superbe_drydock_4.jpg
... and replacing with a new bowsprit and rigging.
klyall_superbe_drydock_5.jpgklyall_superbe_drydock_6.jpg
A number of other jobs included removing and reattaching gun port hatches, creating a new hatch, reattaching loose rigging and repairing broken spars. I was able to turn a new spar and slide into place and slide existing rigging onto the new spar.

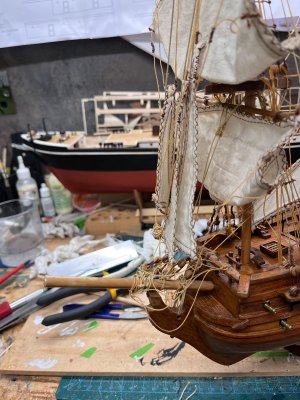
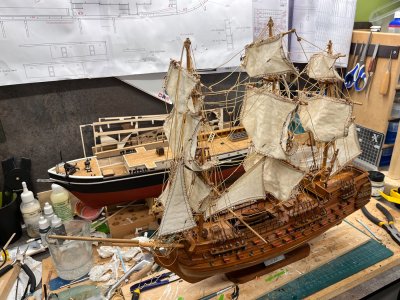
A few slides of the final restoration ...
klyall_superbe_after_1.jpgklyall_superbe_after_4.jpgklyall_superbe_after_3.jpgklyall_superbe_after_2.jpg
Certainly has been an interesting distraction from my current build and good to use my skills to breath new life into the model.

klyall_superbe_drydock_1.jpg
 
Back
Top