• LUCZORAMA SHIPWRECK SCAVENGER HUNT GIVEAWAY. 4 Weeks of Fun • 1 Legendary Prize ((OcCre’s Fram Ship)) • Global Crew Welcome!
    **VIEW THREAD HERE**

Endeavour 1934 by SaltyScot - Amati - 1:80

Joined
Feb 22, 2025
Messages
6
Points
3

Location
Virginia, USA
1740410320219.png

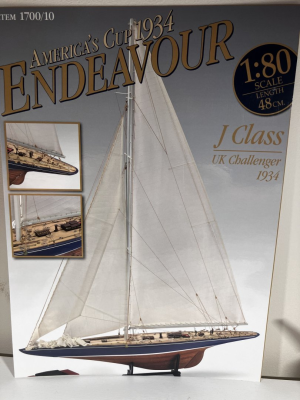
Endeavour is a J-class yacht built for the 1934 America's Cup by Camper and Nicholson in Gosport, England. She was built for Thomas Sopwith who used his aviation design expertise to ensure the yacht was the most advanced of its day with a steel hull and mast. She was 130-foot (40 m) and launched in 1934 and won many races in her first season including against the J's Velshedaand Shamrock V. She failed in her America's Cup challenge against the American defender Rainbow but came closer to lifting the cup than any other until Australia II succeeded in 1983.

Source: Wikipedia.
https://en.m.wikipedia.org/wiki/Endeavour_(yacht)

This is a wooden model kit from Amati.
It was the sleek lines of this beautiful boat that first caught my eye. It is my hope that the model I intend to complete will in some way show that beauty.
1740410361842.png

1740410383418.png

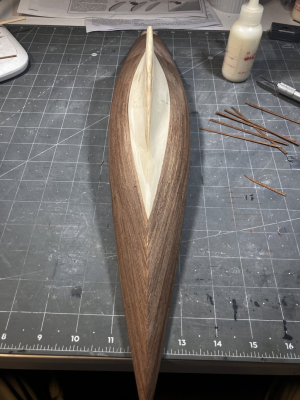
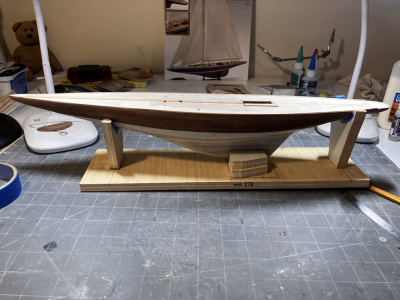
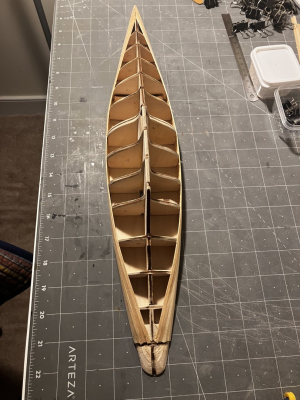
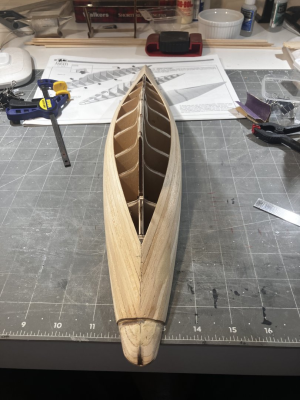
The hull will be getting two layers of planking, these maple strips are the underlying layer, they will be covered with a second layer of walnut planking. I intend to stick to the original colors of the yacht, I really like them.
1740410428303.png

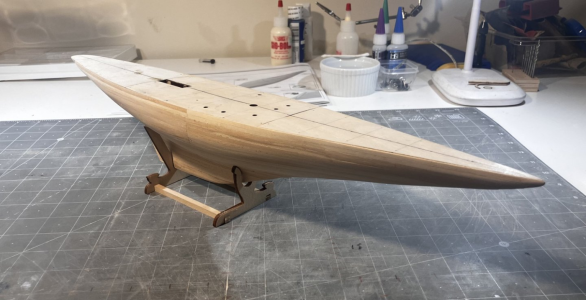
The hull has its first layer of planking now. The next step is to smooth out and small bumps and irregularities using a fine wood filler. After a final sanding the second layer can be applied.
1740410469943.png

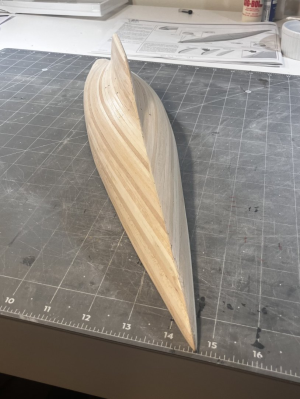
The hull has been coated with a fine wood putty that was smoothed down with a wet finger. Once dry it will be sanded with 220 grit to even out and small irregularities and make it nice and smooth for the second layer of planking.
1740410516332.png

1740410531132.png

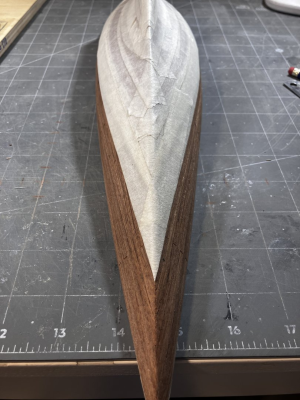
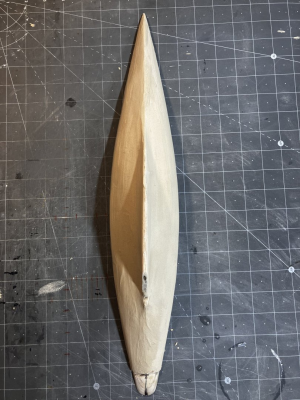
Finally dry and sanded down nice and smooth. I am content now that the second layer of planks will sit nicely in this surface.
1740410614709.png

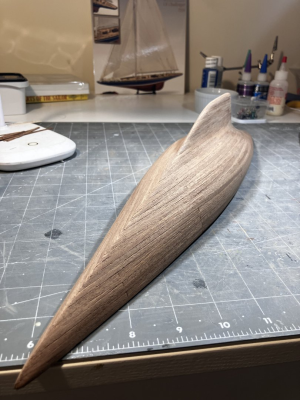
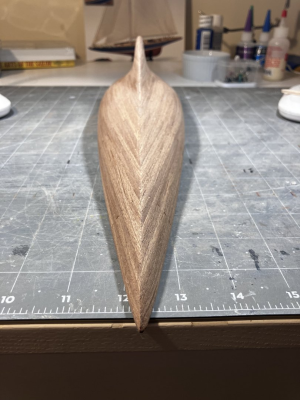
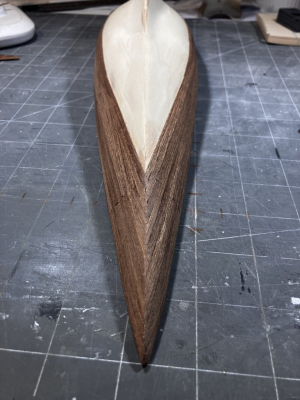
The second layer of planking is going on.
1740410643224.png

1740410670053.png

1740410691037.png

1740410711780.png

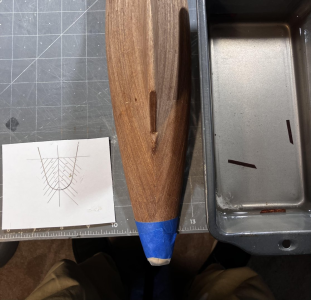
I have put a backing piece behind where the rudder will be placed. I don't want any of the white maple strips to show once the rudder is fitted.
 
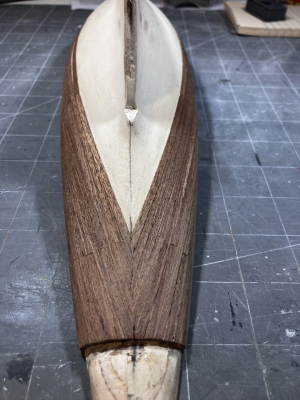
I am shaping the second planking pieces for the stern. This involves cutting them to length (I made a small template to assist with that), soaking them for a few hours and then taping them to the model so that, when they dry overnight, they retain their shape.

1740410834102.png

1740410879383.png

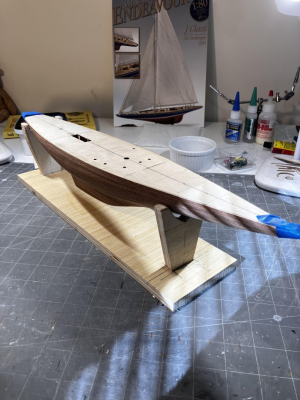
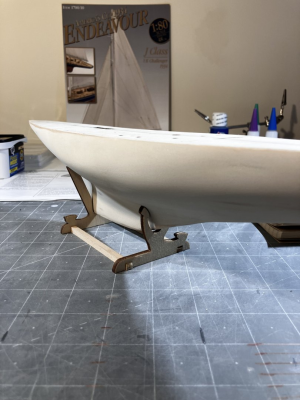
Because the deck planking and overall topside fittings are next on the plan I decided to put together a temporary platform for the yacht to sit on while I work on the deck.

1740410947396.png

1740410968479.png

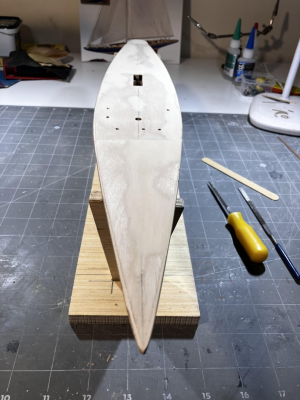
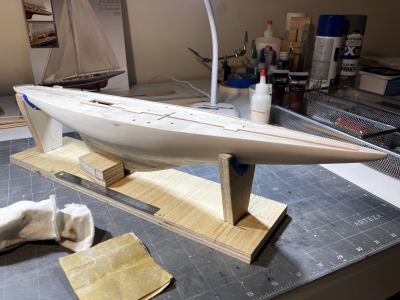
As I did once the first layer of planking was finished, I filled the deck with a fine wood filler and flat sanded it to give me a very smooth surface for the deck planking.

Because I have decided to paint the top half of the hull, similar to the original colors, I had to mark the waterline and mask off the part of the hull that is staying as natural wood.

1740411014144.png

1740411028380.png

Once that was done I covered the hull with a very fine filler that was sanded down to give me a smooth surface for the paint job.

1740411059107.png

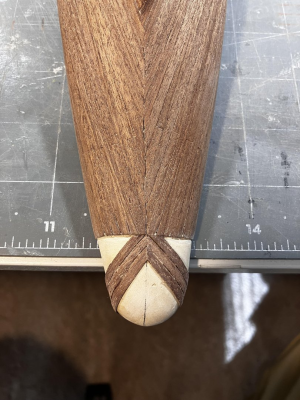
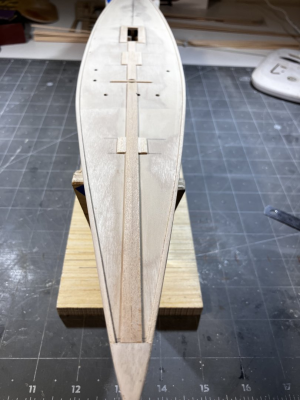
I decided to add small "islands" under the major structures on the deck. As well as that, I modified the planking at the bow slightly. I was not happy with having the two center planks go all the way to the bow tip. By adding a small plate I could have them sit nice and squarely at the bow and give the deck planking something to butt up against at that point. It will save a little bit of cutting and shaping I guess
:)


The top rail and the front plate I added will be painted the same color as the top part of the hull. I will be masking the deck off and painting before I add any more of the deck planks. I want the paint job on the hull finished before I carry on "up top".

1740411137012.png
 
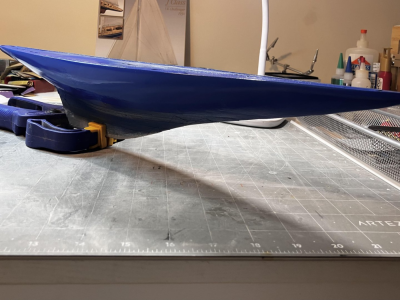
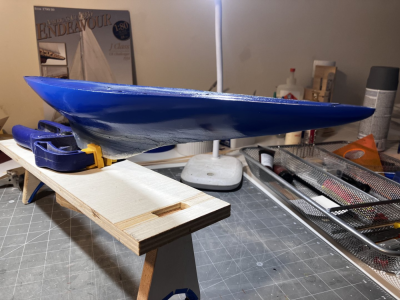
The first coat of the final color is on. I am very satisfied with how this color looks, in my opinion it really accentuates the lines of the boat. Once dry she will be getting another two coats and a white pinstripe before she is sealed up.

1740411195020.png

1740411215590.png

1740411258649.png

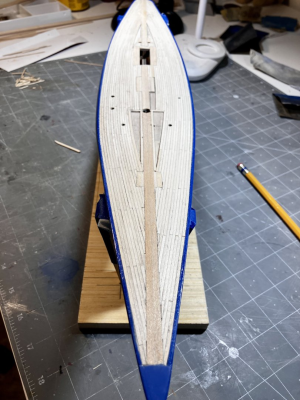
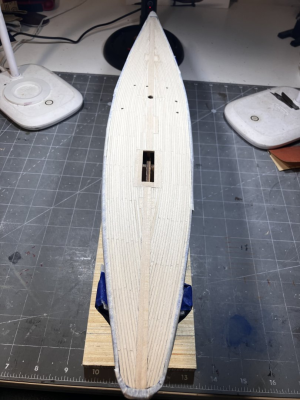
The hull planking is coming along nicely too.

1740411302303.png

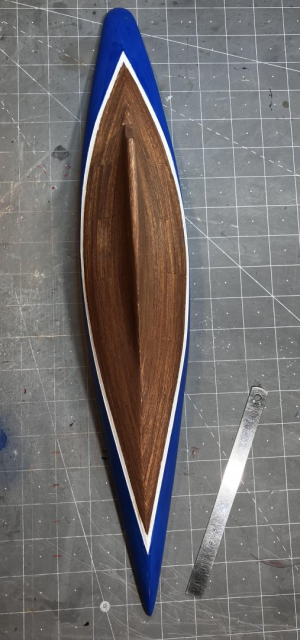
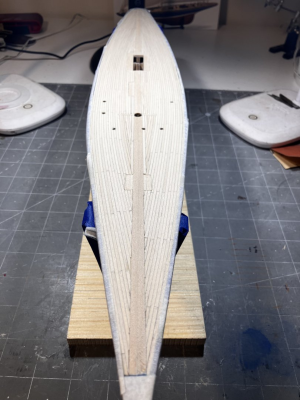
Once the planking was complete I masked off the top rim and wiped some chlorine onto the wood to whiten it up a little and bring a bit of uniformity to the wood tone. As with any moisture that is applied to finished wood, it will raise the grain so the deck will need a light sanding with 200 grit before I do anything else. Depending on the results, I may apply another coat of chlorine, it all has to dry thoroughly first. After that the hull will get its final coat of paint and then, once dry, a clear coat over the whole thing.
1740411350112.png

1740411383866.png

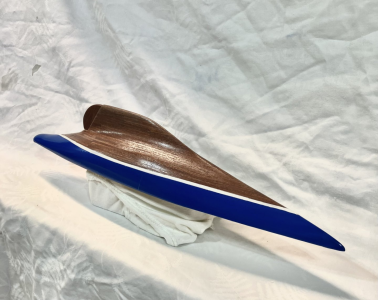
The hull is complete. She has had 3 layers of paint and 3 layers of wipe-on poly to seal it all up. Once everything is completely dry I will be starting on populating the deck. While I am waiting, I will begin assembling the mast and the last deck fitments.

1740411420630.png
 
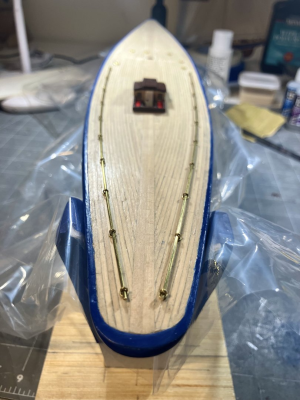
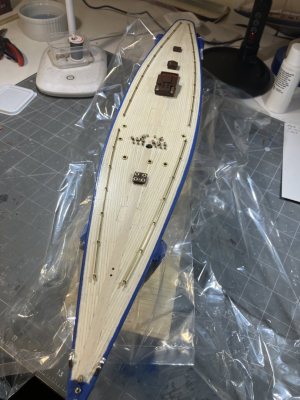
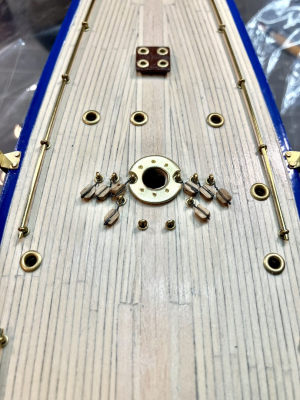
Now the work begins on populating the deck.

1740411490574.png

1740411534484.png

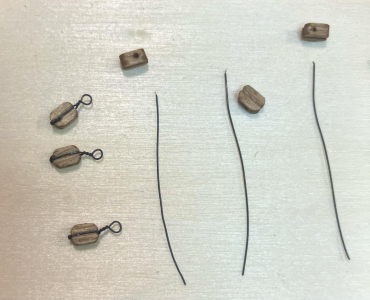
I decided to take a break from the deck for a while and start stropping some of the 40 odd blocks that are required for the rigging etc. These things are 4mm in length and VERY interesting to handle!

1740411580464.png

I have started working on the mast. I went ahead and fitted a brass washer at the mast base. I had seen this done on an Endeavour build in this forum and quite liked the look.

1740411657181.png

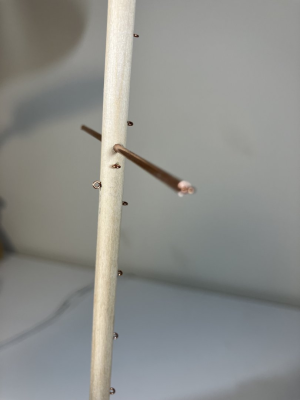
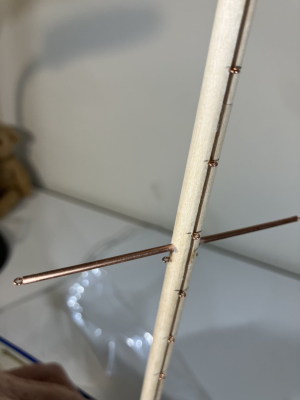
As anyone who has done this build knows, there are A LOT of the small eyelets to be attached to the mast, 26 alone running down the stern facing side for the sail. It was certainly interesting drilling all the holes and cutting the eyelets down to size. The plans recommend cutting them down to 7mm in length but I found this to be too long. I adjusted mine to 5mm and they fit just fine. The only ones I had to make a little shorter were the few at the top of the mast. The taper up there required shorter eyelets so that they didn't protrude out the back.

1740411723695.png

1740411735148.png

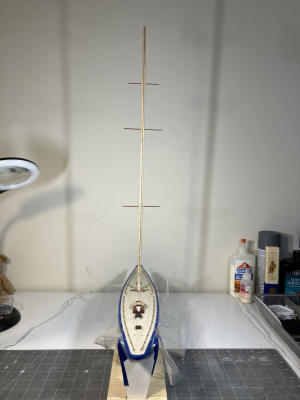
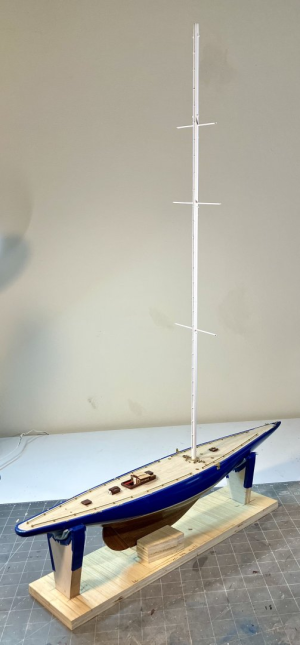
Once everything was assembled, I did a dry fit. This is one tall mast!

1740411764039.png

The mast was then primed, left to dry and another fit was done. This really gave me a good idea of how the final colors will work together. I will be applying two more coats and a clear coat before all is done.

1740411795657.png
 
Back
Top