• LUCZORAMA SHIPWRECK SCAVENGER HUNT GIVEAWAY. 4 Weeks of Fun • 1 Legendary Prize ((OcCre’s Fram Ship)) • Global Crew Welcome!
    **VIEW THREAD HERE**

Experiments With 3D Printed Ship Stand

  • Thread starter Thread starter JohnA
  • Start date Start date
  • Watchers Watchers 6
Joined
Aug 2, 2018
Messages
461
Points
323

Location
Sydney, Australia

Hi All,
A while back there was a thread started by Brian077 dealing with the market research and availability of mythical creatures ship stands:
https://shipsofscale.com/sosforums/threads/mythical-sea-creatures-research.5714/
There was also a quote within the thread from SZKUTNIK to design and CNC mill the pieces from wood. Although the quote was reasonable for the amount of work involved it was still a bit too high for the average ship modeller.
So, being the obsessive person that I am I allowed the thought of this project to stick around in my head for a while. I researched what was out there, I knew the learning curve for CNC milling wood stands was too long and so, after some time, I put the wheels in motion to get a 3D resin printer.
Why a 3D resin printer?
Well, the main reasons for me: It is simple to use, the finished model’s details are very fine, they use .STL files that I can use on the software I already know (Sketchup) and the printers are relatively cheap (my one cost around $400 aussie)- this allows me to make countless prints rather than paying once for a set of stands.
Another reason is that there is a wealth of free 3D files already available for download on the net.
So having bought the printer- run a few samples, trials, mistakes, watched videos to fine tune the prints I was able to get relatively good prints after a week or two.
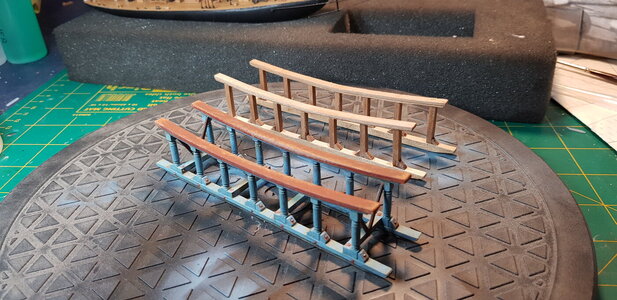
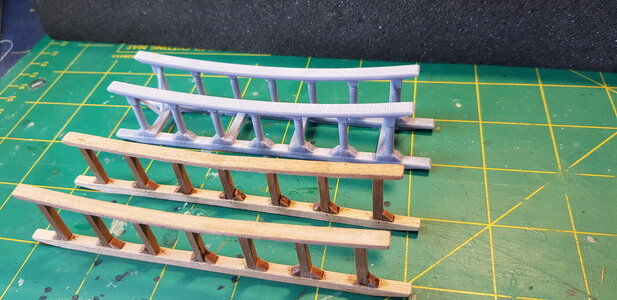
This being my 3rd ever print - a skid for the Mini-Mamoli Britannia.
20201020_164111.jpg
20201129_175259.jpg
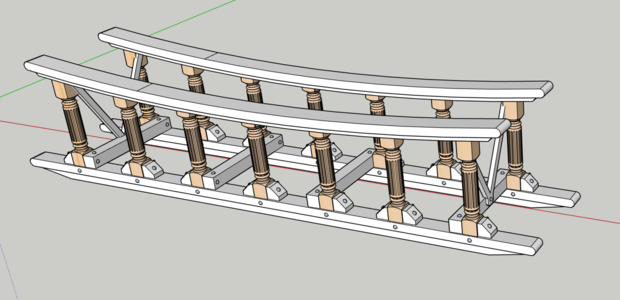
Designed on Sketchup:
Screen Shot 2020-11-29 at 6.11.59 pm.png
Next was looking for a subject that could be used as the initial trial for a ship's stand.
As I mentioned, there are internet sites that have hundreds of ready to print files, the two main sites are:
MyMiniFactory and Thingiverse
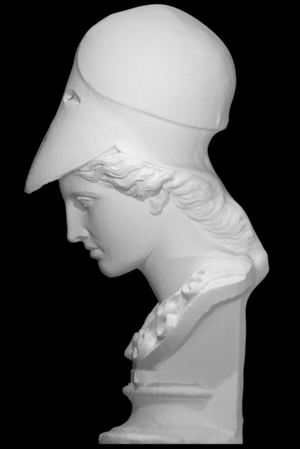
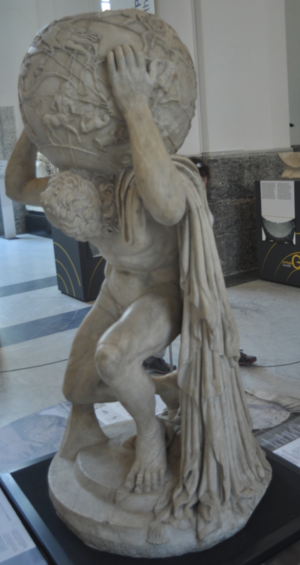
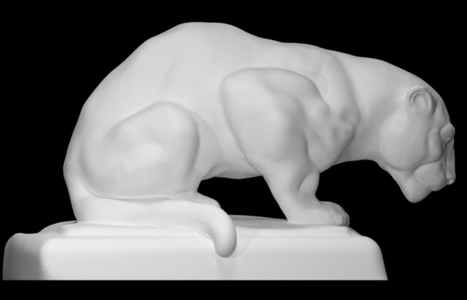
MyMiniFactory has a section that contains file uploads of collections of actual scanned artefacts, statues, sculptures from museums around the world- then turned into highly detailed 3D scannable files.
https://www.myminifactory.com/scantheworld/
I researched this section looking for something that would look ok under a ship or, even better, as if it was already carrying the weight of the ship. Ideally the theme would be related to the sea.
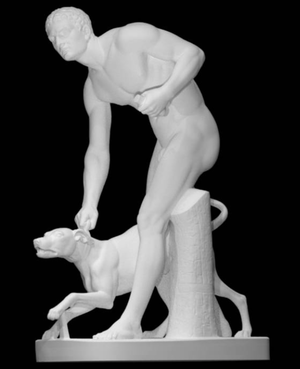
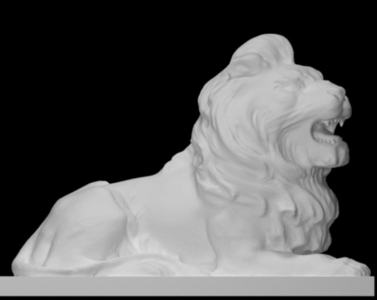
This is what I narrowed it down to (not too many maritime themed samples):

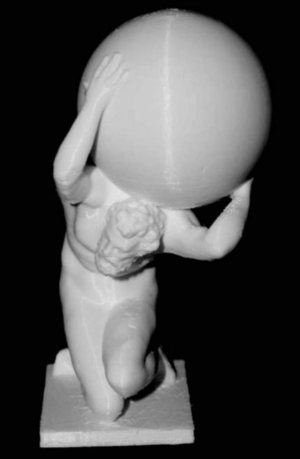
Screen Shot 2020-11-04 at 11.02.20 pm.pngScreen Shot 2020-11-04 at 11.03.08 pm.pngScreen Shot 2020-11-04 at 11.03.42 pm.pngScreen Shot 2020-11-04 at 11.04.17 pm.pngScreen Shot 2020-11-04 at 11.05.32 pm.pngScreen Shot 2020-11-04 at 11.06.17 pm.pngScreen Shot 2020-11-04 at 11.06.43 pm.pngScreen Shot 2020-11-04 at 11.07.02 pm.pngScreen Shot 2020-11-04 at 11.07.21 pm.pngScreen Shot 2020-11-04 at 11.07.37 pm.pngScreen Shot 2020-11-04 at 11.23.01 pm.pngScreen Shot 2020-11-04 at 11.23.48 pm.pngScreen Shot 2020-11-04 at 11.24.29 pm.pngScreen Shot 2020-11-04 at 11.24.51 pm.pngScreen Shot 2020-11-04 at 11.25.59 pm.pngScreen Shot 2020-11-04 at 11.26.28 pm.pngScreen Shot 2020-11-04 at 11.26.59 pm.pngScreen Shot 2020-11-04 at 11.27.21 pm.pngScreen Shot 2020-11-04 at 11.34.33 pm.png

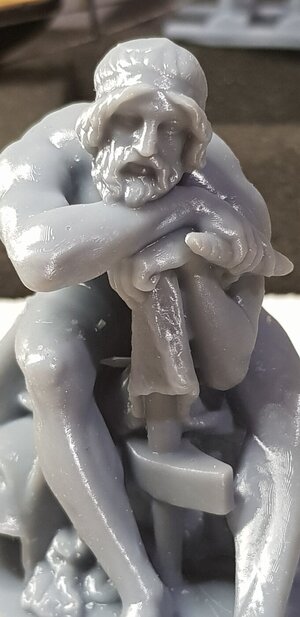
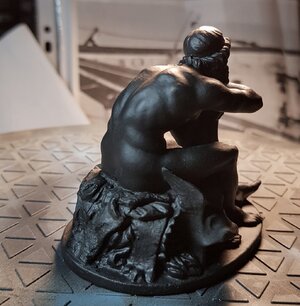
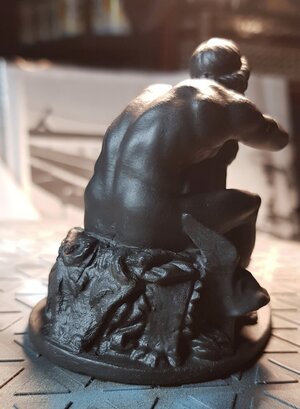
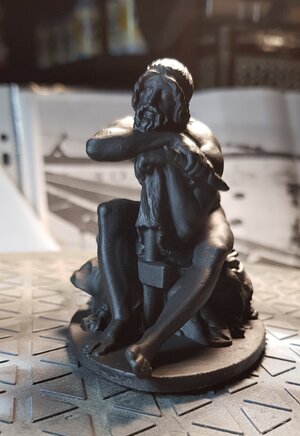
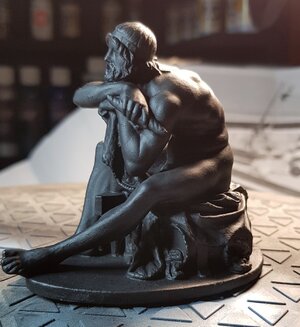
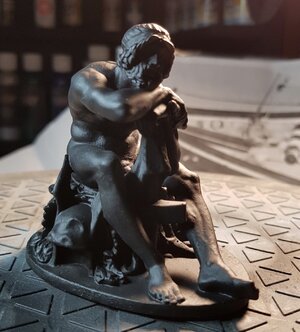
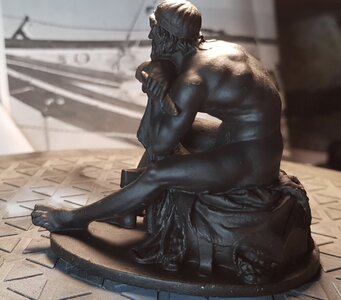
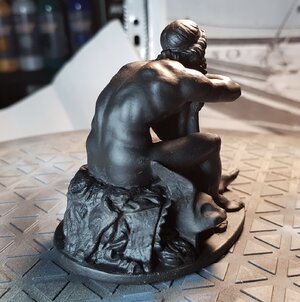
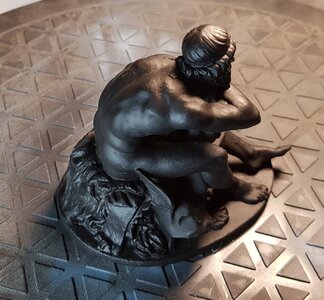
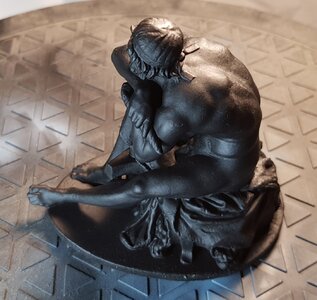
Eventually I decided to use Thor (last picture) mostly because of his posture and the perspective of the sculpture.
His back and head looked ideal to support a ship and his legs brought forward meant he would not get too lost under the ship.

I know 3D printed parts are not to everyone’s taste, and I respect that sentiment as I was part of that camp only a few months back. To me it’s the flexibility and detail that can be achieved for models that will be painted over anyway that makes 3D parts a good alternative option.

So now the journey begins- The aim is to replicate a ship stand in a weathered bronze verdigris finish.
I plan to use this thread to experiment new techniques, get feedback from other members, make mistakes and learn from them, document the steps along the way (to allow me and others to reference them later) and hopefully have a reasonably good result for my first trial before moving onto the real thing. The model itself is 82mm long (from tips of toes to the back of the base) and 72mm tall.
From here I downloaded the free web file, uploaded the file onto a USB drive, plugged it into the printer and pressed the ‘Print’ button,
….and eight and a half hours later:
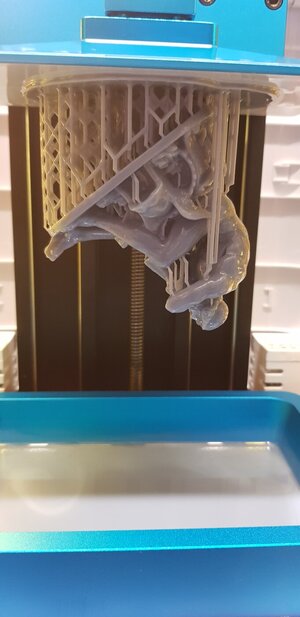
20201013_174404.jpg
 
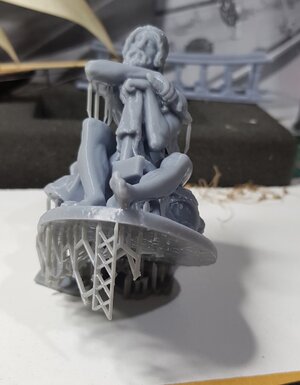
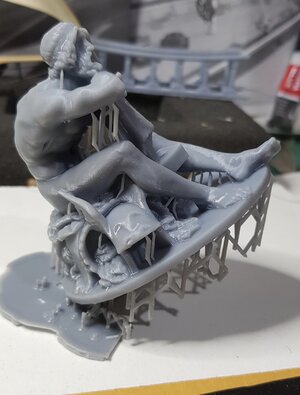
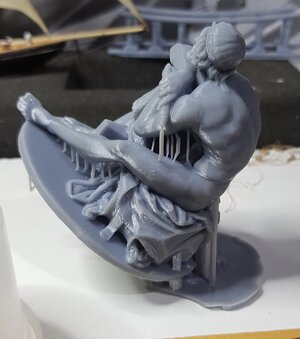
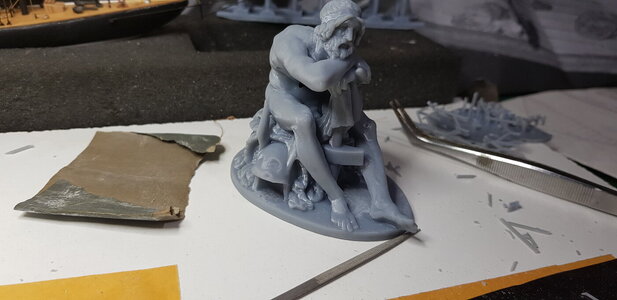
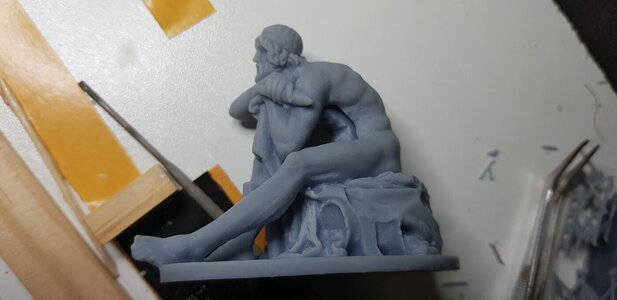
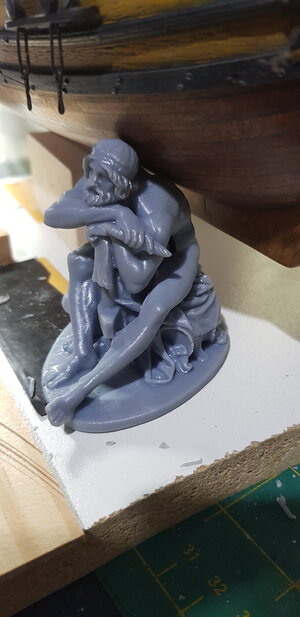
Going back a few days I'll post some images of the print as it came off the printer's plate, washing away the excess resin and removing some of the print supports we get to see the finished print a bit more clearly

fullsizeoutput_2.jpegfullsizeoutput_1.jpeg

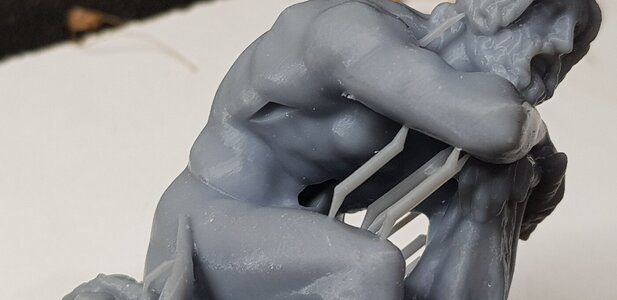
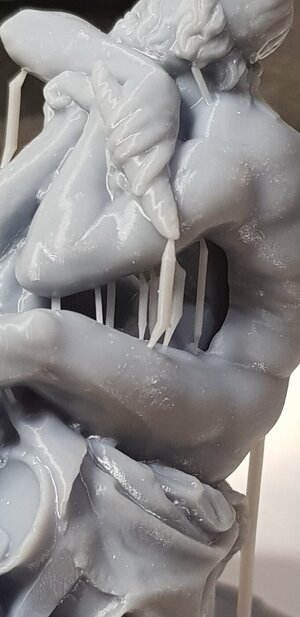
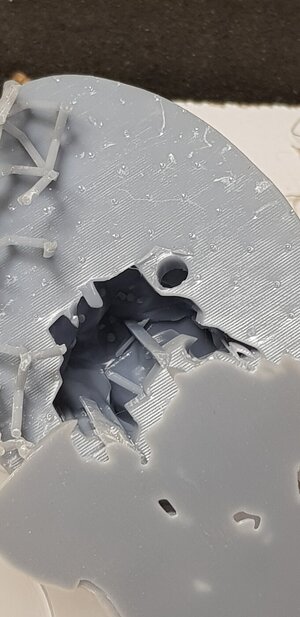
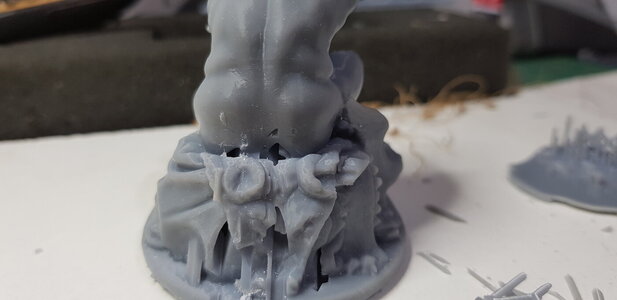
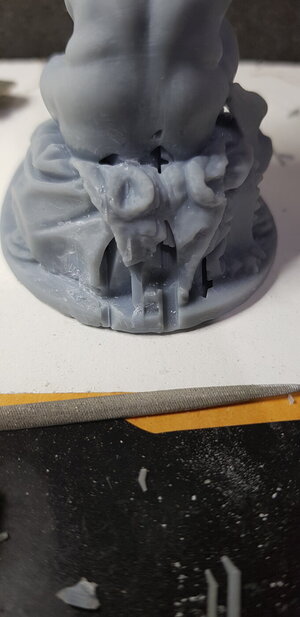
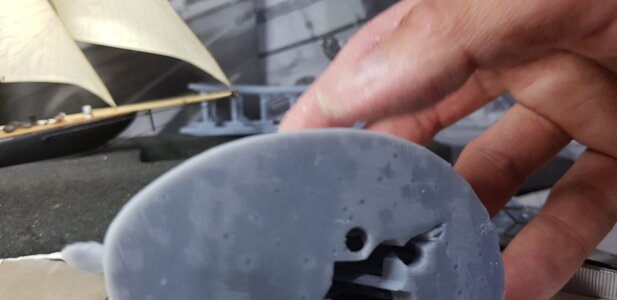
On closer inspection, there was some errors in the print probably caused by me hollowing out the model to save resin and having no experience at all doing this.
Holes in the right side and the belly of the model :
20201013_191938.jpg
Long hole on the left side:
20201013_192002.jpgfullsizeoutput_3.jpeg
Under the base is a mess, luckily it won't be seen.
20201013_192036.jpg
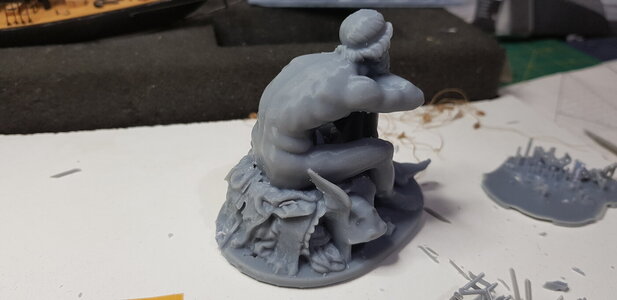
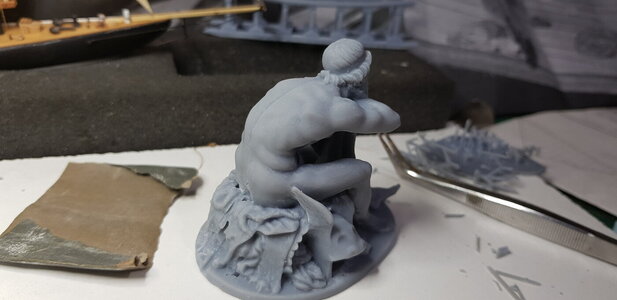
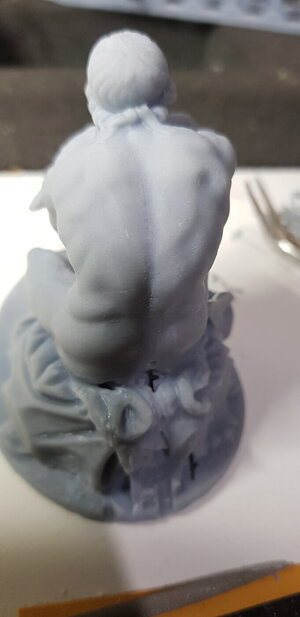
Back of the model
20201013_192856.jpg
removing the supports.
20201013_192938.jpg
You can see the remains of the supports on the leg before final cleanup.
20201013_193040.jpg20201013_203506.jpg20201013_203522.jpg20201013_203539.jpg20201013_203552.jpg20201013_203605.jpg20201013_203633.jpg

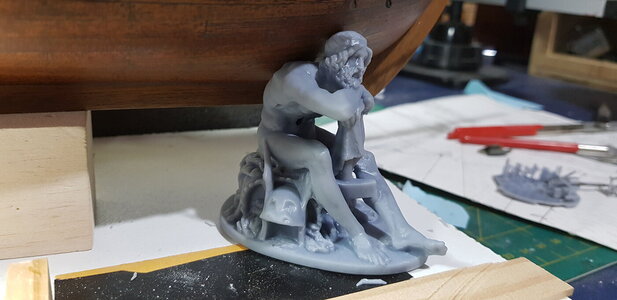
...and placed under a small ship model:
20201013_204809.jpg

20201013_204936.jpg
 
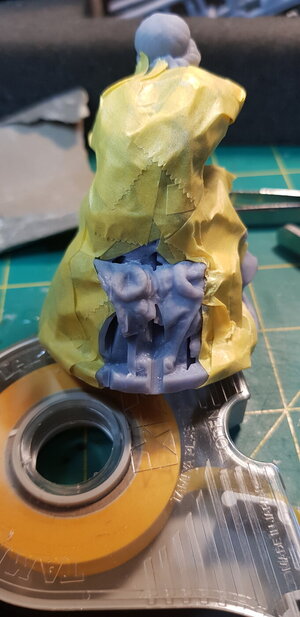
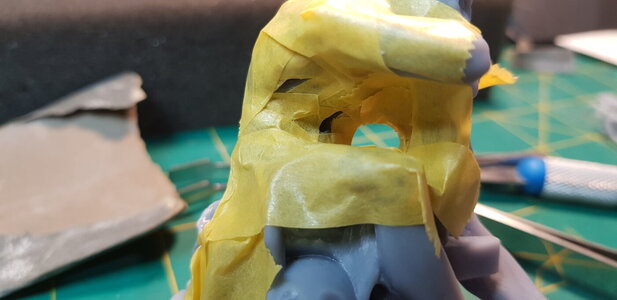
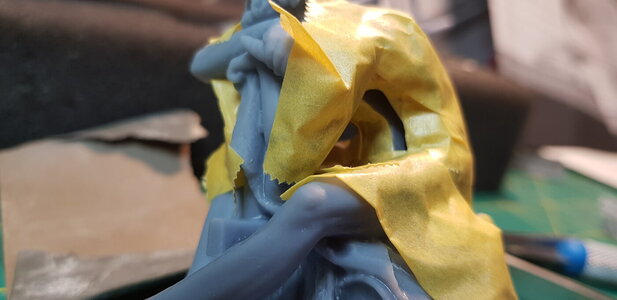
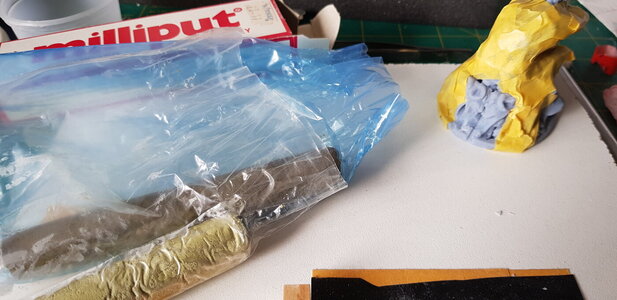
Even though this is just an experiment and I don't won't to include this figure as a stand for a model ship the holes on the side and the back of the figure were still annoying me. I decided to mask up the area to avoid filling in any details and fill the holes with Milliput putty.20201014_222731.jpg20201014_222758.jpg20201014_222825.jpg20201020_132435.jpg
Wow, the clarity of these phone cameras is better than my eye sight.
Remember the figure is 72mm (2.8inches) tall.
 
Great work. Which 3d Resin pronter did you get, have you a picture of it? I use a regualr 3d printer but am intersted in a Resin version. What sclae is the figure you've made?
 
The printer is the Anycubic Photon S printer, I chose it because it had good reviews and quite easy to learn to use.
I'm not really sure about the scale I just scaled it down (dragged the corner of model) in the software until it reached the right height I wanted. To be honest I'm not even sure what the original's dimensions are.
 
Hi Brian,
This is just an experiment, I'm new to this so I'm just trying to figure it out and I'm also curious what the final result will look like..
I was actually wanting to get ideas from the SoS community on what would be good subject matter with some examples of images.
Hoping the final figure(s) will look a little stylised or 'heroic' in appearance.
That's not to say that I can't offer something you like eventually.
 
I tried printing a 28mm figure with a standard filament 3D printer and found the detail to be not very good. Have you tried any smaller figures? The finish looks very smooth.
 
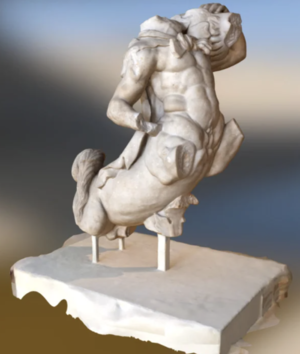
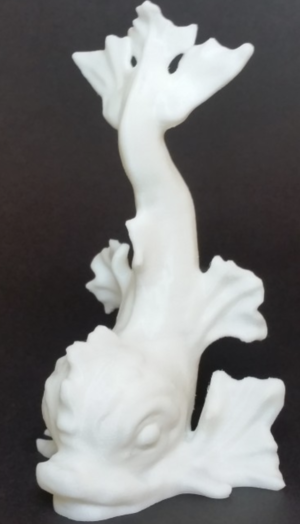
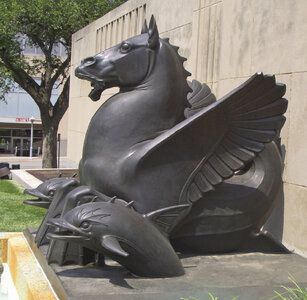
John, the Hippocamp is a great subject to model for ships stand.

.View attachment 197410
Very good example: the face of the horse has good style - previously I was actually looking at a hippocamp with the 'heroic' horse head that looked frightened with mouth open, nostrils flared like in some of the old statues:
Similar to this:
Screen Shot 2020-12-07 at 12.16.53 pm.pngScreen Shot 2020-12-07 at 12.50.48 pm.png
Screen Shot 2020-12-07 at 1.13.41 pm.png
This one would make good wings and tail for the hippocamp:
Screen Shot 2020-12-07 at 12.35.02 pm.png
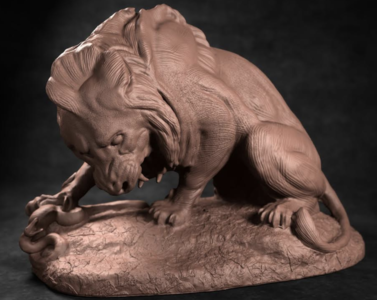
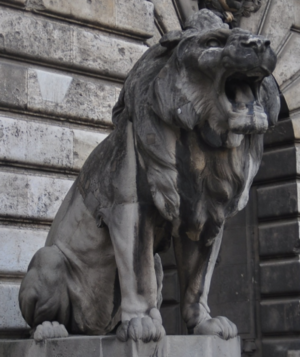
Another option from a fountain statue in Paris:
Screen Shot 2020-12-07 at 12.33.44 pm.pngScreen Shot 2020-12-07 at 12.32.59 pm.pngScreen Shot 2020-12-07 at 12.32.26 pm.png
 
I tried printing a 28mm figure with a standard filament 3D printer and found the detail to be not very good. Have you tried any smaller figures? The finish looks very smooth.
The filament printer is not very good for small, fine details.
In the first post there's a photo of a 3D printed 128mm (5") long sled for the Mini-Mamoli model of the Britannia. You can see the details of the flutes in the columns and the tiny bolts.
 
The filament printer is not very good for small, fine details.
In the first post there's a photo of a 3D printed 128mm (5") long sled for the Mini-Mamoli model of the Britannia. You can see the details of the flutes in the columns and the tiny bolts.
Your experiment and finish look very good. How hard is the resin for support carved removal and trimming? This opens new doors for all types of uses related to ships, supports, and who knows what else is outside of the box??? Rich (PT-2)
 
Your experiment and finish look very good. How hard is the resin for support carved removal and trimming? This opens new doors for all types of uses related to ships, supports, and who knows what else is outside of the box??? Rich (PT-2)
The finish is hard plastic.
When it comes out of the printer it is quite soft and fragile, but the finished model needs the excess resin washed off first then it needs to sit in the sun (or any other UV light) for a few minutes where it really hardens.

Anything that will be painted over on a ship model can be 3D resin printed: canons with fine emblems, stern lamps, kitchen, ship's wheel, doors with hinges, knobs and locks, window grills/frames, capstans, decorative stair and stern balcony stanchions, figurehead, ship's carved decoration, or just components and accessories of other parts. etc.
 
Back
Top