-

Win a Free Custom Engraved Brass Coin!!!
As a way to introduce our brass coins to the community, we will raffle off a free coin during the month of August. Follow link ABOVE for instructions for entering.
-

PRE-ORDER SHIPS IN SCALE TODAY!
The beloved Ships in Scale Magazine is back and charting a new course for 2026!
Discover new skills, new techniques, and new inspirations in every issue.
NOTE THAT OUR FIRST ISSUE WILL BE JAN/FEB 2026
You are using an out of date browser. It may not display this or other websites correctly.
You should upgrade or use an alternative browser.
You should upgrade or use an alternative browser.
Flying Cloud, American Clipper Ship 1851 - Scale 1:96, by Mamoli
- Thread starter Peter Gutterman
- Start date
- Watchers 14
- Joined
- Jun 17, 2021
- Messages
- 3,199
- Points
- 588

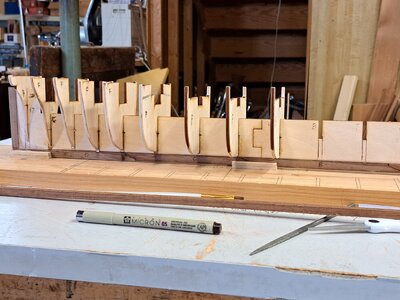
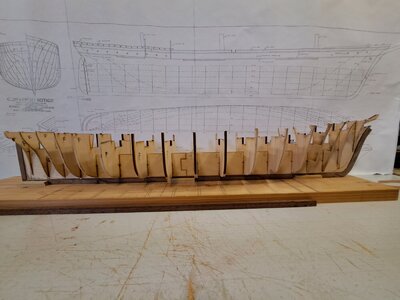
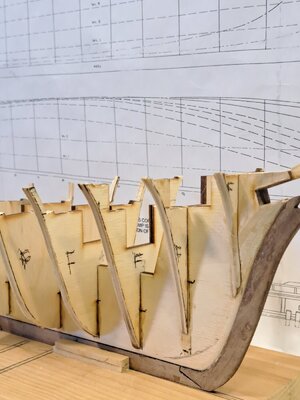
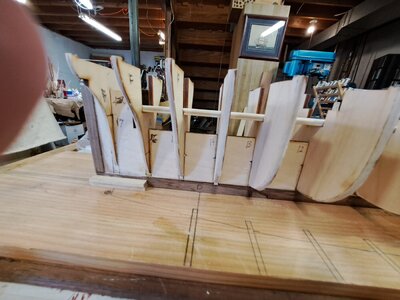
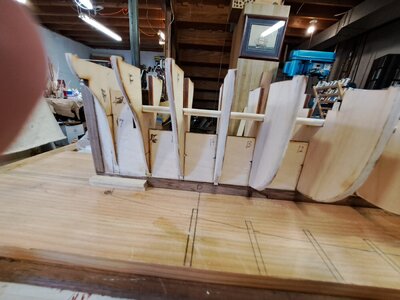
A little update. I've beveled the edges of the pertinent bulkheads to hopefully achieve a fair run of Strakes. A necessary, if, at best, bit of unavoidable guesswork at this stage. Fitting, gluing and shaping blocks of balsa between the bulkheads is on the horizon. At this juncture I felt reasonably confident in gluing the bulkheads in place, after much bulkhead-on-bulkhead-off-sand a little, wash, rinse and repeat, ad nauseum.
None the less I used liquid hide glue, the most adjustable (due to its' very slow set time) and reversible (a little warm water brushed along the glue joints) of adhesives. Very user friendly, if you aren't in a hurry. Also, cleanup is very easy and thorough. It won't leave a sealed stain or finish barrier if cleaned up well with warm water. But again, it's veeeery slow.
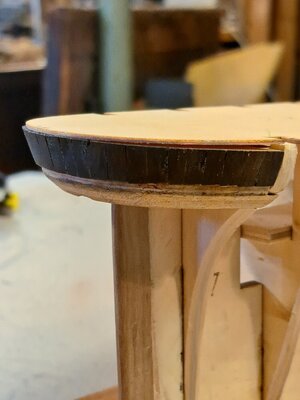
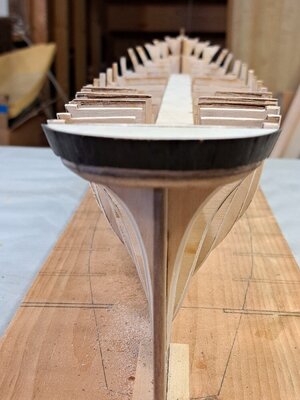
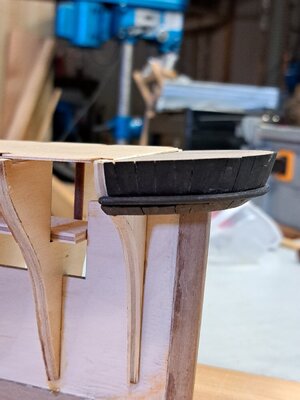
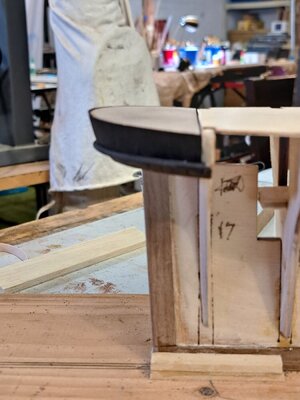
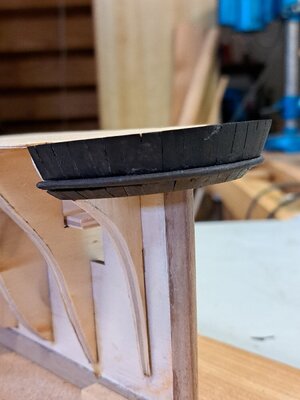
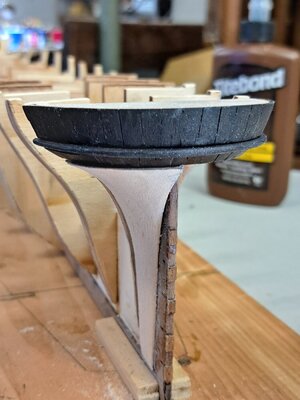
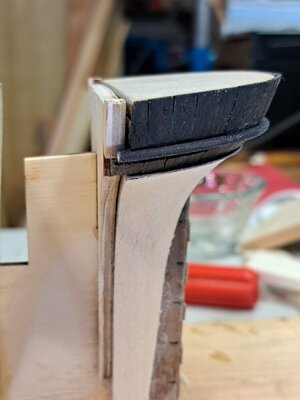
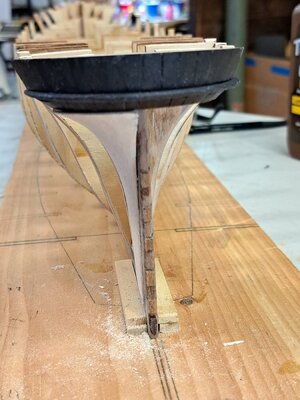
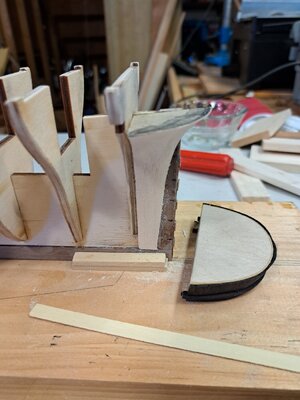
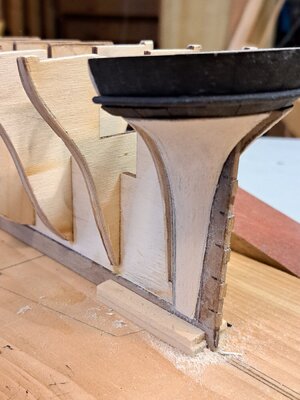
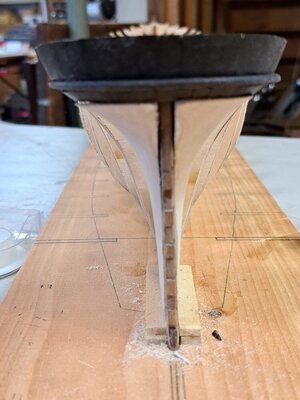
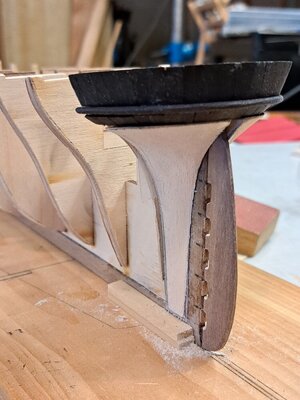
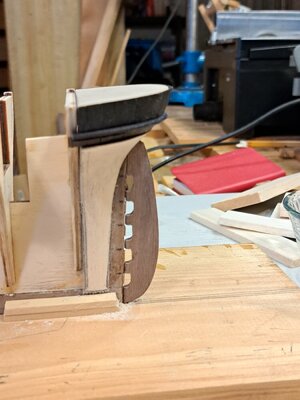
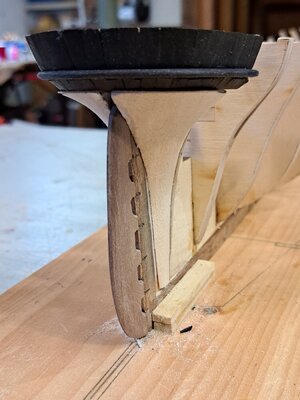
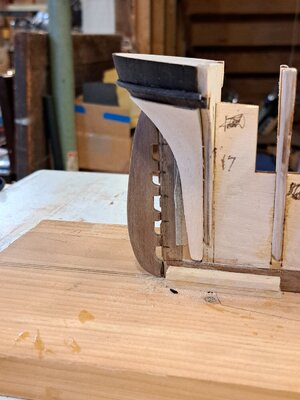
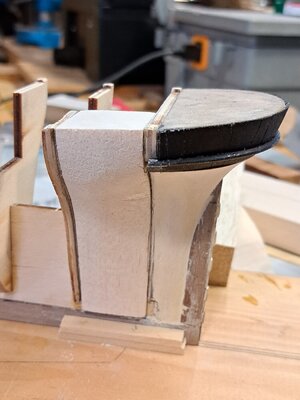
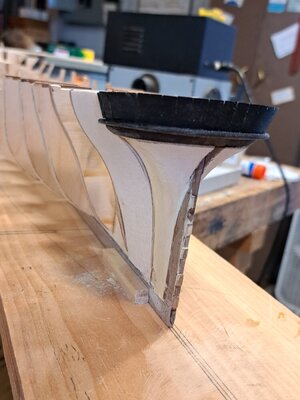
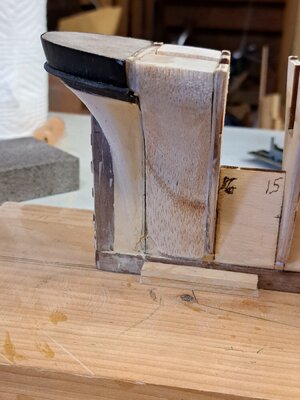
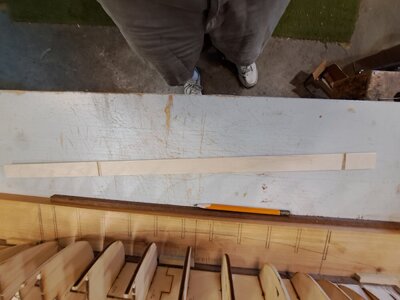
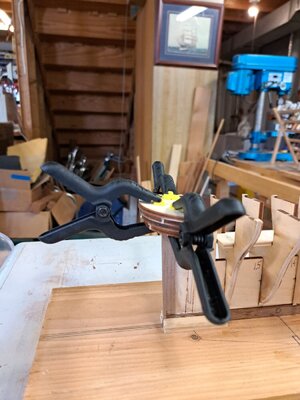
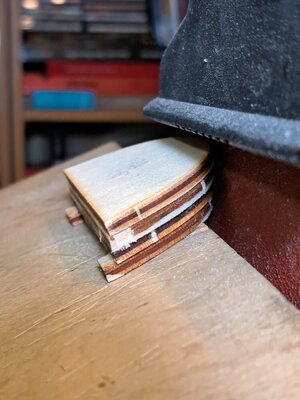
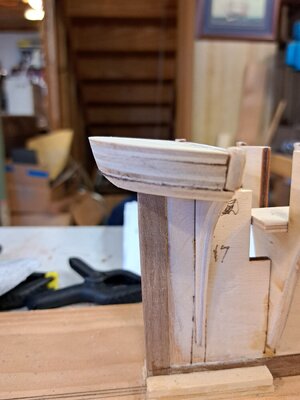
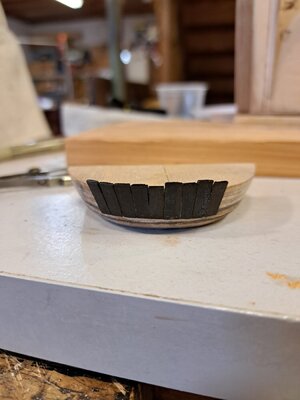
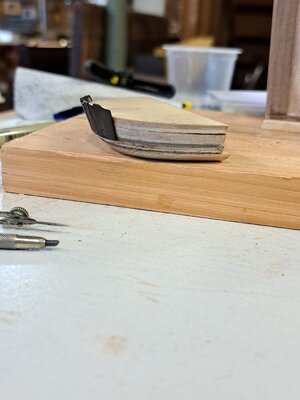
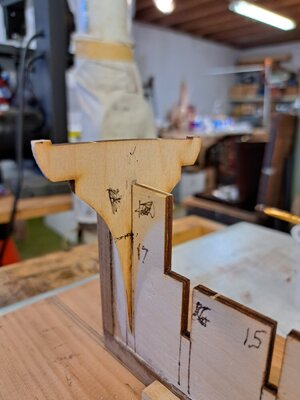
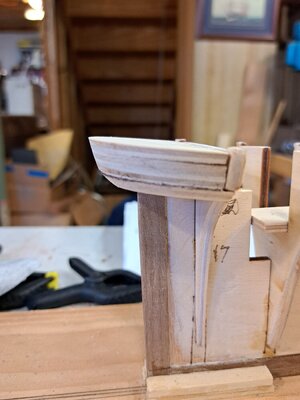
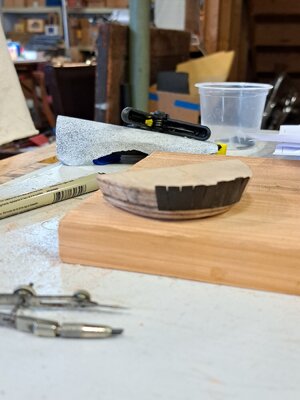
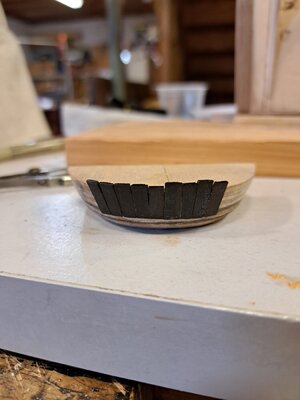
Next was to assemble and bevel the counter. I have begun veneer planking with Gabon Ebony. Lots more on- off fitting. The little ebony pieces have to be made into keystone shapes in order to fit edge to edge, conforming to the geometry of the counter curve and bevels. There are two such bevels on the counter to be veneered. I hope to use Ebony veneer strips, that I milled, to finish plank the hull. wish me luck. Hope springs eternal.
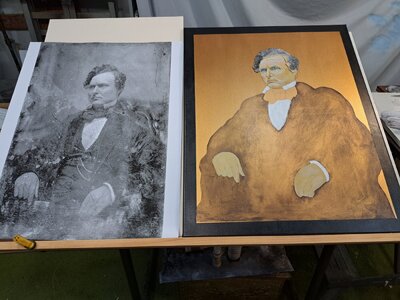
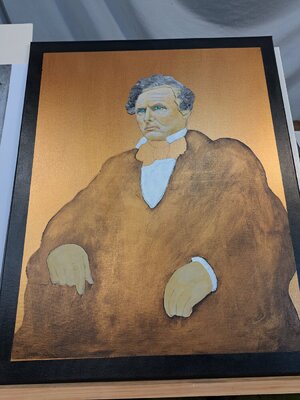
The portrait under development is that of Donald McKay, who designed and built the "Flying Cloud". I came across an old copper plate photo, An enlarged copy of which sits next to the developing painting. I thought it would be a cool companion piece to the model. Another time sink.


- Joined
- Jun 17, 2021
- Messages
- 3,199
- Points
- 588

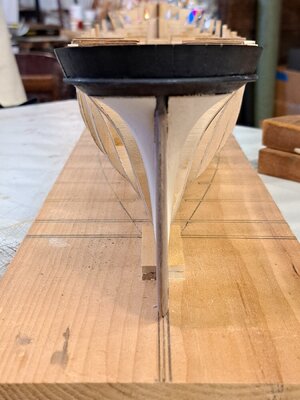
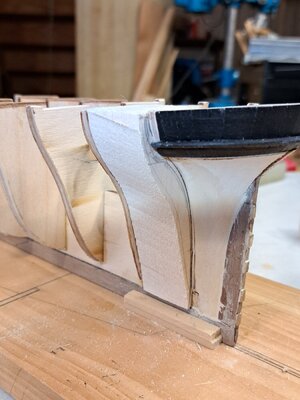
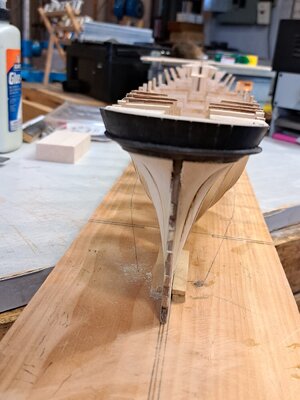
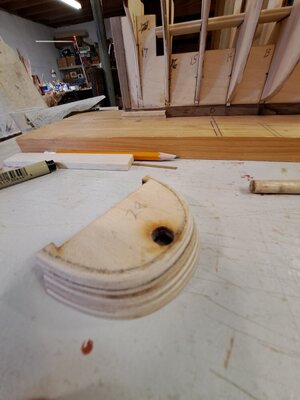
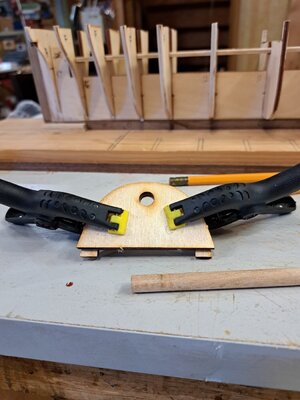
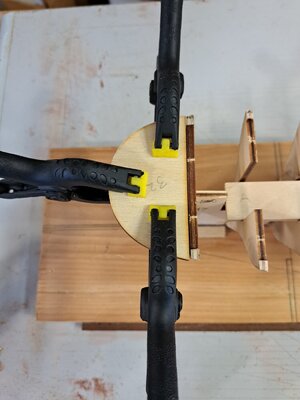
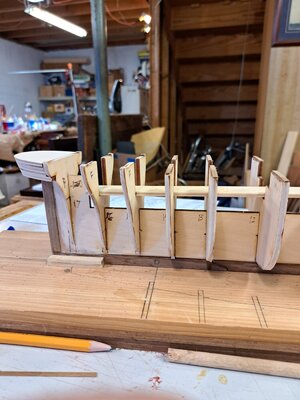
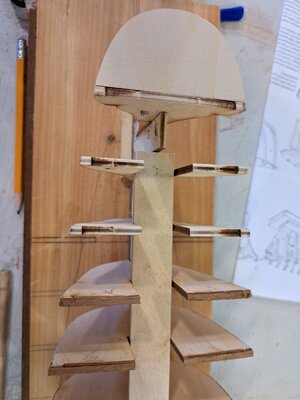
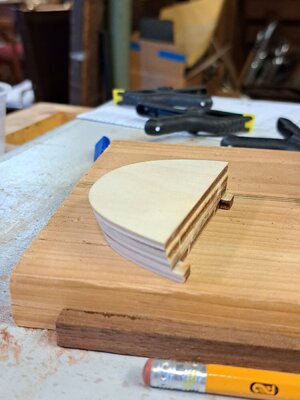
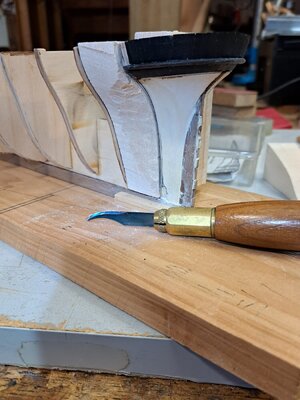
I am slowly (veeeery slowly) working towards making my model creep toward looking more like a ship's hull as opposed to a skeletal anatomy class project. I have added the counter (a very tedious and fiddley project in itself) and begun carving and adding balsa filler blocks between the bulkheads. Each a rather slow and head scratching project in itself. Hopefully before winter is out, I will have something resembling a ship's hull that I will be able to begin planking and detailing.
Pete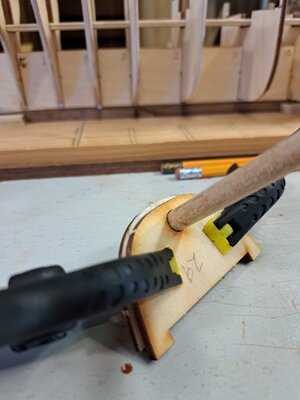
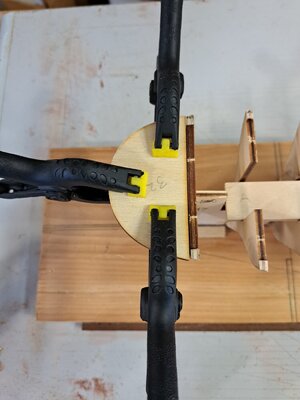
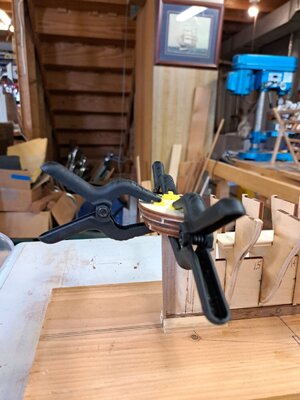
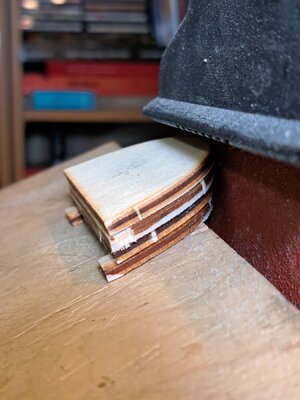
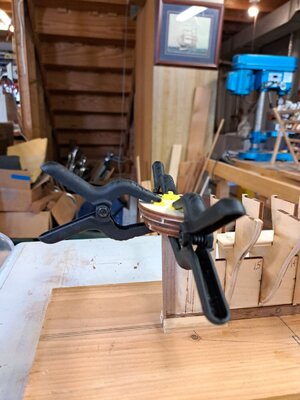
Pete


- Joined
- Jun 17, 2021
- Messages
- 3,199
- Points
- 588

Ever onward. The black planking tbs on the counter are ebony, by the way. I milled a bunch of strips thinking I'd use them for planking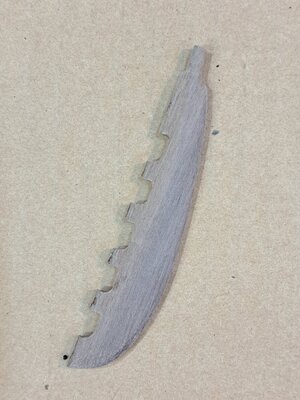
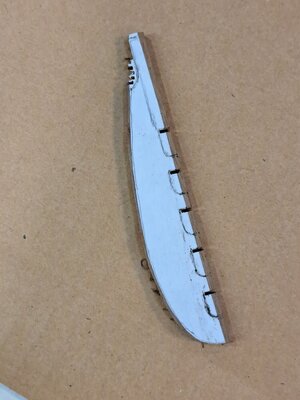
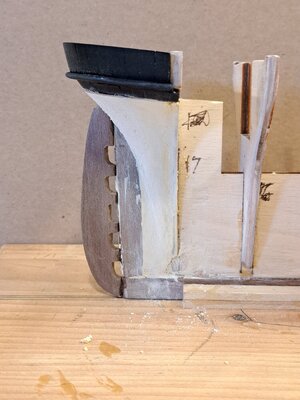
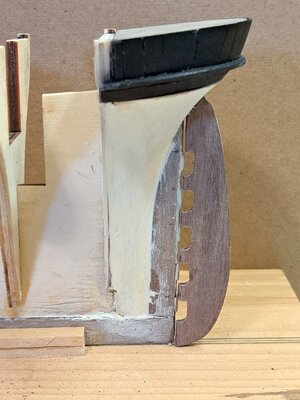
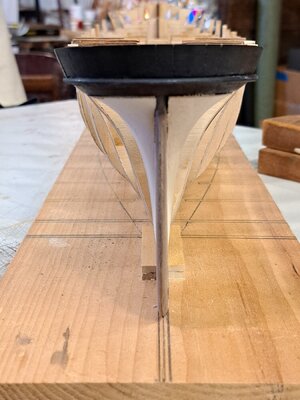 . I'm not sure it's going to work out. The best laid (and milled) plans.. but they were useful in planking the counter. Cutting and shaping each little tablet into a kind of keystone shape to account for the slant and curve of the counter surfaces was challenging. Each a little project unto itself. here making and pre fitting the rudder.


 . I'm not sure it's going to work out. The best laid (and milled) plans.. but they were useful in planking the counter. Cutting and shaping each little tablet into a kind of keystone shape to account for the slant and curve of the counter surfaces was challenging. Each a little project unto itself. here making and pre fitting the rudder.
- Joined
- Jun 17, 2021
- Messages
- 3,199
- Points
- 588

- Joined
- Apr 20, 2020
- Messages
- 6,239
- Points
- 738

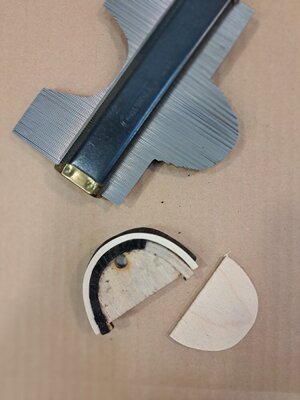
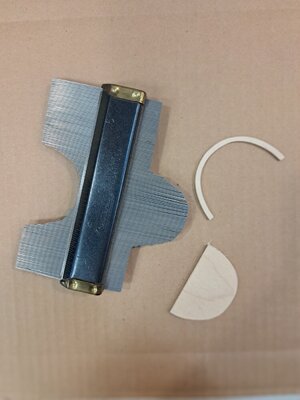
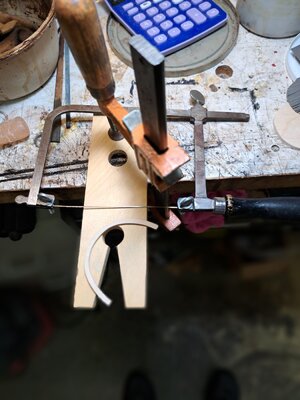
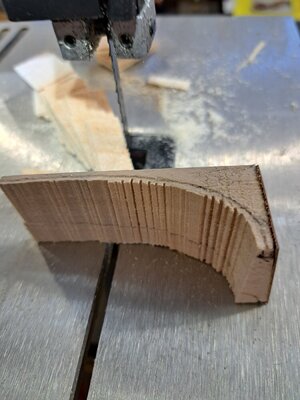
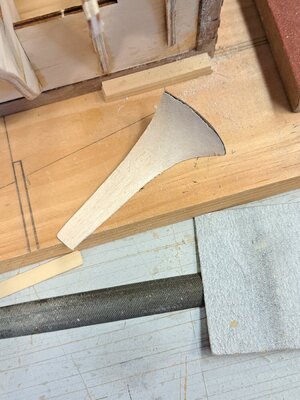
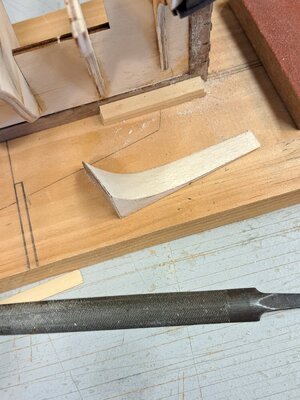
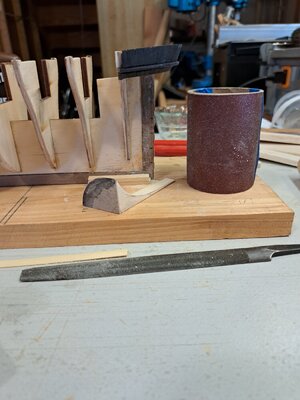
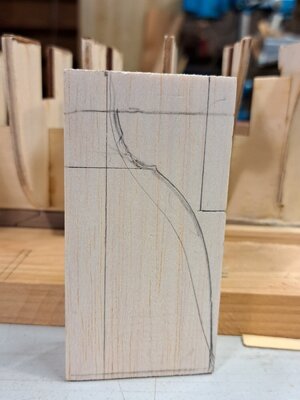
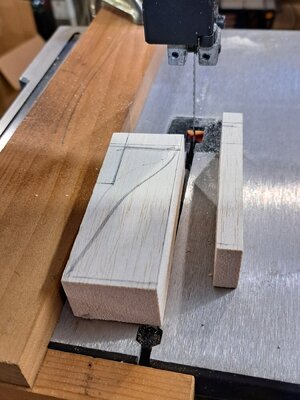
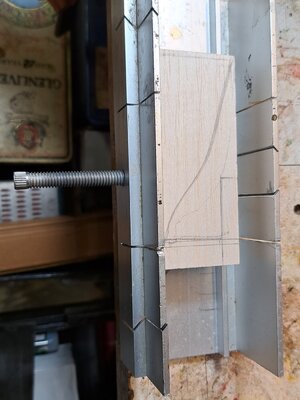
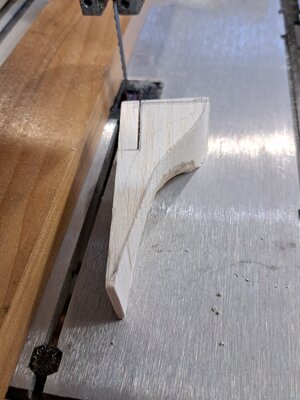
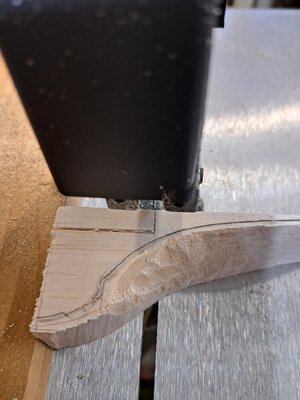
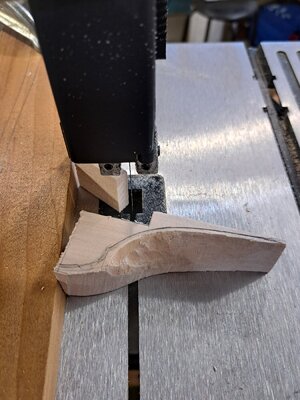
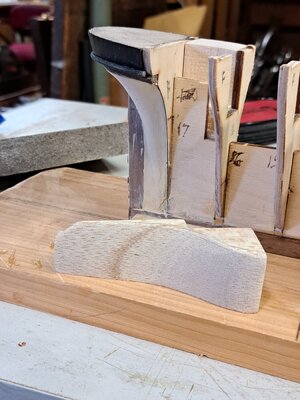
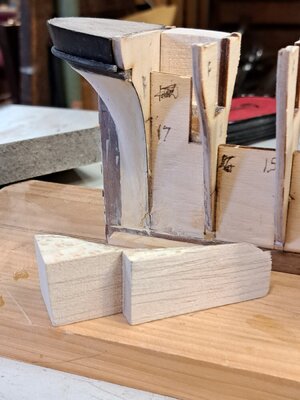
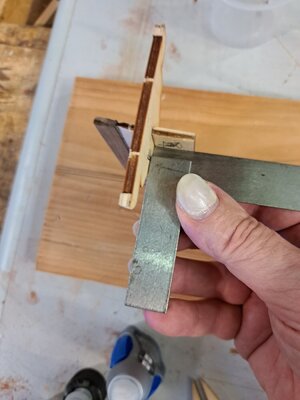
great work my friendMore on the counter and making the knuckle rub-rail using a contour gauge, eyeball and a little luck.View attachment 404369View attachment 404370View attachment 404371View attachment 404372View attachment 404373View attachment 404374View attachment 404375View attachment 404376View attachment 404377View attachment 404378

- Joined
- Jun 17, 2021
- Messages
- 3,199
- Points
- 588

Hello Peter,
a really beautiful ship in my opinion. You have made a good start and I will be happy to follow it.
a really beautiful ship in my opinion. You have made a good start and I will be happy to follow it.
- Joined
- Jun 17, 2021
- Messages
- 3,199
- Points
- 588

- Joined
- Jun 17, 2021
- Messages
- 3,199
- Points
- 588

Thanks, Tobias. I appreciate it!Hello Peter,
a really beautiful ship in my opinion. You have made a good start and I will be happy to follow it.
That's some pretty fancy wood block-shaping Peter. Nicely done!
- Joined
- Jun 17, 2021
- Messages
- 3,199
- Points
- 588

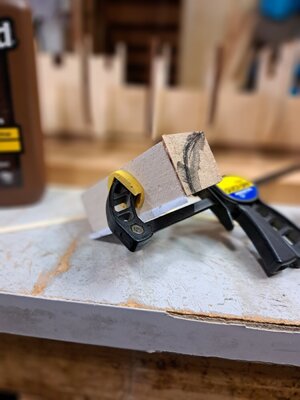
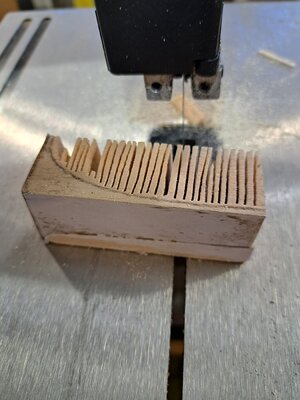
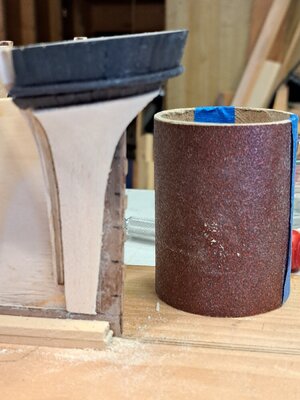
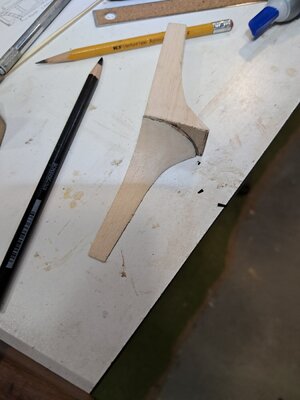
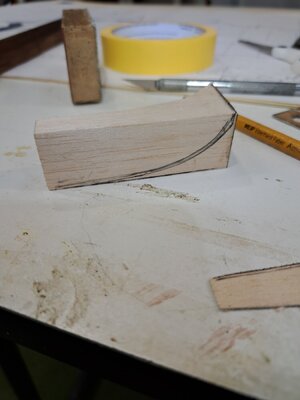
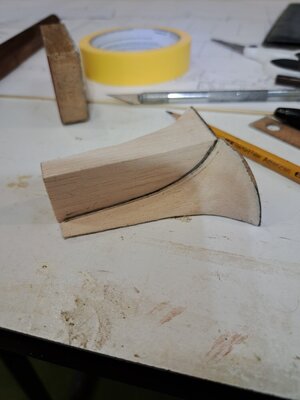
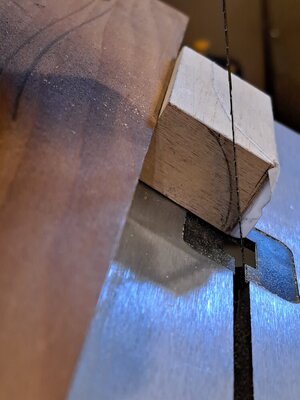
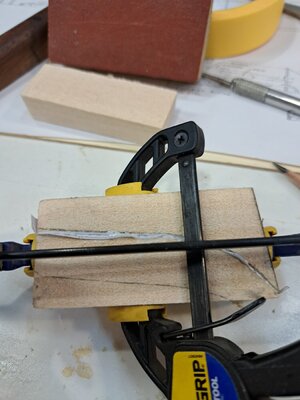
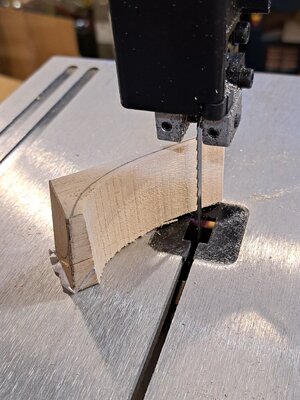
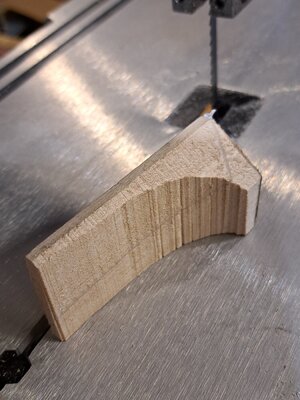
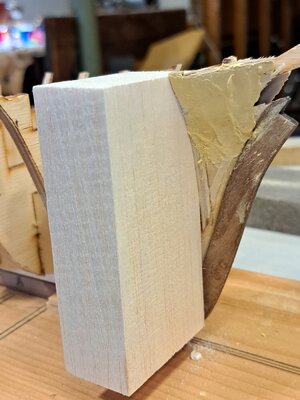
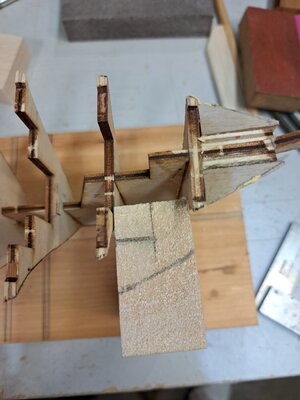
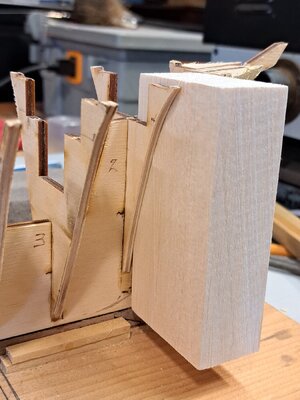
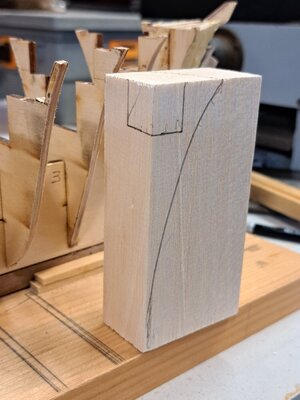
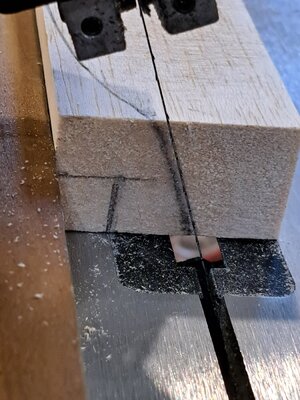
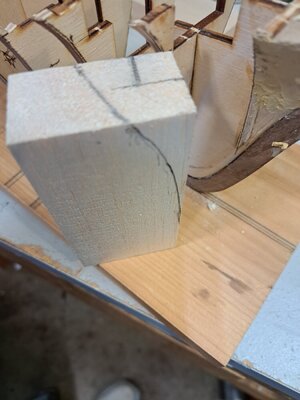
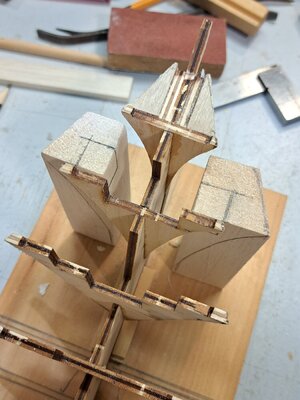
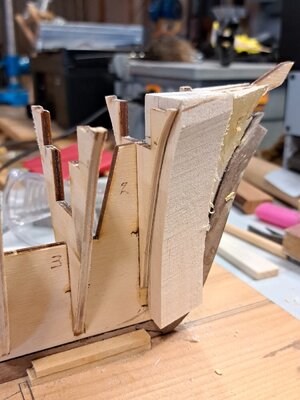
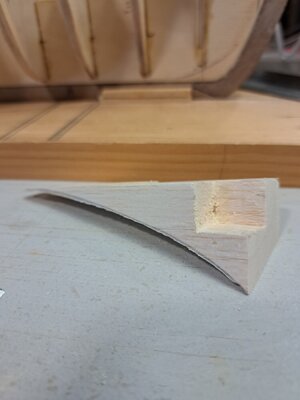
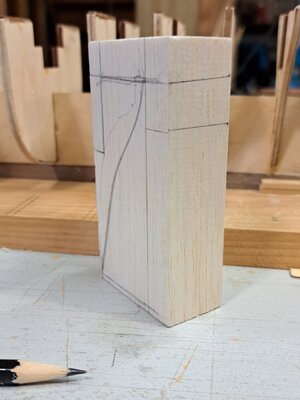
Thanks. A lot more to it than one might gather from the "after" picture examples one often sees on build logs, fills up a lot of space, but I want to give an idea of the how to, what tools, and the time involved. Very fussy, slow going and a myriad of ways to go wrong. More to post yet on the bow and first inside blocks.That's some pretty fancy wood block-shaping Peter. Nicely done!
Pete
- Joined
- Jun 17, 2021
- Messages
- 3,199
- Points
- 588

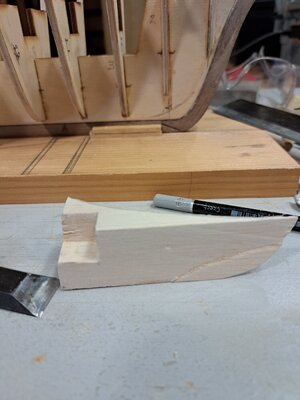
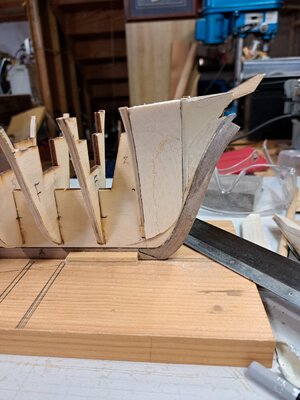
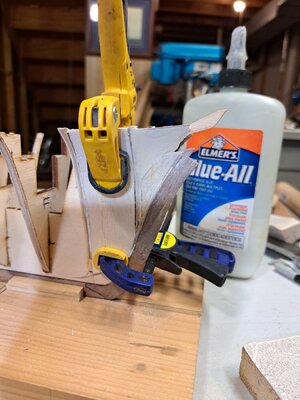
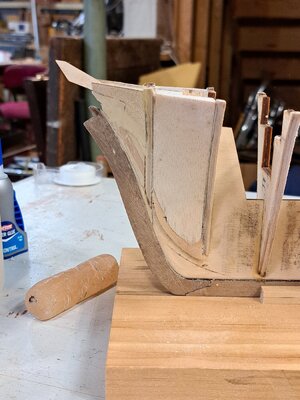
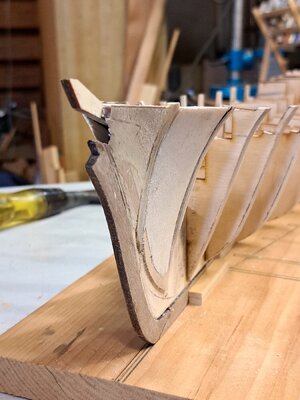
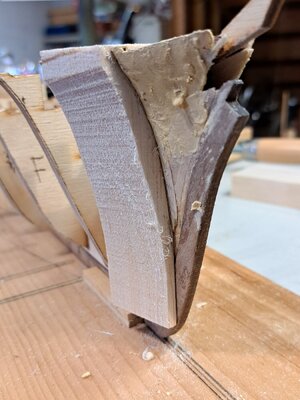
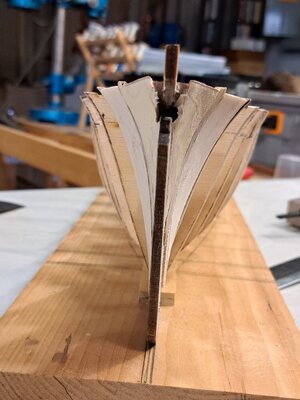
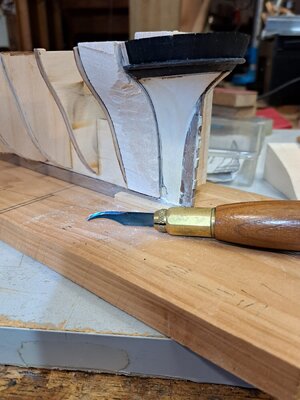
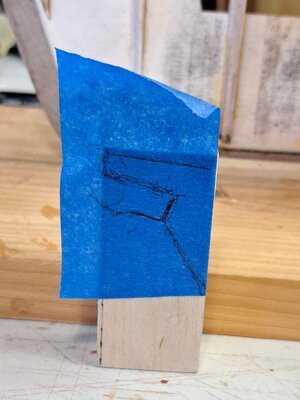
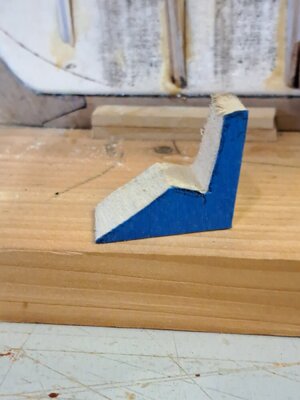
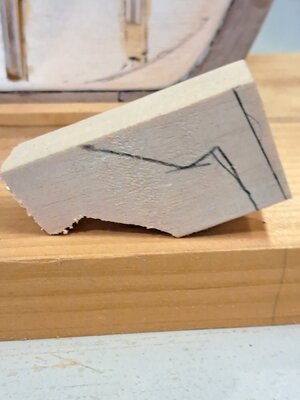
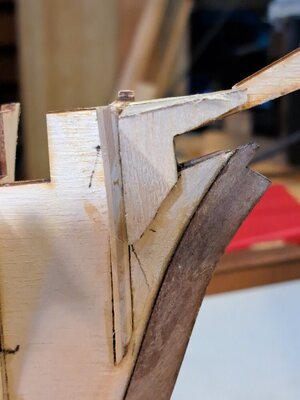
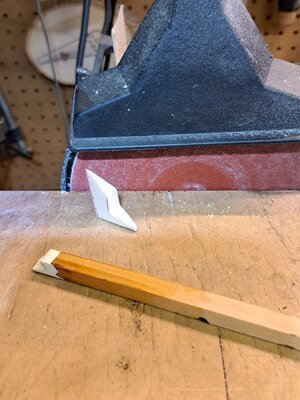
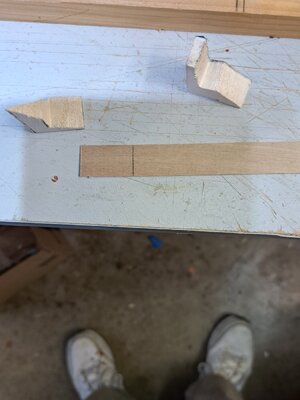
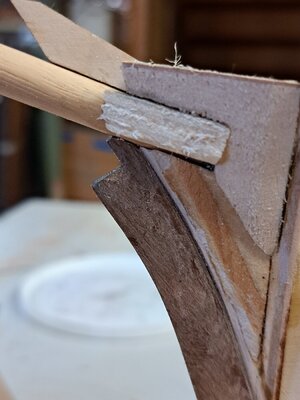
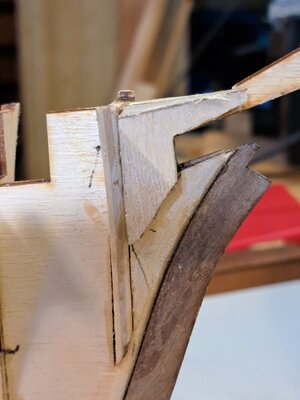
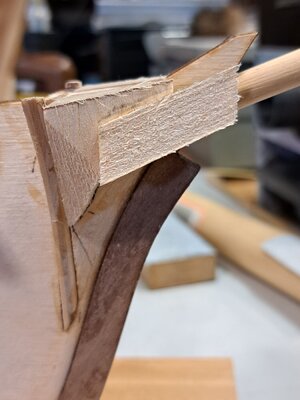
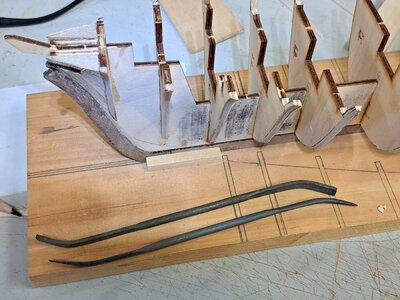
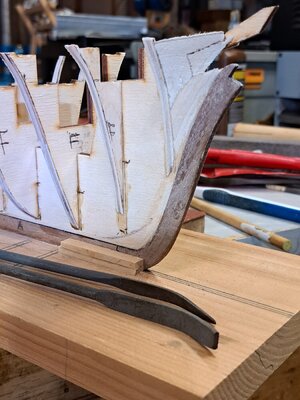
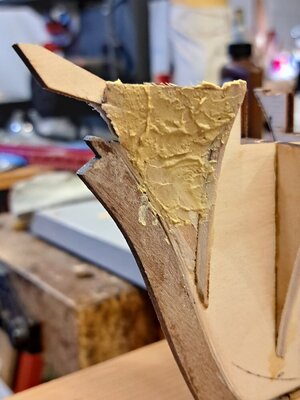
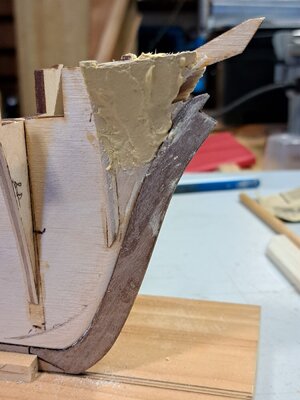
Now to the bow blocks. These and those at the stern are the most complex, involving compound curves, fragile edges and thicknesses fading into very thin planes. Perhaps basswood rather than balsa would have been a better choice for these. The inner blocks, comprising the majority of the hull are less fragile, where the easy workability of balsa is a definite advantage.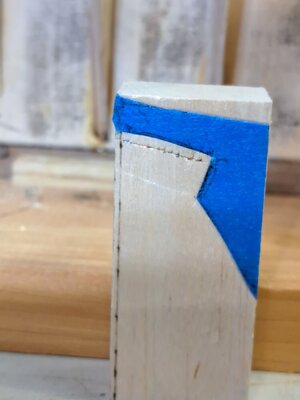


- Joined
- Jun 17, 2021
- Messages
- 3,199
- Points
- 588

- Joined
- Jun 17, 2021
- Messages
- 3,199
- Points
- 588

Peter, slow but sure but the hull is coming along nicely. Your balsa wood cutting skills really show! Magic Mike
- Joined
- Jun 17, 2021
- Messages
- 3,199
- Points
- 588

Slow is about right. Not always so sure. I didn't include all the do-overs. Each one begins as a thought experiment!Peter, slow but sure but the hull is coming along nicely. Your balsa wood cutting skills really show! Magic Mike
Thanks for the compliment!
Pete
you are preparing a very good basis 

- Joined
- Jun 17, 2021
- Messages
- 3,199
- Points
- 588

Thanks!you are preparing a very good basis
Good afternoon Peter. Beautiful carving...I always admire the guys who have the ability to carve. Your preparation is one of the best I have seen, well thought out and spot on. You have woodworking skills for sure. CHeers Grant.


