"Flying Cloud " by Mamoli - kit bash

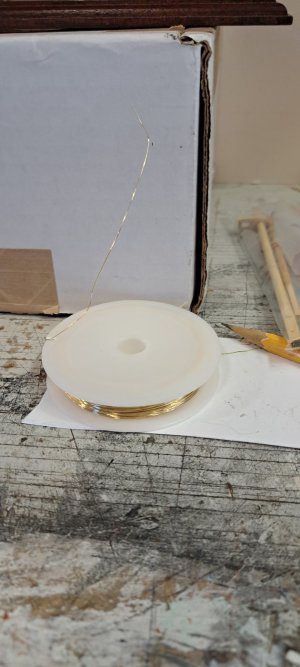
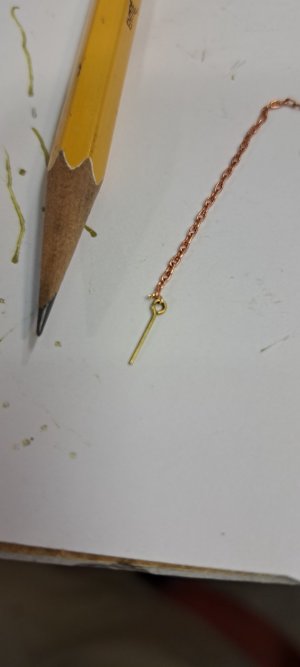
From BlueJacket, I think. Maybe Model Expo. I think A.J. Fisher carries it also. 42 links per inch? The smallest I could find. Been in my stash for years, in various sizes.
Stuff like that just sort of collects. I buy it whenever I see it, like at Michael's and the like.

BTW, I got the book you recommended. Looks pretty challenging. Maybe over my head. :rolleyes: But I'll give it a go.
 
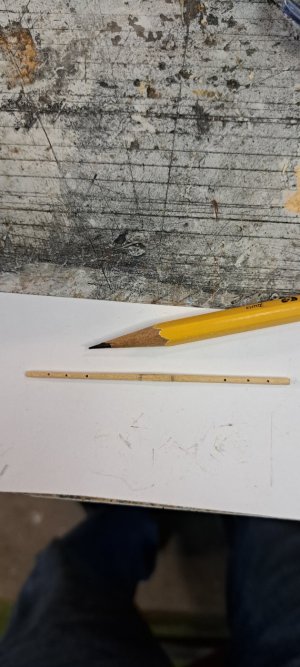
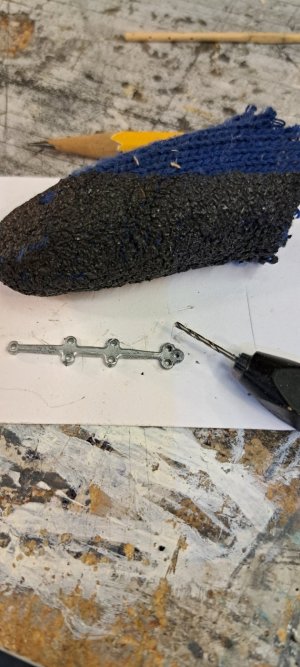
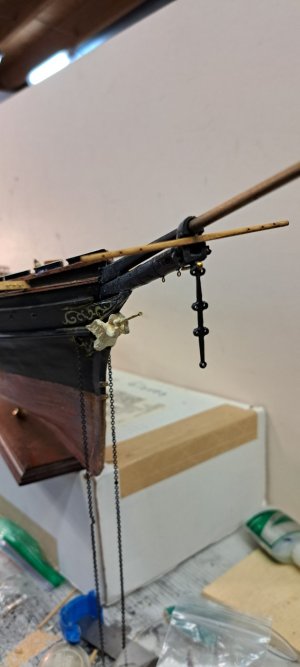
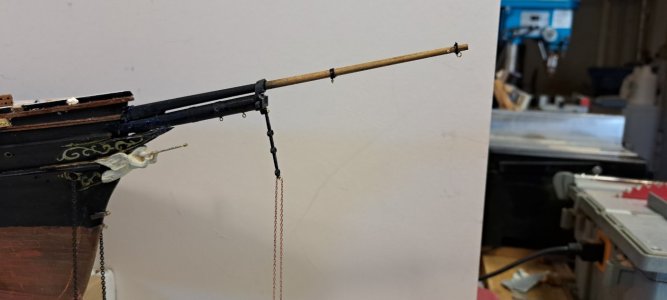
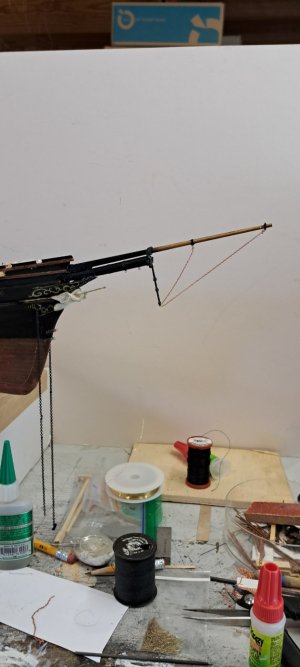
Starting to pick away at rigging the bowsprit-jibboom. I made the whisker boom(s) from boxwood. The martingale (dolphin striker) was supplied, but had to be drilled out for the top hole necessary to attach it to the bowsprit cap. drilling out the white metal castings with a pin vise by hand is a real PITA as the metal is invariably very hard and the mini-drill bits very dull. I cut two fingers off a rubber padded garden glove to protect my forefinger from getting a hole worn in it faster that the drill bit could cut the metal. I didn't document all the milling, drilling, shaping and staining necessary to make the whisker boom. (Which I believe was, in reality, two pieces made of iron attached to the bowsprit cap at either side.)
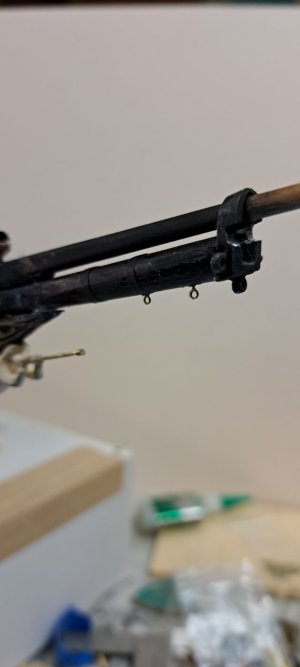
Try as I might to pre-drill the bowsprit and jibboom (and various and sundry spars) prior to installation, I always get stuck having to drill more holes. The bowsprit came unglued :eek:, but not irretrievably so, so I recovered there without much ado, and managed not to break anything else (so far). :rolleyes: I had to add two eye bolts to the underside of the bowsprit and drill two more holes in the tip of the jibboom. :eek: Thankfully without drilling a hole in the fingertip supporting the side opposite the pin vise. :rolleyes:
An inordinate amount of time was absorbed drilling out the stubborn metal top of the Martingale. Some Gunk cutting oil actually made a material difference, so be advised.
Everything pictured, save the eyebolts are dry fitted. I'm currently trying to plan my strategy for attaching all the lines, chains and fittings without breaking anything in the process. And I've done this before! you'd think I'd learn! 20250406_162903.jpg20250406_171202.jpg20250407_134531.jpg20250407_132102.jpg20250407_135436.jpg:rolleyes:;)

Pete
 
The whole glove is too clumsy and resistant to fine motor movement with the rest of the fingers on my right hand. But mainly I needed the thickness of two glove fingers, one over the other, to protect my index finger pressing down on the pin vise. I have a couple of pin vises that that have a rotating tops, but they don't take a collet small enough for the size drill bit I need. :mad:
A Dremel has too much juice.
Maybe a Fordum would be the ticket, but too much $ for me.
(Good question, though.) Thanks for the love! :cool:
Peter....get yourself a router speed controller. they work wonderful. Only $14 from Harbour Freight.
1744135770739.png
 
Laid the deck. Milled my own clear White Pine, as per the actual ship's weather deck. Planks "joggled". Necessary tools pictured. The deck cleat "plugs" faked with a tiny nailset, pictured.View attachment 425179View attachment 425180View attachment 425181View attachment 425183View attachment 425184View attachment 425186View attachment 425187View attachment 425188View attachment 425188View attachment 425189View attachment 425190View attachment 425191View attachment 425192The Deck planking layout is as per the Mamoli pans, The only one I had picturing the supposed "Flying Cloud " pattern. Guess it'll have to do. If you click on the quarter deck photo and enlarge it you can see the deck cleat "plugs" in the cross light. Under normal viewing they are pretty subtle, which is what I want.
Thanks, JIm. Welcome aboard!
 
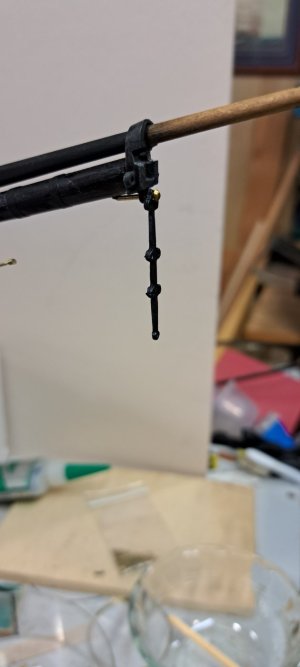
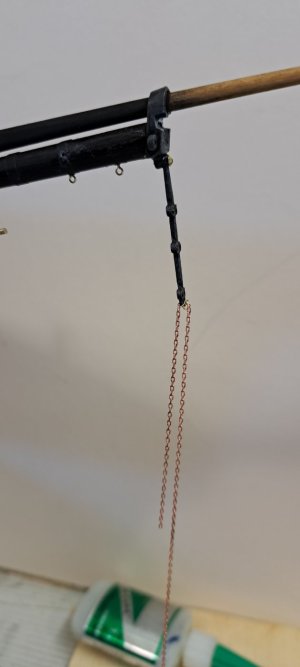
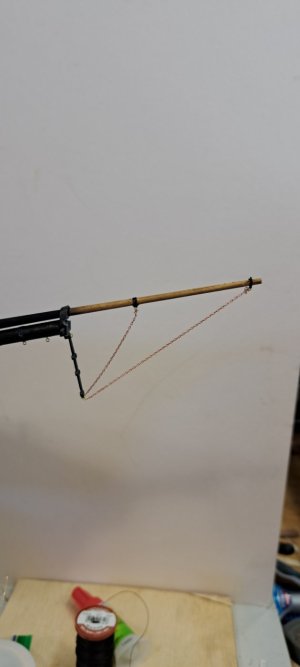
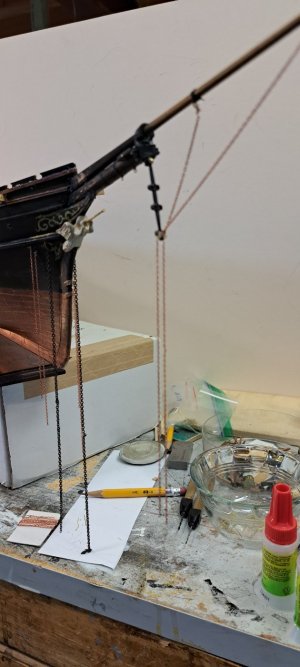
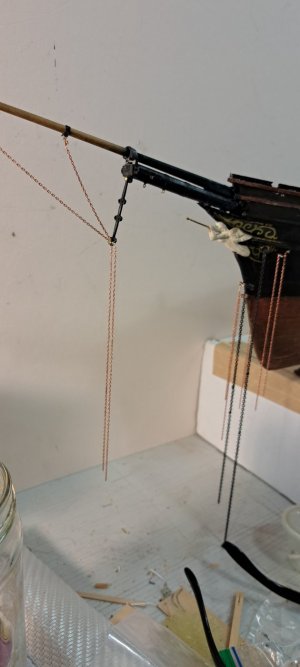
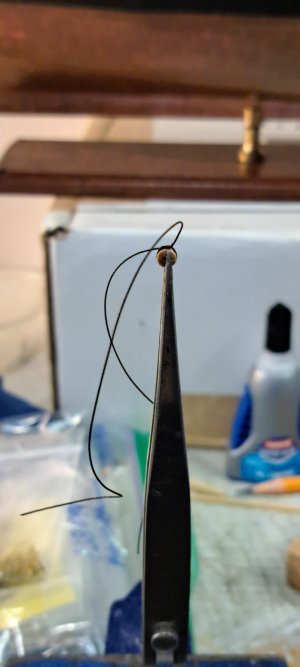
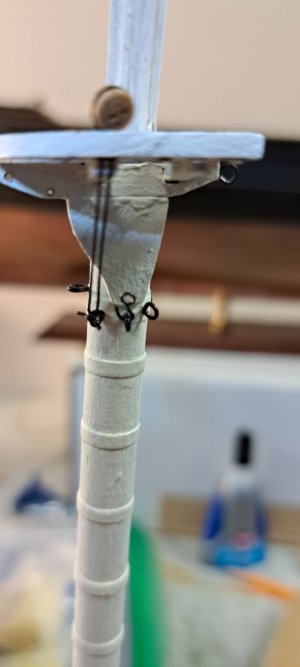
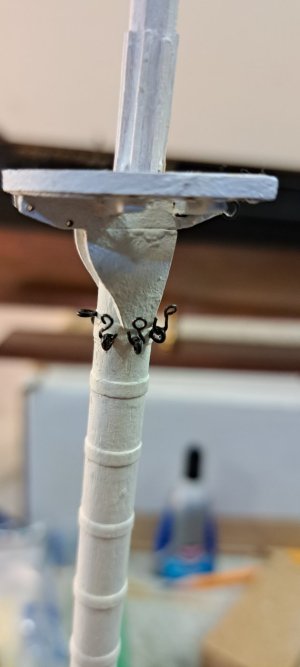
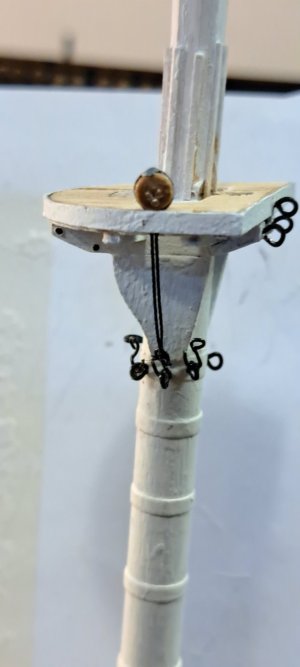
A wee bit more progress. Adding chain stays from the martingale to the jibboom. I used very fine gauge brass wire to slip through the tiny links and through the split rings fastened to the jibboom with black thread. It looks as though (from my various plans) that there may have been iron collars at these junctures. The black thread achieves the look without having to drill more holes in the already fragile jibboom.
Tedious going. A lot of fiddly hours for pretty modest progress. Easy to break stuff so far out on a fragile limb!20250409_130831.jpg20250409_123312.jpg20250409_123257.jpg20250409_130353 (1).jpg20250409_130449.jpg
 
I used to restore historic period antique furniture. So, you might say I retired in 1978 and did my hobby for a living for the next 35+ years. It was like getting smashed-up kits with no instructions. Every piece was a new set of problems requiring a new set of solutions. And of course, everything was handmade according to the practices of a pre-industrial time and place, hand tools and region. So, adapting to all of that was part of the requirements.
But as when the passenger asked the cabbie "How do you get to Carnegie Hall?" The cabbie replied "Practice, practice, practice!" ;)
 
G
A wee bit more progress. Adding chain stays from the martingale to the jibboom. I used very fine gauge brass wire to slip through the tiny links and through the split rings fastened to the jibboom with black thread. It looks as though (from my various plans) that there may have been iron collars at these junctures. The black thread achieves the look without having to drill more holes in the already fragile jibboom.
Tedious going. A lot of fiddly hours for pretty modest progress. Easy to break stuff so far out on a fragile limb!View attachment 512514View attachment 512517View attachment 512518View attachment 512520View attachment 512521
Good morning Peter. Those small fragile parts which stick out are always a breakage waiting to happen.:D. Excellent work on the chain stays from the martingale- the scale looks spot on. Cheers Grant
 
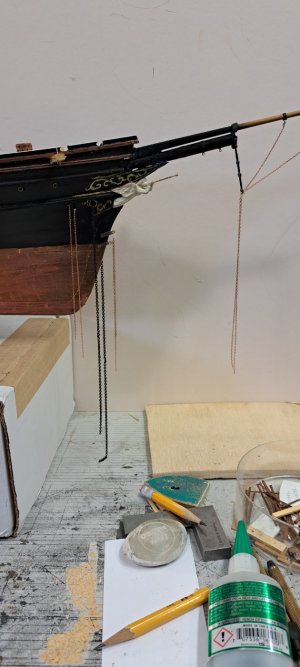
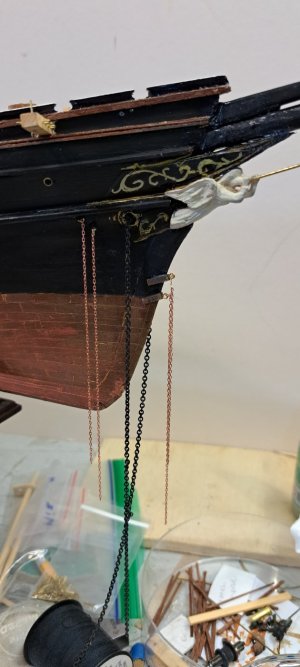
Preparing more chain stays and shrouds for the bowsprit. I wired the chain to the eyebolts prior to mounting them to the hull. Best to minimize the manipulation of the number of things attached to the hull, bowsprit and jibboom to avoid disasters. I hope to do20250410_120546.jpg20250410_125057.jpg20250410_124830.jpg20250410_124825.jpg20250410_122527.jpg20250410_143440.jpg20250410_143509.jpg20250410_144425.jpg all the pre-assembly possible before getting my fumbley fingers and wobbly hands in amongst the fragile breakables. I got all the chain attached. Next is to pickle the white metal hearts and fasten them to the chain and the eyebolts. For the purpose of connecting the chain stays and shrouds to the catheads and the bowsprit. My various sources show hearts, blocks, deadeyes, or a mix thereof. for this purpose. The hearts seem to be the least fiddley of these choices, so hearts it is. I found I had just enough of this particular chain in my stash to complete the job with a skosh left over. Better to be lucky than good. Time will reveal any hubris in my planning. Cautious
So now, after several hours of eye straining fiddleyness, I leave off with dangling ends.

Pete
 
Last edited:
There are still two lengths of chain to be connected between the tips of the (as yet unattached) whisker boom, a vestige of the sprits'l yard) to the tip of the martingale. This appears to be a process rife with possibilities for calamity, probably best left for last, with much shallow breath control practice and pre-meditation. Ohmm...Speechless
Maybe a Beerfirst.
 
Back
Top