-

Win a Free Custom Engraved Brass Coin!!!
As a way to introduce our brass coins to the community, we will raffle off a free coin during the month of August. Follow link ABOVE for instructions for entering.
-

PRE-ORDER SHIPS IN SCALE TODAY!
The beloved Ships in Scale Magazine is back and charting a new course for 2026!
Discover new skills, new techniques, and new inspirations in every issue.
NOTE THAT OUR FIRST ISSUE WILL BE JAN/FEB 2026
You are using an out of date browser. It may not display this or other websites correctly.
You should upgrade or use an alternative browser.
You should upgrade or use an alternative browser.
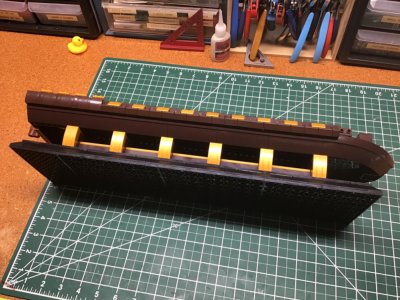
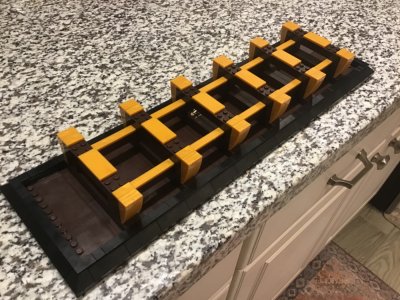
We built the stand first. The parts are in bag 12. There are several #12’s. The main floor plates are in a separate bag with the masts. There are 334 parts to the stand which took us a couple of hours to assemble. The fit was good but you could tell the it was not Lego. The click was loud in spots. There were no missing parts but there were some finger prints on the flat pieces. You don’t see that on Lego. The coloring in the gold parts was streaky in spots. The brown color of the parts on the instructions makes it a bit challenging to determine where they should go. This might be caused by our old eyesight.

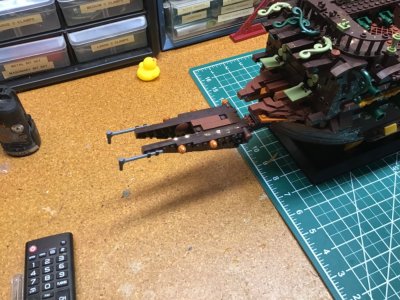
When you get to bag 3 you are going to find the drawings a bit difficult to understand. We had to remove the bow 3 times before we got it correct. If anyone can do it on the first try my hat is off to you. We had to just walk away a couple of times.
There are 320 parts in this section. We worked on it for almost 4 hours.
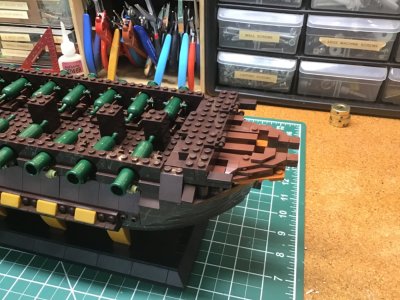
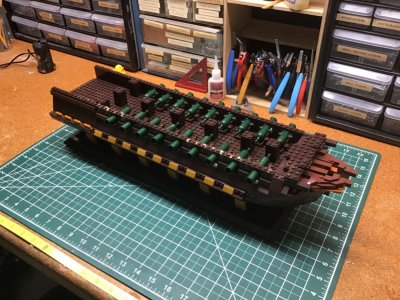
There are 320 parts in this section. We worked on it for almost 4 hours.


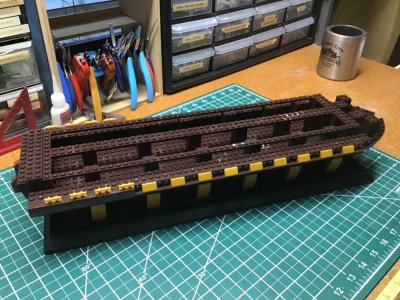
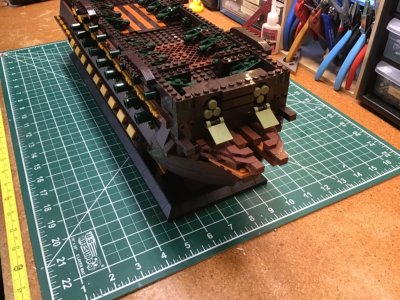
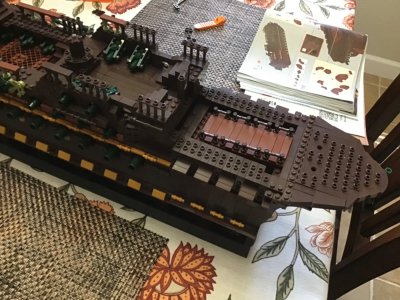
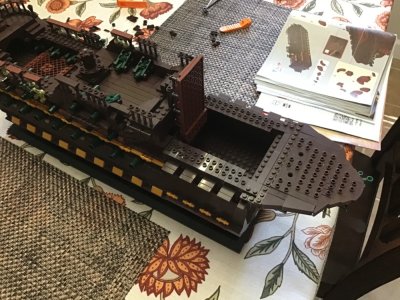
Sorry for the delay. Old folks and health problems go hand in hand. Anyway we spent about 2.5 hours on bag 3 components. We found our first missing pieces. We had a couple of extra 2 stud strips so we used those. The missing parts were 3 stud but the 2’s will work.
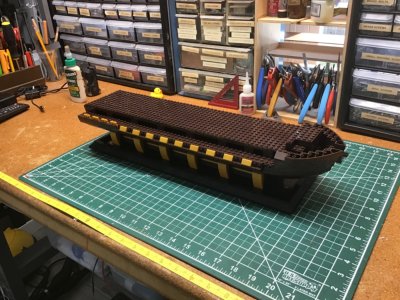
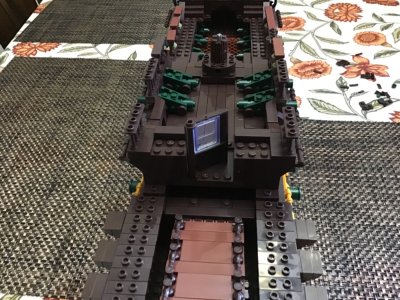
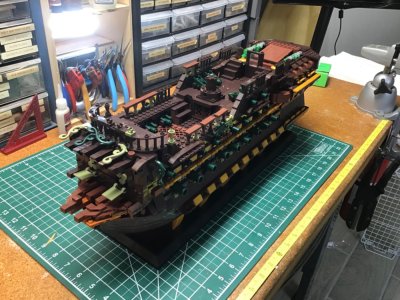
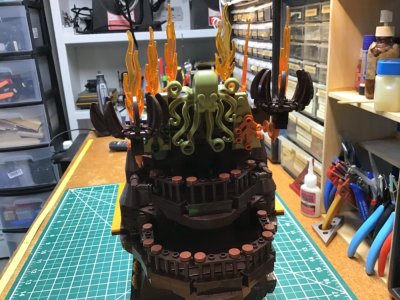
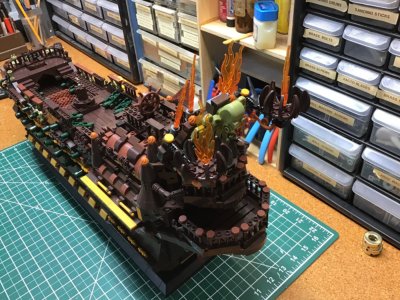
I don’t know why these photos are upside down. I reloaded them 3 times but no luck. They are right side up in my photos. Who knows?
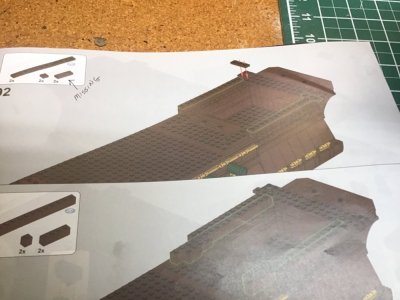
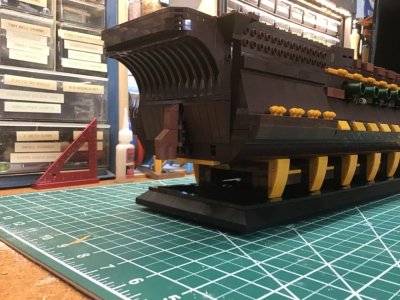
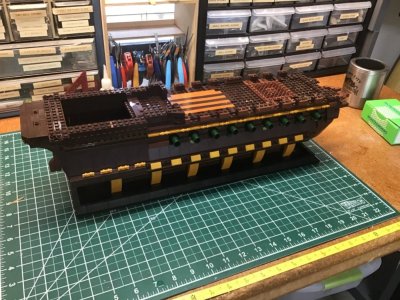
I don’t know why these photos are upside down. I reloaded them 3 times but no luck. They are right side up in my photos. Who knows?


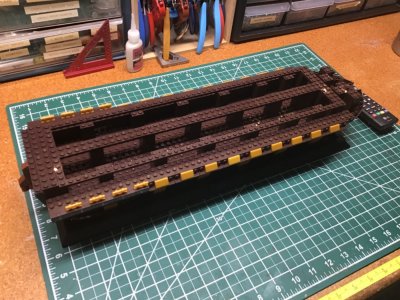
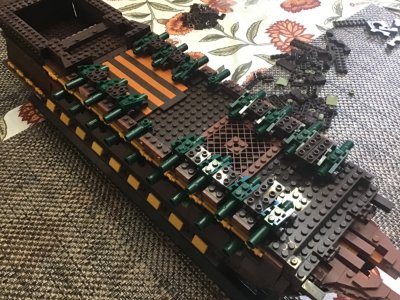
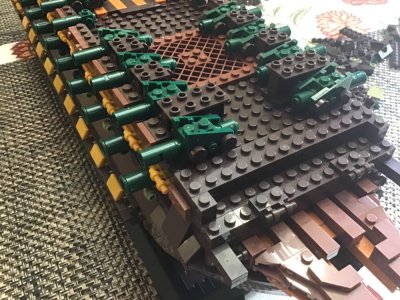
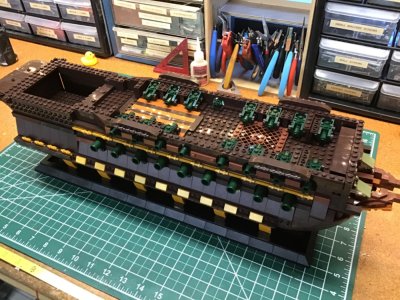
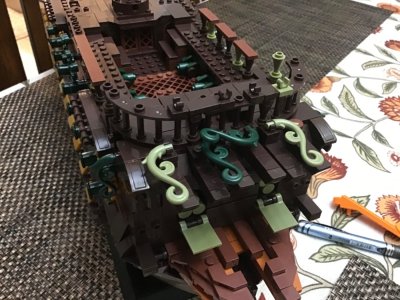
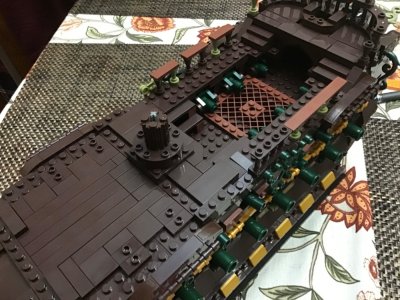
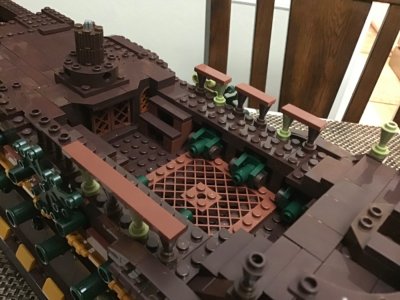
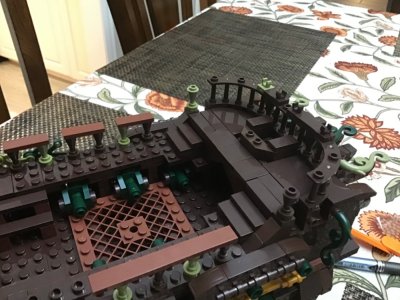
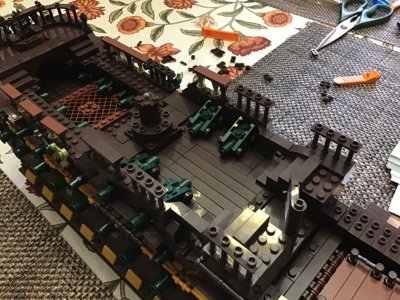
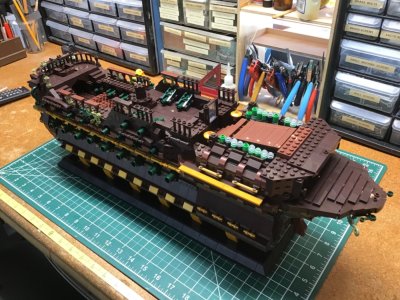
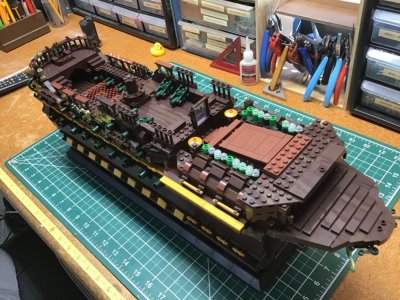
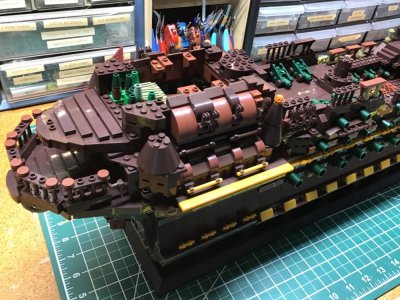
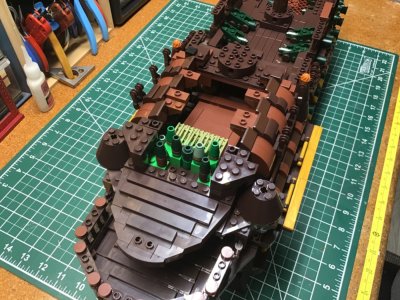
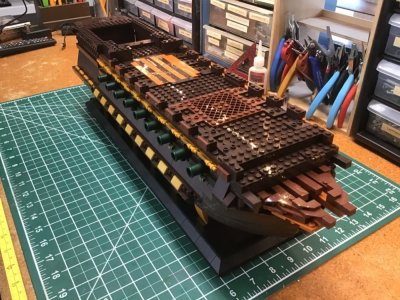
Bag 5 finished at last! This was a real challenge. Make absolutely sure that you do step 1 of bag 5 correctly. You won’t find out you made a mistake until several steps down the road. We had to take it apart and fix it. Not fun I can tell you. All the parts being dark brown does not help.
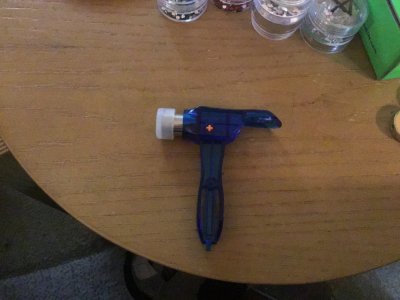
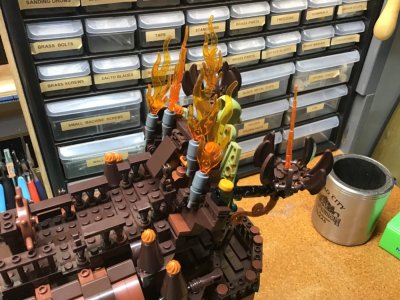
We had to modify a couple of the parts because they needed a thru hole. They were the only ones left so it was time to break out the Dremel.
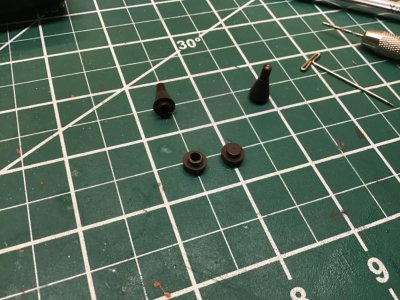
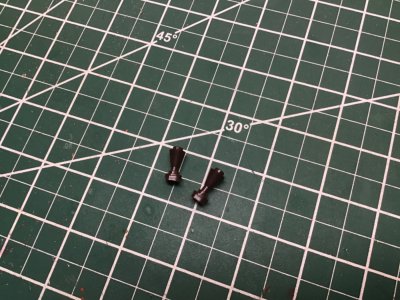
We had to modify a couple of the parts because they needed a thru hole. They were the only ones left so it was time to break out the Dremel.


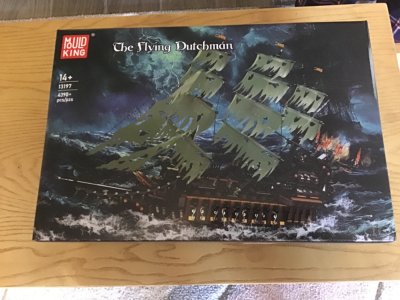
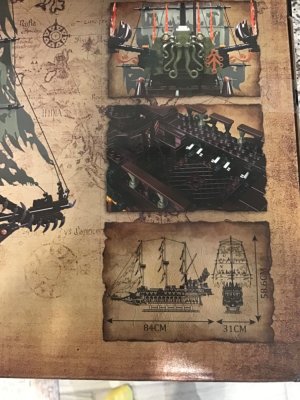
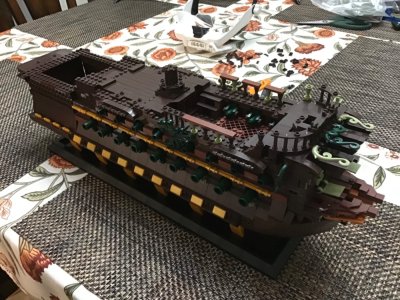
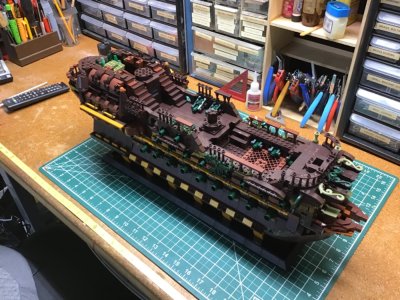
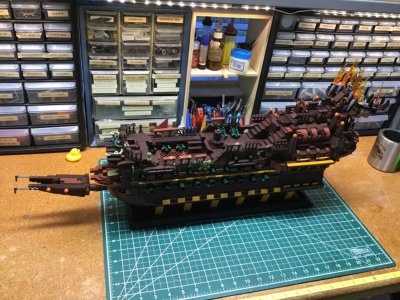
Having come this far I can say that for the price this kit is worth the money. I would not recommend it for a first time kit. There maybe other issues down the road but we have had some fun building the Flying Dutchman.
Last edited:


