Galway Hooker 1/12 scale, built by Patrick, renovated by neptune

Joined
May 25, 2017
Messages
3,345
Points
688

Location
Australia.
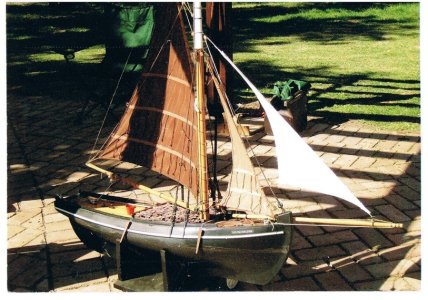
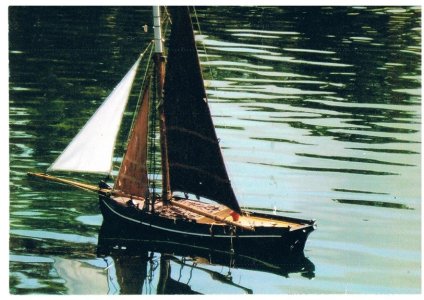
My friend Patrick had built this boat approx 1976 as a Galway Hooker, later on he converted her to another design but didn't like the way it turned out, so he decided to convert it back again, however Patrick took ill and he only managed to start taking the deck off, but then couldn't manage anymore, so it was left for a few years and the weather and dirt got to her, I talked with Patrick about her while he was in hospital and he told me what needed doing, sadly Patrick passed away while still in hospital, so I thought it would be nice to finish her for him.

I have just edited this post about Patrick passing away, I assumed that most of you had seen my other post, sorry for the confusion,
Best regards John,
2.jpg
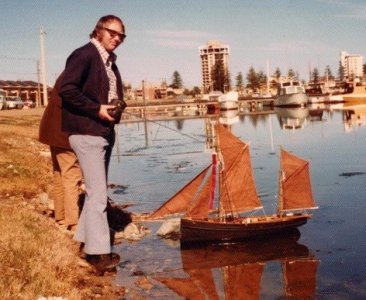
How she looked when Pat first built her,
1.jpg
and on the water,

4.jpg
and Patrick with another of his boats, he was sailing both on that day,
 
Last edited:
1.jpg
The hull didn't seem to be in too bad a condition, however the false keel will definitely need removing and probably recasting before reattaching,

2.jpg
The rudder was OK, just needs cleaning up and repainting with the rest of the hull,

3.jpg
close up of the false keel, I was wondering if I can get her to sail with the ballast inside the boat,

4.jpg
and looking down on her, looks bad but a lot of it is just dust and grime and that deck has to go anyway,

5.jpg
another view, you can just see at the after end of the hatch where Patrick had started taking the deck off,

6.jpg
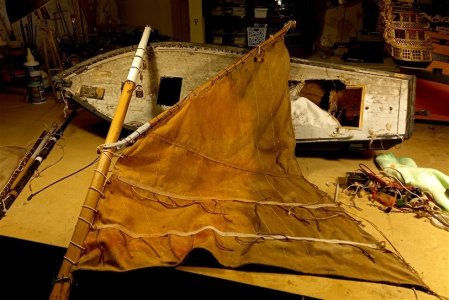
The main sail, I'm hoping it will wash up ok, if not I might have to soak it in tea again to get the overall colour,

7.jpg
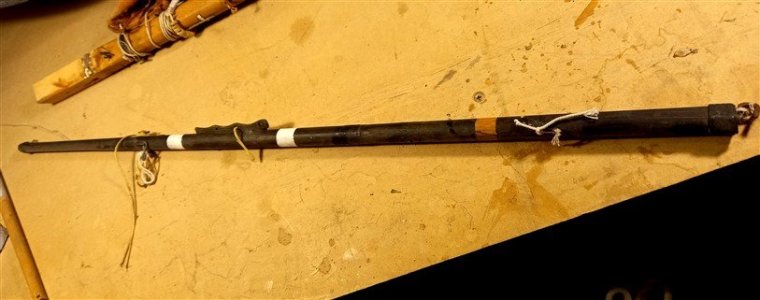
close up of the jaws,

To be continued,
thanks for looking in,

Best regards John,
 
14.jpg
Some bottle screws, a lanthorn and the surport for the end of the bow sprit,

15.jpg
A whinch and two anchors, I made the winch and cast the two anchors for Patrick when he was converting it from a Galway hooker, the winch will not be going back on the renovated model not sure about the anchors,

16.jpg
This was a large cabin that pat had added but it will not go back on the Hooker,

17.jpg
Like wise this access way will not be going back on,

thanks for looking in,

best regards john.

.
 
18.jpg
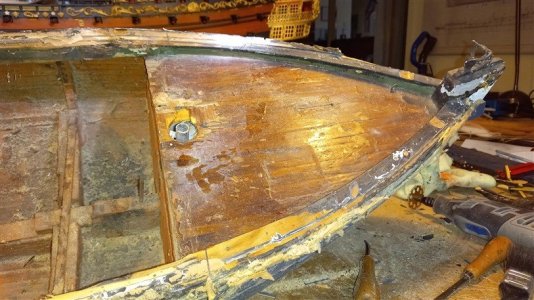
With most of the rubbish removed, you can clearly see where Pack has started removing the deck,

19.jpg
and a close up of the inside, it looks grubby but all the planks are solidly attached no cracks etc showing, and you can see some of the crew,


20.jpg
a close up view,

21.jpg
and the crew, three men and a lady,

best regards John.
 
23.jpg
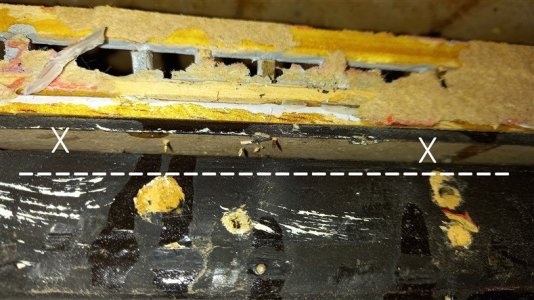
this pic shows the extra bulwark pieces that Pat added during the conversion, so the bulwarks between the Two X's including the deck had to come off,


22.jpg
Luckily for me the weather had got into the seams between the new and old bulwarks and I managed to peel them off, this pic shows the boat upside down,

24.jpg
after peeling and cutting off the added bulwarks you can seethe tops of the old bulwarks between the X's,


25.jpg
Peeling of the added bulwarks, it was a case of being careful not too remove parts of the original,

26.jpg
The starboard side took a bit more time to do the weather must have got into the port side more than the starboard,

best regards john.
 
27.jpg
The added deck and bulwarks after removal,

28.jpg
and underneath the original bulwarks and the Fore deck,

29.jpg
and the stern,


30.jpg
Now you can really see the proper Shape of the Hooker,

31.jpg
another view, and on the starboard side there is some damage that i will have to repair along the top of the planking and bulwark, but overall she seems quite good,

32.jpg
And a view from the bow, I have cleaned up the port side,

33.jpg
a better view with the flash on,

thank you for looking in,

best regards from patrick and john,

.

.
 
Last edited:
34.jpg
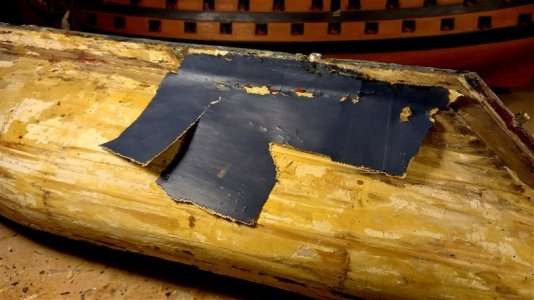
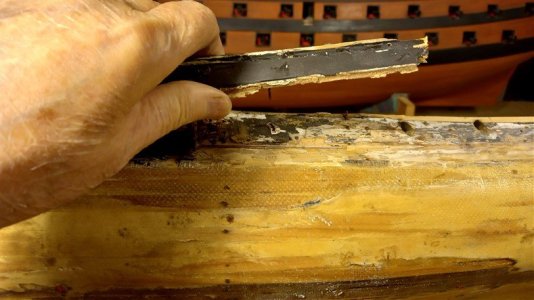
I started cleaning up the strb side and like the port side there were some small bulges in the fibre glass coating so i removed all the fibre glass from the port side as well,

35.jpg
some of the rollers and bow sprit holder on the bow,

36.jpg
another view,

37.jpg
the fibre glass coating came off easily and left a nice shaped hull ready to be sanded down,

38.jpg
couple of extra views,

39.jpg

best regards John.
 
40.jpg
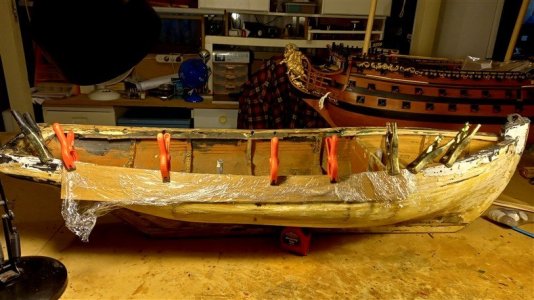
Next job was to repair the top plankingwhich had been damaged along the mid ships bulwarks, I clamped a piece of thin ply to the good side and drew a line, just below the X's,

41.jpg
close up view,


42.jpg
I cut to the line and then I clamped it to the damaged side, I had already marked where it had to go to match the port side,

45.jpg
I then covered it with some kitchen wrap so no glue would stick to it,,

43.jpg
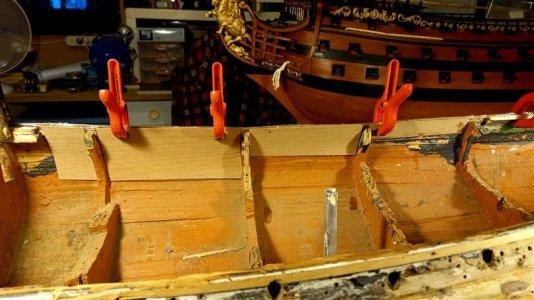
then on the inside I glue some thin marine plywood cut to match the outside piece of ply,

44.jpg
close up view,


46.jpg
when the inside ply had dried I removed the outside template,

47.jpg
I then glued a strip of wood along the top edge of the inside ply to denote the top of the gun wale,

48.jpg
a close up view,


49.jpg
and after the glue had dried I had a nice line to fill in to with the fill in planks,

hope this si all clear if not just ask anything,

best regards John,

.
 
Back
Top