-

Win a Free Custom Engraved Brass Coin!!!
As a way to introduce our brass coins to the community, we will raffle off a free coin during the month of August. Follow link ABOVE for instructions for entering.
-

PRE-ORDER SHIPS IN SCALE TODAY!
The beloved Ships in Scale Magazine is back and charting a new course for 2026!
Discover new skills, new techniques, and new inspirations in every issue.
NOTE THAT OUR FIRST ISSUE WILL BE JAN/FEB 2026
You are using an out of date browser. It may not display this or other websites correctly.
You should upgrade or use an alternative browser.
You should upgrade or use an alternative browser.
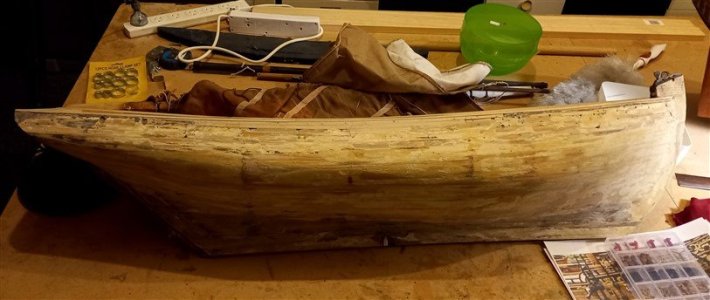
Galway Hooker 1/12 scale, built by Patrick, renovated by neptune
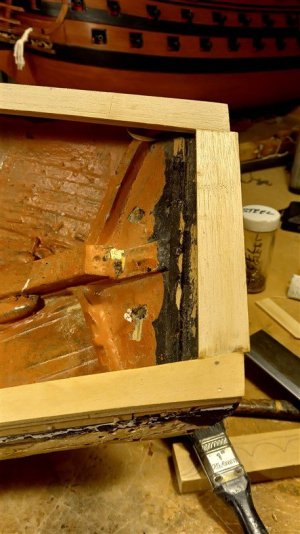
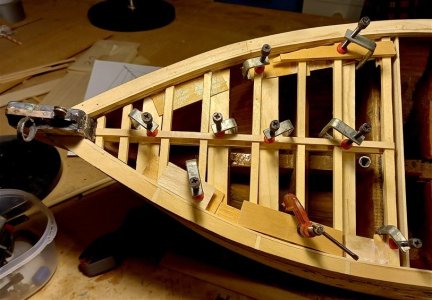
I fixed the capping rail to the top of the transom
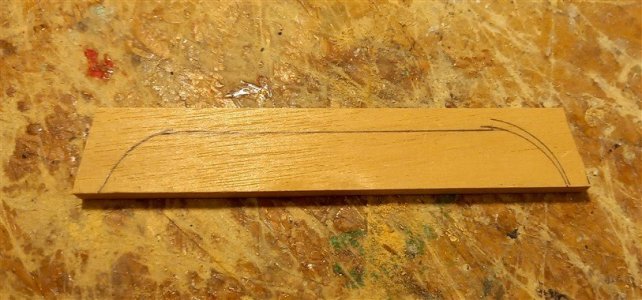
then cut and shaped the front part, part marked out for cutting,
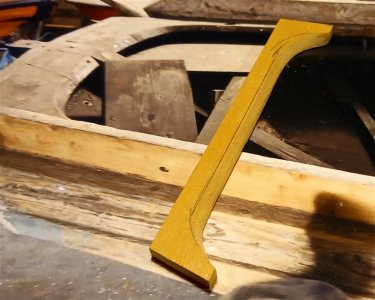
Probably not as accurate as the one in the photo,
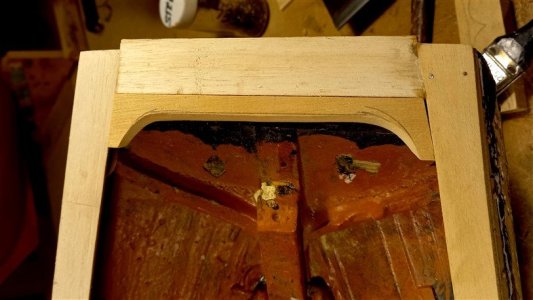
checking for fit,
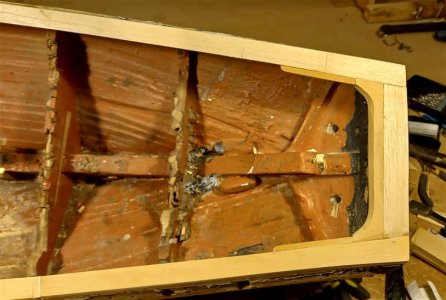
and glued in place with the extension arms, I will finish shaping after the glue has dried,
thanks for looking in,
best regards John.
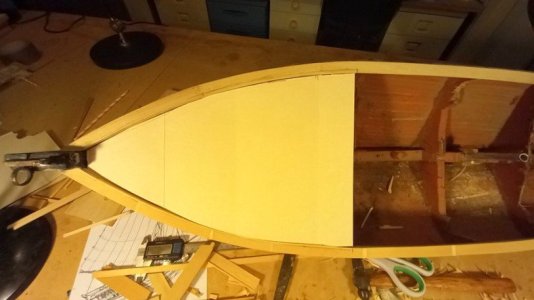
making the template for the false deck,
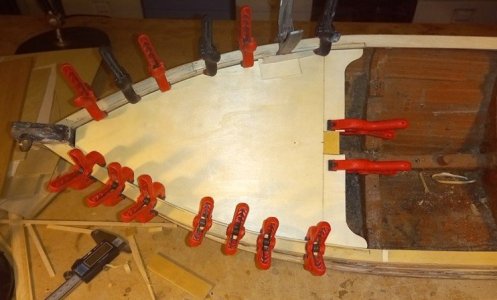
and after transferring it to some 2mm plywood and shaping the ends, the piece in the middle will be cut out when the glue dry's,
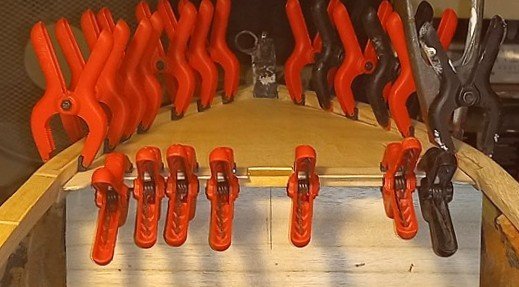
and a view looking forward,
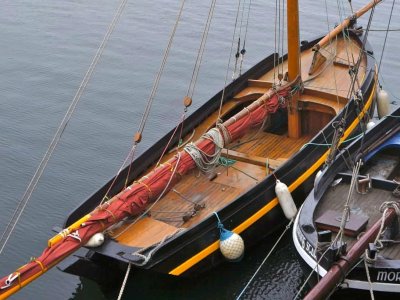
I got these lovely photo's off the net, sorry but I don't know who credit them to, but this is the type of layout I'm following, though the centre section just aft of the mast will house the radio control and have a false top covered with peat pieces,
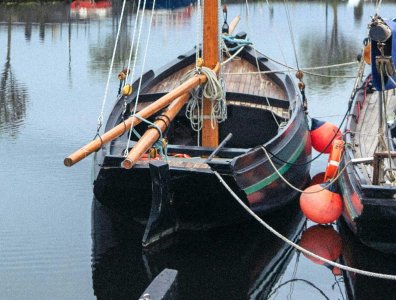
another boat very similar,
best regards John,
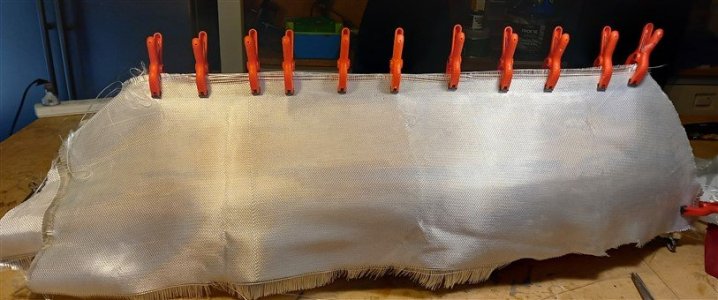
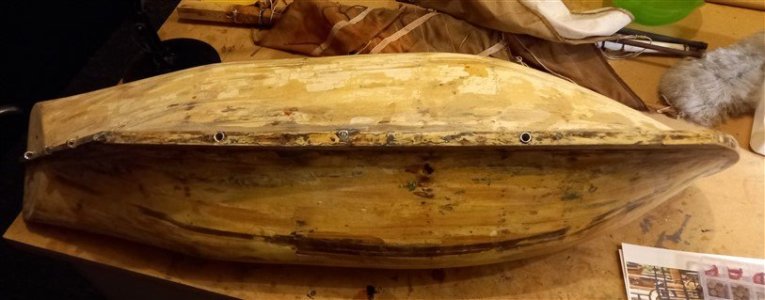
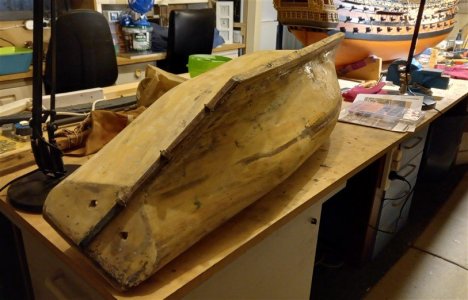
Cutting and sizing the Fibre Glass cloth, I like this better than the chopped strand it's not itchy like the chopped strand, I leave the pegs in place and lift the cloth over the hull and apply the Resin to the hull and then smooth the cloth back down over the hull then remove the pegs and repeat along the top edge,
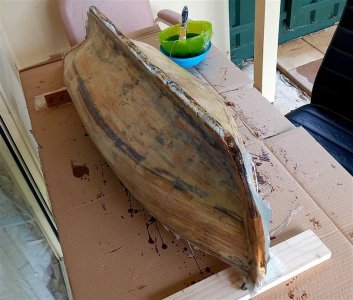
I haven't gone over the keel as I will be attaching the false keel permanently and after it is attached I will then glass over the false keel and merge it all into the hull,
thanks for looking in,
best regards john,
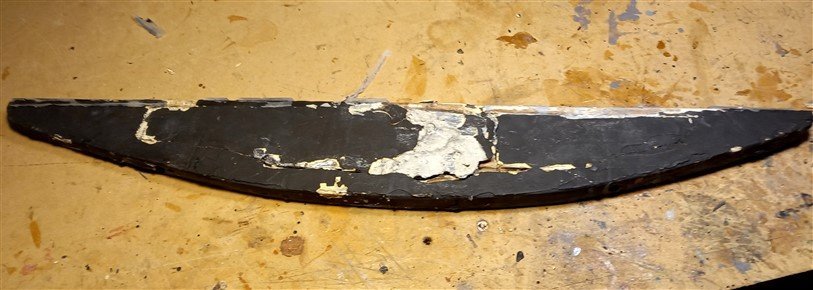
While waiting for the hull to dry i turned my attention to the false keel, Pat had made a wooden frame and then cast lead into the frame,
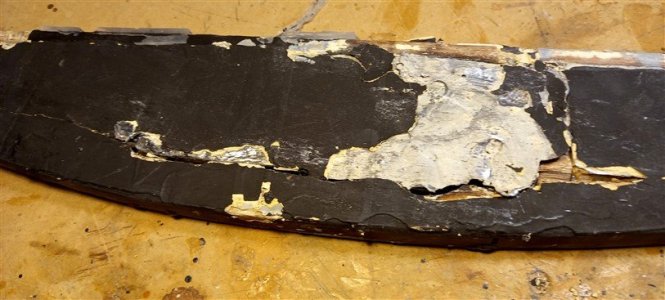
Close up view,
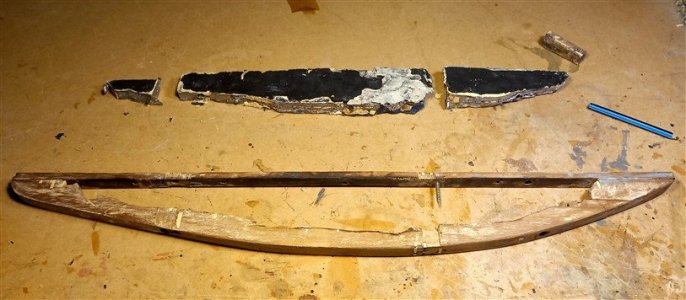
I managed to get the lead out of the frame, and will probably recast this into the frame after I have renovated the frame,

the bottom part of the frame,
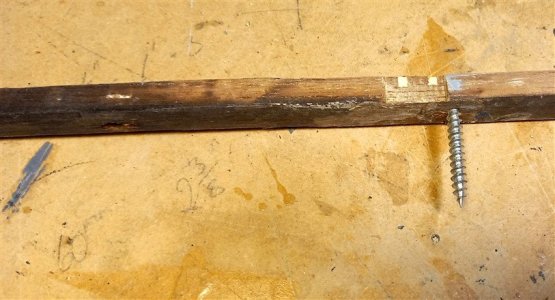
The top part of the frame will have to be replaced due to damage along it's length, see next pic, what amazed me was the condition of the scews, they look like new, you can see the scorch marks from casting the lead,
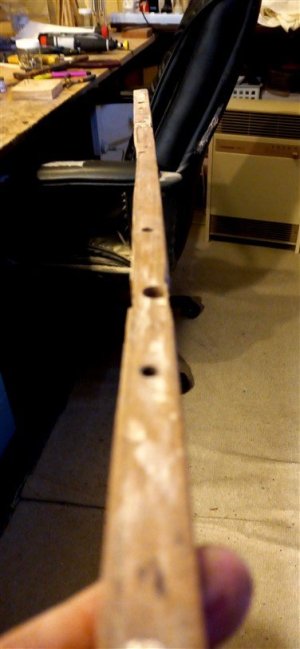
looking along the length of the top part of the frame, you can see the damage near the centre,
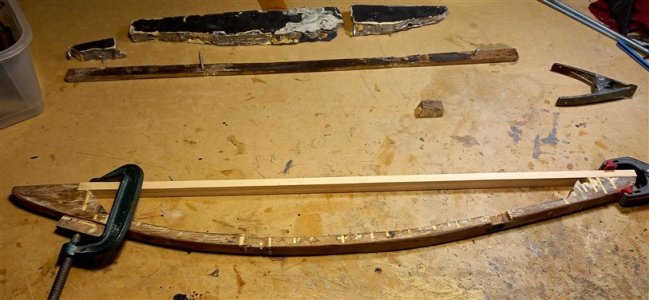
so I cut new wood and glued it in place,
best regards john,
.
Last edited:
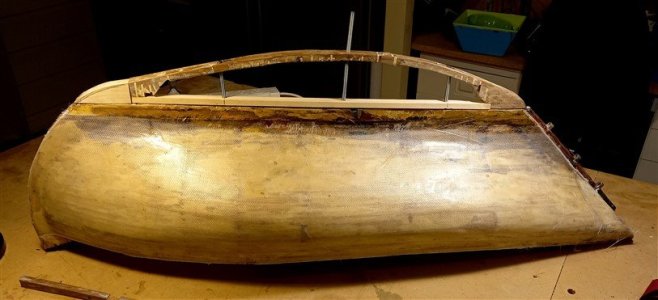
and a few pics showing the glassed hull and me working out the position and fixture of the false keel, I\m still shaping the up front block of wood, the two outside threaded rods are locating the keel into the two tubes Patrick had fixed through the hull and the centre rod is just supporting the arch in the center, once i am happy with everything i will remove it from the hull and cast the lead into the frame work and then permanently attach it to the keel,
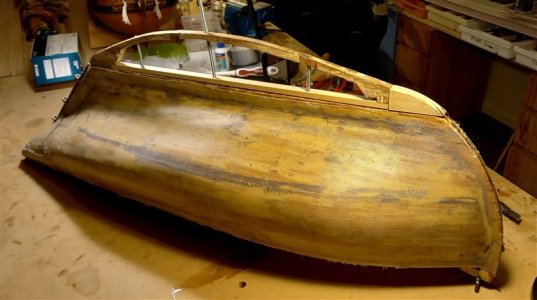

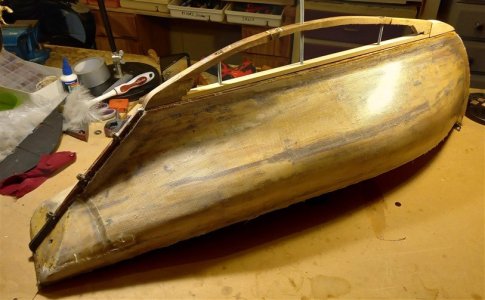
I'm quite happy with the way things are going, touch wood,
thanks again for dropping by,
best regards John.
John, you are the master of restoration!
Wow - impressive work
Very interesting how you restorated the hull, John.View attachment 473095
and a few pics showing the glassed hull and me working out the position and fixture of the false keel, I\m still shaping the up front block of wood, the two outside threaded rods are locating the keel into the two tubes Patrick had fixed through the hull and the centre rod is just supporting the arch in the center, once i am happy with everything i will remove it from the hull and cast the lead into the frame work and then permanently attach it to the keel,
View attachment 473096
View attachment 473097
View attachment 473098
I'm quite happy with the way things are going, touch wood,
thanks again for dropping by,
best regards John.
Regards, Peter
John, you are the master of restoration!
Wow - impressive work
Very interesting how you restorated the hull, John.
Regards, Peter
Thanks guys for the nice comments and also to all for the likes,
best regards john,

The frame work for the false keel,
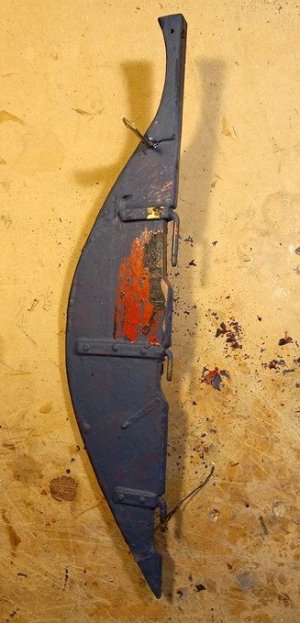
Whilst I was waiting for the glue to dry on the false keel I decided to strip the paint from the rudder
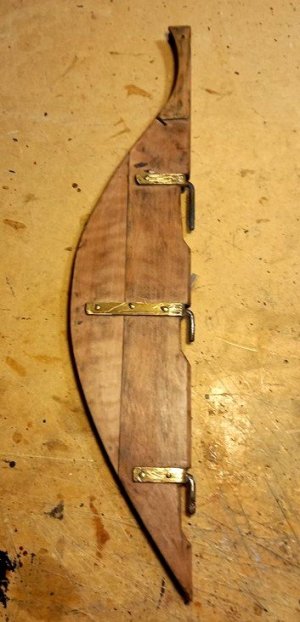
all cleaned up and ready for painting,

after pouring the ballast,
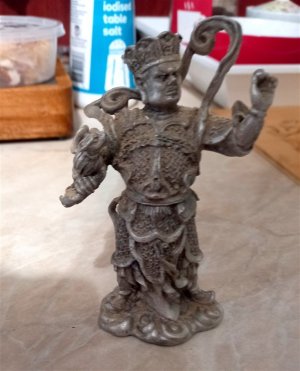
I used these little fellas for casting the ballast, I bought a few years ago, they are cast from Pewter,
best regards John.
.
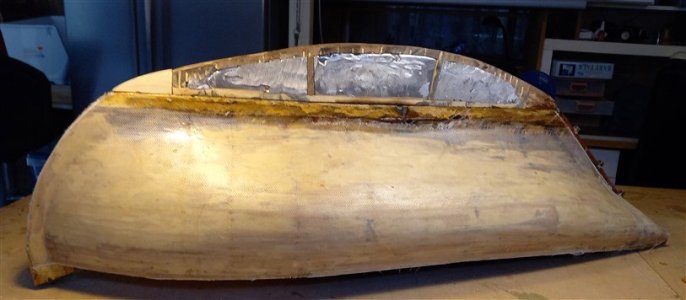
after gluing and screwing the false keel in place, the false keel on its own weighs 5 kilo or 11 pounds, I will weigh the complete hull after painting,
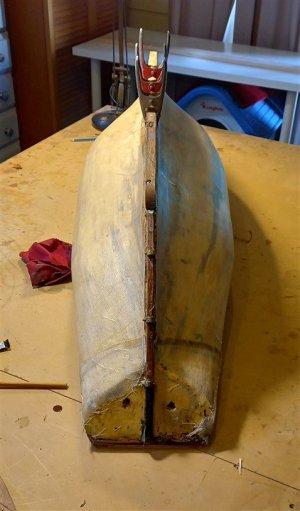
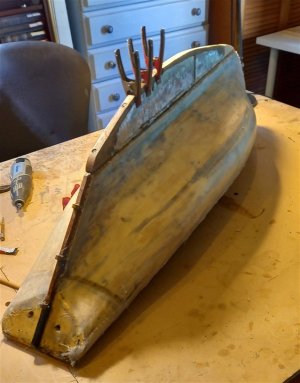
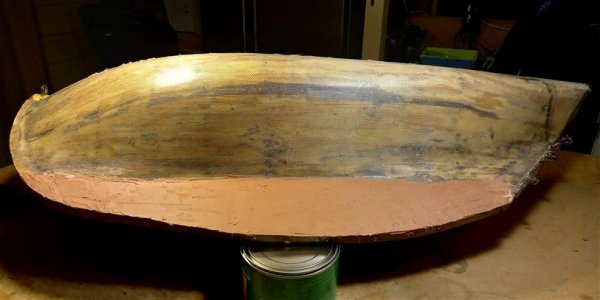
and after applying body filler to the keel piece to blend it into the hull shape, any questions just ask,
thanks for looking in,
best regards john.
.
Very interesting work. It's good that this yacht fell into capable, skillful
hands masters.
hands masters.
- Joined
- Jun 29, 2024
- Messages
- 1,504
- Points
- 438

If I missed this earlier, please excuse, but since you took the trouble to cast the metal keel, I assume that you intend to restore the model to sailing condition. If so, will you add RC or will you free sail it?
Roger
Roger

and after applying body filler to the keel piece to blend it into the hull shape, any questions just ask,
Are you intending to permanently attach the ballast keel to the as-designed flat keel bottom? I'm betting that the original builder built that ballast keel so that it could be detached and the model displayed in a stand in its accurate form. This is the common practice when building high-quality sailing models since they all require out of scale ballasting and depth of keel to stand up to "full size" wind!
Very interesting work. It's good that this yacht fell into capable, skillful
hands masters.
G'day, thank you guys for the nice comments and likes, if I get to the stage of putting her in the water i would like to have it Radio Controlled, but that is awhile away yet, I had previously built a revenue Cutter The Speedy and I just used to have the rudder connected to a servo, but it would be nice to have some control over the sails,If I missed this earlier, please excuse, but since you took the trouble to cast the metal keel, I assume that you intend to restore the model to sailing condition. If so, will you add RC or will you free sail it?
Roger
thanks for dropping in,
best regards John,
G'day Bob, I know that originally Patrick sailed the Hooker with only some internal ballast but could only do so in light winds, and eventually when he modified the boat and added the deck with the large cabin he then added the false keel, when i received the Hooker she had the false keel bolted and glued on, I'm not trying to make her into something she is not, all I'm trying to do is restore to the way Pat had her, just to honor his Memory and the Friendship we had over the years, when Patrick was in Hospital we used to talk about what he was going to do to her to to make like she used to be and one of the things we talked about was the false keel, we go to a local pond to sail our boats and that is our main purpose, the enjoyment of seeing them sail, Patrick had several other boats as well and they all had the weight attached permanently in a false keel, I don't know about other builders but this is the way we build them, also it helps a lot when we get to the pond as we don't have to mess around tipping them on there side and trying to fit a detachable keel, these models and there keels can weigh quite a few kilo's, hope this helps you understand why we do it this was,Are you intending to permanently attach the ballast keel to the as-designed flat keel bottom? I'm betting that the original builder built that ballast keel so that it could be detached and the model displayed in a stand in its accurate form. This is the common practice when building high-quality sailing models since they all require out of scale ballasting and depth of keel to stand up to "full size" wind!
best regards John,
Not sure where to post this so I will post it here,
... It was our 56th Anniversary today, we just had a quiet day, lunch at a local Hotel and a visit to the cinema afterwards,
Best regards John,
... It was our 56th Anniversary today, we just had a quiet day, lunch at a local Hotel and a visit to the cinema afterwards,
Best regards John,
Happy Anniversary to both of you! WOW, more than a half Century!!... It was our 56th Anniversary today, we just had a quiet day, lunch at a local Hotel and a visit to the cinema afterwards,
Best regards John,
 Congratulations!


