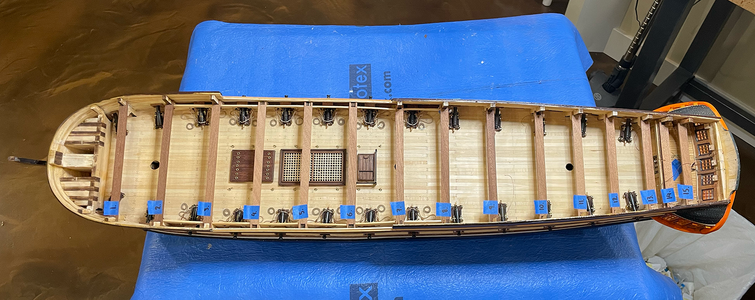
H.M.S. Surprise by Artesania Latina - Build log

Joined
Oct 23, 2023
Messages
16
Points
48

Location
Calgary, Alberta, CANADA
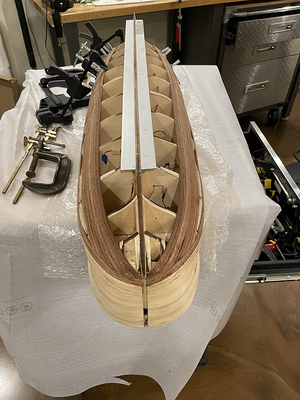
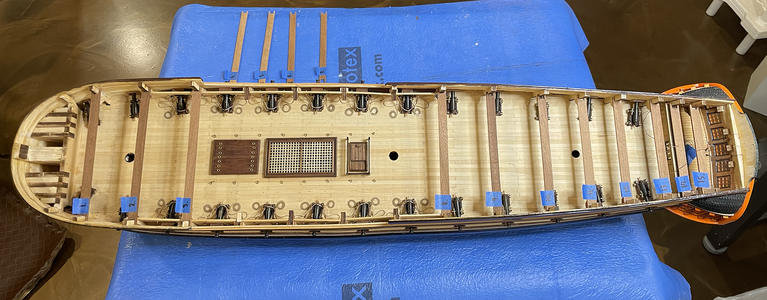
I've been working on this kit for a few months now, but am remiss with photographing the progress. It's my first ship and I'm glad for the tools I've collected
for the RC aircraft I've built over the years.... but ships clearly require more clamps!!
Ship-02.png


Ship-03.png

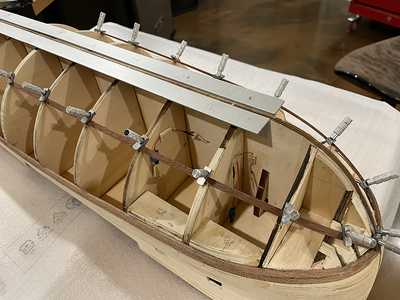
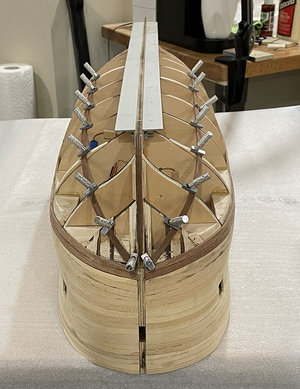
I attached some 90º angled aluminum strips to the hull to ensure the keel remains straight and true - also makes a suitable stand for the initial work.

Ship-04.png
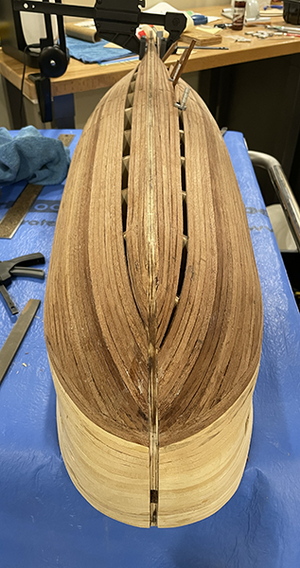
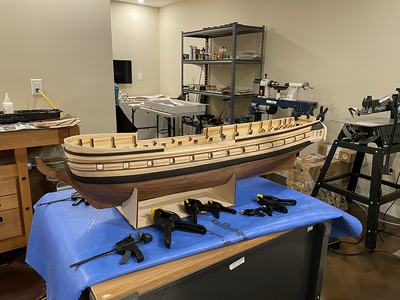
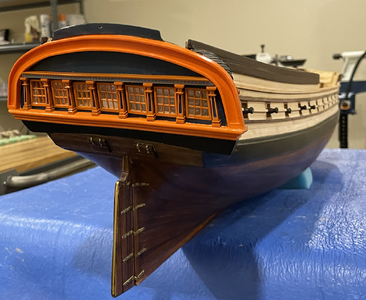
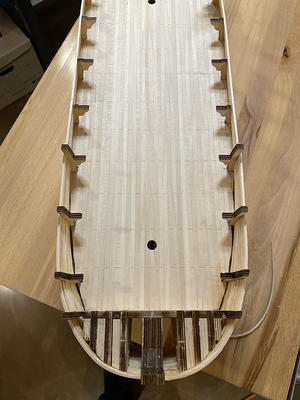
Upper planking nearly complete. Not unhappy with the results to far.

Ship-05.pngShip-06.png

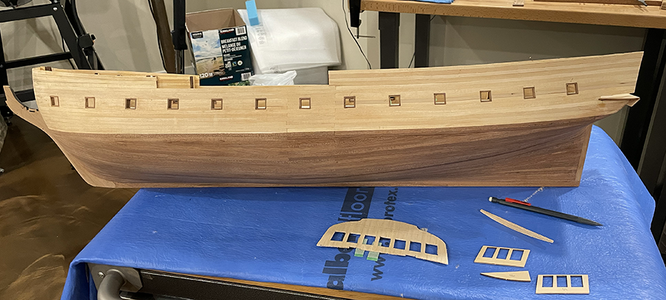
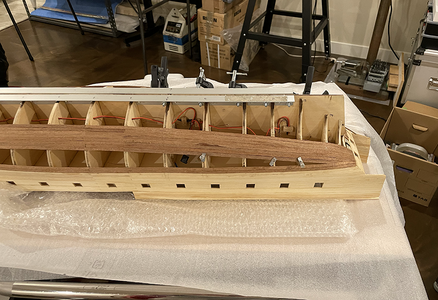
Starting the lower planking here. The DC electrical system has been roughed-in. I picked up some
"pica" sized flickering (candle-like) LEDs to illuminate the gun deck as well as the lanterns above deck.
I've tested them, and they look very similar to miniature candles!

Ship-08.pngShip-09.png


Ship-10.png
 
Last edited:
with the time you will have much more clamps - this is clear
Clean and accurate work - especially when this is your first ship model - very good work
You are on a good way :cool:
 
This kit has always been on my maybe list for a long time, I nearly bought it a few times thinking I could make the necessary improvements. I'm still waiting for the Caldercraft one... We will be waiting forever on that one.

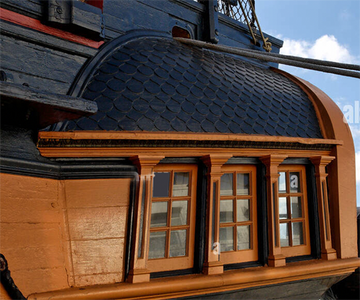
You are doing The kit justice with the kit bashing. The roof tiles you chose look good.

I'll be keeping an eye on your progress.
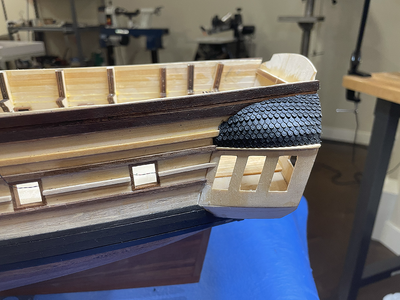
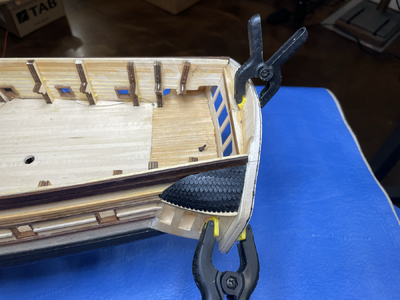
I purchased a strip of rubber from Canadian Tire and made a jigging tool to cut the alternating rows of shingles. The tool worked ok, but the rubber strip was too thick. I should have used cheap black latex gloves for the material as they are much thinner. I'll give the ones I've attached a gentle treatment of brushed acetone which may give a nice "aging effect" and reduce the thickness. Must test first... LOL!
 
Preparing the arch (again)

Ship Shingles-04.png

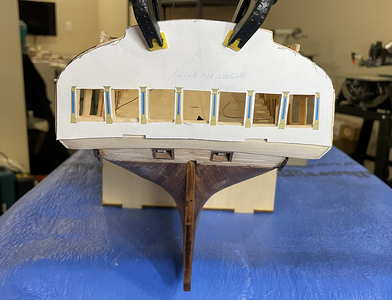
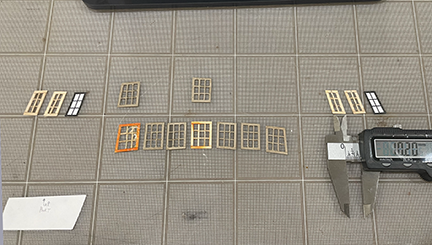
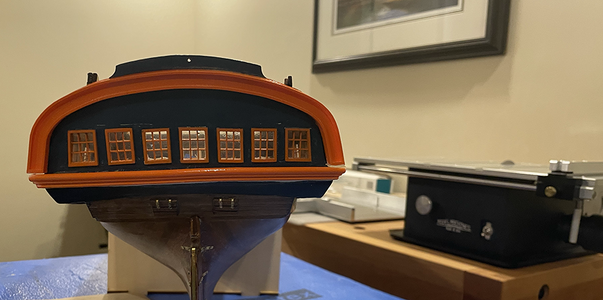
Initial window build. The windows provided in the kit were blue tinted plastic, without frames. I decided to build these from scratch, slightly oversized, and trim them with the Model Machines tablesaw...

Ship-25.png


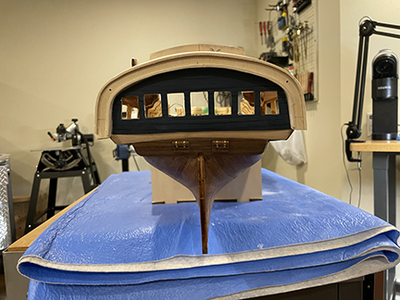
Arch (outer) completed and windows cleaned up and tempo installed
IMG_6064.png

Now for some other bits and pieces.

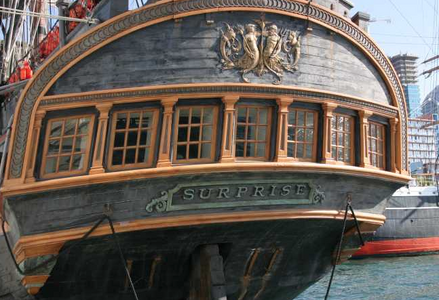
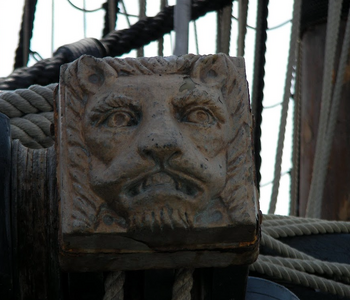
The actual ships cathead:
Catshead.png

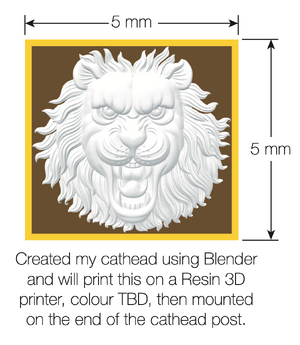
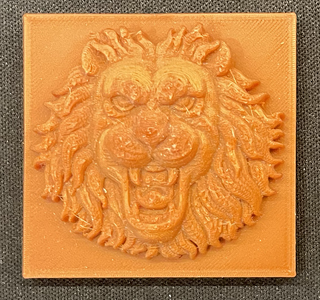
My version (I gave a shrug to scale here):
Cathead Upload.png..... IMG_6065.png

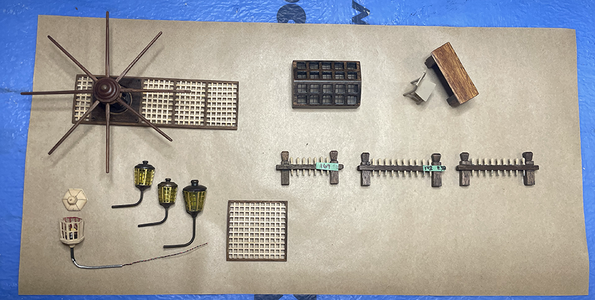
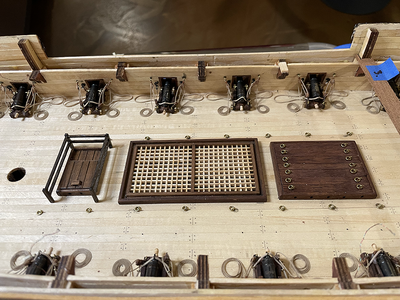
Assembled some other deck details too:
IMG_6061.png

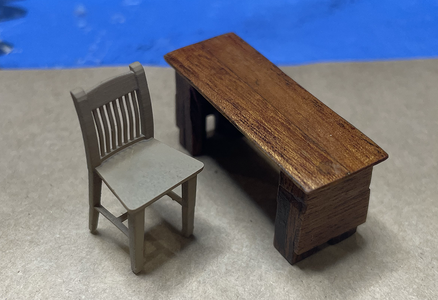
Built the captains desk from vintage plans provided by the National Maritime Museum Greenwich.
At 1/48 scale this furniture is tiny!!
IMG_6062.png
 
I've been working on this kit for a few months now, but am remiss with photographing the progress. It's my first ship and I'm glad for the tools I've collected
for the RC aircraft I've built over the years.... but ships clearly require more clamps!!
View attachment 433065


View attachment 433066

I attached some 90º angled aluminum strips to the hull to ensure the keel remains straight and true - also makes a suitable stand for the initial work.

View attachment 433067
Upper planking nearly complete. Not unhappy with the results to far.
View attachment 433068View attachment 433069

Starting the lower planking here. The DC electrical system has been roughed-in. I picked up some
"pica" sized flickering (candle-like) LEDs to illuminate the gun deck as well as the lanterns above deck.
I've tested them, and they look very similar to miniature candles!

View attachment 433071View attachment 433072


View attachment 433073
I've been working on this kit for a few months now, but am remiss with photographing the progress. It's my first ship and I'm glad for the tools I've collected
for the RC aircraft I've built over the years.... but ships clearly require more clamps!!
View attachment 433065


View attachment 433066

I attached some 90º angled aluminum strips to the hull to ensure the keel remains straight and true - also makes a suitable stand for the initial work.

View attachment 433067
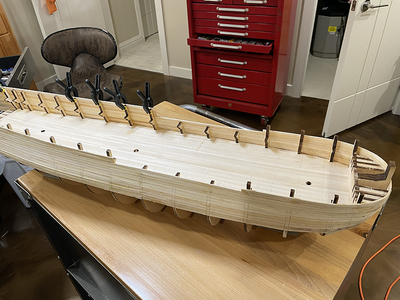
Upper planking nearly complete. Not unhappy with the results to far.
View attachment 433068View attachment 433069

Starting the lower planking here. The DC electrical system has been roughed-in. I picked up some
"pica" sized flickering (candle-like) LEDs to illuminate the gun deck as well as the lanterns above deck.
I've tested them, and they look very similar to miniature candles!
View attachment 433071View attachment 433072


View attachment 433073
Excellent start Reg, did you steam your planks for the bow curve?
 
Excellent start Reg, did you steam your planks for the bow curve?
For the plank bending I used a plastic wallpaper tray (good length for the planks) and submerged the planks in water for 48 hours - 6 planks at a time. After the time elapsed I used a plank bending iron to heat & bend each plank, test fit, then heat & bend till perfect fit. I found lots of advice on this website and youtube to get ideas along the way. My goal was to have the planks tight against each other to avoid the need for filler compound. The real ships never used filler. Shrug.
 
Last edited:
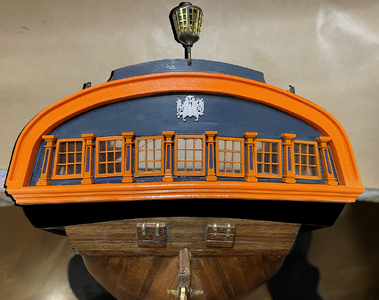
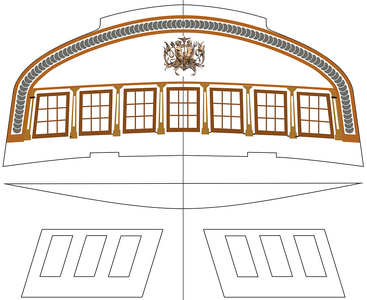
I created my own set of stanchions/pillars for the stern windows. Did not have the patience to carve these manually, so created a CNC file and had the company CNC Milling machine cut these from maple stock. Each has a slightly different angle (except the two centre pillars, which are identical). "Poseidon & Wife" stern decoration was built in Blender and printed with the company 3D resin printer. I haven't decided what colour I'll paint this yet. The moulding that will sit on top of these pillars is under construction. If other builders are struggling with the kit pillars, I'm willing to share the CNC file which can be reformatted for 3D printing.

Pillar Test-01.png
 
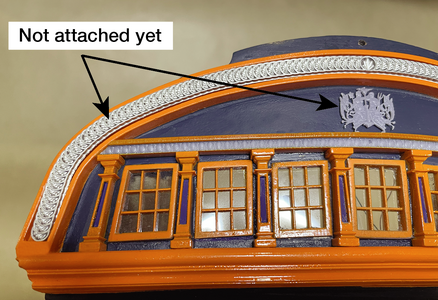
Managed to complete the stern details that I added to the project. None of these parts are included in the kit.

*SternDetail-01a.png


I haven't glued these details in place as I still need to determine their final colour.
*ArchDetail-02b.png

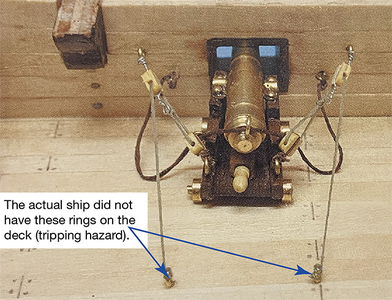
The next step is to install the gun deck canons. 12 of these will be visible and
require proper rigging. The plan that A.L. provided has some flaws regarding
this...
From the instruction manual:
*PlanCanonRig-01.png

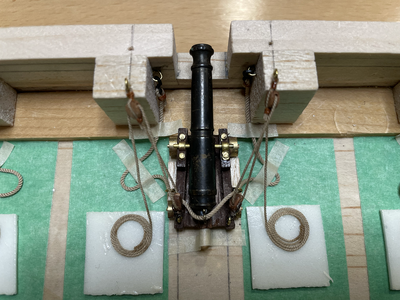
My modification (built a jig from scrap that was kicking around):
*CanonJig-1a.png
*Single Canon-01a.png

Now I'll ask for suggestions on the best method of "treating" the ropes so that they
hold their position and simulate "gravity" effects. I've tried diluted carpenters glue,
but I'm open to any better solutions
 
Back
Top