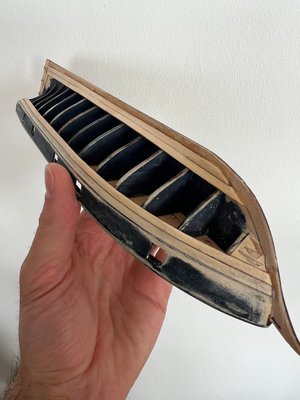
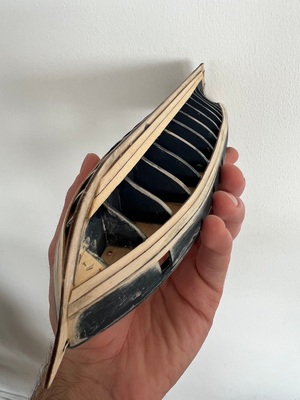
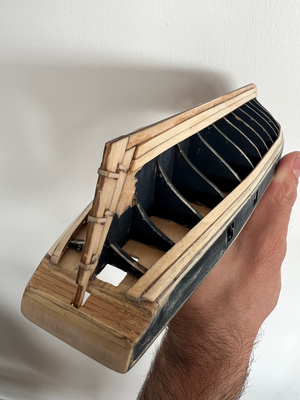
Halcon 1:100 - My first builld

JTV

Joined
Feb 28, 2024
Messages
12
Points
48

Location
Montreal, Qc, Canada
Hello all,

As my first foray into the hobby, I've picked up the cheap Halcon 1:100 kit. The goal for me is to learn the techniques of model ship building and have some fun. As the many other build logs for the kit on this forums make really clear, I am aware this is a difficult model for a beginner and although I hope to be able to finish it, my expectations aren't too high. Enough with the preamble, on to the build log.
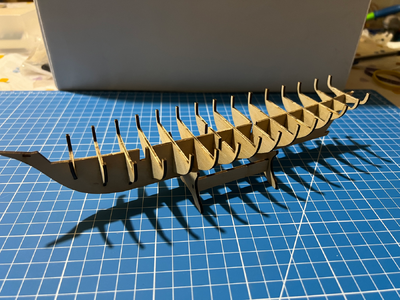
Session 1​

I have assembled the bulkheads to the keel. The fit of the cuts is very tight, such that I didn't need to clamp or square anything. I actually had to use more pressure that I was comfortable using to get bulkheads 5 and 12 to bottom out properly on the keel.

bulkheads.png


Session 2​

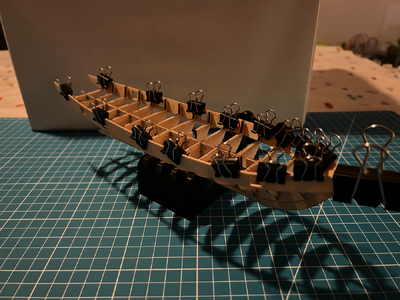
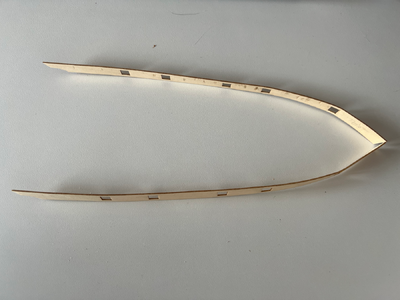
I attempted to shape the bulwarks to the bulkheads. I soaked the bulwarks in very warm water for 15 minutes, then clamped them to the bulkheads. At first, I didn't notice how poor the gun ports alignment was. So I removed all the clamping, let the bulwarks become somewhat flat again and figured out by how much I'll need to shorten them from the front. No pictures for this step.

While waiting for the soaking to happen, I worked on the anchors. From the kit, the anchors are wrong. So I cut them right below the stock, flipped it 90 degrees, and glued the 2 parts back together. I added the palms and called it a night after the issue with the bulwarks become obvious. I think I'll rework the ring, because the butcher's twine I plan to use for the rope will not pass through it.
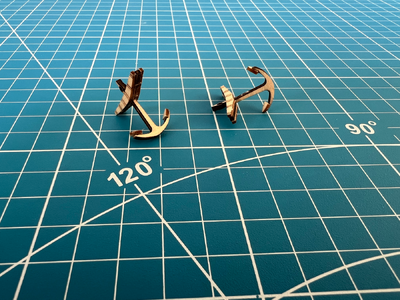
anchors.png

Next session​

  • Cutting + shaping the bulwarks
  • Sanding the rough parts of the anchors
  • Maybe: building a few gun carriages while waiting for things to soak and dry.
 
Last edited:
Most important is to have fun - only when you have fun with this hobby you will build a second and third model.
Good that you want to use the Halcon model to learn some techniques
Maybe this pdf can help - otherwise it is also good that you started this building log, so we cna see, give hints and comments and answer questions
 

Attachments

  • Planking Project.pdf
    1.9 MB · Views: 66
Thanks @Uwek. I think that's the approach to have to many things in life, if you strive for perfection on a first attempt, you're bound to be disappointed. That pdf looks like an excellent source of information for a beginner like myself. I'll make sure to read it more than once.

Session 3​

I have shortened the bulwarks, soaked them for 20 minutes and attached them to the bulkheads for forming. I've left them to dry overnight and they're holding their shape. Success! I have also tried dry fitting the deck. The tolerances from the laser cutting are a bit tight, so I'll have some filing down to do.

bulwarks.png

bw2.png

In the process of removing the clamps this morning I heard a cracking sound! Bulkhead #15 (the fore most one) is now in need of repair on the starboard side.

Next session:​

  • Fitting the deck
  • Fixing bulkhead #15
  • Maybe: Fitting the first layer of railing
 
Last edited:

Session 4​

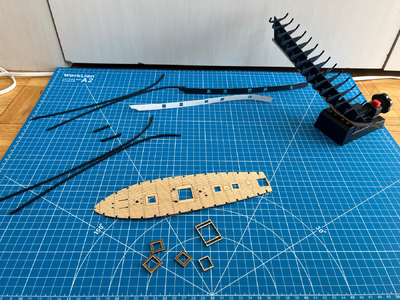
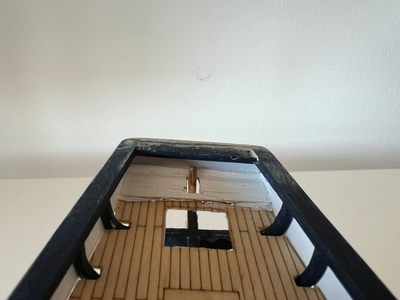
I think I made some good progress during this session. I don't have much confidence in my painting abilities in the tight spaces given the small size of the model, so I've decided to paint the parts individually before assembling, at least for the upper part of the hull.

  • Fixed bulkhead #15 with a touch of CA glue.
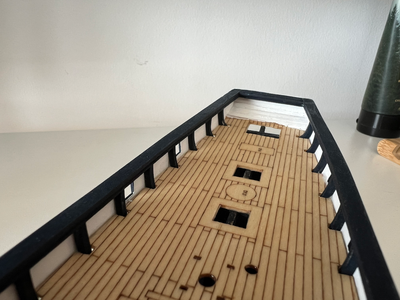
  • Dry fitted the deck and "varnished" it with 2 coats of glossy mod podge. I also took inspiration from @DARIVS ARCHITECTVS build log and opened up the holes below the grates.
  • Painted both sides of the bulwarks
  • Painted the bulkheads, both to make the inside of the ship be dark through the grates on the deck and for the parts that attaches to the railing
  • Dry fitted, shortened and painted the railings and transoms
  • Assembled the frames for the grates

progress.png

So far, I'm really enjoying building the ship, but I'm getting quite anxious to get to planking, I feel it'll be the first real milestone and big challenge in this project. From the current progress, I think I'll get to it in session 6, given the plan for session 5 below.

Next Session​

  • Glue the deck
  • Glue the first layer of railing
  • Glue the bulwarks
 
The dark color is a blue that I mixed myself from the Apple Barrel “Admiral Blue” and some black. I am very happy with it and I really hope that I won’t run out or that I’ll be able to make it again.
 
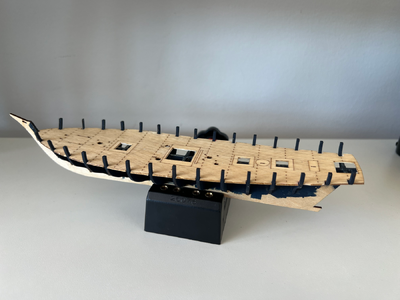
I had a bit of free time last night, so the deck is glued to the model. Although I had dry fitted everything, I had not considered the thickness that paint and mod podge would add, so all of the grooves in the deck had to be made wider again (about the width of an knife blade). Let's call this session 4.5.

progress.png

If anyone could share tips/tricks for the fairing of the bulkheads in preparation for the planking, it would be very useful. Otherwise, the plan is to use a combination of a sanding block, some sandpaper and patience. Thanks in advance.
 
Last edited:
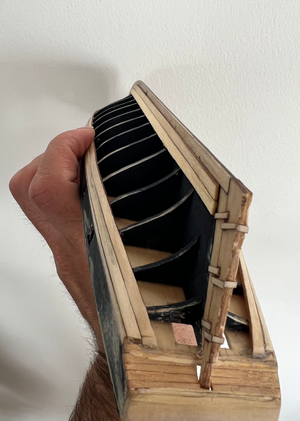
There's been a few sessions since last post. I thought I was close to begin the hull planking process, but from reviewing other build logs, it seems that finishing most of the upper hull made more sense, so that's where I went.

Session 5​

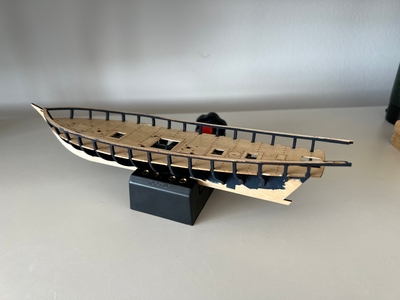
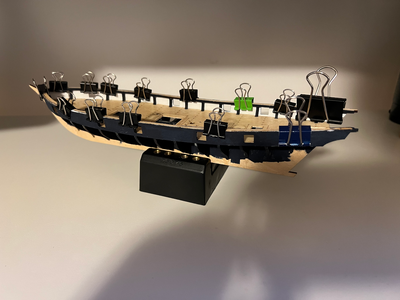
This one was a short session. I glued the rail and the bulwarks. Not too many issues, except that even with all the dry fitting, the post from the bulkhead lined up perfectly with the the fore most gun port. I snipped the posts. The plan is to add a fake post when working on the detailing of the deck and add something on the deck there to hide the evidence of the removed post.

I also noticed that the aft portion of the rail would need to be shortened and that the transom bit of the rail would be too short.

rail.png

bulwarks.png

Session 6​

During this session:

  • I made a new transom part for the rail out of a popsicle stick and glued that in place.
  • I glued what I think is called the gunwale (the part that sits on top of the bulwarks and the rail).
  • I did a whole bunch of sanding to try and improve the fit of the currently assembled parts.

glued.png

toprail.png

bow.png


At the end of this session, I was not very happy with the fit at the bow and the stern of the ship. It became clear when I was sanding everything down, that I had shortened the bulwarks a little too much and they were glued a little too forward. There's a small gap between the deck and the side of the ship, the fairing that was done on the sides does not line up properly and the deck stick a little bit out of the back of the sides. That also explains the issue with the gun port at the front.

All of these are small problems that I should have solutions in the next few sessions and that, hopefully, will not impact the rest of the build too much. My main concern is the build of the stern and the fit of the bowsprit.

Session 7​


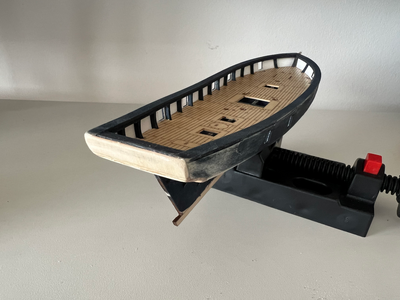
This session was dedicated to building the stern of the ship. At this point, everything was built from scratch. The transom part of the gunwale was recut using spare wood from the kit (from the same plank as the deck). Then, the underside of the stern was built using flat toothpicks. Finally the vertical part was also cut from spare bits of the kit. Then, a lot of sanding and very careful painting and I'm pretty happy with the result. I think I'll use a bit of wood filler to hide some of the more obvious defect, but it looks like pretty good to me.

stern.png

transom.png

inner.png

The stern could look better, but I think that when the planking will be in and the whole thing is painted, it won't be too bad. I'm pretty happy with the process so far and the things I'm learning. I'm having fun.

Next session​

  • Fit the rudder.
  • Fill the bow of the ship with spare wood in preparation for the planking to start.
  • Fairing the bulkheads with a lot of sanding.
 
Last edited:
Hello,your last few words, " I'm pretty happy with the process so far and the things I'm learning. I'm having fun.".These sum it all up for me! When you can look at the work and say that, then it is a great day and a great hobby.
 
  • Like
Reactions: JTV
Thanks @DARIVS ARCHITECTVS, the color scheme is inspired by the modern schooner Lynx and the Bluenose, with the blacks changed for the darkened admiral blue.

I actually had a question for you: in your build log, I don’t think I have found an entry that specifically says what thread/rope you use for the rigging other than heavy coat thread. What would you recommend I look for to use as rigging on this model?

Thanks in advance, J.
For running rigging, the least fuzzy and best thread I have is polyester Gutermann Mara 100, used by many on this forum for making ropes on their rope walks. Early in my build, I just used off the shelf sewing thread I had on hand. I wasn't particular. But then the fuzzies were very evident in the close-up photos, so I switched to my most expensive thread, the good stuff. For the standing rigging, normal cotton/poly heavy black coat thread.
 
Thanks @DARIVS ARCHITECTVS, this is exactly what I was wondering. It is very helpful.

Session 8​


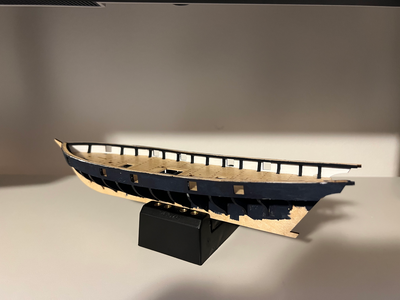
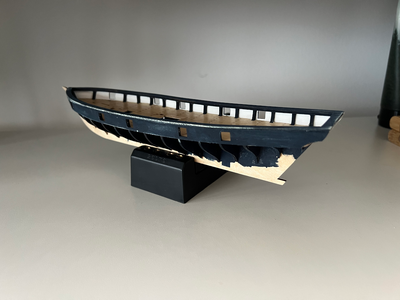
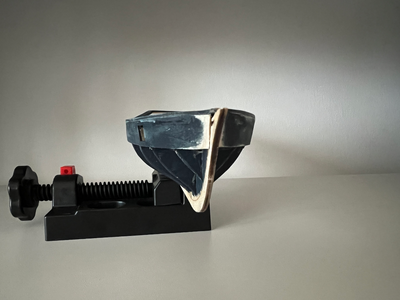
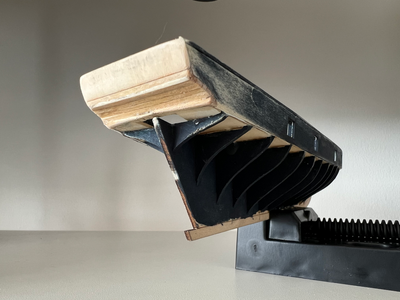
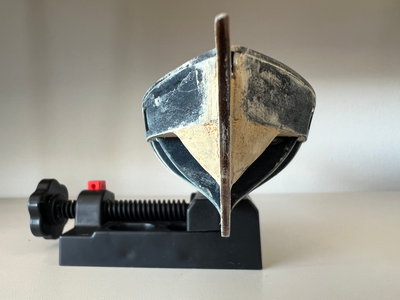
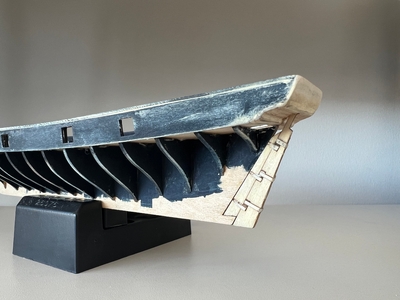
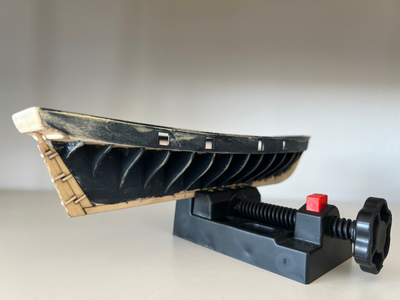
Finally a build session that went according to plan. I filled the section between the bow and the first bulkhead with popsicle sticks, making sure to cut the parts smaller than the curves. Then I patched up the space with wood filler. I did this because I found that cutting/carving the wood from the sticks was very difficult and that sanding them would be a challenge. So I opted to use the wood filler, making sure that i can get pretty close to the final form by sculpting it while still soft and that the required sanding will be minimal. I am now waiting for the everything to harden to sand it down to it's final shape.

bow.png

I then made the rudder by gluing the two parts from the kit together. For some extra details, I used scrap bits of wood from the kit to build the hinges. I couldn't find anything to act as rivets, but I'm not too fussed by it. Fitting the rudder was a bit of a challenge, but careful cutting through the counter with the craft knife gave a pretty good result.

port.png

starboard.png
stern.png

I used the opportunity of having the wood filler out to fill some gaps at the stern, all around the bulwarks and gunwales and at the bow, and I am now very happy with how it's turning our. Finally, I did a bunch of sanding trying to fair the hull in preparation for planking.

Next Session​

  • Start the planking !!!
 

Session 9​

Planking has begun! I reread the document shared by Uwek and tried following most of the steps. I had issues with the idea of the temporary battens and measuring the number of planks. So, I started with a single full width plank at the top and the bottom of hull, then followed up with another full width plank. I now have a better idea of the process and the number of planks I need to fit, so I'll start measuring and tapering as needed.

bow-port.png

bow-sb.png


stern-port.png

stern-sb.png

I was a little too hasty at shortening the planks at the upper stern, but I'm sure I'll find a way to make it all look nice.

Next Session​

  • More planking
 
Back
Top