Hi all
So, not had much time on this lately. I thought I would get all the electronics working first.
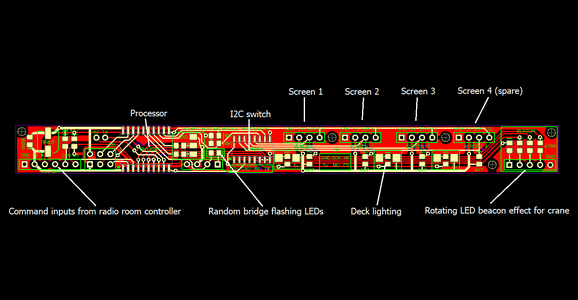
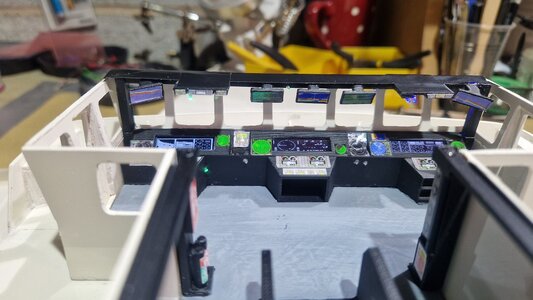
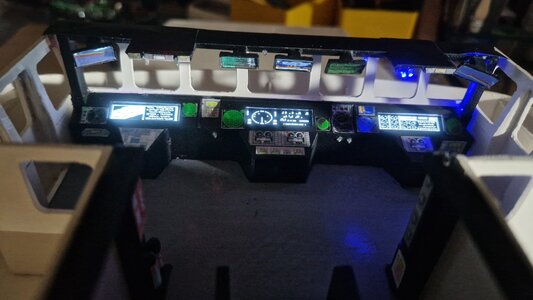
The bridge PCB was next. Running on a tiny ATtiny1606 processor (about £0.80p each!). I mounted some tiny OLED screens ($1 each from China) under the 3d printed interior panels.
The entire superstructure needs sanding, filling etc. So this interior rig lifts out as one piece.
It's had a basic layer of paint thrown over it. Airbrush next to get it looking decent. There are more details to add like swivel chairs, staff, maps and charts, a chart table, interior lighting on the ceiling etc.
But, this was to get the base electronics working.
The PCB multiplexes up to 4 screens (I only used 3). It also randomly flashes small LEDs that are piped to the panels with some scrap fine Fibre-optic cable I found lying by a internet fibre cabinet down the street.
There is also an output for a rotating beacon which activates when the crane is live. I managed to make a tiny beacon to the correct scale.
Lots more tidying up to do. Paint the superstructure, fit the windows (after cleaning up the holes).
Also got some tidy bezels to go over the ends of the fibre cables so that the LEDS are a bit smaller. This whole this is tiny!
Video here:
Interior details on my Happy Hunter RC Tug build
vimeo.com


