You are using an out of date browser. It may not display this or other websites correctly.
You should upgrade or use an alternative browser.
You should upgrade or use an alternative browser.
- Joined
- Oct 14, 2020
- Messages
- 245
- Points
- 298

Hi Roger, That is acturally okay, this error on the jig was being later fixed, you can place a small spacer so it would be fine.
Hi I must thank Victor at Modelship For the amazing customer service
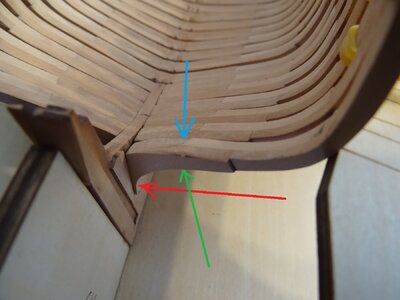
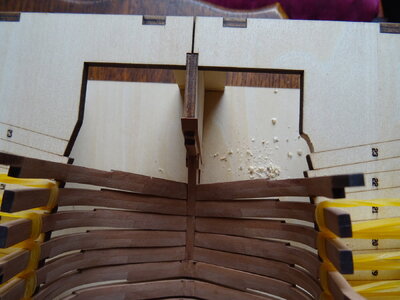
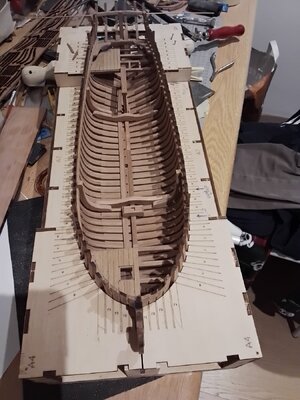
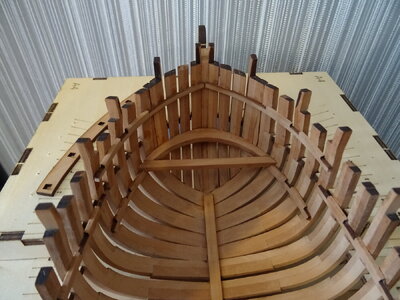
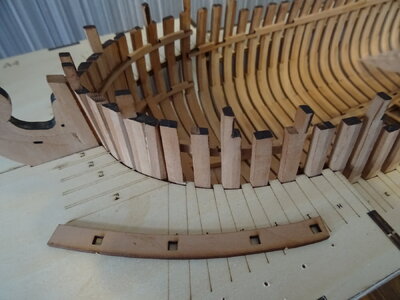
I now seem to have a problem at rib 23 (Last rib at the stern) as sanded to the lines it does not follow the lines of the boat it sits too high and if i lower the rib it would not follow the keel any suggestions gratefully received
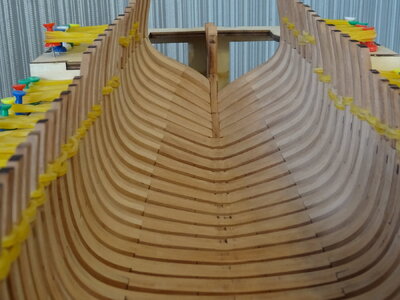
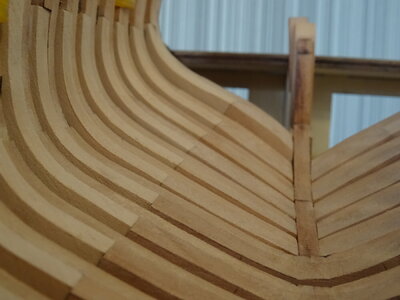
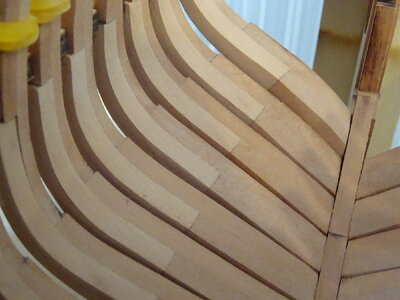
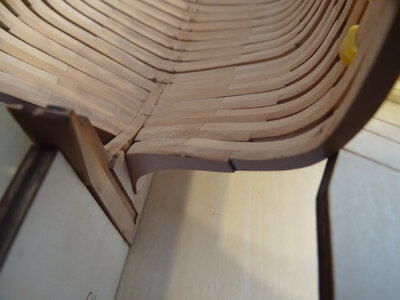
I now seem to have a problem at rib 23 (Last rib at the stern) as sanded to the lines it does not follow the lines of the boat it sits too high and if i lower the rib it would not follow the keel any suggestions gratefully received


- Joined
- Mar 1, 2022
- Messages
- 347
- Points
- 168

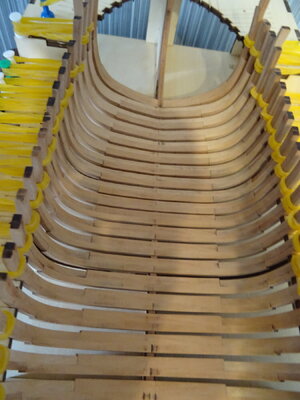
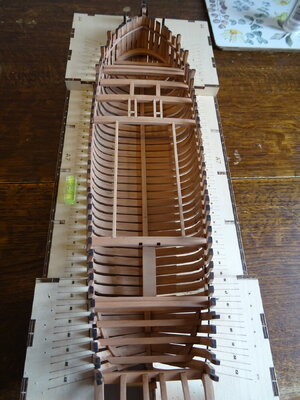
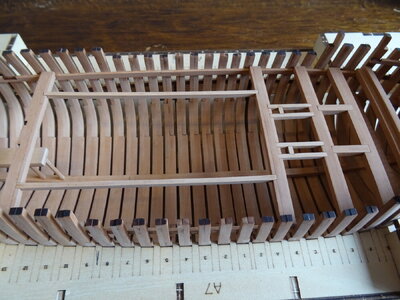
A brief update i fitted parts A3a and A3b (sorry i do not know what they are called) and when i measured the height each side found a 2/3 mm discrepancy after a lot of head scratching i realised i had not positioned the keelson correctly
As removing and refitting the keelson would probably leave a mess that would be visible i decided to cut a bit out of the card templates and tape them in position and refit A3a and A3b
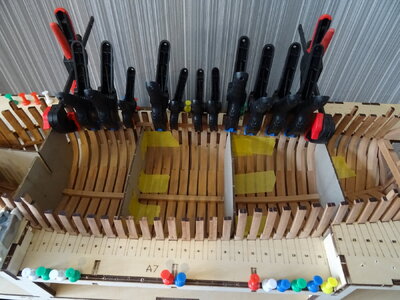
As removing and refitting the keelson would probably leave a mess that would be visible i decided to cut a bit out of the card templates and tape them in position and refit A3a and A3b

- Joined
- Mar 1, 2022
- Messages
- 347
- Points
- 168

That's the best solution, if you want to use the kit's templates. Nevertheless, those cardboad parts are hardly reliable after the fairing of inner hull. Better way would be taking heights by a bore gauge. I did this way and all went ok. Cheers!
- Joined
- Mar 1, 2022
- Messages
- 347
- Points
- 168

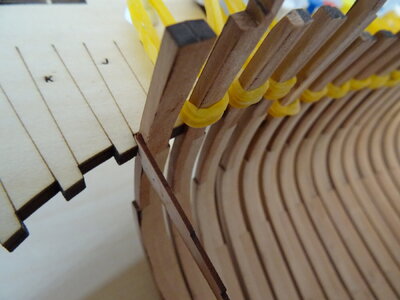
these parts are not very accurate and result too short once bended, but the the mismatch of those you call extensions at the post won't be very visible once the whole inner structure would be done. As notches for the beams are not foreseen in Antscherl's practicum, I replaced mine with scratched, prebent 2×6 mm raw streaks of cherry, neatly kissing each other at the midline.
- Joined
- Mar 1, 2022
- Messages
- 347
- Points
- 168

Good luck...!a brief update i am struggling to see where the stern beam supports should go so i have decided to ignore the instructions and and just build the centre section in the hope that it will become clear in due course
View attachment 458134
View attachment 458135
Thank you albertmary i am going to need it
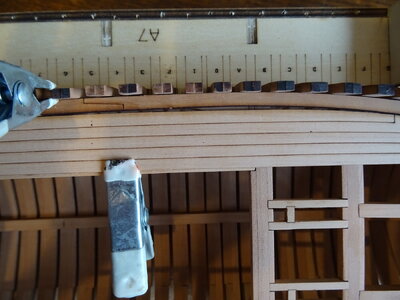
I am assuming that this is a design error and not a horrible mistake on my part but
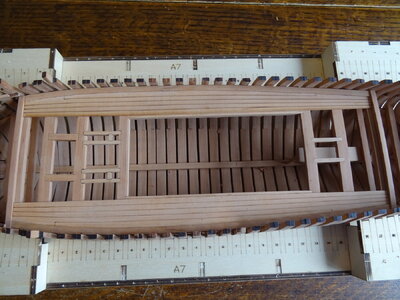
I have got to the point where i intend to fit the water way and decking but they are way off in alignment and leave a large gap unless you move the water way forward and then they are fine apart from being to short at the stern and needing a filler making
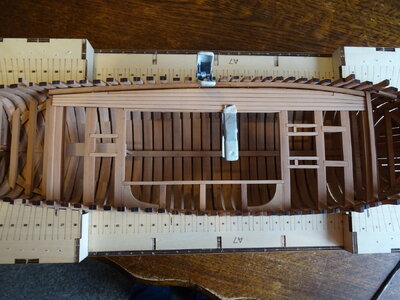
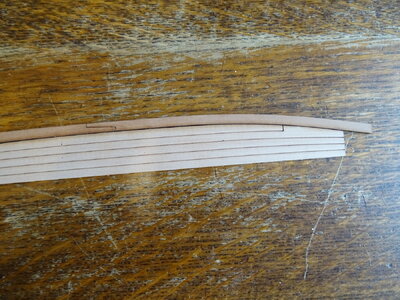


- Joined
- Mar 1, 2022
- Messages
- 347
- Points
- 168

My point is that, anyway, all these "fairings" parts could hardly fit precisely after tens of little adjustments operated through the whole construction.
My latest problems the laser cut hatch at bow is definitely a design error so am i better modifying the hatch or cutting back the water way?
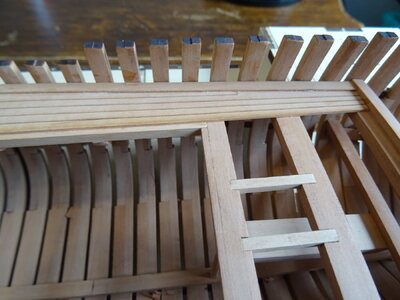
I have positioned the beams the decking sits on to far forward ( Should have tried the deck earlier ) going to try just moving the back one to the correct position for an easy fix
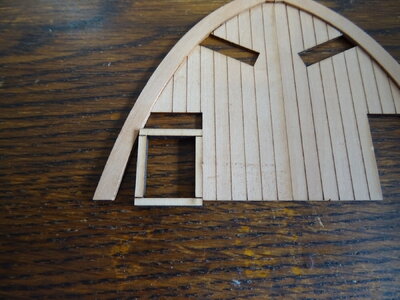
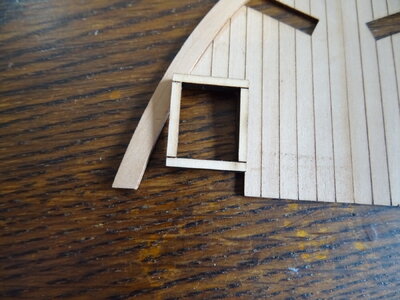
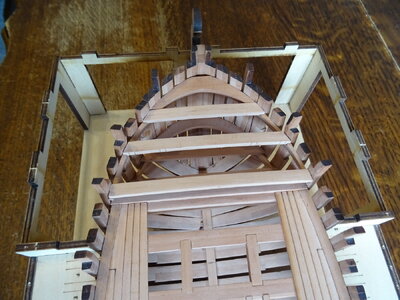
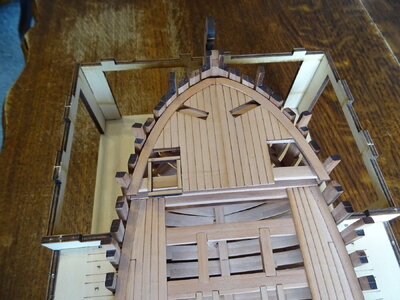
I have positioned the beams the decking sits on to far forward ( Should have tried the deck earlier ) going to try just moving the back one to the correct position for an easy fix


- Joined
- Oct 14, 2020
- Messages
- 245
- Points
- 298

Hi
I never thought of that simple and effective many thanks superb customer service
I never thought of that simple and effective many thanks superb customer service
- Joined
- Mar 1, 2022
- Messages
- 347
- Points
- 168

In all honesty and in my humble opinion, that recovery looks a bit poor to me. I have never seen before any hatch frame carved on the waterway's contour. I'd have rather downsized the frame. Cheers!Hi Roger,
The part is being designed like this, the way I did it was to sand a slope and put it in:
View attachment 459498
You can choose to do the same or cut them into 4 pieces and assemble the way you wish. I hope this helps.
I decided to take the easy option as i would have to move the supports and probably have made a bigger mess and i agree it does looks a bit poor i may alter it later as i do not like the surround not being planked
Had a look at the stern and the windows do not line up i think the end frames? are the wrong way around it is not clear in the instructions fortunately the beams are not glued in so in shouldn't be to much trouble
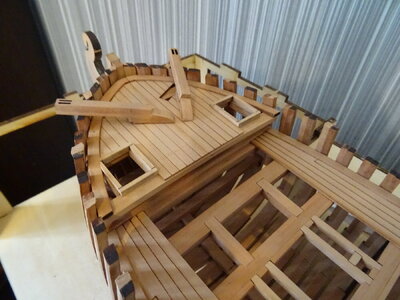
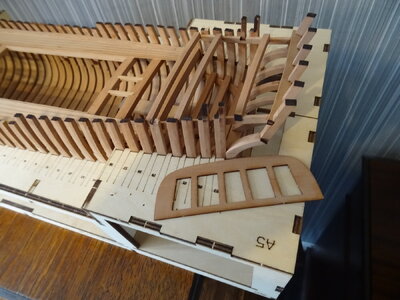
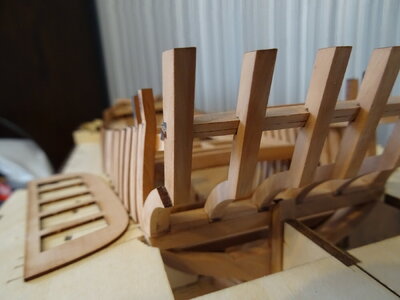
Had a look at the stern and the windows do not line up i think the end frames? are the wrong way around it is not clear in the instructions fortunately the beams are not glued in so in shouldn't be to much trouble


