- Joined
- Oct 12, 2019
- Messages
- 110
- Points
- 78

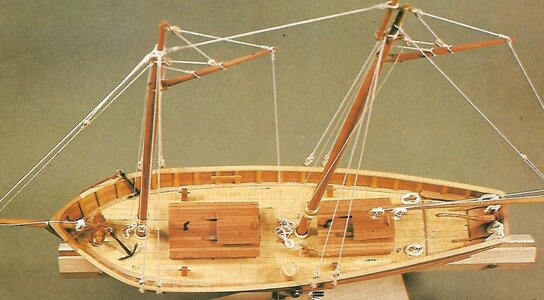
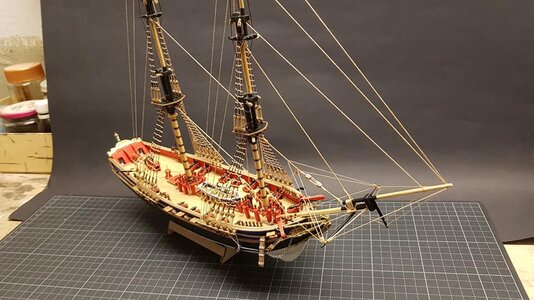
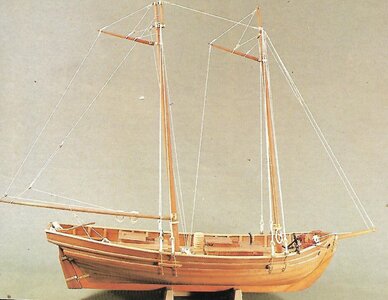
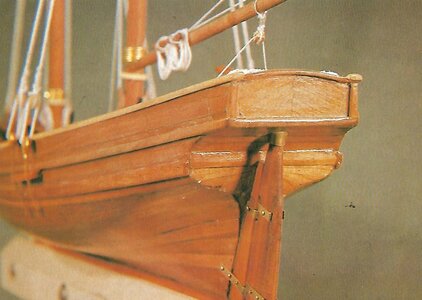
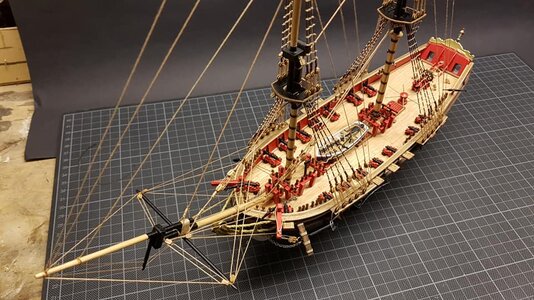
Wondering on deck base installation. Since the deck curves in 2 directions, should I glue in the longitudinal first, then the camber or both at the same time? Should the deck planking be done prior to that?
any help is appreciated.
Thanks,
Steviedean
any help is appreciated.
Thanks,
Steviedean