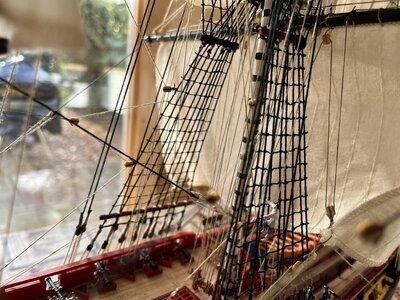
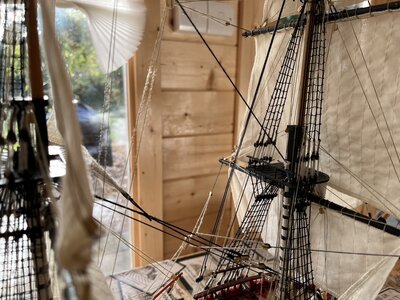
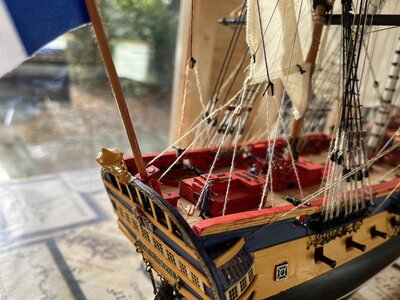
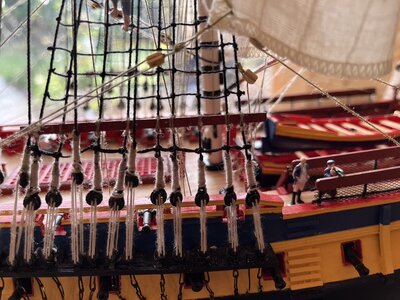
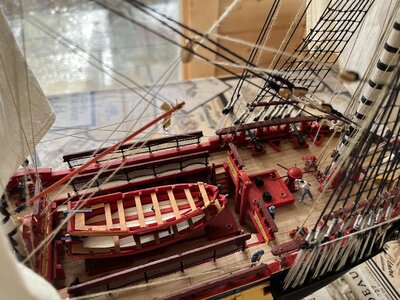
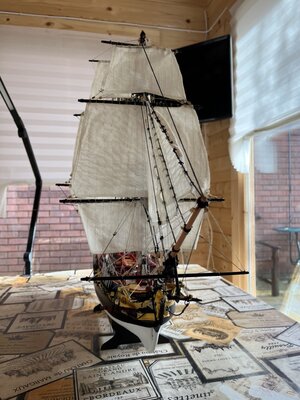
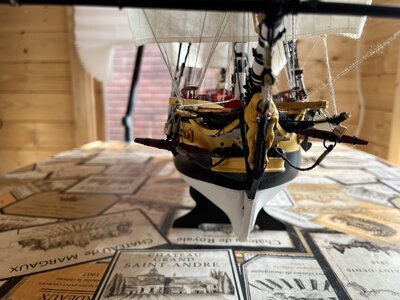
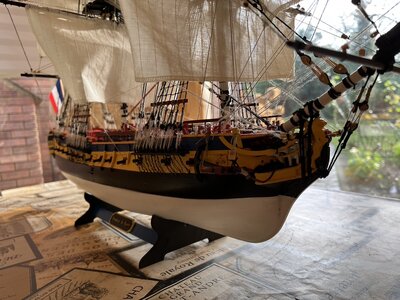
Hermione Artesania Latina Just Completed

Joined
Feb 2, 2021
Messages
22
Points
58

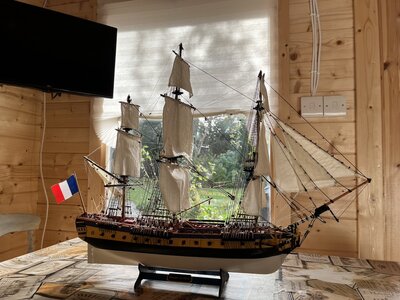
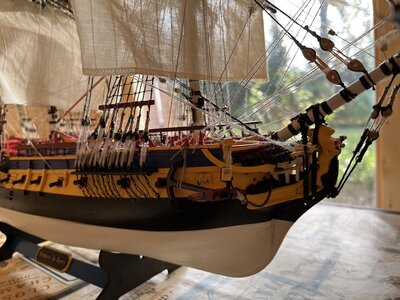
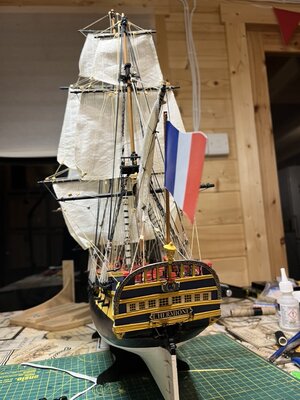
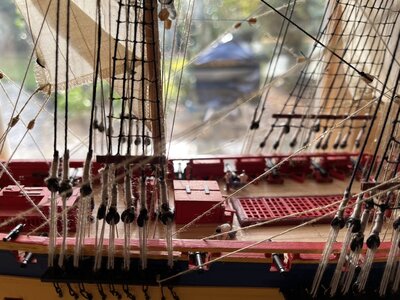
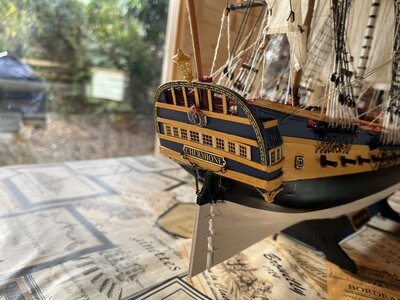
I started this model in Jan 2021 . My second model. The first was HMS Bounty by Constructo. I found the kit lacking in thread, deadeyes, wire and rings and the instructions would have been better if printed in a booklet. I developed an allergy to CA glue during the build but thankfully found that the odorless Roket CA did not affect my nasal passages. Invaluable was the spray can of CA accelerator to give instant bonding of rigging and small parts. Split needles for threading ropes were a lifesaver. The paint was the Revell aqua range of acrylics which were marvelous in that they had a high load of pigment and dried quickly. Also could be diluted to use with an airbrush. I made a few mistakes such as cutting the cannon ports too low so I had to fill in the bottoms with bits of wood - fill and repaint but the end result was very acceptable. I have another kit ready to start - the HMS Enterprise by Constructo. I feel the quality of the Constructo kits are way better than the Artesania Latina ones but there is no question that this is a very pretty ship. It has a special place for me as I have a holiday home in Vendee, France and over the years I have watched the building of the replica in the Napoleonic shipyards in Rochfort. Unfortunately, I visited the shipyard in September to look once more before I started the rigging and the ship had sailed for Bordeaux on a tour .
143924D9-8F94-4C66-A928-6341FAE049BD_1_105_c.jpeg6C5B828B-C053-4A79-92AE-ECDA323655F8_1_105_c.jpegC0165CC2-2920-4F19-81D4-06C4E6E1CCC5_1_105_c.jpegA55879C3-622A-423D-A621-DBFACFF47671_1_105_c.jpegA4BACF87-6314-4568-85D6-BEE96F540B3A_1_105_c.jpegC62DA873-B1CC-473A-97A8-29DCFBED68ED_1_105_c.jpegE71E51FF-4115-416A-A0CA-B2670BDD0C09_1_105_c.jpegED20078A-3E1C-47E0-8F65-09D25241B67F_1_105_c.jpeg68E35DA2-3B66-4BEA-B9F4-748871610EA8_1_105_c.jpegF567B28F-E3BC-4CA7-8CB9-14AC228BBC64_1_105_c.jpeg4D9EEF28-41FB-42A7-AD3A-D4E5A4E02B0D_1_105_c.jpeg76D561AD-B6E9-4E81-B690-3F275AD31DE4_1_105_c.jpegE80F81C2-05C1-4B10-B56B-10D5A91DD08A_1_105_c.jpeg0A1C8BDF-CEE9-4BE1-A249-C212A06A23B4_1_105_c.jpeg
 
Last edited by a moderator:
well done and congratulations for finishing this good model.
So can we hope to see your Enterprize in a building log?
 
well done and congratulations for finishing this good model.
So can we hope to see your Enterprize in a building log?
Yes I could have uploaded the hermione build log but I was limited by upload space
 
Hi I tried to upload as a build log but I was limited to 25 images and I had 84!
Yes - understood
You are right, that every single post is limited to 25 photos. but the number of posts is not limited
So please split the 84 photo in four posts and you can upload them easily.
This limit per post is necessary, due to the fact, that the user (and with this downloader) will be able to see after a certain time the complete downloaded page.
So please split into 4 posts and we all could see it......
 
Nice job. Running the standing / running rigging through a block of wax a couple of times before use will get rid of the fuzz / furry appearance will give a more realistic appearance to the rigging. Gets rid of the errant fibres, or rather, binds them to the body of the line/rope.
 
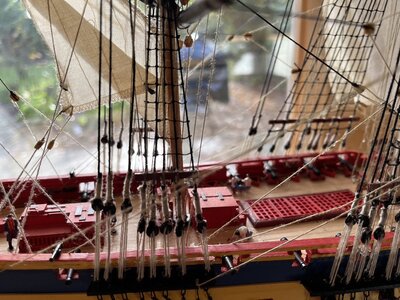
Thanks for the tip about the wax. I did this to start with but the blocks were so tiny that if anything it made running the thread through more difficult. On the larger scale Bounty that I made last year the wax block worked a treat. Post construction I think I will try running the threads through my fingers with some soft liberon furniture wax to bind the fuzz. The appearance is more noticeable in the photos because of the magnification.
 
I did this to start with but the blocks were so tiny that if anything it made running the thread through more difficult.
I'm not sure I understand completely what you're saying... when I do my rope, I run long lengths of the thread through the block of wax before cutting. I usually do multiple passes. If the holes of the blocks are too small, try reaming them out just a bit.
BTW, your model is beautiful! Well done!
 
I started this model in Jan 2021 . My second model. The first was HMS Bounty by Constructo. I found the kit lacking in thread, deadeyes, wire and rings and the instructions would have been better if printed in a booklet. I developed an allergy to CA glue during the build but thankfully found that the odorless Roket CA did not affect my nasal passages. Invaluable was the spray can of CA accelerator to give instant bonding of rigging and small parts. Split needles for threading ropes were a lifesaver. The paint was the Revell aqua range of acrylics which were marvelous in that they had a high load of pigment and dried quickly. Also could be diluted to use with an airbrush. I made a few mistakes such as cutting the cannon ports too low so I had to fill in the bottoms with bits of wood - fill and repaint but the end result was very acceptable. I have another kit ready to start - the HMS Enterprise by Constructo. I feel the quality of the Constructo kits are way better than the Artesania Latina ones but there is no question that this is a very pretty ship. It has a special place for me as I have a holiday home in Vendee, France and over the years I have watched the building of the replica in the Napoleonic shipyards in Rochfort. Unfortunately, I visited the shipyard in September to look once more before I started the rigging and the ship had sailed for Bordeaux on a tour .
View attachment 273369View attachment 273370View attachment 273371View attachment 273372View attachment 273373View attachment 273374View attachment 273375View attachment 273376View attachment 273377View attachment 273378View attachment 273379View attachment 273380View attachment 273381View attachment 273382
Dear John
congratulations for finishing this beautiful model, well done :)Thumbsup
 
I'm not sure I understand completely what you're saying... when I do my rope, I run long lengths of the thread through the block of wax before cutting. I usually do multiple passes. If the holes of the blocks are too small, try reaming them out just a bit.
BTW, your model is beautiful! Well done!
Thanks for the advice
 
Back
Top