• Ships of Scale has incorportated an extra level of security when you log In. Please follow on-screen prompts to acknowledge that you are not a robot via a "Check Box" or a "Pictorial Check Box Puzzle". This is needed due to higher level of AI Activity Security.
  • SUBSCRIBE TO SHIPS IN SCALE TODAY!

    The beloved Ships in Scale Magazine is back and charting a new course for 2026!
    Discover new skills, new techniques, and new inspirations in every issue.

    NOTE THAT OUR NEXT ISSUE WILL BE July/August 2026
  • Win a Free Custom Engraved Brass Coin!!!
    As a way to introduce our brass coins to the community, we will raffle off a free coin during the month of August. Follow link ABOVE for instructions for entering.

Hermoine - Artesania Latine 1/89 Build log

Joined
Jun 20, 2026
Messages
7
Points
3

G'Day all.
Ben here.
Normally, I do art, RC planes, Warhammer and Trains. But in the last 12 months I completely lost the creative mojo. Like a writers block. It is hoped I can get it back. I really want to learn skills to build a Caldercraft kit, and so I need to get some ships under my belt. Watching too much Drach, and weeks of 'How to - Hull Planking' videos may have helped get it back somewhat...

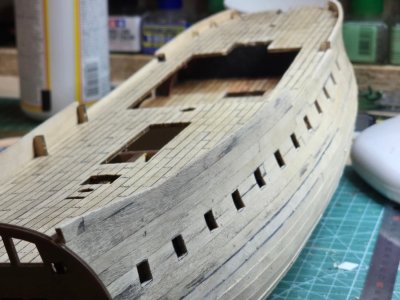
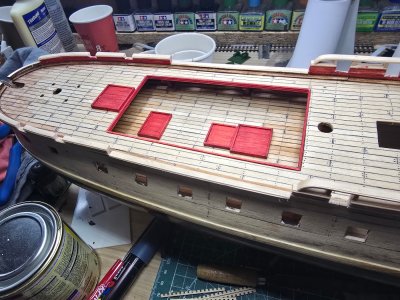
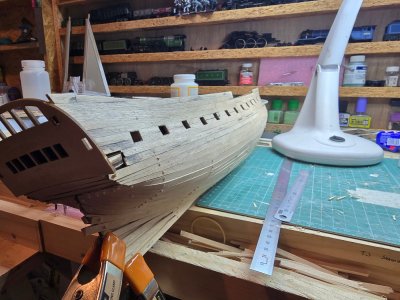
People with keen eyes will see I made a large error in that I fixed the upper deck and planked it about 20 steps too early. My excuse is I was reading it all downloaded on my phone as none of our computers have a CD drive! There is only so far the phone allows for zoom and it is quite tedious to use. I have since set up a monitor and can now plug the phone into that to see the manual... whew! Ignoring the fact I can now never really rig the cannons to the inner hull properly, it would have been an OK way to do it, as it keeps the hull sides sturdy, had I left the planking near the sides off

Ill soon have to sand the bottom of the hull.
It will be interesting to see If I can get away with cutting away those frames and patching up the deck.

Thanks for looking.
20260718_165323.jpg

20260718_165337.jpg
 
Last edited:
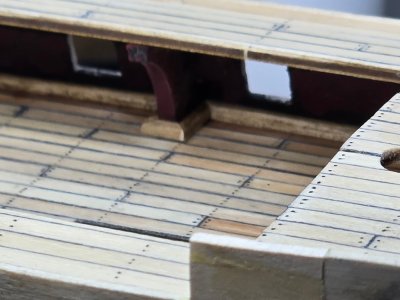
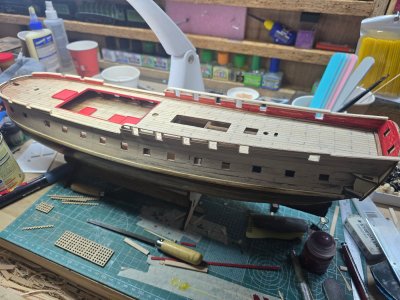
It looks to be going alright so far. Due to the upper deck being glued on, the painting of the walls of the gun deck was able to be done by carefully feeding the brush through the opposite gun ports.
The skirting was a difficult but it was done.
This wooden ship building is a very efficient way of making a mess!

20260726_113353.jpg

20260726_172309.jpg

20260726_172318.jpg
 
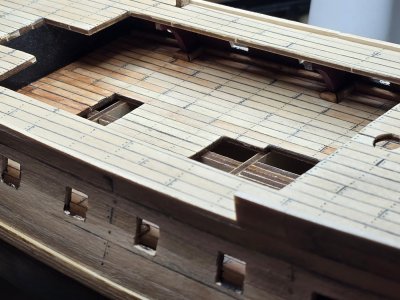
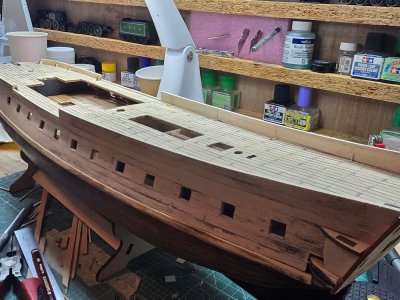
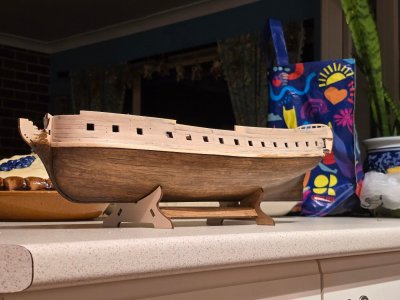
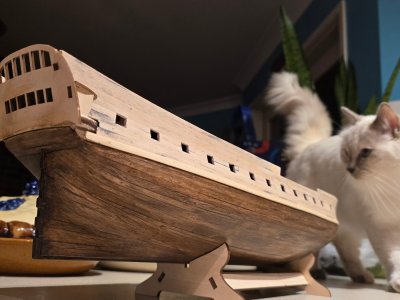
Some posing shots. I realized after the fact, that I should probably have stained a clear first, before the darker stain as the first initial clear stain may have sealed some of the small imperfections like very small deep file scratches and ect.. But it is my first one and I guess it just looks like a Frigate had a hard life.

20260727_190714.jpg

20260727_190746.jpg
 
Some help please if I may...
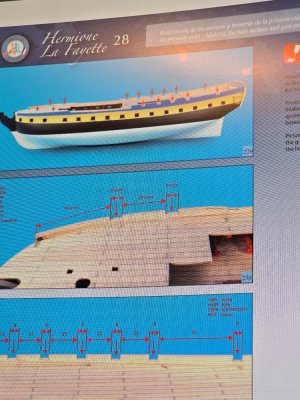
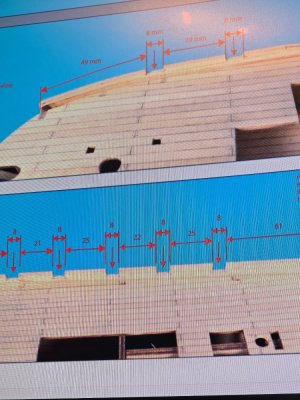
Page 28, or step 28 of the instructions has you cutting out gun ports of the upper deck.
It specifies their distance apart, but not how high they are to be above the deck??? Also, I cant see if it is specified how far to cut down the planking for the aft part of the deck, so I cut it down to the height of the frames, which have now been cut away as instructed. Can anyone provide some inspiration?

20260727_190225.jpg

20260727_190158.jpg
 
Gday All.
Some emergency renovations got in the way of life and pretty much everything.
But, it is now back to it.
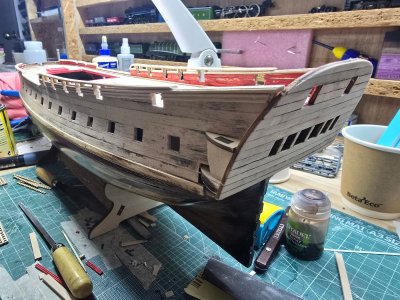
I deviated from the original build because I didn't like the top of the stern being so open with the netting. It looked more like how it might be in modern preservation than how it was back then. Whether it is right or wrong in this case, it reminded me of how things go sometimes in model trains too. So it got planked over and stern gun ports added.
The railings (apologies for the terminology, I am not a real naval guy and I am learning!) on the aft section were really hard to do in that you have to secure it firmly and maintain the gradual curve of it.
I had to repair the gun ports as I had a lot of trouble getting them in the right spot. They still are not perfect and I am worried about the relationship with the dead eyes and the ports later.. But oh well, we will push on anyway.
Thanks for looking!

20260906_093453.jpg

20260906_093459.jpg

20260906_093433.jpg
 
I worked with a captain mumbles many years ago. im sure there is a story there haha
 
Gday all.
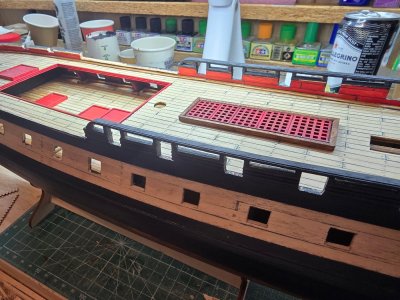
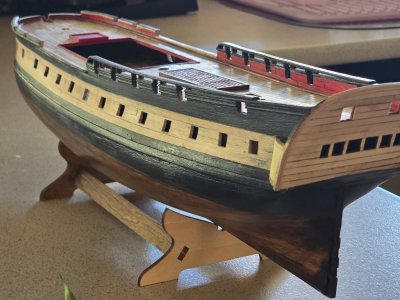
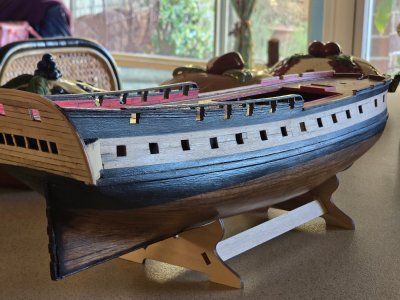
I sanded the hull down and had the stain re done. As I am still working out the best way to do things, I had to re do it a few times. That was a lot of work. I have managed to stain the lower hull and keep most of my work in the outlines of the 'tar' in between the planks. The effect is quite nice (even though the real one would have been copper plated I think).
After a lot of procrastination over where the back ends and the red starts I just decided to add paint and work it out as I go. Not many photos of how it would have been painted back then.

20260920_141536.jpg

20260920_161940.jpg

20260920_161851.jpg
 
Back
Top