The Rigging has Begun
I was busy fitting eyebolts to the deck this morning when it occurred to me that was a rigging operation. It seems that I've decided not to stop at the 'Admiralty Style' hull but to go straight on and finish her. I'm still not putting sails on - textiles are not my thing, I throw shirts away rather than sew buttons on (once
all of the buttons have gone, obviously).
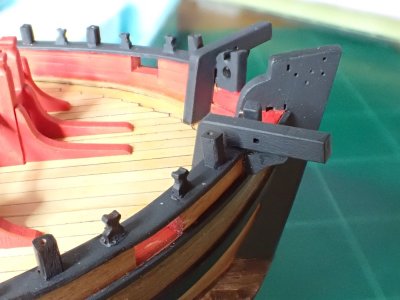
Painting came first. Being in the shade at the side of the boat, the channels were in need of a highlight and I took the opportunity to do the rest of the black paint at the same time. This is a 'before' photo of the bow timber.
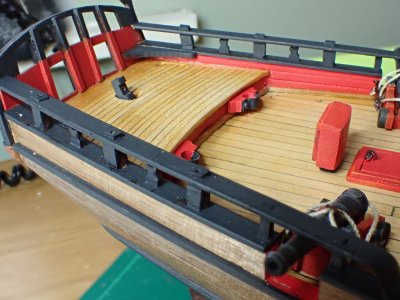
Ditto the stern.
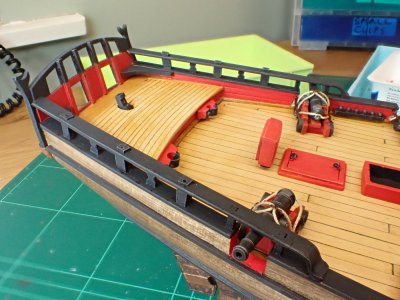
There was little finesse needed today. On big things like these I simply dry-brushed Medium Sea Grey downwards over everything black. The 'black' is actually Panzer Grey as I think black is too black for models. There are two reasons for this. First, any black paint, and perhaps particularly the 18th century version, soon fades to grey outside in the weather. Second, there's scale effect. You see the model from 2 feet away but the real thing would be 2 x 64 feet away to appear the same size. Black paint ar 128 feet away looks grey due to atmospheric haze. Blue-grey actually.
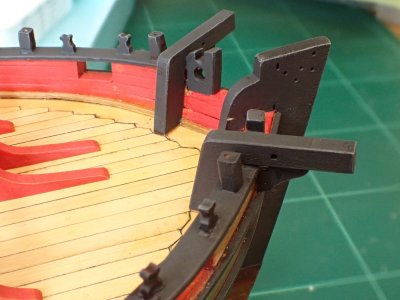
And there's the bow highlighted.
~~~~~~~~~~
Now the rigging began, though as yet without ropes.
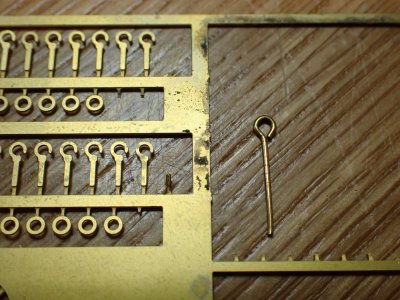
The Vanguard Models designer is very keen to use photo-etched brass (PE) wherever possible. Some of his ideas are great - just wait until you see the way he's done the chains. Some other PE applications go beyond the capability of the material, in my opinion. (Other opinions are available.)
The PE ringbolts are theoretically good because there's actually a ring on the eyebolt,
if you manage to crimp the eyebolt well enough so that the ring doesn't fall off when you try to tie anything onto it. Even when it holds together, the square section material is very obvious to the eye because of the built in highlight along the sharp edges, and looks just, wrong. Also, that sharp square edge isn't going to be kind to any thread that I pass thorough it, and will raise the fibres all the way along, assuming that it doesn't actually cut right through the thread, either at the moment of tying or two years later in your display case.
Vanguard Models have a very high reputation and price but in this case I prefer to use the round wire eyebolts left over from an OcCre kit. Cheap, easy to use, gentle on the thread, and when driven home, you can't even see the join. Of course, there's no ring but seriously, who cares? Not I.
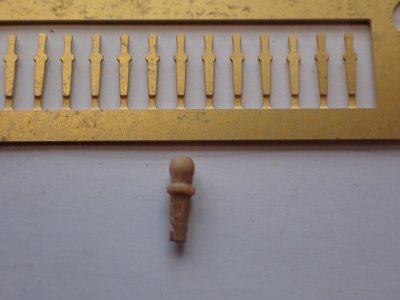
The belaying pins are similarly tragic when made in PE. Too flat, too sharp, too small. Even my Auntie Mabel knew that belaying pins are round - she'd seen Mutiny on the Bounty in 1935. "Ooooh, that Clark Gable!" If only she'd known...
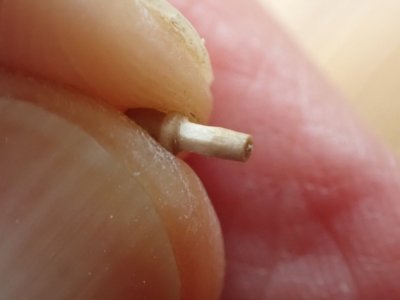
I drilled out the holes in the pin rail as big as I dared, but still had to whittle 0.2mm off these little leftover pins. I seem to have a lot of leftovers' don't I? This is because I fmessed up a few model kits when I first went into wood.

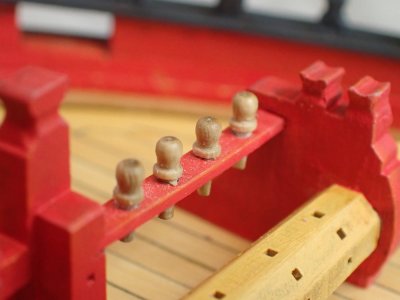
They might be a bit overscale but to my eye, they are the real deal.
There's dust everywhere on this model - I even tried to blow it off the photograph a minute ago.

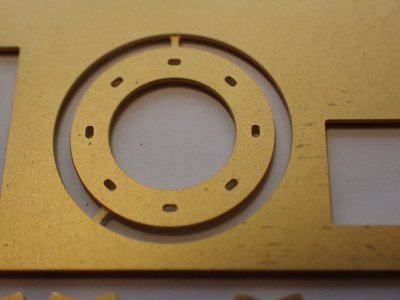
This is the pinrail that will go around the base of the mast.
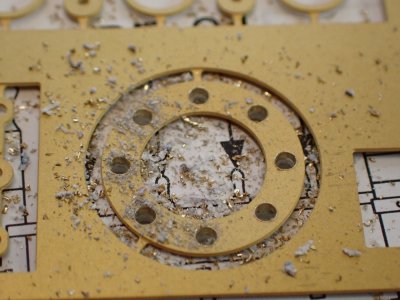
And now prepared for the wooden pins. That is one pile of dust that I didn't blow away. Brass swarf is horrible stuff, as you probably know. Sharp and tiny, it works its way into the skin to become invisible and painful splinters. One time, aged 16, I brushed a bench down with a bare hand after filing brass for an hour. Lesson very much learned. Ow!
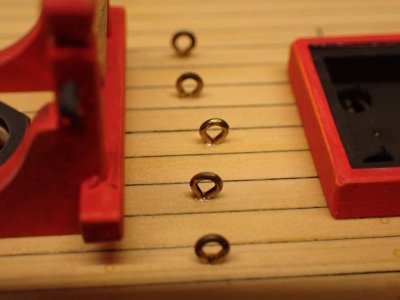
OcCre eyebolts in situ, and the gap is effectively invisible. I tried a blackening solution in-situ but as the brass already has an oxide layer, it didn't take. Perhaps I'll paint them. I'm beginning to think though, that brass looks really nice and if there's a case for not painting the wood of our models because we prefer the look of the wood, why not leave the brass brassy? I could have left those steel cannonballs in natural metal finish too.
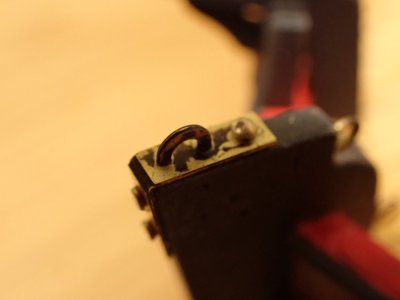
This is PE utilised well (and blackened very badly) in my view. The fancy folded pieces look very nice to my eye and the huge ring piece for the forestay seems just right, despite being a slight simplification from the AotS drawing.
I have a feeling that there's going to be a lot of little differences between the AotS rigging plan and the one in the kit instruction manual. That worries me slightly. I think I'll go with the kit plan, because it will probably work on the kit, and add whatever pretty flourishes I can manage from the reference book.


 .
.


