- Joined
- Jun 17, 2021
- Messages
- 3,196
- Points
- 588

Me too.Ha! Peter's build report is so full of pictures of clipper ships (with accompanying dialogue) from two of his forum friends that I already forgot which ship he's building...
 |
As a way to introduce our brass coins to the community, we will raffle off a free coin during the month of August. Follow link ABOVE for instructions for entering. |
 |
 |
The beloved Ships in Scale Magazine is back and charting a new course for 2026! Discover new skills, new techniques, and new inspirations in every issue. NOTE THAT OUR FIRST ISSUE WILL BE JAN/FEB 2026 |
 |

Me too.Ha! Peter's build report is so full of pictures of clipper ships (with accompanying dialogue) from two of his forum friends that I already forgot which ship he's building...

Where is your build report? I need a link.Me too.


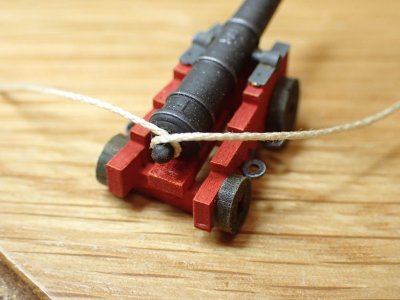
you are doing Very impressive and beautiful work , your model looks wonderfulI started to prep for the gun rigging last night. I found a bag of blocks which are reasonably small I think. They look enormous but these are only little 6-pounders and real blocks seem to have been very big by our standards. I guess because they didn’t have bearings etc and their ropes weren’t happy going around small radius curves??
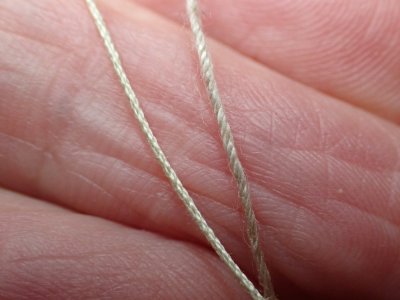
I have some polyester rope that looks good. It’s been wound around a piece of card so it has many kinks. I have it hanging up with a small weight at the bottom, hoping to straighten it. Gentle methods first - it can go in the oven if all else fails.
I also have an idea for the training tackles which I haven’t seen done before but I’ll test that and submit it for your approval before I do a dozen of them.


Thank you very much. I’m happy that you like ityou are doing Very impressive and beautiful work , your model looks wonderful


I'm bored with Alert.

Flying Cloud by Mamoli-kit bash is the build log thread.Where is your build report? I need a link.

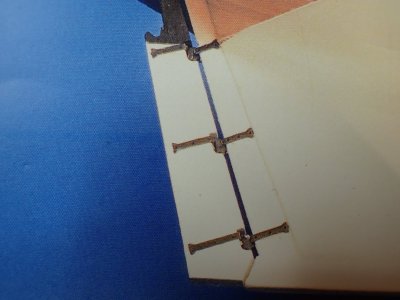
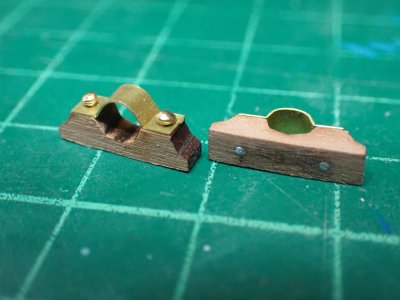
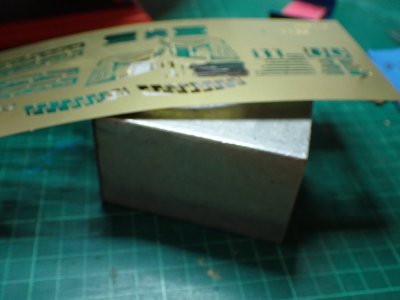
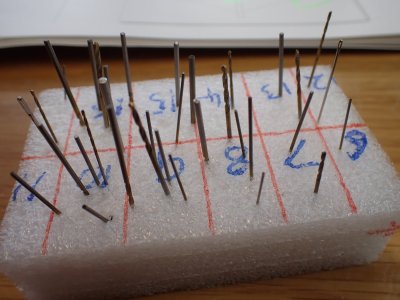
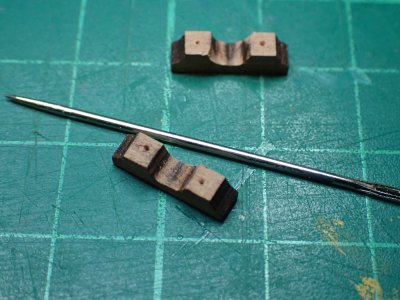
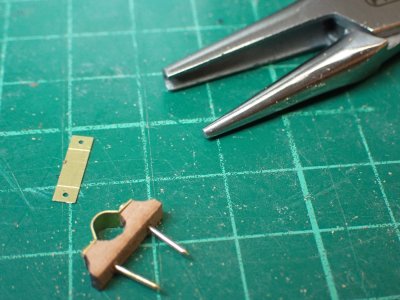
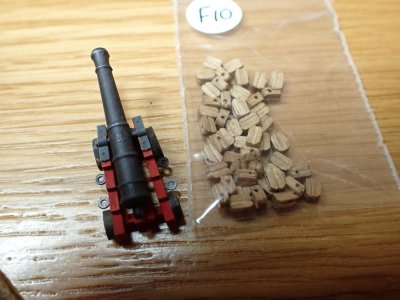
Ooh !! There it is Smithy ! You'd be perfect to write that ! That would have to be an original ?Someone should write a book on the psychology of modelling.


Ooh !! There it is Smithy ! You'd be perfect to write that ! That would have to be an original ?


I love the subtle references mate, a huge fan of music from that era toobending and shaping, anyway you want me.

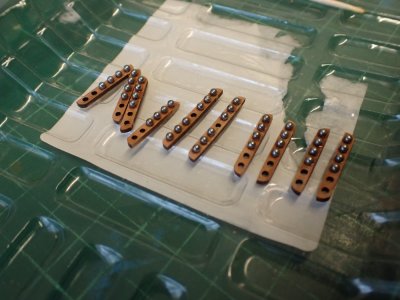
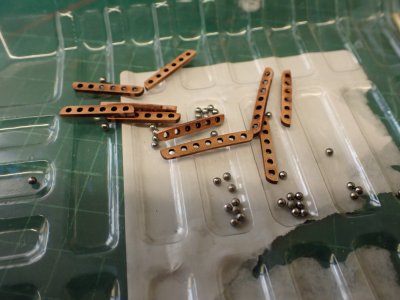
What's "PE" mate ?The O rings and eye bolts in the kit are all PE

Photo Etched brassWhat's "PE" mate ?
Saw this in another post, sorry to be a pain but forever inquisitive:Photo Etched brass

Saw this in another post, sorry to be a pain but forever inquisitive:
"I am building POF-models and other modelers building POB"

I love the subtle references mate, a huge fan of music from that era too

I'll get to the ropes and cables soon. I made a machine for creating ropes. And remind me, did you make one, what kind of thread do you use?


