HM Cutter Alert 1777 [COMPLETED BUILD]

Joined
Jan 26, 2017
Messages
1,058
Points
443

Hello guys, I just finished Essex. I couldn't share the finished version because I haven't photographed it yet. I will share as soon as possible.

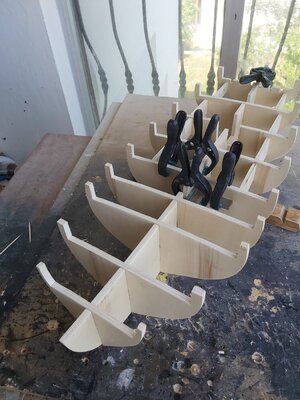
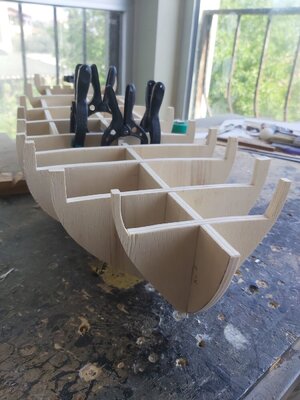
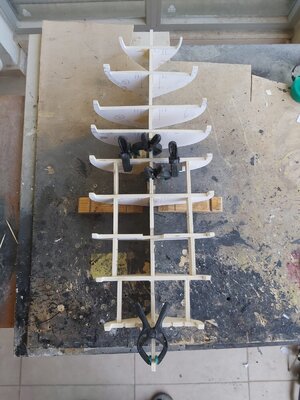
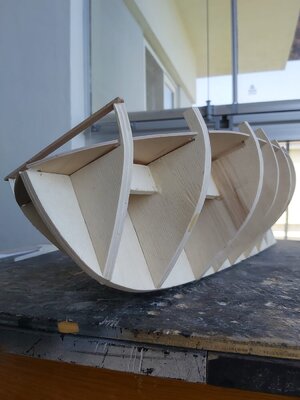
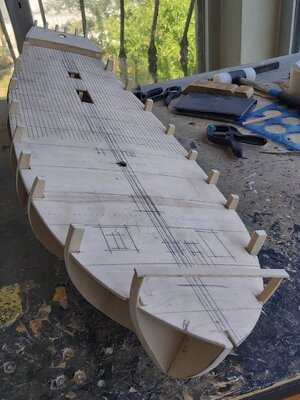
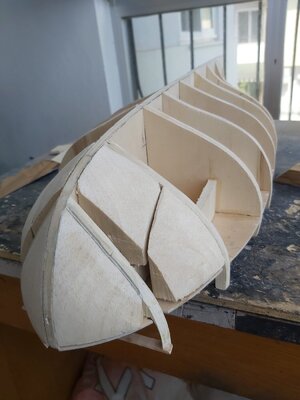
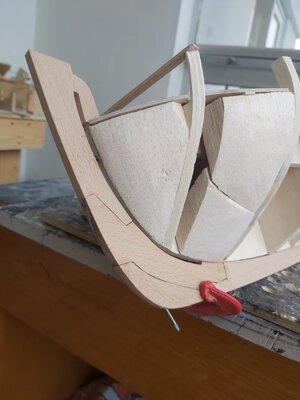
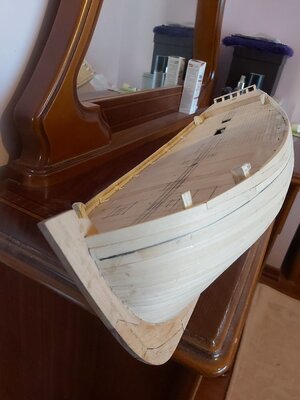
I have started my new project, HM Cutter Alert 1777. I used Vanguard's kit plan for cutting the bulkhead former and bulkheads. Since I chose a slightly larger scale (1:36), I cut the bulkhead former and bulkheads out of 6 mm plywood accordingly. As such, because of relatively stronger structure I eliminated the bulkheads securing patterns and lower deck pattern in the plan so the cutting work was considerably reduced.

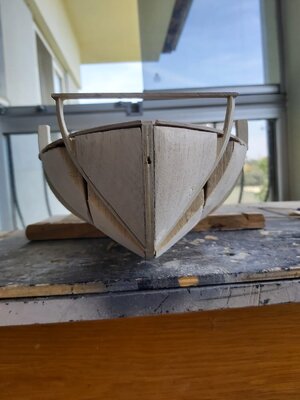
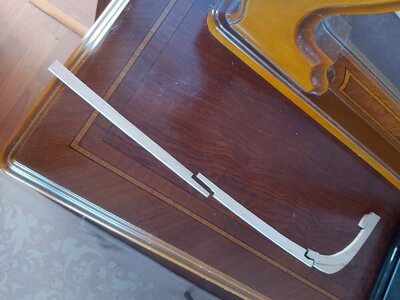
Since I will make the rabbet where the ends of the planks will enter in the bow part with my own method I cut the bulkhead former accordingly. I made the bulkhead former in 2 pieces in case it was warped because it was a little long.

I cut the deck from 2 mm of plywood and glued it in place. I filled the bow with balsa.

I will mostly use the drawings in the Anatomy of the Ship book during my build.
1.jpg2.jpg3.jpg4.jpg5.jpg7.jpg8.jpg9.jpg10.jpg11.jpg12.jpg13.jpg14.jpg
 
Last edited:
Hello guys, I just finished Essex. I couldn't share the finished version because I haven't photographed it yet. I will share as soon as possible.

I have started my new project, HM Cutter Alert 1777. I used Vanguard's kit plan for cutting the bulkhead former and bulkheads. Since I chose a slightly larger scale (1:36), I cut the bulkhead former and bulkheads out of 6 mm plywood accordingly. As such, because of relatively stronger structure I did not use the bulkheads securing patterns and lower deck pattern in the plan and the cutting work was considerably reduced.

Since I will make the rabbet where the ends of the planks will enter in the bow part with my own method I cut the bulkhead former accordingly. I made the bulkhead former in 2 pieces in case it was warped because it was a little long.

I cut the deck from 2 mm of plywood and glued it in place. I filled the bow with balsa.

I will mostly use the drawings in the Anatomy of the Ship book during my build.
View attachment 303820View attachment 303821View attachment 303822View attachment 303823View attachment 303824View attachment 303825View attachment 303826View attachment 303827View attachment 303828View attachment 303829View attachment 303830View attachment 303831View attachment 303832
very nice beginning, good luck
 
Great to see your new project here in a building log !
I am very happy to see now a scratch Alert build growing .... good luck (and fun)
 
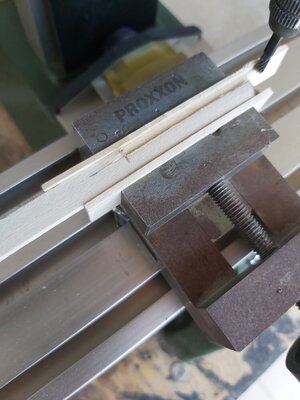
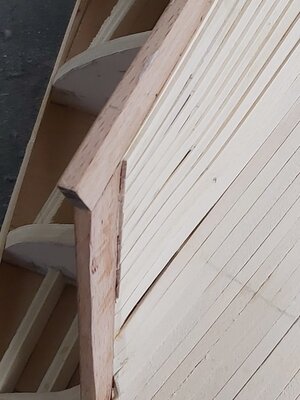
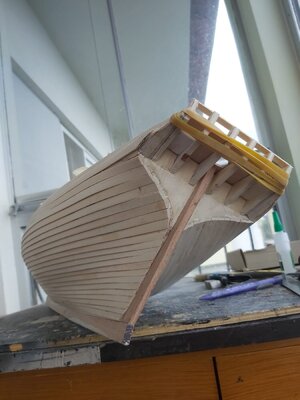
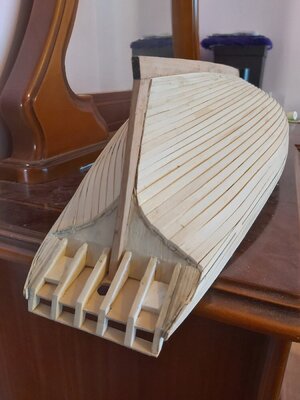
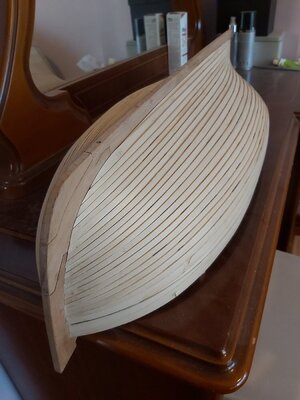
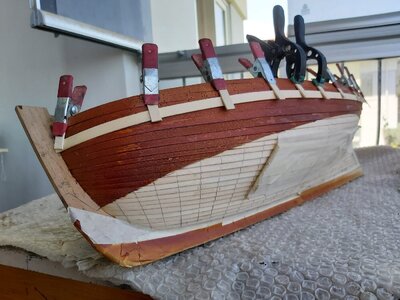
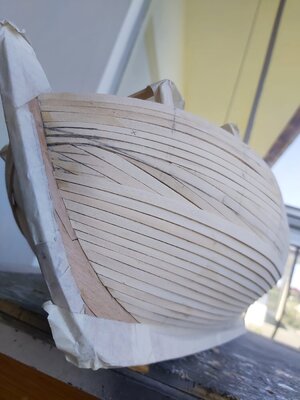
I finished the first layer of planking on the port side and started the second layer. Since the original planking of the ship was clinker type, I started it from the keel upwards.
This is the first time I'm making a clinkered hull. In case I fail and get stuck, I decided to complete one side first so that I wouldn't have to deal with the other side in vain. Normally I do it on both sides.34.jpg35.jpg36.jpg37.jpg38.jpg39.jpg40.jpg41.jpg

33.jpg
 
Last edited:
Very good results with your clinker planking - looking very good
 
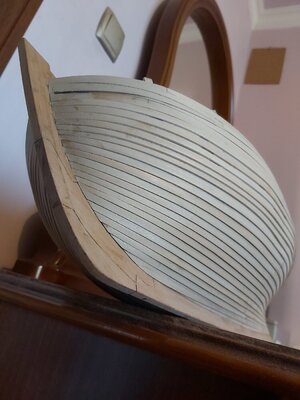
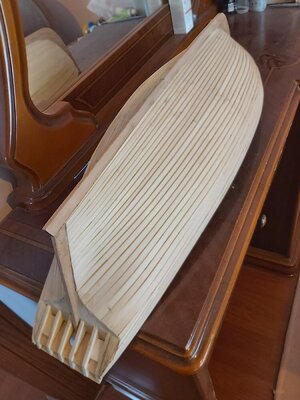
Clinker planking of the port side is complete. I am happy with the result. I think it doesn't look so bad at all for a first time job done. I used 1.5x8 mm planks in planking. Maybe it would be more realistic if i used a bit wider planks,42.jpg43.jpg44.jpg45.jpg46.jpg47.jpg
 
Last edited:
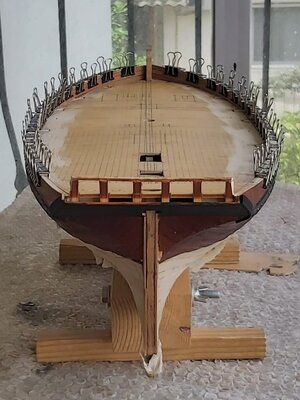
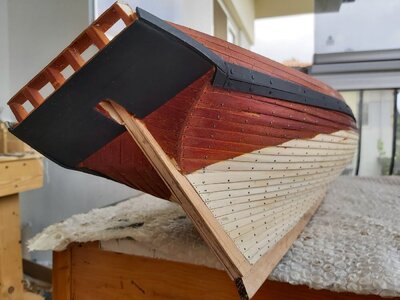
The second layer of planking is complete. In real life, these planks were fixed to each other and to the frames with bolts + treenails in a certain configuration. I want to reflect this on the model, otherwise it will be a very raw look. I know some methods to give a treenail effect, but what can be done to give a 1:36 scale bolt effect or to represent the bolt? I would be glad if friends with ideas can guide me.

1.jpg2.jpg3.jpg4.jpg5.jpg6.jpg7.jpg8.jpg complete.
 
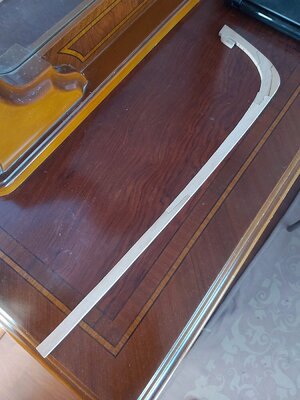
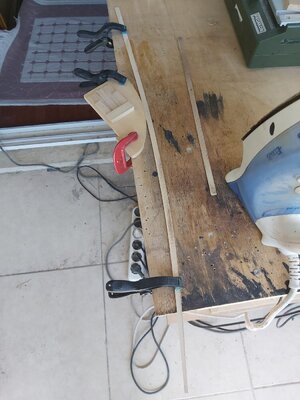
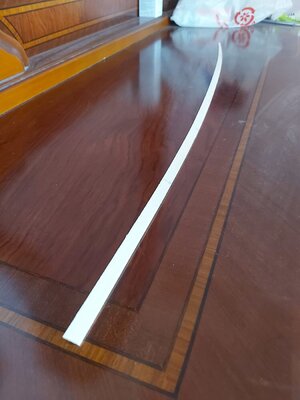
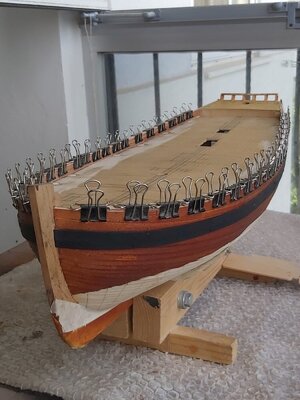
I stained above the waterline and mounted the wales. Below the waterline will be painted white later. I kept the bulwark caprails in hot water for a while and fixed them in place with clips. I'll glue them when they dry.9.jpg10.jpg11.jpg12.jpg13.jpg
 
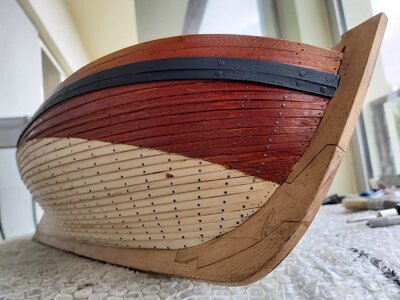
I making the bolt effects with 0.7mm diameter black nails. The visible bolt head is spherical and approximately 1.25 mm in diameter. (When we move it to 1:1 scale, the bolt nut size becomes approximately 45 mm, which I think is not too inappropriate in terms of scale). It looks more like a rivet than a bolt nut, but I couldn't find a more suitable material.

In the original, the bolts are closer together. I bought all the nails in the store and for now I am doing them widely spaced as the number is limited. Depending on the remaining number of nails, I can make one more row in between.


16.jpg17.jpg18.jpg

14.jpg
 
Last edited:
Back
Top