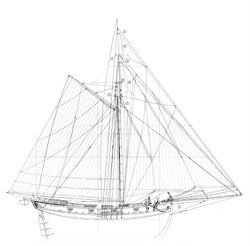
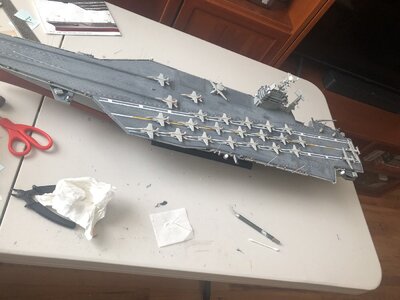
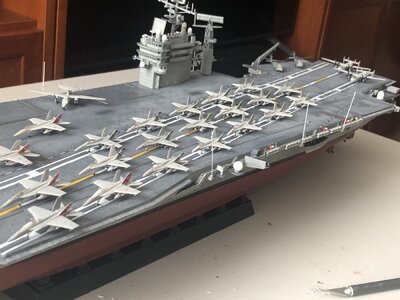
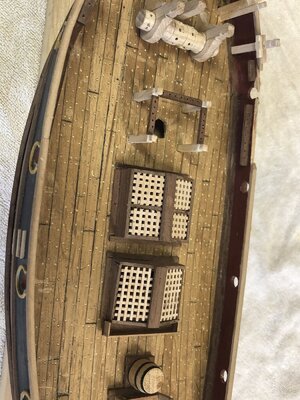
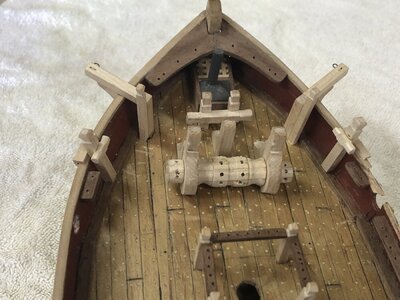
I have built models most of my life. The first ship model I remember was USS Nautilus with a Regulus missile launcher mounted on the deck (1957?). In the following years I assembled lots of plastic airplanes, tanks, artillery pieces and a few additional ship models. Despite growing up in the Midwest I had an interest is ships, sailing and the ocean that lead to an enlistment in the Navy. I'd read some C. S. Forester in high school and discovered Patrick O'Brian in the 1990s. These and other "Age of Sail" fiction fed my interests. I've built two r/c vessels, the first was a 1:32 scale model of a menhaden trawler from an article and plans in a model ship magazine. I operated her for several years and this little boat now resides on a desk in our guest bedroom. My second build was a 1:32 model of a British coastal trader. It was based on plans found in Steam Coasters and Short Sea Traders, by Waine and Fenton. I took several years of off and on work before my version of the SS Annagamore was launched. I ran this ship on a small lake located a few miles from my home until an electrical malfunction resulted in a fire and total loss of the model. No more r/c for me. It was time to build something that appealed to my interest in late 18th and early 19th century sailing vessels. I wanted a model that was large enough to have good detail but nothing too complex. Searching on line I found ShipModell.com studying the various plans that were available I settled on the HMS Aldebaran, a single masted cutter. It was the right size, not too complex but with enough detail to be interesting first build. Thus begins my adventure.
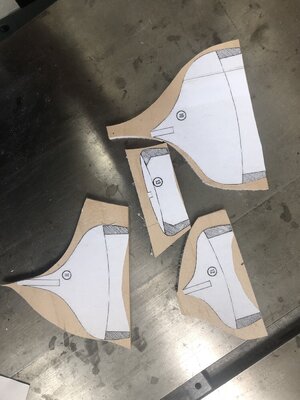
The download consisted of ten sheets providing profile view, deck view, a lengthwise cross section, midship's cross section and patterns for the bulkheads and keel. I taped the plans together and glued the patterns to a 1/4 inch thick piece of birch plywood I got at a big box home improvement store.
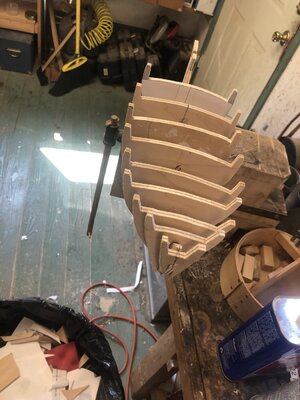
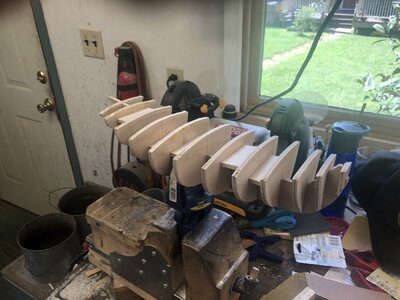
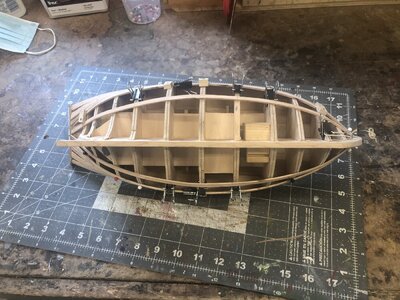
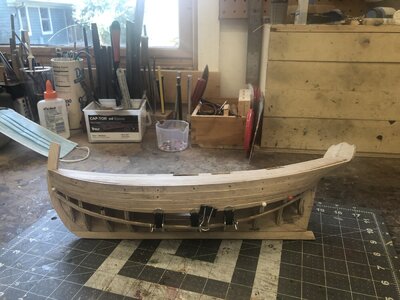
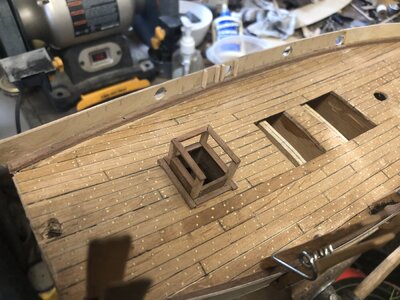
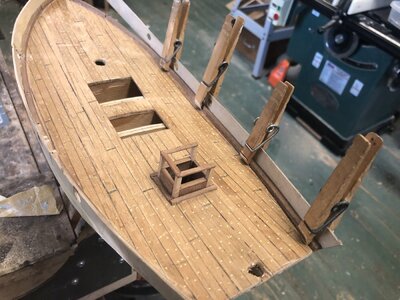
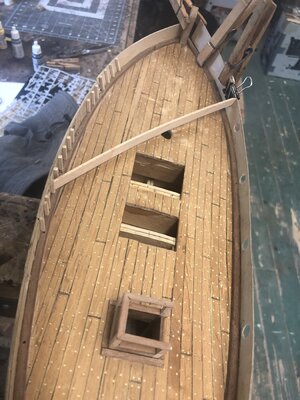
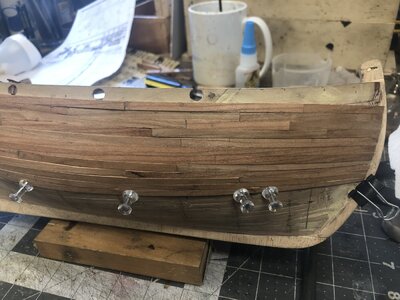
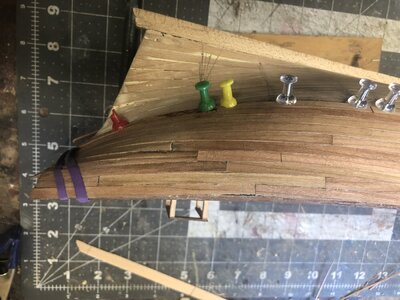
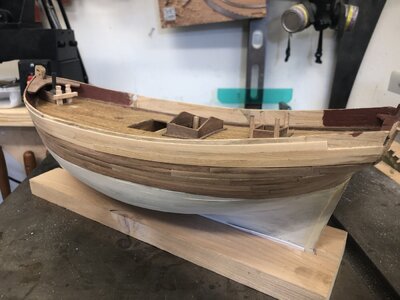
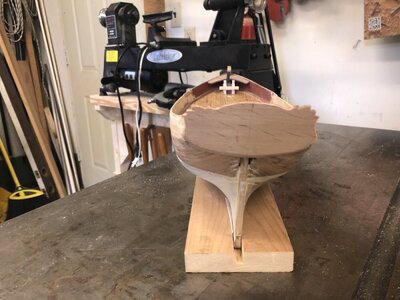
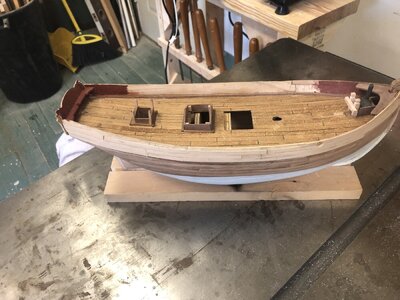
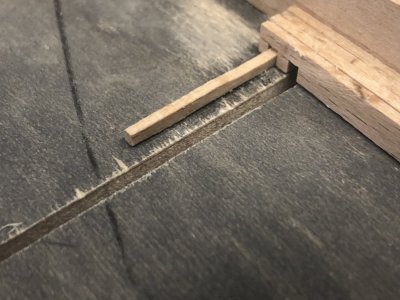
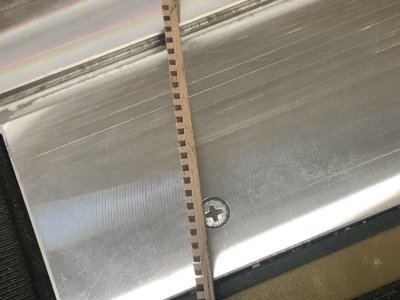
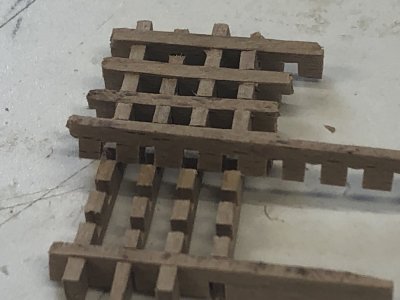
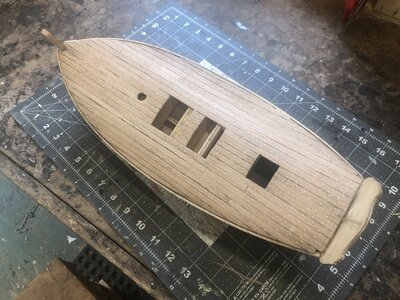
I cut and assembled the parts using Titebond II. I added filler pieces between several of the bulkheads as can be seen in the third image. I wanted the bulkheads to be as stable as possible so I decided the the deck would be next. In order to lay the deck I cutoff the ears on the bulkheads, not sure if that was a good idea but time will tell. I used 1/32 basswood for the sub-deck, then used 1/16 x 1/4 alder strips for the finished deck. To simulate the tarred seams I used a chisel tipped magic marker to color one edge of each plank. The ink soaked slightly into the wood and when the planks were laid a thin black line was revealed along the seam. I ran the first two strips on the centerline then removed material over the various openings. Subsequent planks were cut to length to accommodate the various openings. I scored the planks in a random manner to simulate end joints. Trenails were represented by small holes drilled in pairs on either side of each end joint. I liked the effect and decided to attempt recreating a realistic pattern of fasteners over the entire deck. I laid out lines across the deck at the frame locations, then drilled two holes in a staggered pattern in each plank at each frame location. I experimented with pencil lead to darken the holes but didn't like the effect. I then smeared quick drying wood putty over the entire surface and worked it into the holes. Once it was dry, I scraped excess putty from the deck using a single edge razor blade. A good sanding with 320 grit paper followed by buffing with a fine Scotch-Brite pad left the deck with a nice sheen and subtle trenail pattern on the deck.
I'll cover my hull planking experience in the next installment.
The download consisted of ten sheets providing profile view, deck view, a lengthwise cross section, midship's cross section and patterns for the bulkheads and keel. I taped the plans together and glued the patterns to a 1/4 inch thick piece of birch plywood I got at a big box home improvement store.


I cut and assembled the parts using Titebond II. I added filler pieces between several of the bulkheads as can be seen in the third image. I wanted the bulkheads to be as stable as possible so I decided the the deck would be next. In order to lay the deck I cutoff the ears on the bulkheads, not sure if that was a good idea but time will tell. I used 1/32 basswood for the sub-deck, then used 1/16 x 1/4 alder strips for the finished deck. To simulate the tarred seams I used a chisel tipped magic marker to color one edge of each plank. The ink soaked slightly into the wood and when the planks were laid a thin black line was revealed along the seam. I ran the first two strips on the centerline then removed material over the various openings. Subsequent planks were cut to length to accommodate the various openings. I scored the planks in a random manner to simulate end joints. Trenails were represented by small holes drilled in pairs on either side of each end joint. I liked the effect and decided to attempt recreating a realistic pattern of fasteners over the entire deck. I laid out lines across the deck at the frame locations, then drilled two holes in a staggered pattern in each plank at each frame location. I experimented with pencil lead to darken the holes but didn't like the effect. I then smeared quick drying wood putty over the entire surface and worked it into the holes. Once it was dry, I scraped excess putty from the deck using a single edge razor blade. A good sanding with 320 grit paper followed by buffing with a fine Scotch-Brite pad left the deck with a nice sheen and subtle trenail pattern on the deck.

I'll cover my hull planking experience in the next installment.


