HMS Bellona 1760 1:75 Timber [COMPLETED BUILD]

Joined
Jan 15, 2021
Messages
40
Points
93

This forum looks like a good place to create a build log and to share progress and to learn and to share problems and solutions.
After a couple of kits, the second being HMAT Bounty which was significantly kit bashed, the scratch build bug bit and a 1:75 HMS Surprise model has been completed.
For a bit of a challenge I have decided to attempt a 1:75 scratch build of HMS Bellona, the complex decks and intricate carvings should keep me occupied for a while.
I have acquired the "Anatomy of the 74 Gun Ship Bellona" in both pdf and hard copy and internet searches have provided lots of images.
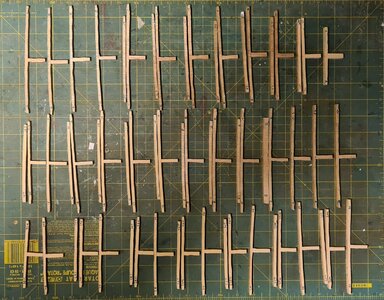
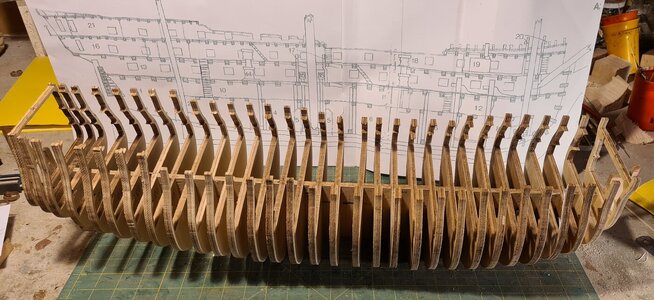
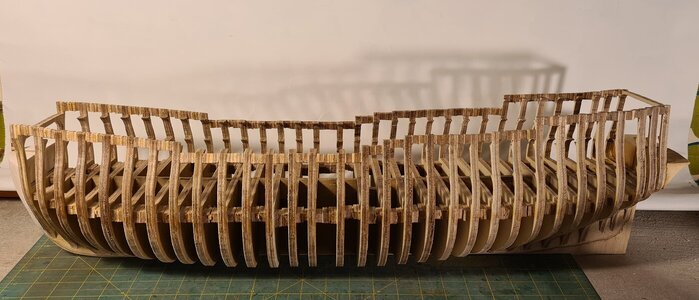
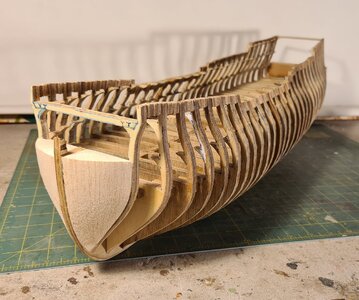
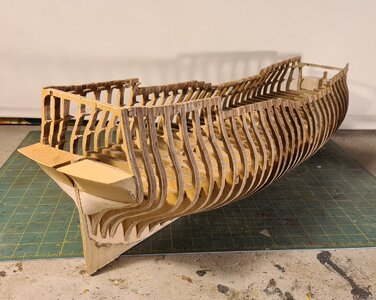
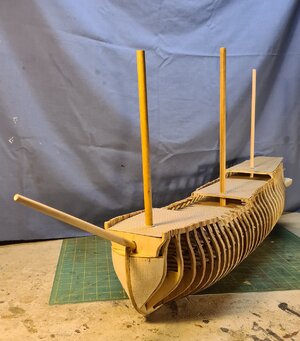
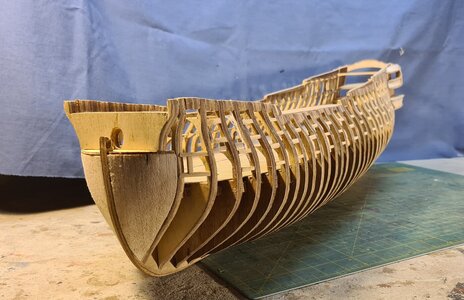
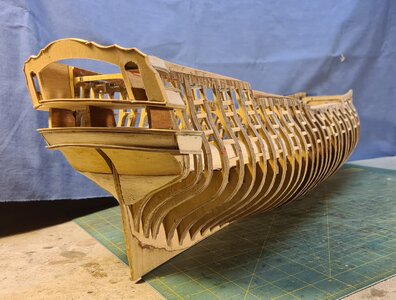
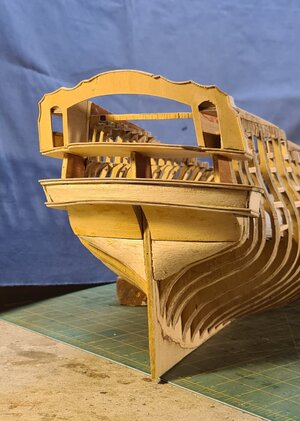
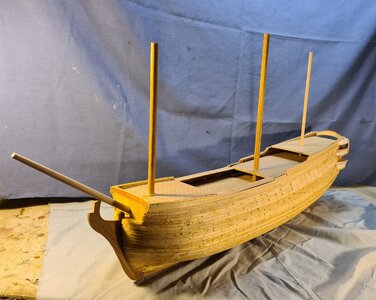
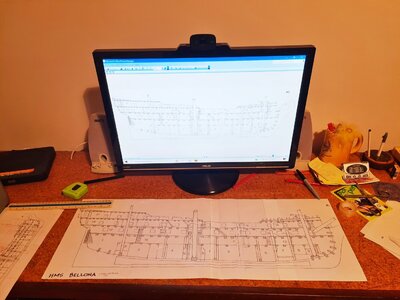
Drawings in the book have been scaled up to 1:75 to give a base for construction. The hull profiles have been fixed to 6mm marine ply to form a skeleton with a false keel and bulkheads.
20200820_181524.jpg
A PC was used to transfer drawings to Word for Windows where they were scaled up to 1:75.

20201006_171439.jpg
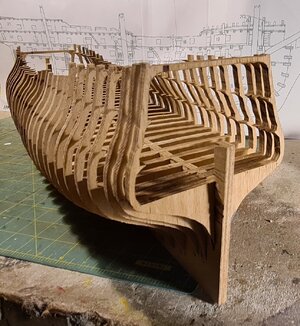
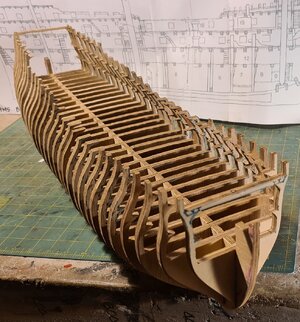
Hull profiles and the false keel were glued to 6mm marine ply to form the basic structure.

20201020_123909.jpg

Work continues.

Cheers,

David.
 
I am very happy, that you started this building log of your Bellona.
I will follow with big interest - a very interesting project.

For everybody interested, with the following link you can find the review of the mentioned anatomy of ship book written by Brian Lavery
 
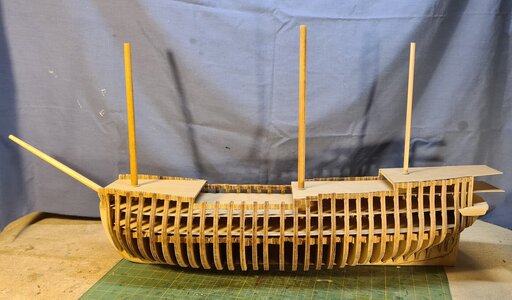
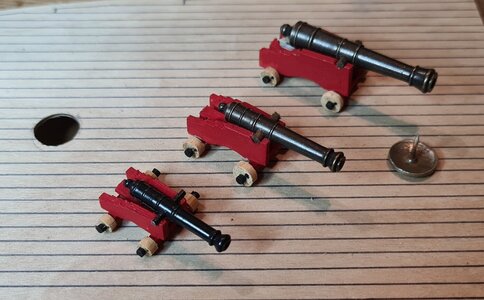
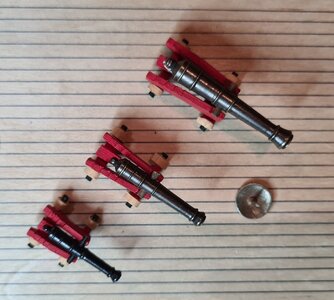
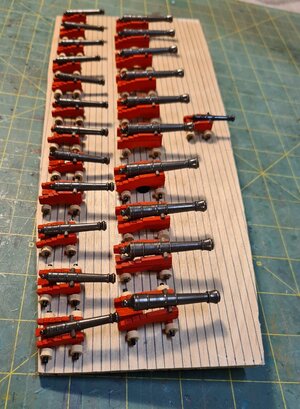
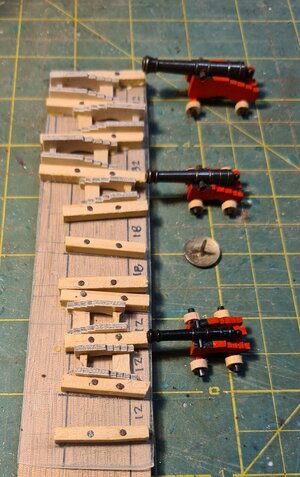
The decks are the next step. The gun deck will be permanently fixed in position but all other decks will be removeable so that finishing work can be done to the outside of the hull and to the decks concurrently. I will be framing up the gun ports before the hull is planked. To ensure the gun ports are correctly positioned I have made up prototype gun assemblies. The barrels are from my friendly parts supplier, creating these is way above my skill level. The carriages are made from 2mm birch plywood. I'll have to get an assembly line going, there are 28 x 32 pdrs, 28 x 18 pdrs, 16 x 12pdrs and 6 carronades. The lower sections of the masts have made roughed up so that I can track the shroud and chain locations so they don't get tangled up with gun ports.

20210103_01.jpg 20210103_02.jpg

20210128_173029.jpg 20210128_173118.jpg

The gun carriage for the 18 pdr is a bit long, it will be shortened in the final version. and the wheels for the 12 pdr carriage are a bit small so will be enlarged.

Cheers, David.
 
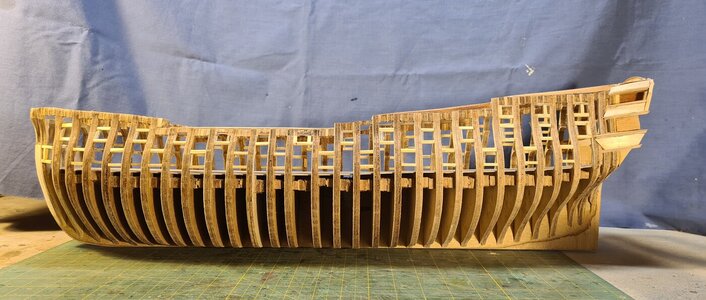
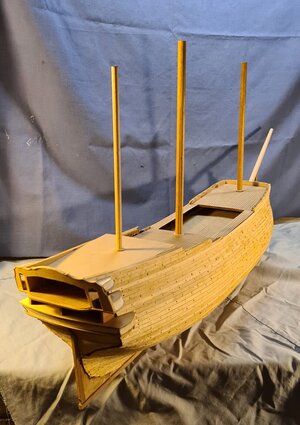
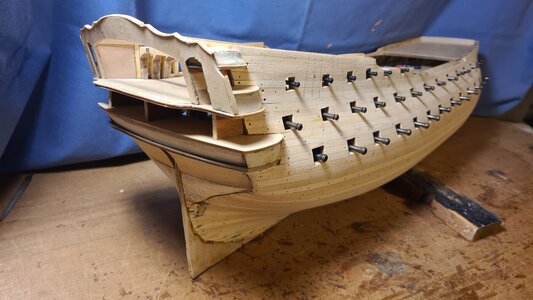
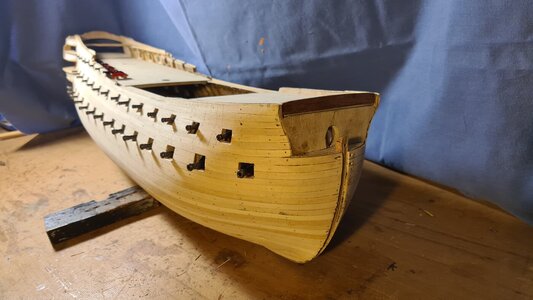
The gun port frames have been fitted and the stern structure is progressing.
I think I am at the point where I can start cladding the hull. It will be 2 layers, initially a softish pine and plywood which can be shaped to the final contours then a 0.5mm mahogany.

20210214_125507.jpg

20210214_125600.jpg 20210214_125638.jpg

20210214_125840.jpg

Cheers, David.
 
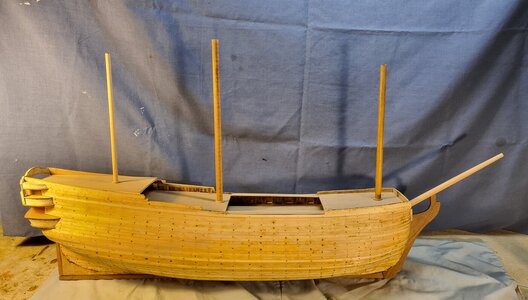
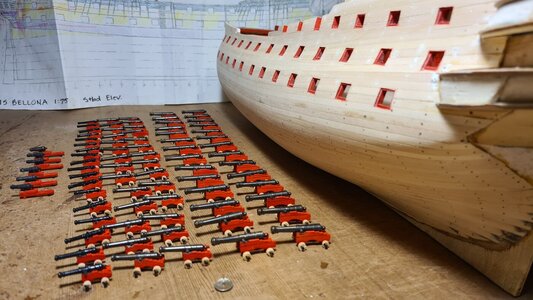
The base planking has been completed and shaped. Fortunately not much filling will be needed to achieve a hull which can have the final mahogany 0.5mm planking attached. The gun ports are now being cut. The gun carriage assembly line has been hard at work with about 50% done.

20210526_142023.jpg20210526_142134.jpg20210526_142323.jpg20210526_143736.jpg
 
Your frist planking layer is looking very good -
I am happy for you, that you have a very good basis for the final planking layer Thumbsup
 
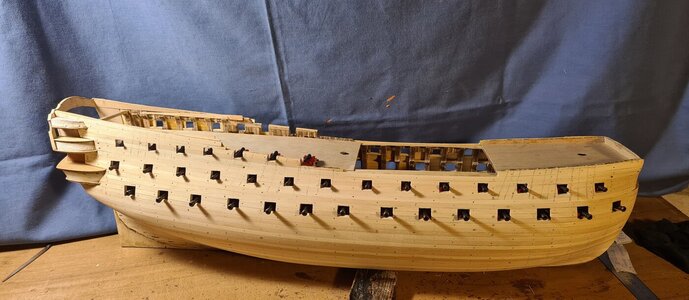
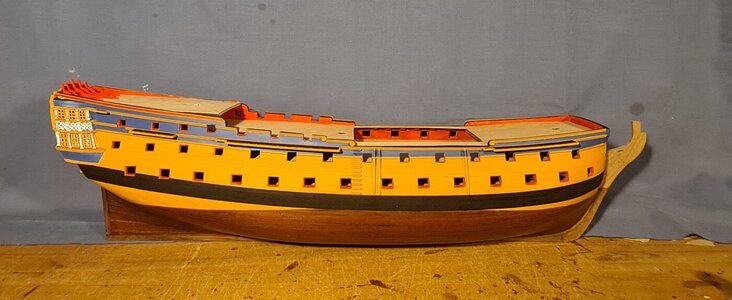
The gun ports have been cut and the hull now has a much better scale look. The next step will be to detail the port openings to create the rebate for those that have lids and flush finish the others. The guns have been roughly placed in position and with minor adjustments will be able to be finally fitted to have the correct relationship to the ports. I think this is a detail that is worth getting right as incorrectly positioned gun barrels can detract from the overall look of a build.

20210718_171615.jpg20210718_171806.jpg20210718_172058.jpg
 
Very good work
I agree, that the overall appearance of the guns, ready for action, is very important ..... :cool:
 
Construction of the gun carriages has been completed. I used a template to ensure consistency in the carriages. 20210822_182551.jpg
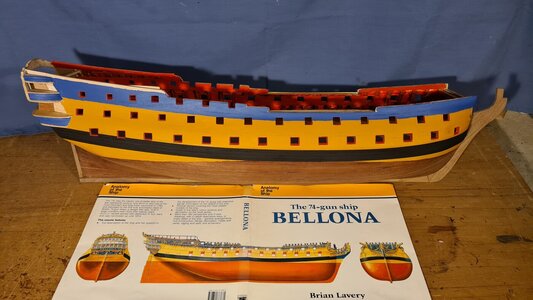
20210915_162215.jpgHull painting has started. For the colour scheme I am using the rendering on the cover of the Lavery book.
The lower hull will stay clear finish natural mahogany. I realize that this lower hull would have been copper sheeted but I am reluctant to try coppering. I have looked at lots of builds where the copper has been done and I'm not convinced of the look. I feel that raw shiny copper detracts from the overall look of a model and I don't think I have ever seen a model where the fixings for the copper sheets looks OK. The clear finish mahogany is a good colour and suggests slightly weathered copper so this is what I will go for.
20211025_161435.jpg
 
Hello David, thats looking great. Having just finished a scratch build of a similar 74 gun ship myself, I know how big a task it is.
 
Hi Bryian, thanks for the positive feedback.
I have checked out your build and have created a link for reference purposes. My scratch build didn't involve any ship plans to scale so I have been using Lavery's book which I have both as a pdf and hard copy and have been scaling up drawings from the book as well as scouring the internet for images. Your Alfred build log will be a valuable resource as I progress.
 
This forum looks like a good place to create a build log and to share progress and to learn and to share problems and solutions.
After a couple of kits, the second being HMAT Bounty which was significantly kit bashed, the scratch build bug bit and a 1:75 HMS Surprise model has been completed.
For a bit of a challenge I have decided to attempt a 1:75 scratch build of HMS Bellona, the complex decks and intricate carvings should keep me occupied for a while.
I have acquired the "Anatomy of the 74 Gun Ship Bellona" in both pdf and hard copy and internet searches have provided lots of images.
Drawings in the book have been scaled up to 1:75 to give a base for construction. The hull profiles have been fixed to 6mm marine ply to form a skeleton with a false keel and bulkheads.


A PC was used to transfer drawings to Word for Windows where they were scaled up to 1:75.
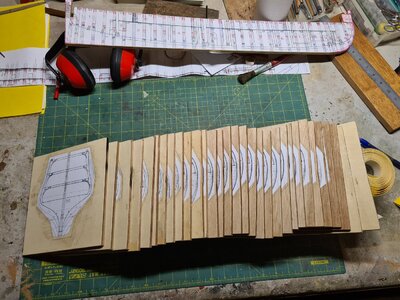

Hull profiles and the false keel were glued to 6mm marine ply to form the basic structure.
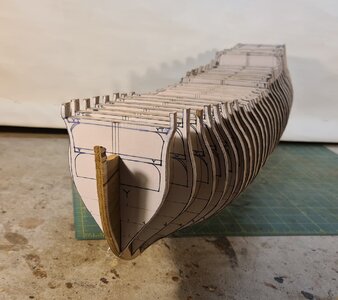


Work continues.

Cheers,

David.
Hallo David alias @Navis Factorem
we wish you all the Best and a HAPPY BELAYED BIRTHDAY
Sorry for the delay
Birthday-Cake
 
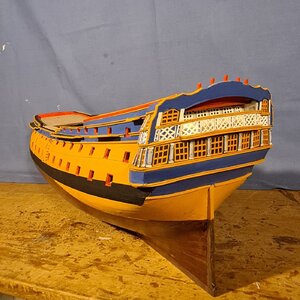
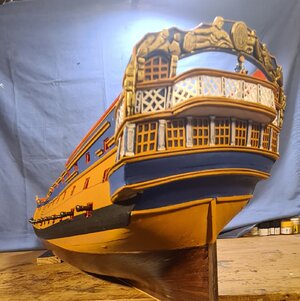
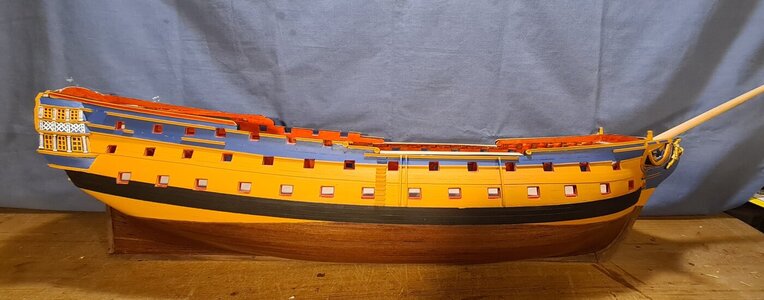
The hull details are progressing and I have been concentrating on the stern. The spread of windows and the open balustrade to the stern gallery were an interesting challenge.
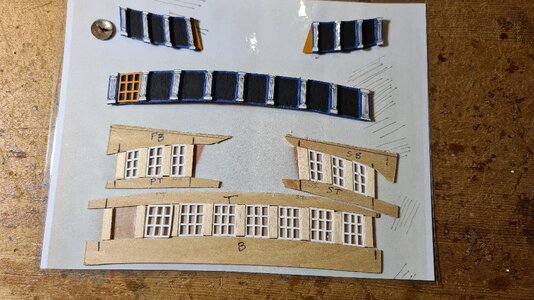
I have framed the windows with 1mm square square plastic rod.
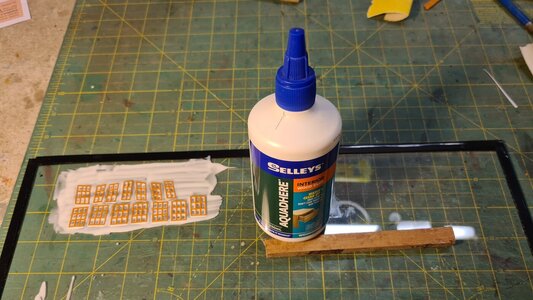
The gallery balustrade needed to be made from a material that was easy to shape and would curve and hold that shape for the end panels. After some trials I found the flat bottom of a plastic margarine container was the right thickness to shape and would curve easily.
The windows are glazed with PVA glue spread on a sheet of glass and the painted frames positioned. Once the PVA had dried transparent the outsides of the frames were carefully trimmed and the glazed frames lifted.
As a bit of a distraction I made up and installed the skid beams and side steps. At this point I was really glad that I had carefully set out the gun ports to leave the slightly wider spacing at this part of the hull.
The glaring omission at the stern is the carvings. I really need to attempt this, I'm not looking forward to it.
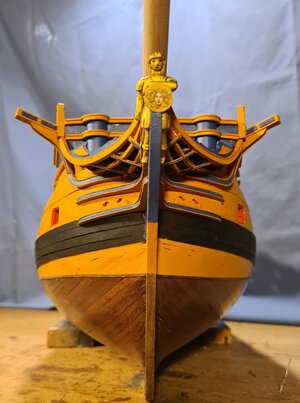
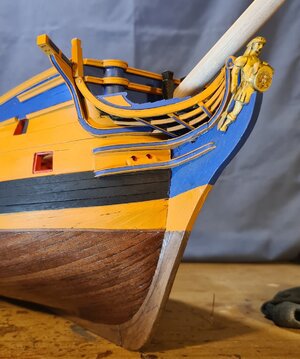
I am now working on the bow details. Again the specter of detail carving appears, the figurehead is the key element at the bow.01.jpg02.jpg03.jpg04.jpg05.jpg
 
With the weeks of rainy weather I just had to retreat to the man cave and work away so quite a bit of progress has been made.
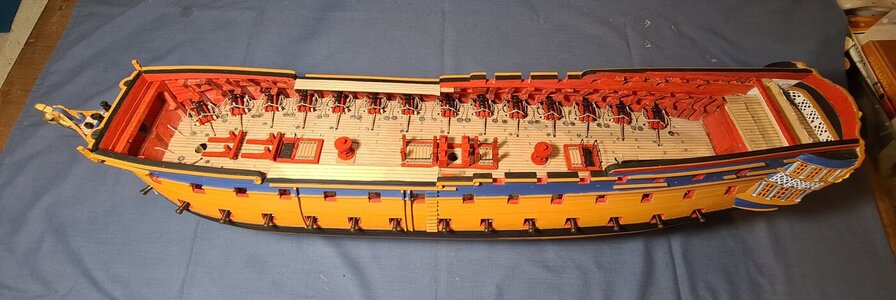
The bow details including the figurehead are done, the stern decoration is complete and the gun deck has been fitted out. now I can start on the upper deck. My carving skills are improving but are still pretty basic.20220226_171557a.jpg20220226_172019a.jpg20220226_172344a.jpg20220316_180248.jpg20220317_132747.jpg
 
Back
Top