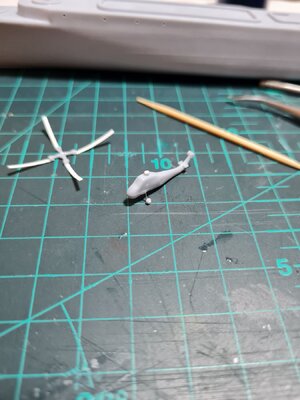
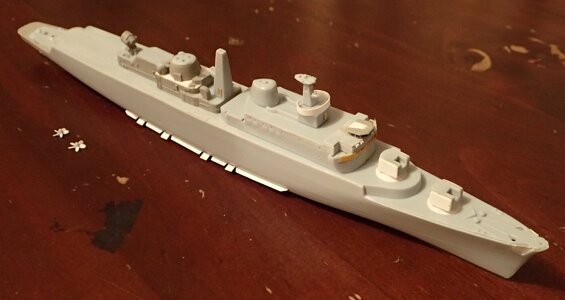
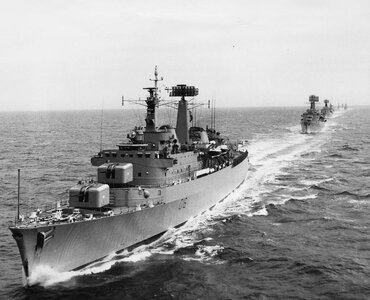
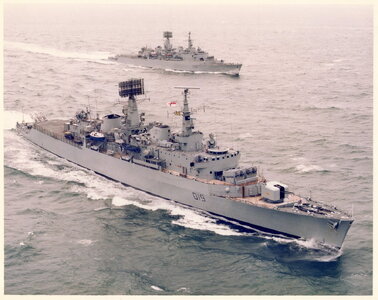
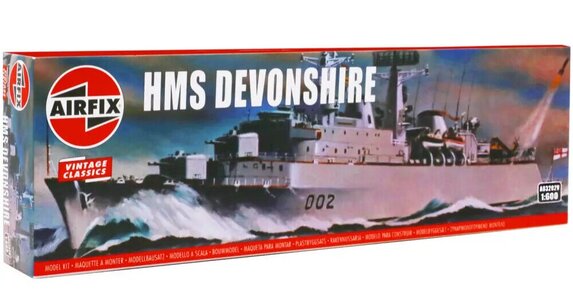
And another Airfix build. This time my projects is the Airfix 1/600 HMS Devoshire (D02). this may perhaps be the last Airfix in this range. Think I need to look at other kits as well, mmm ... But, this is my first surface ship after three submarines (an Akula class, a Typhoon class and the HMS Astute). A bit of background may suffice (thank you Wiki).
"HMS Devonshire was the first of the County-class destroyers and the first Batch 1 ship of the Royal Navy. The ship was built by Cammell Laird in Birkenhead near Liverpool. With a displacement of 6,200 tons full load, Devonshire was named after the English county of Devon. She was launched on 10 June 1960 and delivered to the navy two years later."
I could not resist to build a destroyer. Together with the Frigates my favourite class of ships.
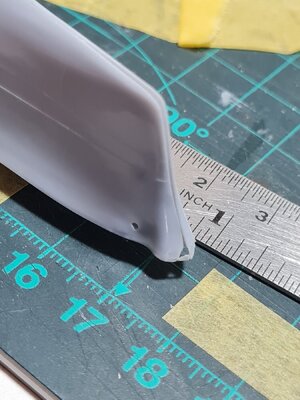
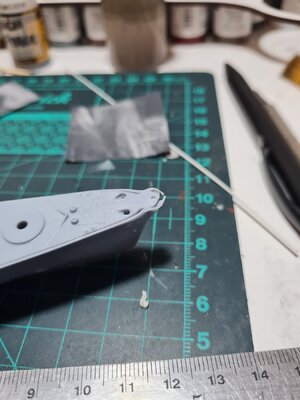
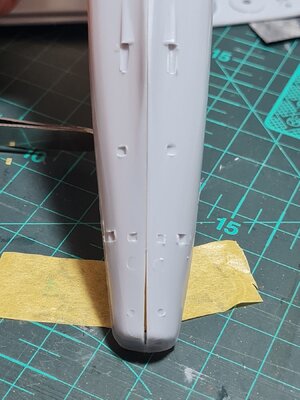
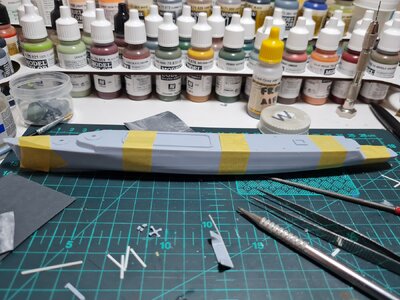
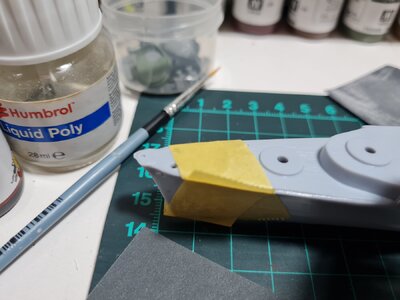
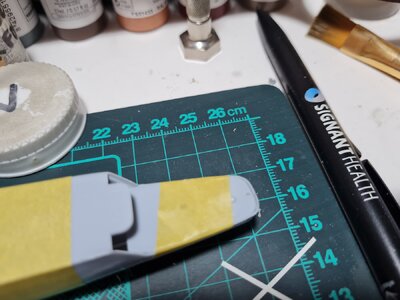
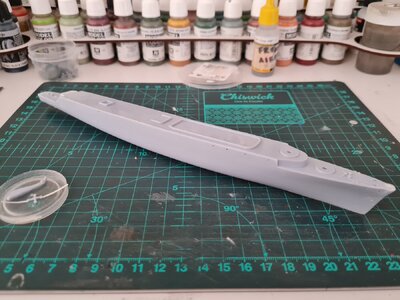
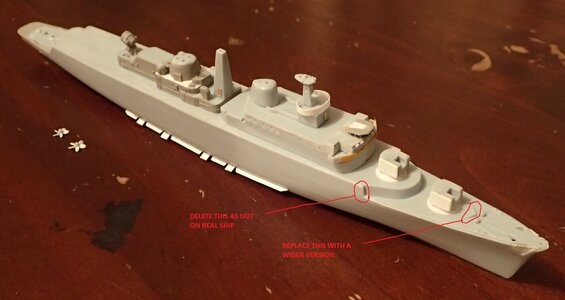
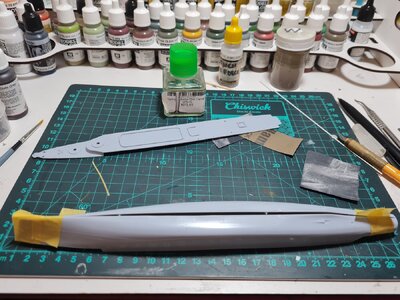
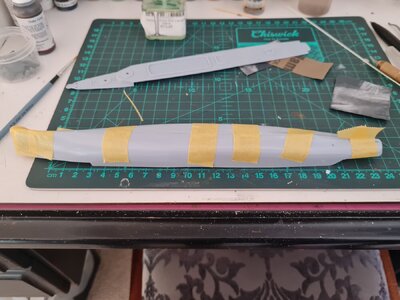
I have started with the hull. This time I have decided to do the hull in "sections". I glued together the bow and the then the stern and used Tamiya thin cement to keep the two parts together working step by step from the bow to the stern. Yes, and not surprisingly, a challenging fit. I had to re-do the locating pin at the bow as it was only an insignificant little stub. I removed the original pin, drilled a hole and inserted a piece of plastic rod (0.5mm?) into the hole. That small change made a significant difference. Currently it is on the desk settlling and drying. I have quickly dry-fitted the main deck part. A tricky fit is awaiting and I anticipate much sanding and filling and sanding and filling ... But that is tomorrow's problem.
Do I enjoy the buid ... indeed.


