Superb work.
-

Win a Free Custom Engraved Brass Coin!!!
As a way to introduce our brass coins to the community, we will raffle off a free coin during the month of August. Follow link ABOVE for instructions for entering.
-

PRE-ORDER SHIPS IN SCALE TODAY!
The beloved Ships in Scale Magazine is back and charting a new course for 2026!
Discover new skills, new techniques, and new inspirations in every issue.
NOTE THAT OUR FIRST ISSUE WILL BE JAN/FEB 2026
You are using an out of date browser. It may not display this or other websites correctly.
You should upgrade or use an alternative browser.
You should upgrade or use an alternative browser.
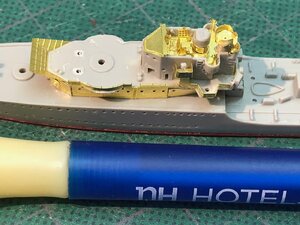
Great work andy, a lot of detail at this minute scale.
That really looks great Andy. I have never used a P.E set myself but they sure do add a lot of detailHaving got the Range Finder platform completed I glued it to the plastic support and then the whole thing was glued to the Bridge Deck. Another ladder and platform was then folded and glued to the ladder from the Range Finder platform at the rear of the Bridge.
View attachment 42232
View attachment 42233
View attachment 42234
The Gunnery Control Unit is made from a plastic main body and some P.E. add ons. A piece of P.E. was curved to fit the rear of the main body, glued in place and then the P.E. base got fitted with 2 ladders glued against the main body. The whole assembly then got fitted to the Deck. The plastic Range Finder was glued in place and 2, one each side, signalling devices were then fitted.
View attachment 42235
View attachment 42236
View attachment 42237
View attachment 42238
Cheers Andy
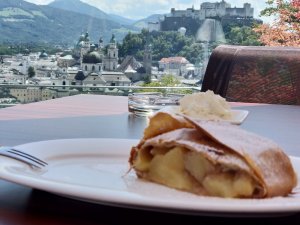
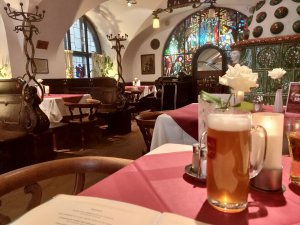
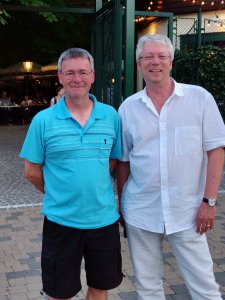
Thanks Norgale, I never used to be able to use P.E. detail sets, I could never get the parts to stick without making a mess, but in the last couple of years I have managed to work out how to use them and now I like to use detail sets even if they do cost far more than the actual model kit. I have now returned from my annual migration south, a fantastic week hiking in Salzburg and Vienna in Austria, eating lots of Apple Struedel and sampling the local beverages, meeting up with Uwe in Vienna, and a few days soaking up the sun in my Parents back garden in Kent, south of England.That really looks great Andy. I have never used a P.E set myself but they sure do add a lot of detail
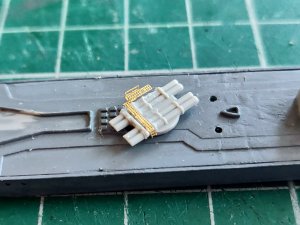
Now that I done most of the work to the front Superstructure I turned my attention to the Torpedo Launcher. The plastic part needs some plastic removing and then a P.E. walkway fitted. The walkway was removed from the fret and then as is usual with P.E. I spent a while working out which order to fold the various hand rails and steps.
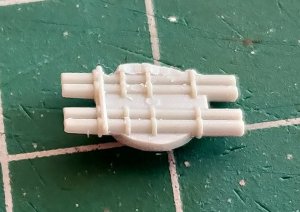
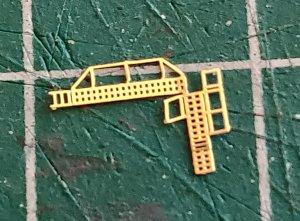
Once I had folded up the hand rails I fitted the P.E. to the Launcher and then folded down one set of steps, the other set will be folded once I permanently fit the Launcher.
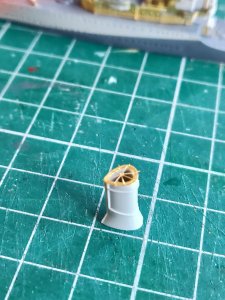
There are 2 plastic parts to the front Funnel, the moulded on ladders were removed and then the 2 parts were glued together. The P.E. grill that fits to the Funnel top was carefully removed and folded. Using the end of a paint brush handle I formed the "dome" shape on the grill and then glued it to the Funnel top.
The forward Breakwater has 2 P.E. parts, the support bracket was carefully cut out, it is very flimsy, the upright supports were then folded up one at a time using a pair of fine nose tweezers. It was then glued to the Deck starting with the center piece and then each angled side. The Breakwater was then folded and dry fitted several times to get the correct angle. It was then glued in place. The forward Winch covers and Hatch were then glued on.
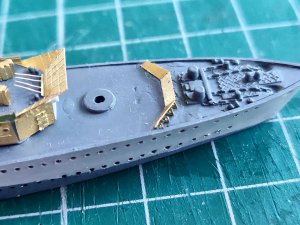
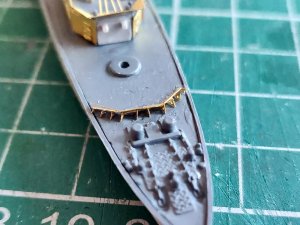
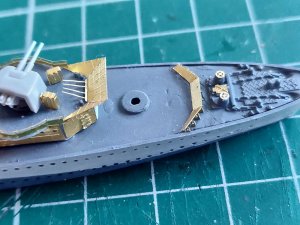
Cheers Andy
That's really nice stuff. It's amazing how much detail you can add to a model with the PE parts. I've seen several kits for fighter plane cockpits but never tried one. Think I'll look a bit closer at this PE stuff. By the way we might have been neighbors if my Grandfather hadn't left Dymchurch and gone across the pond. Love the trains they have there.
Thanks, I don't live in Kent anymore, I am currently in N. Ireland. The Romney, Hythe and Dymchurch Railway is a great little railway, been on it a couple of times. We used to go to that stretch of coast during the summer, long sandy beaches, great for a day's swimming in the sea and building Sandcastles.That's really nice stuff. It's amazing how much detail you can add to a model with the PE parts. I've seen several kits for fighter plane cockpits but never tried one. Think I'll look a bit closer at this PE stuff. By the way we might have been neighbors if my Grandfather hadn't left Dymchurch and gone across the pond. Love the trains they have there.
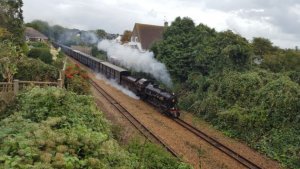
Cheers Andy
I've watched all the vids I can find on the R,H&D and it's really neat. Looked at the coast with Google Earth too and it's beautiful and loooong. Lots of history along that coast.
Your correct there is a lot of history on that coastline. Romney Marsh was land gradually reclaimed from about the 13th century and there are lots of small streams and villages scattered about. There used to be lots of smuggling in this area and then during the Napoleonic Wars a defensive canal was built in case of invasion by France and numerous Martello Towers were also built along the coast, lots of these are now converted into houses. Just off the coast is a part of the Mulberry Harbour that went aground whilst being towed to Normandy after D-Day 1944. It's a great part of Kent and if I ever win the lottery I would buy a Bungalow on the coast road opposite the beaches and have a workroom looking out to sea.I've watched all the vids I can find on the R,H&D and it's really neat. Looked at the coast with Google Earth too and it's beautiful and loooong. Lots of history along that coast.
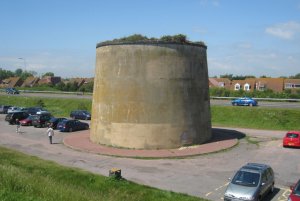
A Martello Tower at Dymchurch
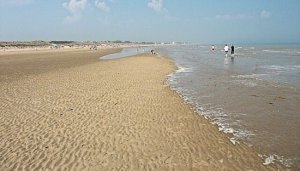
The beach at Littlestone, Dymchurch is in the distance,
Cheers Andy
That's an amazing beach. Must be fairly shallow water for the tide to go out that much. Barea that I'd sure like to visit sometime.
I have just accepted an offer for my house and at the moment I am looking for an other house to move to so I want to get this finished before everything needs packing into boxes. I fitted the Ladder to the front of the main Funnel, it was positioned with PVA and then a dot of C.A. was used to secure it in place. The Funnel was then glued to the ship.
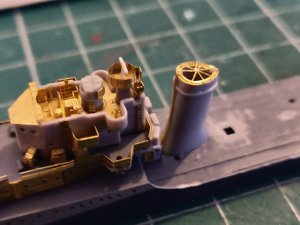
I then folded the 2 Ammunition Lockers that sit in front of the forward Main Guns, these are a little bit fiddly because it's a case of working out the best order to fold them.
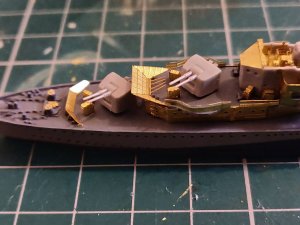
The Midships Gun Platform comes as one piece of P.E. it needed to be carefully removed and then any rough spots filed down. I started by folding the Shelter first and then the difficault task of folding the side walls which have to follow the outline of the Deck. I then turned it over and fitted the Housing that the Deck sits on, followed by the framework which includes the Ladder that goes up to the Gun Deck. This framework is very fine and it took a while to get it cleaned up before fitting.
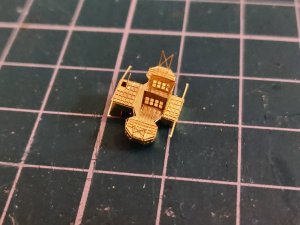
The whole thing was then glued to the ship and the 4 Deck Supports bent down.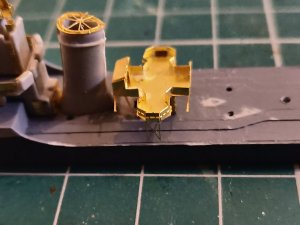
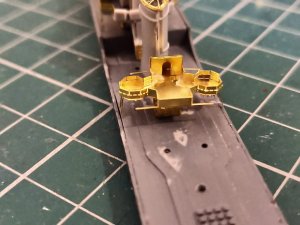
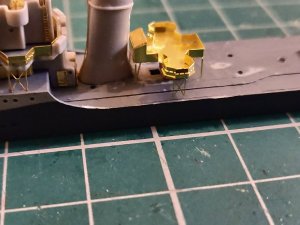
On the front of the Bridge there is what looks like a Comms device fitted on a bracket. Rather than make the whole thing and then try to fit it to the Bridge I decided to make the Bracket first. The mounting plate had to be folded first and then the 2 sets of supporting legs were folded. A touch of C.A. is enough to hold them in place and then it was fitted to the front of the Bridge.
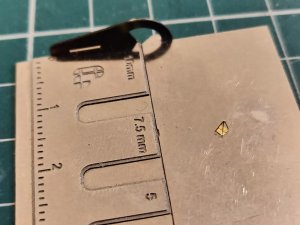
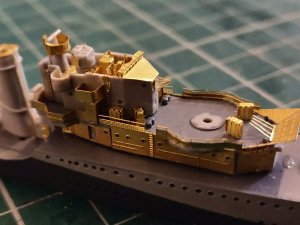

I then folded the 2 Ammunition Lockers that sit in front of the forward Main Guns, these are a little bit fiddly because it's a case of working out the best order to fold them.

The Midships Gun Platform comes as one piece of P.E. it needed to be carefully removed and then any rough spots filed down. I started by folding the Shelter first and then the difficault task of folding the side walls which have to follow the outline of the Deck. I then turned it over and fitted the Housing that the Deck sits on, followed by the framework which includes the Ladder that goes up to the Gun Deck. This framework is very fine and it took a while to get it cleaned up before fitting.

The whole thing was then glued to the ship and the 4 Deck Supports bent down.


On the front of the Bridge there is what looks like a Comms device fitted on a bracket. Rather than make the whole thing and then try to fit it to the Bridge I decided to make the Bracket first. The mounting plate had to be folded first and then the 2 sets of supporting legs were folded. A touch of C.A. is enough to hold them in place and then it was fitted to the front of the Bridge.


That is really good looking. Love the etched panels. The detail stands right out.
Awesome!
It really is fantastic that you can work at such a tiny scale.
It makes the whole model larger than it is when it fits together so nicely.
Envious, I am. As a boy I could count the hairs on a fly. Now I can't even see the fly
It really is fantastic that you can work at such a tiny scale.
It makes the whole model larger than it is when it fits together so nicely.
Envious, I am. As a boy I could count the hairs on a fly. Now I can't even see the fly
That is really good looking. Love the etched panels. The detail stands right out.
Thanks, Photoetch certainly improves the look of these ship models, there is so much extra detail even in this small scale.
Awesome!
It really is fantastic that you can work at such a tiny scale.
It makes the whole model larger than it is when it fits together so nicely.
Envious, I am. As a boy I could count the hairs on a fly. Now I can't even see the fly
Hi Peter, I am only able to work at this for about 10 minutes at a time and then take a break. Having always been Long Sighted, I have now started to go Short Sighted in one Eye and my Optician thinks it might be because I do so much small fine detailed work.
Cheers Andy
You mean at least 4 times.... I always thought that insects and other Creepy Crawlies in Australia were 4 times the size of insects in the rest of the world ...

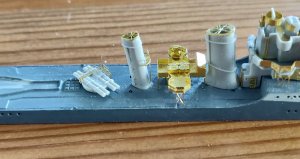
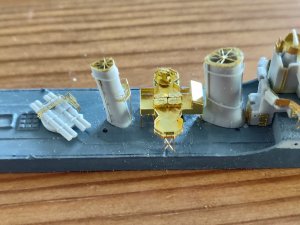
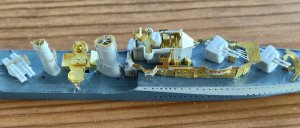
I managed to spend a bit more time working on HMS Eskimo this weekend past. There are 4 Ammunition Lockers that needed to be made from Photoetch and fitted to the middle Structure. These were removed from the fret and then folded.
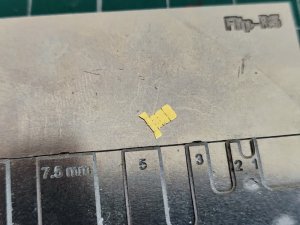
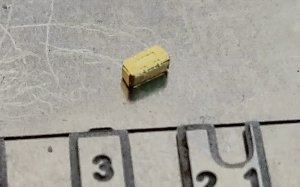
I used PVA glue to fit the first Locker so that I could get it in the correct position and then the other 3 were glued using C.A. gel. There are 2 4 Barrelled Pom Pom Guns that also fit on the middle Structure. These are made up from 4 parts which need to be folded and glued together. I have made up one of the Pom Pom Guns and fitted it, and I am in the process of making the second one. I have also made and fitted the Platform and Ladder that fits to the rear Funnel and added the Funnel capping.
Cheers Andy


I used PVA glue to fit the first Locker so that I could get it in the correct position and then the other 3 were glued using C.A. gel. There are 2 4 Barrelled Pom Pom Guns that also fit on the middle Structure. These are made up from 4 parts which need to be folded and glued together. I have made up one of the Pom Pom Guns and fitted it, and I am in the process of making the second one. I have also made and fitted the Platform and Ladder that fits to the rear Funnel and added the Funnel capping.


Cheers Andy
Nice progress.
Have a question about etched parts. I have noticed that a lot, if not all, modellers using the etched parts, don't paint them. Is there a reason for this?
Hello Peter, I am not painting the etched parts on this build because it's such a small scale and I feel if I were to paint them most of the fine detail would be lost. On larger scaled ships that I have built I do paint the etch, usually spraying it on the frets with car body primer and then touching up any parts once they're fitted. Some companies like Eduard produce pre-coloured etch, mostly for aircraft, that doesn't require painting and also has a glue already attached.
Cheers Andy
This is coming along nicely great work
This one of the most detailed Build Logs I've ever seen and I appreciate the extra time taken to carefully document the use of the PE kit.


