Wow, much appreciated !some more photos showing also the stern area during construction
Take a look also at these photos
-

Win a Free Custom Engraved Brass Coin!!!
As a way to introduce our brass coins to the community, we will raffle off a free coin during the month of August. Follow link ABOVE for instructions for entering.
-

PRE-ORDER SHIPS IN SCALE TODAY!
The beloved Ships in Scale Magazine is back and charting a new course for 2026!
Discover new skills, new techniques, and new inspirations in every issue.
NOTE THAT OUR FIRST ISSUE WILL BE JAN/FEB 2026
You are using an out of date browser. It may not display this or other websites correctly.
You should upgrade or use an alternative browser.
You should upgrade or use an alternative browser.
HMS Fearless - Airfix 1/600
- Thread starter Ettienne
- Start date
- Watchers 10
-
- Tags
- 1/600 airfix hms fearless
26/07/2023
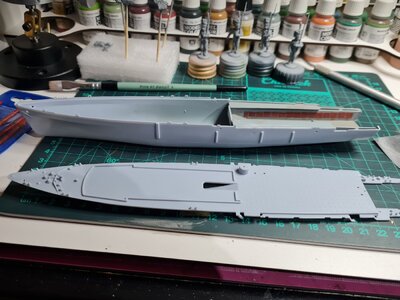
Oh man this was a struggle to get the two hull sides together...
I do not know whther it was the "soft" location points, my inexperience with ships or both at play here. But here they are, only glued at the bow and the stern. When those attachment points are properly dry, I will attempt to get the middle part together as best as I can. I did some work, painting, on the flooding platform, but can only get a pic from that bit when the halves are set and I can move it.
But, still enjoying the build.

28/07/2023
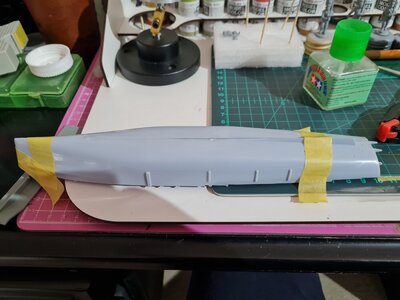
I have managed to put the deck onto the hull. It took a lot of convincing the deck to settle for a decent fit. Left it over night to let the loads of glue and super glue dry. Again, as with the Hood there is alot of work to do on the bow.
Today I am busy with the filling of gaps that were left as a result of the old molds as well as my doubtful skills ... . But ... she is coming along.
PS I have now more time to work on her, as I have resigned/retired from my position at work.
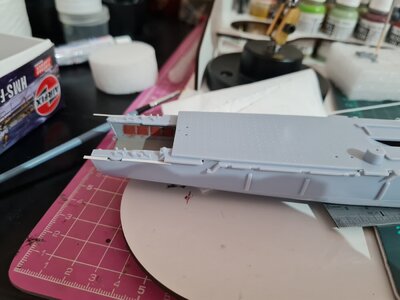
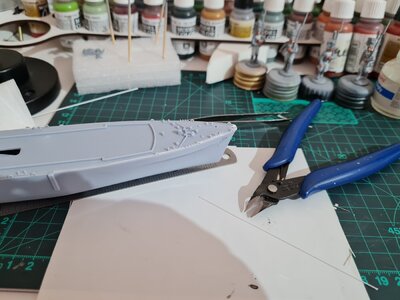
I have managed to put the deck onto the hull. It took a lot of convincing the deck to settle for a decent fit. Left it over night to let the loads of glue and super glue dry. Again, as with the Hood there is alot of work to do on the bow.
Today I am busy with the filling of gaps that were left as a result of the old molds as well as my doubtful skills ...
PS I have now more time to work on her, as I have resigned/retired from my position at work.


That kit brings back happy memories for me building this model as a boy. 
Very true.That kit brings back happy memories for me building this model as a boy.

Thank you Pug. Appreciate your kind words. Yes a new era lies ahead and also a bit of re-inventing myself. Bit of a challemge at 60+. But ... I have now more time to spend on the hobby. The Fearless is coming along nicely. I have managed to match the deck and hull and she received her firts coat of primer over the week-end. Will attach some pictures later. I am also thinking of adding a bit of detail to the two Westlands included in the kit. A heli I really like.Sorry to hear you felt the need to resign from your place of work.
That's a brave thing to do.
I did the same nearly 40 years ago. Never looked back and was much happier for it.
Good luck.
07 August 2023
Work is continuing...
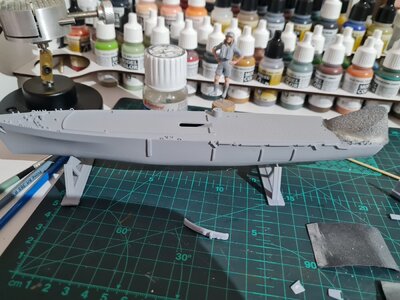
The lady received her primer, some faults and blemishes were identified and corrected (as far as possible) but she needed some more work on the hull, as the joint between the two halves on the bottom was a bit problematic.
Two pieces were fitted to the hull, it looks as if they will receive the shafts of the propellers, and I did some work on the two rudders preparing them for fitting on to the hull.
Some port holes were drilled out on parts that will form part of the super structure as well.
Up next will be painting the upper part of the hulle, the waterline as well as the bottom part.

14 August 2023
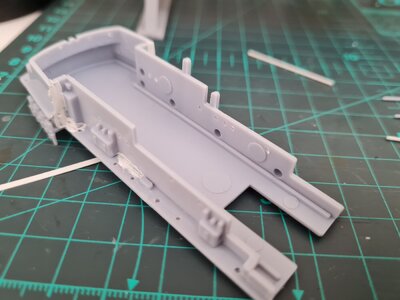
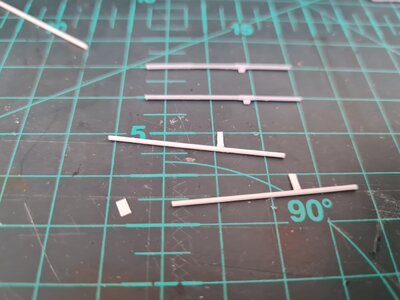
I have done a bit more work on the Fearless. Started on parts of the superstructure and there were a number of joints to filled and sanding to do. Dry fitting some of the parts of the super structure shows that a number of parts do noty fit properly and will need filling and sanding. I use the ole' Tamiya putty mixed with some liquid glue. In that way using a brush dipped in liquid glue (humbrol) one can smoothh out the putty as to decrease the amount of sanding.
The shafts of the for the propellars proofed to be too short and I had to rebuild them from plastic rod and platsic card. On the picture they were in their basic format and the plastic card had to be cut back to correspond with the height of the original attachment point on the shaft.
This project is taking quite a while and will take some more time, but it remains good fun.
Will let the project rest for a while, as I need to start working on a 1/72 Schackleton.


02 September 2023
I truly believe that there was a time when the parts of an Airfix ship actually fitted well or at least decently, no gaps ...
The superstructure is fighting me all the way, and getting a propper fit onto the hull is a challenge indeed. Filing, filling with putty, pieces of plastic card then dry fitting and checking the fit, then removing it and then back to square one, filing, fitting... and ... But we persevere, and I am still looking forward adding the old lady to my other ships in the display cabinet.
So yes the Fearless is now becoming a long term project ...

04/09/2023
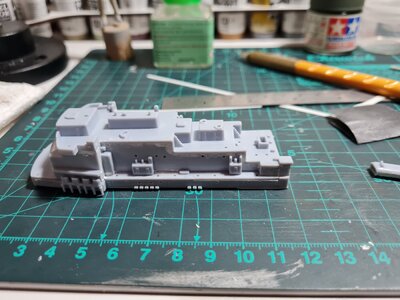
Well I have suceeded in getting a decent fit between the super structure and the hull. The other side (port side ?) needed more work than the starboard side, but came out ok. I have also started to add some other smaller parts, after this picture was taken. She is taking shape nicely. Hope to get some work in, during the week as well.
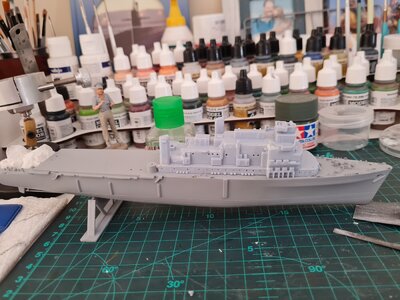
Well I have suceeded in getting a decent fit between the super structure and the hull. The other side (port side ?) needed more work than the starboard side, but came out ok. I have also started to add some other smaller parts, after this picture was taken. She is taking shape nicely. Hope to get some work in, during the week as well.

06/09/2023
I have now applied the primer. Did find a few blemishes and spots where I do need to do a bit of touch-up work. I believe the next steps will now be to give the lady an overall coat of grey, and then do the waterline and the lower hull with the red-brown primer(?). I am thinking of brush painting. Will be using the Vallejo paints that can be used for brush painting.
I have also started on the, do we refer to them as masts ?, or what are they called these days on more modern ships? Like to add some bits of detail. Nothing fancy, but will see how far the "muse" will take me.
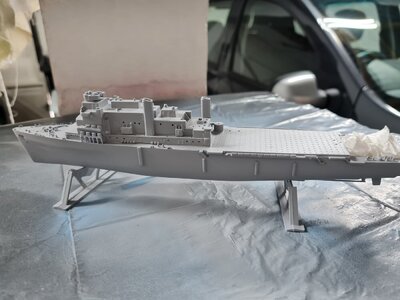
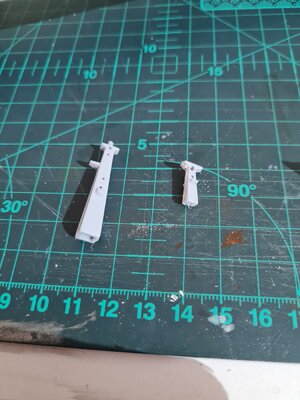


Ah, thank you. And the other structures on the second picture?, still being referred to as masts?The waterline demarcation is usually referred to as 'Boot Topping'
What I love about this hobby, is there is still so much to learn. I have only recently, 2021 I think, ventured into the building of plastic ships. And reading about naval history is another wonderful activity that, for me at least, goes along with this theme of scale modelling.
12/09/2023
Work on the lady is progressing steadily, but with loads of breaks (like in doing something else) and interruptions (also doing something else ...). I have wrapped her up in masking tape to paint the lower hull as well as the boot topping. The latte,r after some carefull masking (or so I thought, hoped ...) was brush painted using Vallejo Black. The lower hull was painted using Tamiya's rattle can Hull/Dull red...(It says Dull Red, but should it not be Hull Red ... ? ).
).
Then the lower hull was masked (thus no picture of the piant work on the lower hull and waterline demarcation) to spray the deck and super structure. In this case I have used Tamiya's Royal Light Grey.
Question: I see in some pictures the deck (horisontal areas) is either light grey, dark grey or according to the Airfix Paint guide, green ... Any advise on this please?
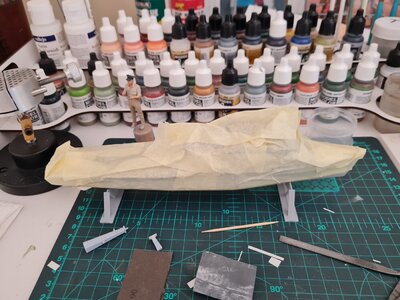
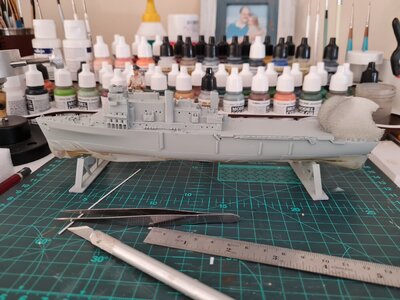
Work on the lady is progressing steadily, but with loads of breaks (like in doing something else) and interruptions (also doing something else ...). I have wrapped her up in masking tape to paint the lower hull as well as the boot topping. The latte,r after some carefull masking (or so I thought, hoped ...) was brush painted using Vallejo Black. The lower hull was painted using Tamiya's rattle can Hull/Dull red...(It says Dull Red, but should it not be Hull Red ... ?
Then the lower hull was masked (thus no picture of the piant work on the lower hull and waterline demarcation) to spray the deck and super structure. In this case I have used Tamiya's Royal Light Grey.
Question: I see in some pictures the deck (horisontal areas) is either light grey, dark grey or according to the Airfix Paint guide, green ... Any advise on this please?


15/09/2023
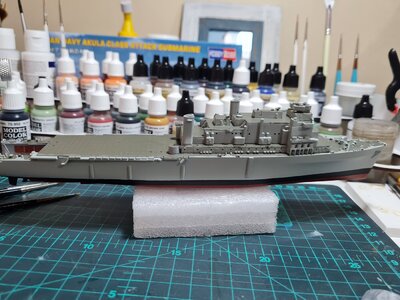
The project is coming along ... Started yesterday on the decks and horisontal areas. I have used the Vallejo Field Grey. Initially it looked way too dark, but when the all the bits were done it did not look too bad. I prfer the grey-ish colour to a "green only". Oh and it was brush painted. The Vallejo cover well providing you use decent brushes. My "art" brushes did not work well, as if the bristles are too "hard". I nearly gave up half way, but to the rescue came a lovely soft bristled plain Humbrol brush (part of an Airfix kit set).
Next week I will tend to the grey areas that were smudged. The all need a touch up and then to continue adding all the details that needs to still be fitted. Looking forward doing the tiny Westland Wessex heli's (...mmm... do I?)

19/08/2023
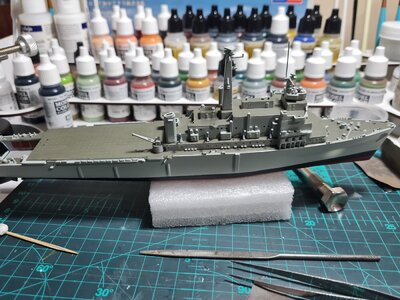
The model is progressing slowly. Today I did the touch up of the greay areas where I have strayed with the deck colour.
I have also added some detail, such as the masts. It takes a long time to clean up and brush paint all the detail bits. Will do some more work tomorrow, and then I am taking a short holiday from the Fearless.
Until later.


