- Joined
- Dec 30, 2021
- Messages
- 278
- Points
- 278

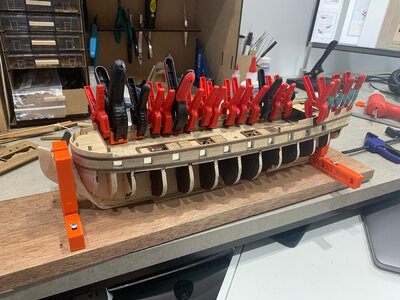
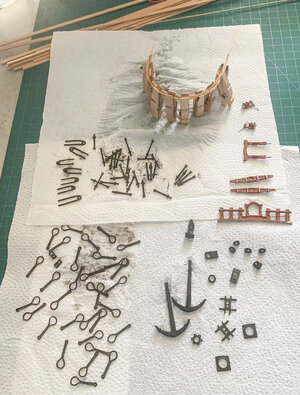
Well I already have BOUNTY and NORFOLK on the go when up comes a pair of GREYHOUNDs offered up to the CMSS for completion. I had a look at both; one planked and filled, the other with planking started. I fear the later was done first with planking ........... Thankfully the original owner used balsa glue so the planks were relatively easy to peel off. The former however clearly demonstrated the issue that Corel has with the bulkheads and the bull has some interesting lines around bulkheads 9, 10 and 11; almost looks like the hull is in the early stages of pregnancy. There's little resurrection possible with this model as the original builder decided to do some of his own scratch building with a gunport in a range of sizes and shapes.
I was not going to give up though. I decided to put a side the planks model and started pulling apart the structure of the second model. If I could resurrect enough to build a decent model then I would have something to offer back to the original l owner or his wife as a memory or to donate to the CMSS as a raffle prize.
WHERE TO START:
The fore, main and quarter decks were removed and put in the bin. They too came off fairly easily due to the use of balsa cement but they had received some damage during their assembly/installation. The original owner had decided to cut the main deck in half lengthwise to install it. This the provided an uneven surface to plank on and it showed. Further the lower deck was drilled with large holes for screws to hold holding block. They each had their issues but it was easier to start from scratch.
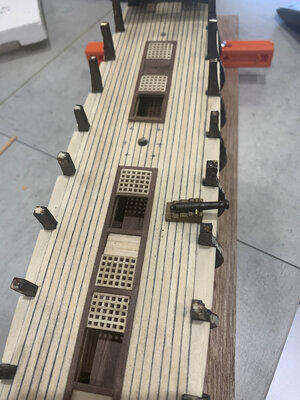
Using the kits 1:1 scale templates I cut new sub decks from 2mm ply stock, cleaned up the bulkheads slots and test fitted to make sure all was well. I then planked the main in my usual manner. I chose not to install Margi boards as this is a 1:100 scale model and the FX and QX decks cover the main deck where a marking boards installation would be best noticed. I then made up the coamings, shelves and frames for the long hatches and cut and installed the grates.
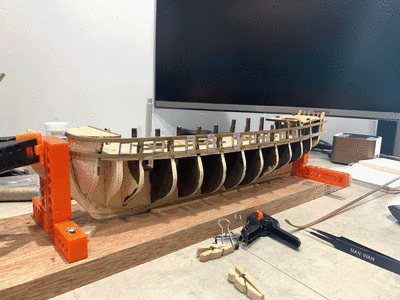
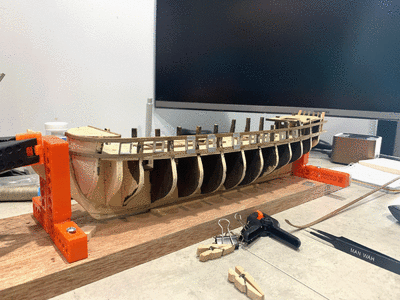
All seemed well until I trial fitted the main deck. Then I noticed that a number of Bulkheads were not installed squarely and Bulkheads 1 and 13 were not installed squarely on the longitudinal vertical. There was little to do with the squareness as I would sort this out when installing the main deck but I had to remove Bulkhead's 1 and 13 and reinstall them as they would affect the shape of the hull. I also noticed that the false Kel hd a twist in it so I have had to make a building frame to ensure everything is true as I commence planking the hull.
IMAGES:
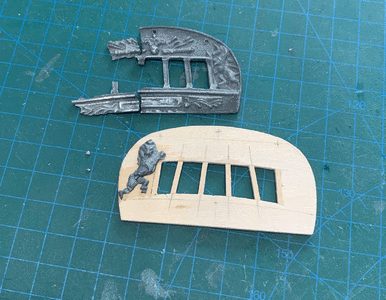
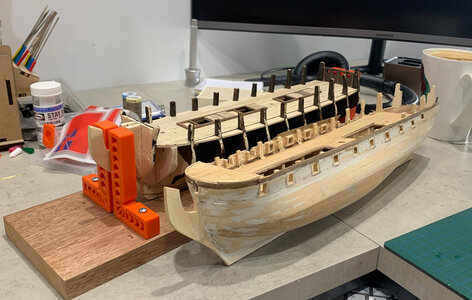
Image 1 is the planked hull (Hull 1) against the progress on the second hull. I considered cutting everything off at main deck level of Hull 1 and rebuild but then realised that the hull had too many there issues to deal with.
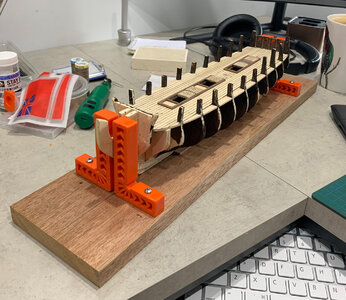
Image 2 is the progress on Hull 2 to date.


Last edited:


