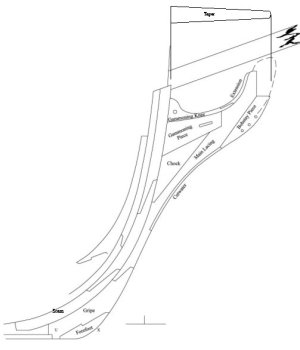
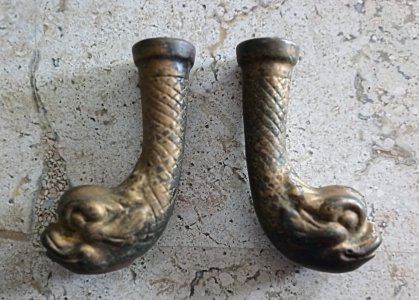
Thanks I'll check it out. It's hard to find someone that's actually finished it.There is a nice Ontario build on Instagram

1780 HMS Ontario build log (@hms_ontario_buildlog) • Instagram photos and videos
333 Followers, 92 Following, 52 Posts - See Instagram photos and videos from 1780 HMS Ontario build log (@hms_ontario_buildlog)www.instagram.com
-

Win a Free Custom Engraved Brass Coin!!!
As a way to introduce our brass coins to the community, we will raffle off a free coin during the month of August. Follow link ABOVE for instructions for entering.
You are using an out of date browser. It may not display this or other websites correctly.
You should upgrade or use an alternative browser.
You should upgrade or use an alternative browser.
HMS Ontario 1:48 by Meris Stella
- Thread starter Neil_jo
- Start date
- Watchers 11
-
- Tags
- marisstella ontario
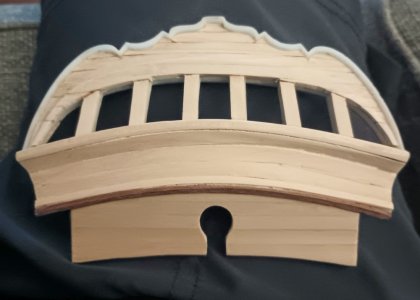
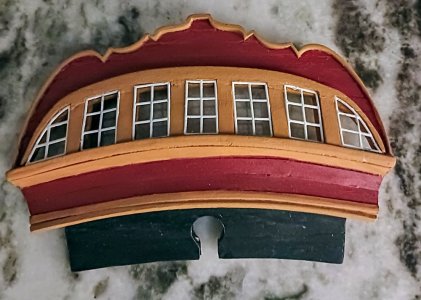
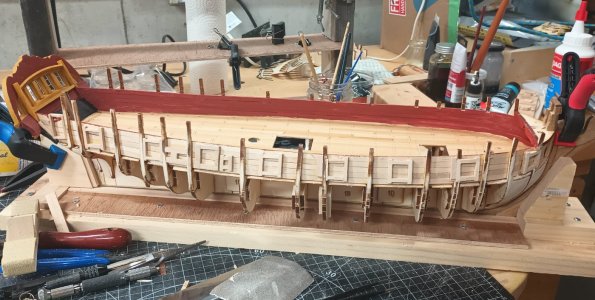
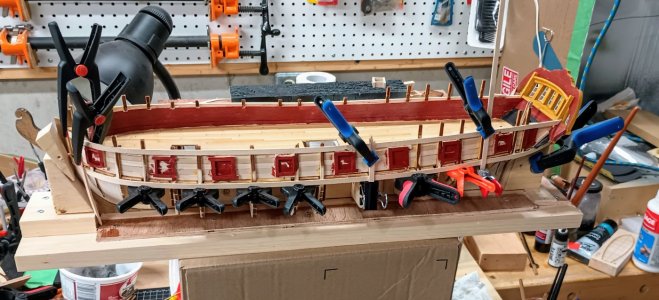
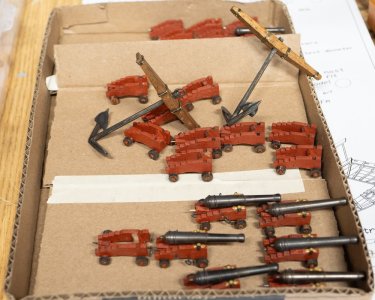
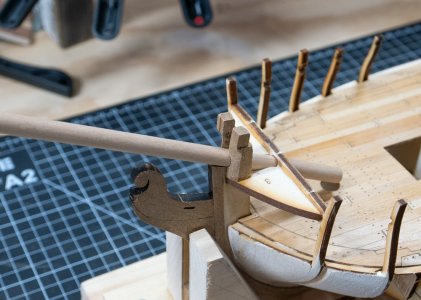
I've been stuck on the H-Bow bitts for this model but I think / hope I've got them right. In the meantime I finished the anchors and have assembled and painted all the canon carriages and have started putting the barrels and fittings on. I guess next will be assembling the stern, installing the waterways and the spirketting.
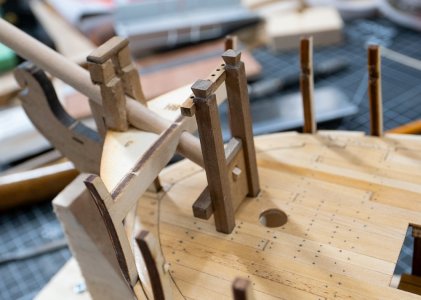
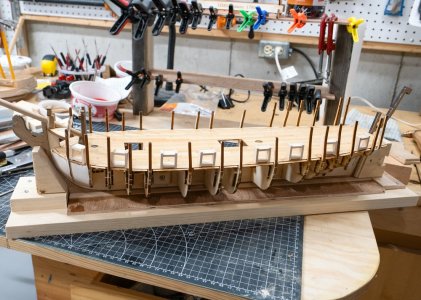


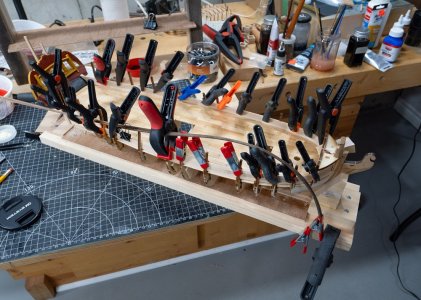
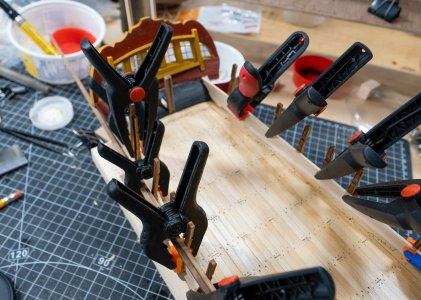
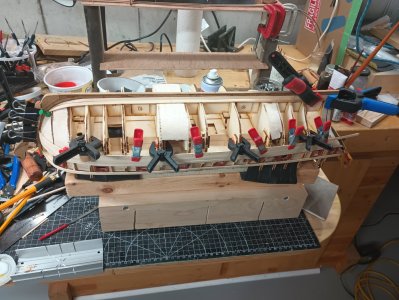
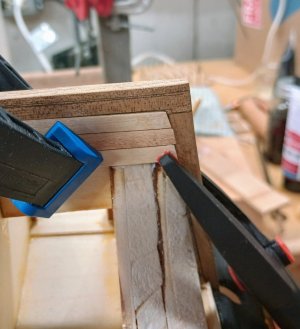
Great work so far !Gun ports are done and the also the 2 rear doorways. And added a couple planks. One more plank to put on the side then I'll flip her over and start planking the hull. I'm assuming this is a single planked hull, so I guess I'll have to get it right the first time.
Thanks Neil View attachment 536817
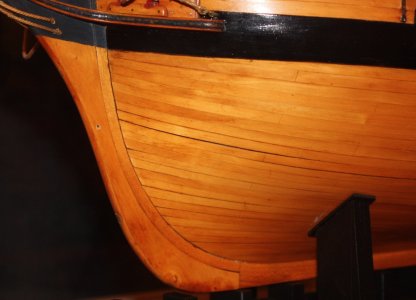
I realize this is the first layer of planking, but be careful on the second layer. The garboard should not go past the boxing joint and ride up the stem. If it does you will have to reduce the breadths of the planks at the bow too much in order for them to end properly in the rabbet.started planking the hull.
The below is a planking expansion of the shapes of planks, albeit a slightly longer ship. Hope it helps, at least a little.
Allan

Model from RMG
Thanks Allan, but I don't think there is a second planking with this kit. The planks are 1.5 mm thick and that basically fills the rabbit.
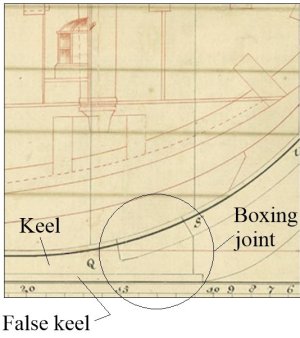
"The garboard should not go past the boxing joint and ride up the stem"
Sorry Allan not really up on my ship terminology yet, but will look it up.
Thanks Neil
"The garboard should not go past the boxing joint and ride up the stem"
Sorry Allan not really up on my ship terminology yet, but will look it up.
Thanks Neil
Learning the various terms is like learning a new language at times.Sorry Allan not really up on my ship terminology yet, but will look it up.
Allan
Last edited:
Thanks AllanHi Neil,
As far as I know, there is only one boxing joint on the frame work, that being where the forward end of the keel mates to the stem. Hopefully the following will be more helpful.
Allan
View attachment 538006


