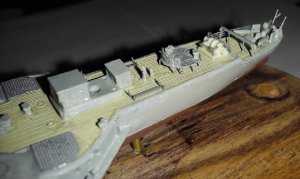
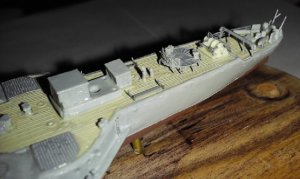
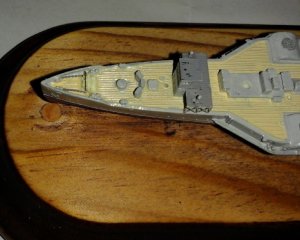
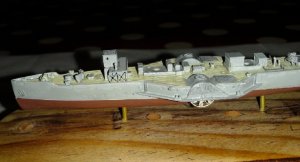
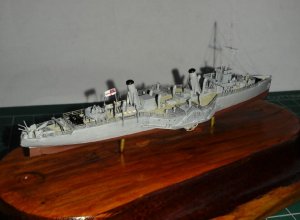
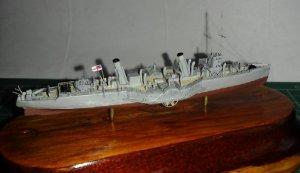
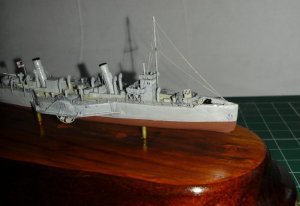
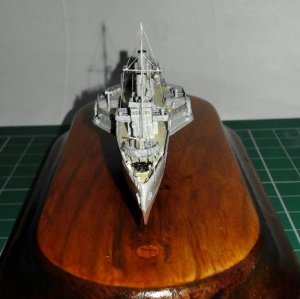
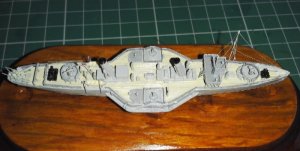
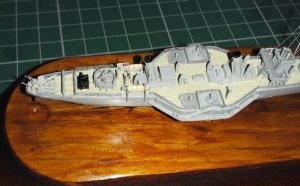
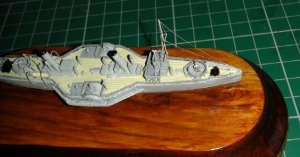
HMS Queen of Thanet-1/700-AJM Models

Joined
Aug 25, 2017
Messages
313
Points
193

Location
Moira N.I.
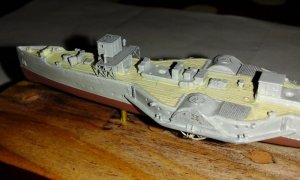
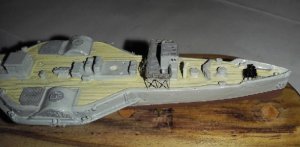
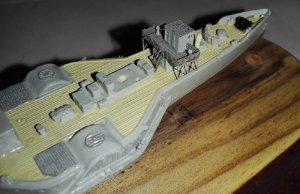
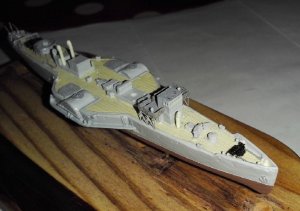
I built this about a year ago, it was my first attempt at a resin kit.
Launched in Glasgow in 1916, HMS Melton was one of 32 Paddlewheel Mine Sweepers of the Race Course class or sometimes called Ascot class. She continued clearing mines for a few years after WW1 before being sold in 1927 to a ship breakers,in 1929 she was sold on to the New Medway Steam Packet Company, converted to carry passengers and renamed Queen of Thanet. She spent the next 10 years on the north Kent Coast carrying passengers between London, Gravesend, Margate and Dover, as well as to Southend in Essex and Calais in France. In 1939 at the out break of WW2 she was requisitioned by the Admiralty, converted back to a Mine Sweeper, and renamed HMS Queen of Thanet. In May 1940 she was sent to Dunkirk and rescued 4000 troops from the beaches before being sent to Granton near Edinburgh in Scotland. 1944 saw her being sent to Selsey near Chichester to become a Mulberry Despatch Control ship for Operation Overlord, the D-Day landings. She returned to her previous owners in 1946 and once again carried passengers along the north Kent coast. 1949 she was sold to Red Funnel at Southampton, renamed Solent Queen, she was damaged in a fire and it was too expensive to repair her, so she was scrapped in 1951. I grew up on the north Kent coast and my Mother used to tell me about the Paddle Wheel steamers that ran along that coast using the piers at coastal towns to disembark and embark passengers. It seemed a good reason to build this ship.

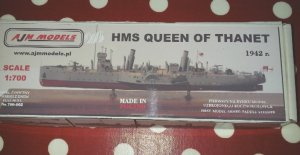
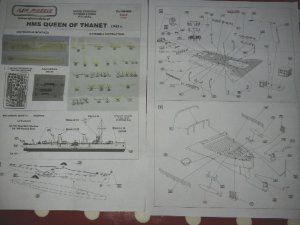
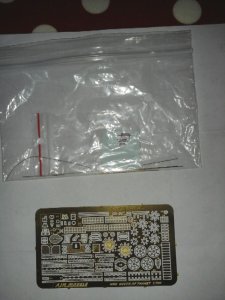
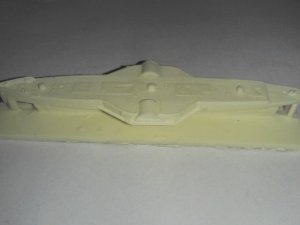
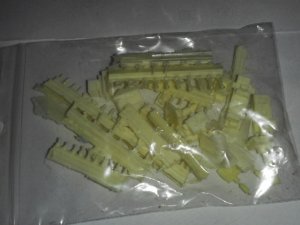
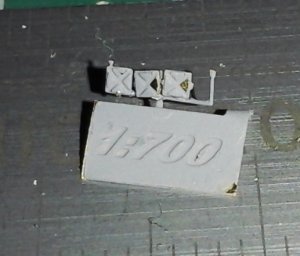
The kit is resin with a sheet of Photo Etch and some short lengths of wire for the masts. The instructions are 3 pages, very clear and detailed, but the photo of the resin parts is a bit difficault to make out, the light coloured resin against a white background.
Cheers Andy


QueenA1.jpgQueenA2.jpgQueenA3.jpgQueenA4.jpgQueenA5.jpg
 
Last edited by a moderator:
modlerbob post_id=24371 time=1510549811 user_id=4794 said:
So, where are the pictures of the finished model?

Patience my dear Sir, I have the whole build log to post first :D
Cheers Andy
 
This type of model is a new one on me and I'll watch with interest. Cheers.
 
Graham post_id=24382 time=1510600180 user_id=3858 said:
This type of model is a new one on me and I'll watch with interest. Cheers.
There are lots of resin ship kits available, mostly 1/700 or 1/350 scale, very good detail and often of not so well known ships. They are usually "short run" kits.

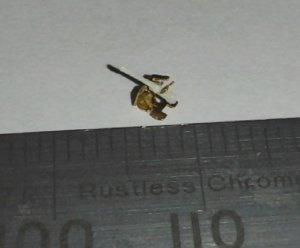
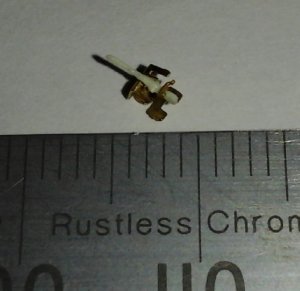
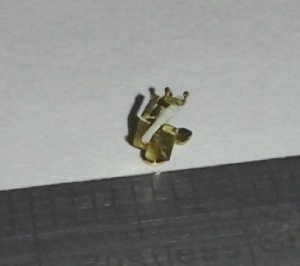
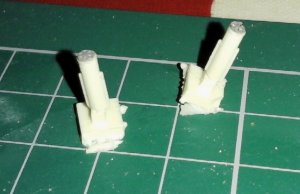
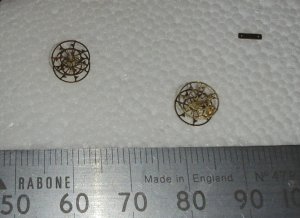
I read through the instructions and decided to start with what looked like the hardest parts first, the Paddlewheels and the two main guns. Each Paddlewheel assembly consists of 11 Photoetch parts and one resin piece. A Photoetch end plate is glued either end of the resin shaft. I had to make sure that the 2 end plates lined up, I used PVA glue to initially fit them then once I was happy with the fit, used C.A. gel to secure them. The 7 Paddles are fitted next, these sit on a point on each end plate. I did several dry runs to practice fitting these Paddles and I found the best way was to put a dot of PVA glue on one end plate, carefully fit the Paddle and then secure it with a dot of C.A. gel. The whole thing was then left for 5 or 10 minutes to fully set, and to allow my eyesight to recover, before I moved on to the next Paddle. Once all the Paddles were fitted 2 more end pieces were added again making sure everything lined up.The 2 main guns were next, resin gun barrels and 5 P.E. parts. These proved to be a lot harder to construct than the Paddlewheels. The P.E. gun shields needed folding at the correct angle and the gun sights and arm guides were also quite fiddly to get fitted in the correct location.

Cheers Andy

QueenA6.jpgQueenB2.jpgQueenC2.jpgQueenB3.jpgQueenB4.jpgQueenB7.jpg
 
Last edited by a moderator:
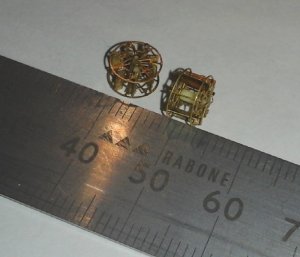
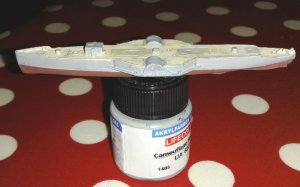
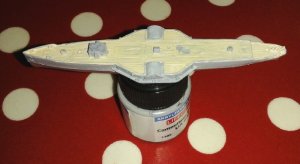
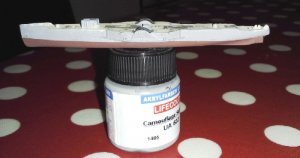
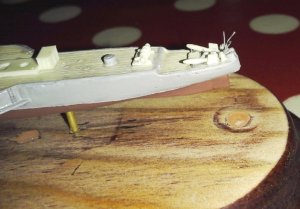
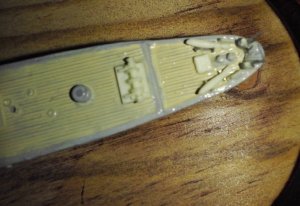
The Hull is a solid piece of resin, very detailed but like all resin parts it had a large amount of resin that needs to be removed, it is "flash" where the resin is poured into the mould. I used a small razor saw to cut the excess resin off and also remembered to wear a face mask, resin dust is not very good for you if you inhale it. I then used a small needle file and a sanding sponge to clean up the Hull, then it was washed in soapy water to remove any leftover mould release. I sprayed the Hull with a plastic car body primer from an aerosol can and then after leaving it for a day to harden, I painted the Deck with Airfix enamel Deck Tan using a brush. I used Airfix enamel Neutral Grey for the Hull sides and Brick Red for the underwater part of the Hull.

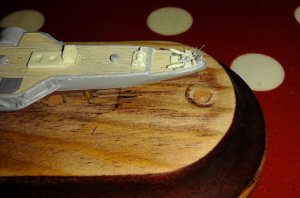
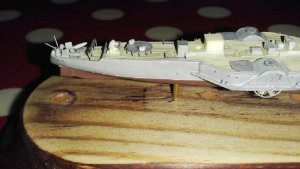
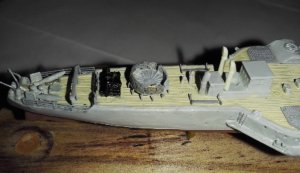
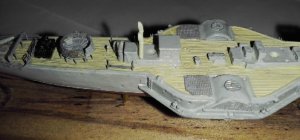
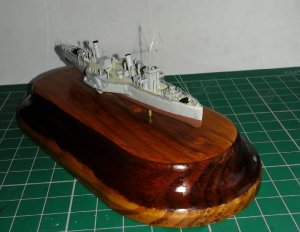
Whilst in a local DIY store I spotted a wooden wall mounted Toilet Roll Holder that they were selling off cheap. The backplate looked perfect for a base for Q of T. I removed the side pieces that hold the roll and filled the screw holes that held the side parts. I sanded down the flat surfaces and then gave them a couple of coats of Mahogany Stain. I used 2mm diameter Brass rod to mount the Hull to the base. The Hull where the Paddlewheels fitted needed a little bit of fine adjustments to get them to fit properly and they were glued in place using C.A. gel. I moved on to the Stern area and I cleaned up the 2 "Sweeps" the fish like objects that are towed behind the ship. These were glued onto 2 brackets that were cut from the photoetch sheet. A small photoetch crane and rear Flag Staff were also fitted along with the resin Winch and several small resin lockers. The hardest part was fitting a photoetch railing that runs across the Deck just aft of the Winch, it had to have another piece of photoetch glued on top and curved at both ends.

Cheers Andy

QueenC7.jpgQueenC8.jpgQueenC9.jpgQueenD1.jpgQueenD2.jpgQueenD3.jpg
 
Last edited by a moderator:
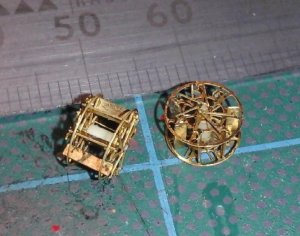
Gosh, thats a tiny scale.
Wonder why this manufacturer chooses to mould the model in solid resin rather than injection moulded plastic ?

Interesting model and you are off to a great start.
 
Brian077 post_id=24502 time=1511063456 user_id=4000 said:
Gosh, thats a tiny scale.
Wonder why this manufacturer chooses to mould the model in solid resin rather than injection moulded plastic ?

Interesting model and you are off to a great start.
Thanks Brian, I think it's cheaper to produce resin models, the start up costs for plastic injection are probably much higher and a subject like this would not create enough sales to make it viable.
Moving on to the ship its self, I started on the rear gun mounting. known as a "Bandstand" although I have called it several names during it's construction, none of which are repeatable on this Forum. The legs and 2 ladders were folded down first of all, the mounting point on the Deck needed filing down a little bit so that the legs and ladders touched the Deck. It was glued in place using C.A. gel making sure the ladders were in the correct place. 2 P.E. railings then need to be fitted, these have to be curved and then have P.E. square plates fitted. These are "Blast Bags", fitted to various railings to protect the crew from the blast and shrapnal from exploding Mines. i decided the best way was to fit these Blast Bags to the railings first and then curve the railings and then fit the railings. The Blast Bags are 1mm square, each one was attached using PVA to get them in position and then C.A. gel was used to firmly attach them.


As you can see from the picture the Blast bags are not totally straight, but they were tied on the real ship and the photos I have seen of the ship in action show the Blast Bags are not straight either. The railings were then curved using the handle of my scalpel and then glued in place. I also added the resin Ammunition Boxes that are on the Bandstand.


Cheers Andy
 

Attachments

  • QueenD5.jpg
    QueenD5.jpg
    43.2 KB · Views: 131
  • QueenD8.jpg
    QueenD8.jpg
    81.4 KB · Views: 131
  • QueenE1.jpg
    QueenE1.jpg
    84.7 KB · Views: 130
  • QueenE1.jpg
    QueenE1.jpg
    84.7 KB · Views: 134
Now that I had finished the 2 Gun Platforms it was time to work on the Wheel House. The lower Wheel House is moulded as part of the main structure. I smoothed down the top and then attached a P.E. platform with PVA glue to give me time to make sure it was in the correct position. Once dry the side supports were folded down and glued to the Deck using C.A. gel. The upper resin Wheel House needed a little bit of cleaning up and then it was glued in place, followed by it's roof. The instructions tell you to fit the ships Wheel and Binnacle in the upper Wheel House before you fit the roof, but to be honest you can't see through the windows and the parts are only about 2mm in length so they will never be seen. 2 resin Searchlights were next fitted to the lower platform and then the ladder and railings were folded and fitted.


These railings then had their Blast Bags fitted and then the whole lot were painted neutral grey.


The 2 Winches were painted with thinned Tamiya black paint so that I didn't cover up all the fine detail, it took 3 coats to get the finish that I was after. There are several different sizes of resin Ventilators and I had to study the instructions carefully to make sure I got the correct ones in the right places and to make sure they lined up as well.


For any one who is interested I found this website which shows photos of HMS Queen of Thanet during WW2 whilst stationed at Granton in Scotland, it shows pictures of the Captain and Crew who served on this ship.

http://www.grantonhistory.org/ships_and_boats/queen_of_thanet_intro.htm

Cheers Andy
 

Attachments

  • QueenE3.jpg
    QueenE3.jpg
    107.2 KB · Views: 87
  • QueenE4.jpg
    QueenE4.jpg
    69.4 KB · Views: 87
  • QueenE5.jpg
    QueenE5.jpg
    83.6 KB · Views: 86
  • QueenE7.jpg
    QueenE7.jpg
    68.7 KB · Views: 87
  • QueenE8.jpg
    QueenE8.jpg
    100.2 KB · Views: 86
  • QueenE9.jpg
    QueenE9.jpg
    84 KB · Views: 87
  • QueenE10.jpg
    QueenE10.jpg
    81.1 KB · Views: 85
  • QueenE11.jpg
    QueenE11.jpg
    70.8 KB · Views: 87
Andy

I must admit I have never been a big fan of plastics. You are changing my mind from where plastics came from and are going to.

I am enjoying your build very much.

Cheers
Geoff
 
Thanks Geoff, I enjoy building both types, with wood I feel like I am building a boat the traditional way only smaller but it seems to take so much longer. With plastic the parts are preformed but I like fitting all the extra small detail that really brings it to life like the P.E. railings for example. Being so much smaller these plastic ships don't take up too much room either, this one is about 8 inches long,

Cheers Andy
 
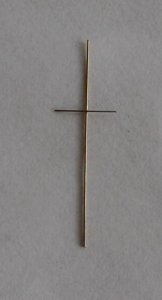
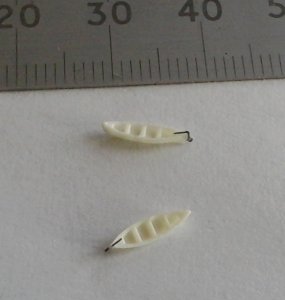
The bases of the two funnels were cleaned up and the correct angle filed on them before they were glued in place. I then spent Saturday morning fitting the funnel stays. I used 0.06mm wire which was cut over length first of all before being gradually trimmed to the correct length, checking against the funnel until I was happy with the fit. I cleaned up the 4 mushroom shaped ventilators and they were then glued in place, The front gun platform had it’s legs bent down and then it was glued with PVA. The 2 railings were then fitted, again using PVA first of all and then CA gel to firmly fix the rails. I had a couple of “blast bags” come off whilst fitting the rails but these were easily refitted later. I decided to make a start on the main mast, it’s made from 0.3mm wire which was cut slightly over length to allow for the small hole I had already drilled in the deck. A 8.5mm length of 0.2mm wire then has to be glued across the mast for the yardarm. This was glued with PVA so I had plenty of time to get at right angles and in the middle. The 2 lifeboats were carefully cleaned up and then a P.E. rudder and tiller arm fitted, this took quiet a while, the parts are so small and difficult to hold, but I managed to get them in place eventually. I will need to paint these lifeboats before I fit them when I can work out how to hold them to paint the hulls.


Cheers Andy
 

Attachments

  • QueenD4.jpg
    QueenD4.jpg
    71.2 KB · Views: 91
  • QueenF1.jpg
    QueenF1.jpg
    42.3 KB · Views: 92
  • QueenF2.jpg
    QueenF2.jpg
    55.8 KB · Views: 93
  • QueenF3.jpg
    QueenF3.jpg
    65.2 KB · Views: 94
  • QueenF6.jpg
    QueenF6.jpg
    85.3 KB · Views: 93
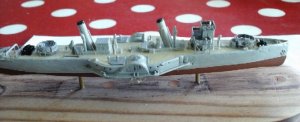
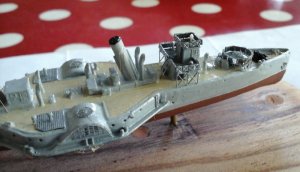
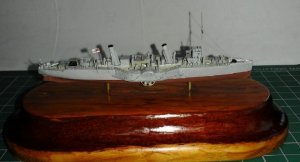
I made the Flag Staff from 0.2mm diameter wire and glued the Ensign to the top before fitting the Flag Staff. There wasn't too much rigging to be done, but I decided it would be easier to get it done before I fitted the Railings around the Deck. I used 0.02mm wire for the rigging again cut too long and then gradually trimmed down to fit. I started with the Railings that fitted around the Paddlewheel covers, these were folded using my P.E. Bending Tool and glued in place with dots of C.A. gel. When I fit longer Railings that have a curve in them I start at one end and glue the Railing end in place with C.A. gel. I then work my way along the Railing glueing each upright in place. Once all the Railings were done I touched up the paint work and gave the stand a coat of gloss varnish.
This was my first go at building a resin model and I've enjoyed it, it's been good to build something a bit different from the usual warship and made more enjoyable with all the research I did into the ship, finding photos of the ship in action and there is a chance my Mother travelled on this ship on the North Kent coast during the late 1940's,


Cheers Andy
 

Attachments

  • QueenH1.jpg
    QueenH1.jpg
    62.6 KB · Views: 84
  • QueenH2.jpg
    QueenH2.jpg
    88.8 KB · Views: 83
  • QueenH3.jpg
    QueenH3.jpg
    74.7 KB · Views: 84
  • QueenH4.jpg
    QueenH4.jpg
    64.9 KB · Views: 85
  • QueenH5.jpg
    QueenH5.jpg
    69 KB · Views: 83
  • QueenH6.jpg
    QueenH6.jpg
    94 KB · Views: 83
  • QueenH8.jpg
    QueenH8.jpg
    79.7 KB · Views: 84
  • QueenH9.jpg
    QueenH9.jpg
    97.4 KB · Views: 85
  • QueenH10.jpg
    QueenH10.jpg
    79.6 KB · Views: 86
Andy

The mounting board looks excellent and sets off the model very nicely.

Cheers
Geoff
 
Thank you Geoff, I am pleased with the way it turned out, it's rather good for a cheap (modified) paper towel holder.

Cheers Andy
 
Andy

As I said the mounting board looks great. I do enjoy wood but I can see that maybe in my years to come plastics maybe easier for me.

I very much enjoy your build

Thanks for educating us. We ave a great hobby mad we all need to share ou experiences.

Cheers
Geoff
 
Thanks Geoff, I have been building plastic kits since I was about 10, over 40 years ago, when I got given my first Airfix kit. I had loads of model aircraft hanging from my bedroom ceiling. Having seen some of the amazing builds on this Forum and others I have concentrated more on wood lately, but still enjoy plastic. you may find plastic kits are smaller and if like me your eyesight is not brilliant you could struggle, I need to use an Optivisor to see some of the parts, but give plastic a try,

Cheers Andy
 
Back
Top