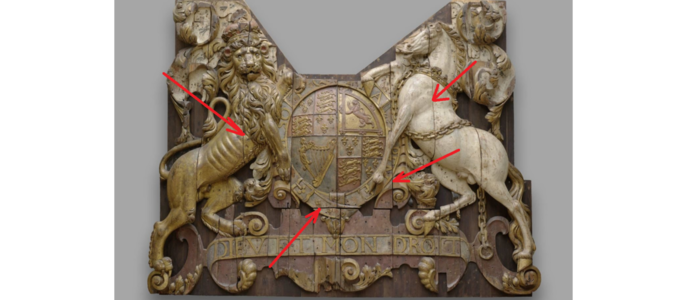
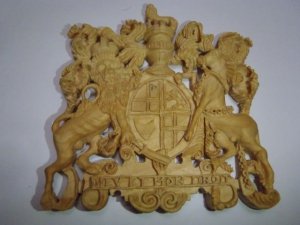
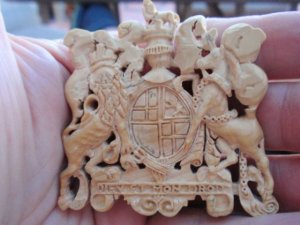
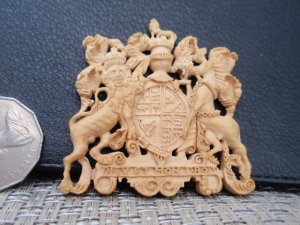
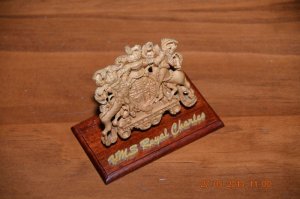
I started 'bigger' carvings a bit more than 4 years ago. I was making carved decorations for my ships before (Royal Yacht Caroline, Grosse Jacht, Duyfken) but is this size the RC coat of arms was the first. The inspiration came from the (since discontinued) magazine 'Shipwright', where in its 2010 annual this carving, made by Lloyd Mcaffery was shown in a photo. Then I thought: I can probably do this. So I tried.
This is a type of carving which falls closest to the most usual type of decoration used in a ship model, the 'gingerbread' (on side boards, on and between gun ports, etc.) It is a 'relief' carving, because its thickness or depth is small, relative to the other dimensions of the carving. A full 'in-the-round' carving (like a figure head) would be deeper, in this case at least 2-2.5 time as thick as it is now in the carving. In technical terms this means that we use a different scale to the depth than to the width and height of the figure. In artistic terms we are making a relief carving.
I don't want to get into the theory of the carving, it was written a lot about this. One of the best is the book of Bill Short ('modelshipwright'), who is present on this forum as well. I bought it and it was a good investment, it is highly recommended for everyone who wants to get into the slippery learning curve of this type of decorations.
The first thing to do is the preparation of the template. If we have a proper drawing of the subject, we just have to scale a copy of it to the right size, using a typical all-round printer. If we have a photo only, and we are lucky enough to have a true side elevation, then we do the same. If we have just a fuzzy and/or distorted photo, we can try re-drawing the picture - I don't do it too often since my free drawing skills are poor to say the least.
After the preparation of the material for the carving (I will have some thoughts about choice of materials in a different thread) we attach the copy on the surface of the material with postal (or stick-) glue.
The next step is to cut the material according to the pattern. For bigger sizes I use my Proxxon band saw, for smaller ones I go back to my trusted (manual) fretsaw. I also tried the Proxxon scroll saw but somehow I could not really work out the way it should be used (my error obviously) so I don't use it too often.
Then first the inside then the outside contours are cut (more about this in a different thread) and the piece is ready for carving.
There is a theoretical opportunity to avoid all the steps above and having the pre-cut piece ready by using laser cut templates. I don't know about these types of templates being commercially available but this might change in the near future as technology advances and laser cutters will be more readily available - or laser cutters will be more affordable. I did not use such pre-cut templates yet.
So after this we don't have to do anything else but the carving itself. More about this in other threads. This time I just wanted to have a few thoughts about the preparation phase. And I hope you don't mind my Pidgeon English too much.
Looking forward to having some feedback and questions.
Janos


Last edited by a moderator:


