• Ships of Scale has incorportated an extra level of security when you log In. Please follow on-screen prompts to acknowledge that you are not a robot via a "Check Box" or a "Pictorial Check Box Puzzle". This is needed due to higher level of AI Activity Security.
  • SUBSCRIBE TO SHIPS IN SCALE TODAY!

    The beloved Ships in Scale Magazine is back and charting a new course for 2026!
    Discover new skills, new techniques, and new inspirations in every issue.

    NOTE THAT OUR NEXT ISSUE WILL BE July/August 2026
  • Win a Free Custom Engraved Brass Coin!!!
    As a way to introduce our brass coins to the community, we will raffle off a free coin during the month of August. Follow link ABOVE for instructions for entering.

HMS Surprise from scratch - scale 1:48 by HMS Fly

Joined
Feb 24, 2023
Messages
1,010
Points
443

Location
Overijse Vlaams-Brabant
Hello friends,

I have wanted to build the HMS Surprise for a long time. And now the time has come. Is anyone interested in following a log?
It is going to take up quite a lot of my time because I would like to make as much as possible myself.
I managed to buy the 1:48 scale plans drawn up by Karl Heinz Marquardt.
So I am going to build the ship as original as possible, without any fanciful ideas...

Feedback requested and very welcome!

Marc
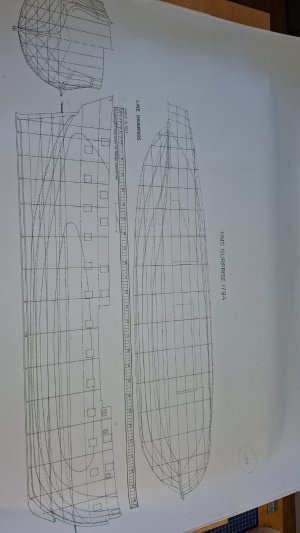
 
The beginning:

After extensive research, I found a link to a museum on a tip from iutar... and through various channels, I was finally able to buy the plans.
Since I received the plans in A4 format, I had to convert them to a scale of 1/48... i.e., 63mm is 10 feet.
It cost me a fortune at the printing shop, as the plans have to be accurate to the millimeter.
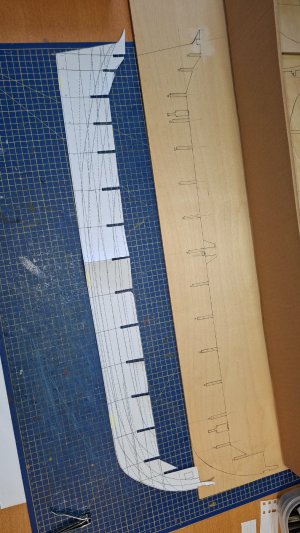
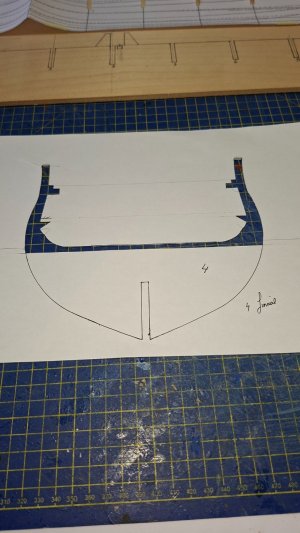
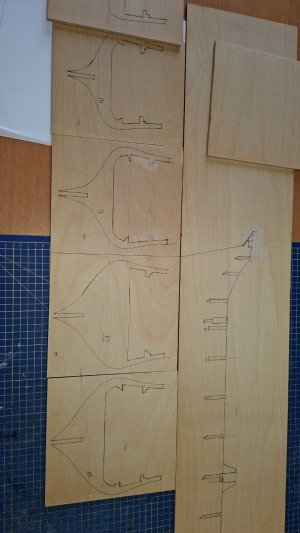
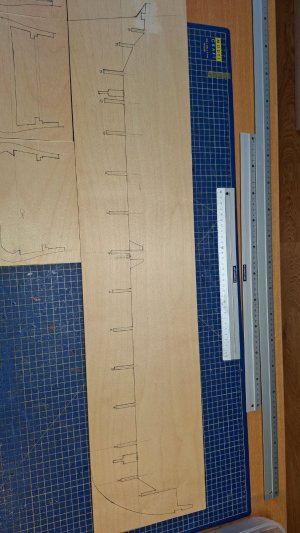
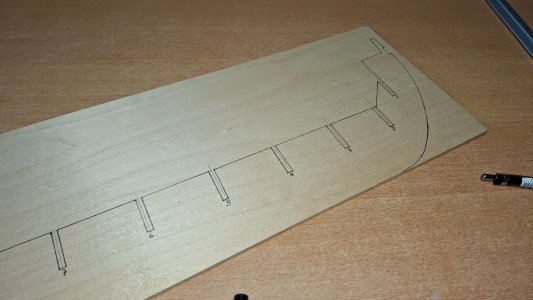
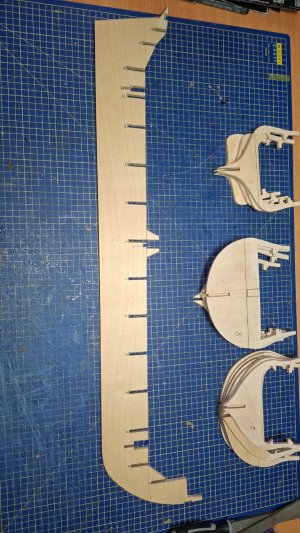
Here is the basic plan: determination of the keel and bulkheads.
Sur1.jpg
 
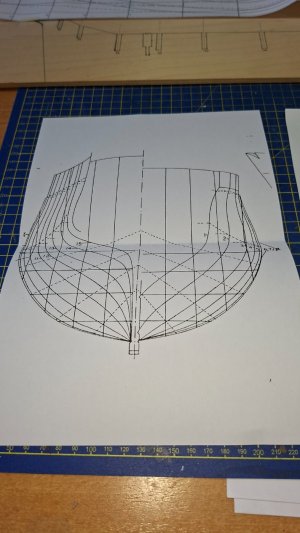
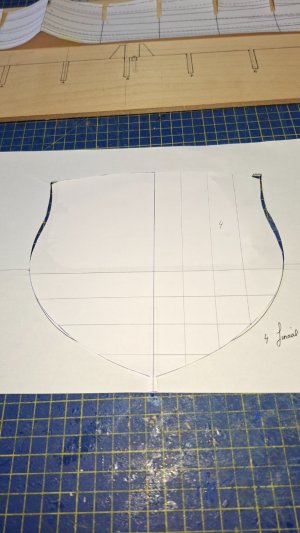
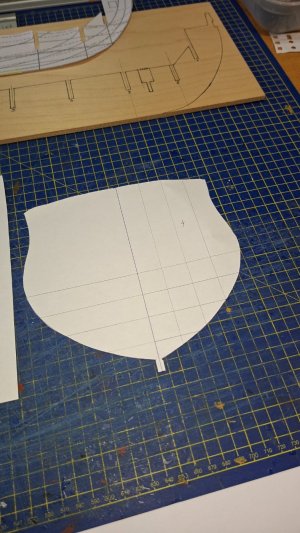
Once I had enlarged the drawings to the exact scale of 1:48, I had the necessary reference points: the waterline and the precise dimensions of the bulkheads and masts.

Before starting the design, I studied the construction method of a few kits:
Artesania (scale 1:48) and that of Vanguard (scale 1:64)...
You can always get ideas from them...

And to lift the veil a little, part of the gun deck and Main deck will be open, and I will equip the entire thing with LED lighting...

Sur5.jpg
 
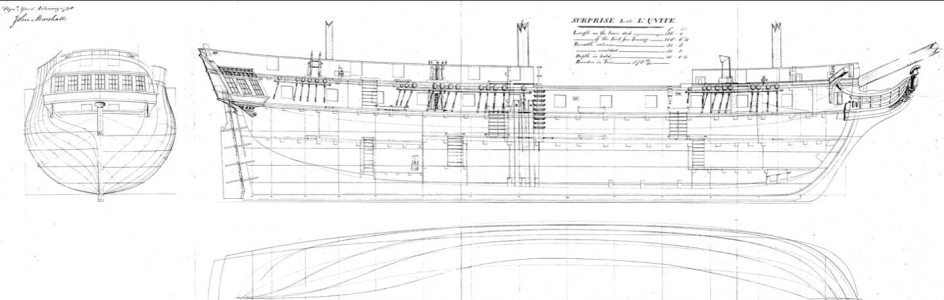
One of the nice things about this ship is that there are also the contemporary drawings when she was still outfitted as the French with 14 gun ports per side and the Marshall signed plans with 13 ports for the new armament the British went to in place of the 8 pounder and 4 pounder long guns the French used. I am betting Marquardt used these drawings for his so they should be spot on. I am curious to know if the deck plans are based on the original lines that the English took off in June 1796 or the new layout that they drew up in October 1796.
Looking forward to your build....
'Allan
 
a summary of 2 months of research and measurement work.
You are a man after my own heart. The research is every bit as much fun as cutting wood for many folks and helps get things right from start to finish.
Allan
 
The above information is, of course, a summary of 2 months of research and measurement work. Everything has been drawn and worked out to the nearest millimeter.
;)
Good progress, I'd like to see the cutting out of the parts you've so accurately drawn, tooling etc.
How much of the plan is 'Surprise' compared to 'Le Unite'? and what differences/modifications, if any, have you found between the two?
I have found text about this many years ago, works post capture, but I didn't download them and I've forgotten the details.
 
Good progress, I'd like to see the cutting out of the parts you've so accurately drawn, tooling etc.
How much of the plan is 'Surprise' compared to 'Le Unite'? and what differences/modifications, if any, have you found between the two?
I have found text about this many years ago, works post capture, but I didn't download them and I've forgotten the details.

1787409874153.png
Some differences:

  • As UnitĂ©
    • 24 Ă— 8-pounder long guns
    • 8 Ă— 4-pounder long guns
  • As HMS Surprise
    • Upper deck: 24 Ă— 9-pounder guns
    • QD: 8 Ă— 4-pounder guns + 4 Ă— 12-pounder carronades
    • Fc: 2 Ă— 4-pounder chase guns + 2 Ă— 12-pounder carronades

The Surprise has being modified after her capture and for example they have fitted the hull with copper plates.
Other details wil follow.
 
it's a pity you live so far away! No plans to move to Europe/Belgium?
The Admiral and I both love Europe. I had the good fortune to travel to Italy well over 100 times for work and vacations. I really should not call it work as it was a fun job.

We have spent time in seven other European countries over the years but somehow never got to Belgium. Maybe in the future,,,,,,, I hope..... :)
Allan
 
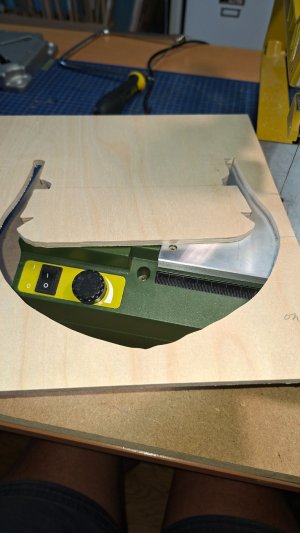
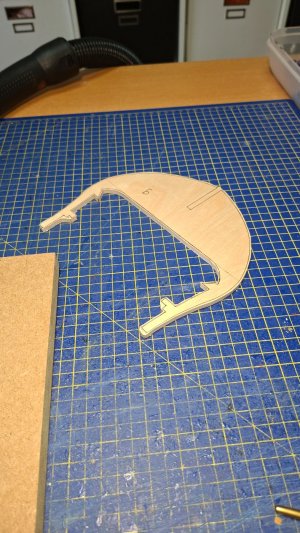
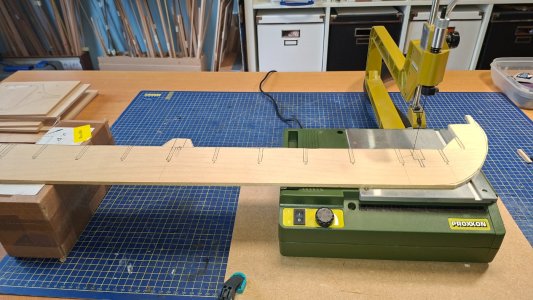
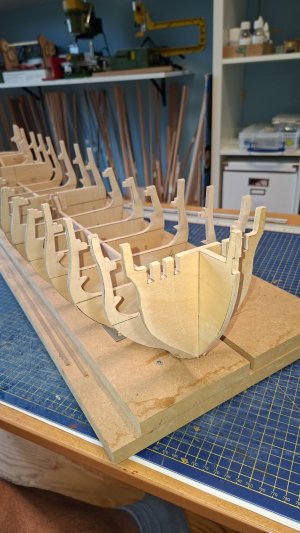
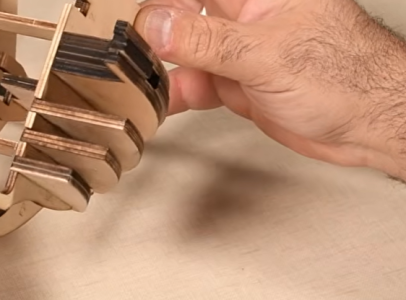
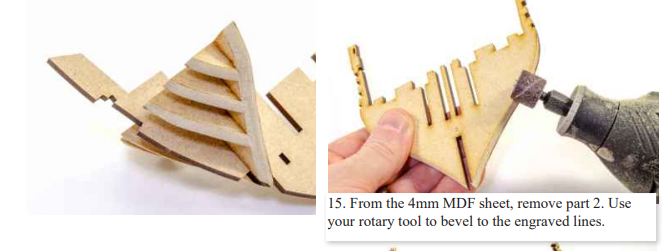
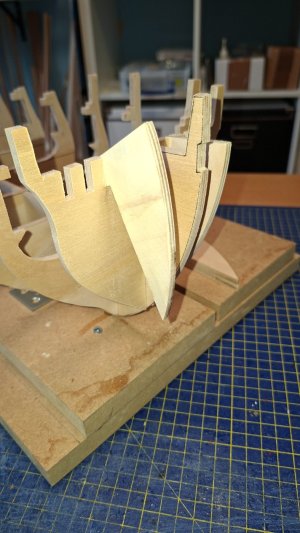
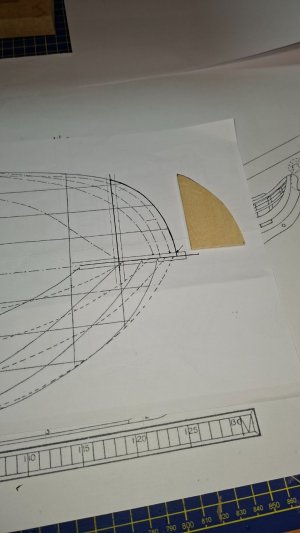
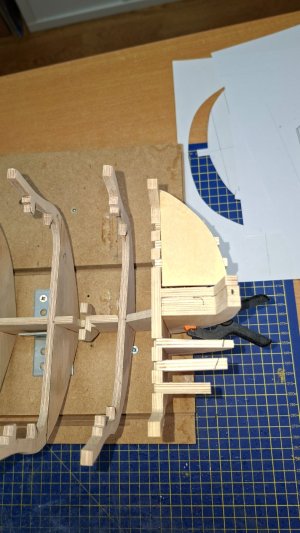
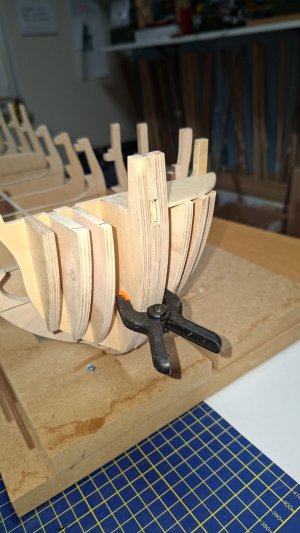
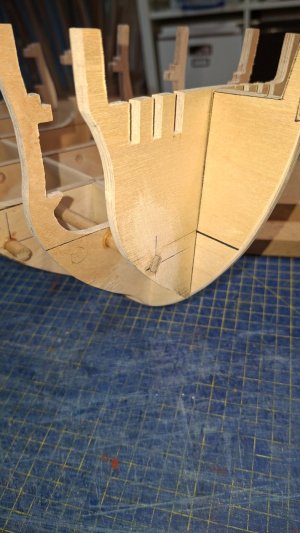
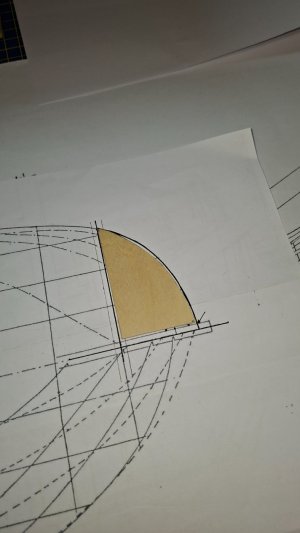
Now for the bow. I wish to provide supports to simplify the first planking, i.e., to respect the curvature of the bow and thus be able to glue the strips neatly in place.
There are various methods, such as shaping a balsa wood block.
Since I do not want to reinvent the wheel, I have carefully studied the instructions from Vanguard and Artesania. Both use the same method (see photos), and I have decided to apply the same method. To be continued.

1788186083694.png

1788186173354.png

Sur36.jpg
 
The next step involves multiple goals:

- perfectly aligning the Bulkheads with the waterline as the reference point
- reinforcing the hull to prevent the Bulkheads from moving...

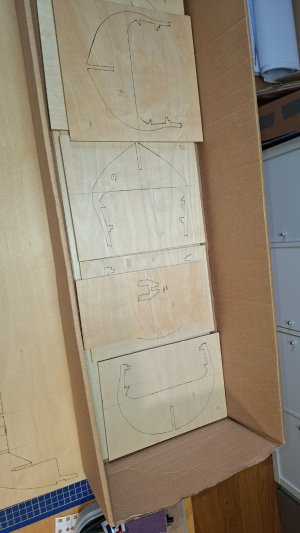
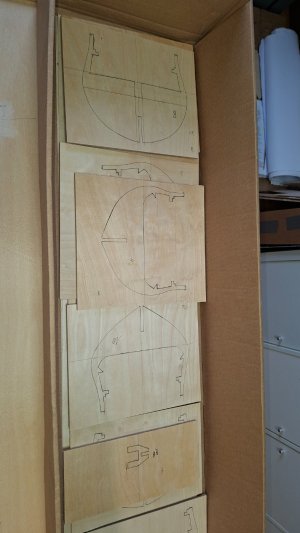
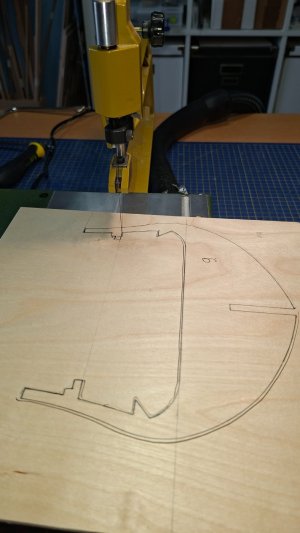
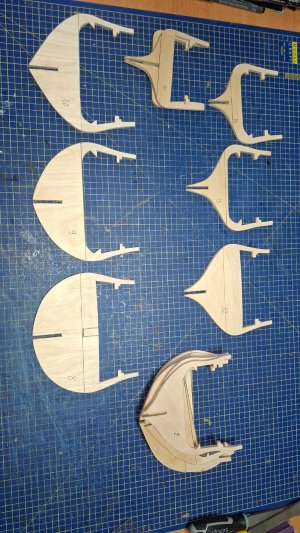
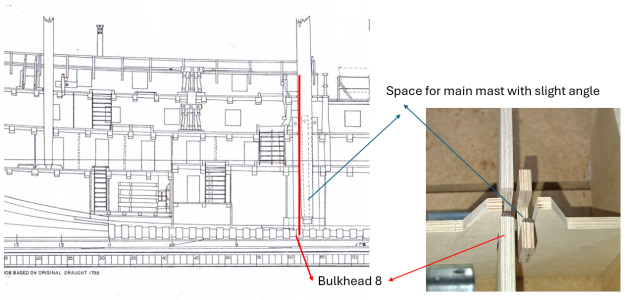
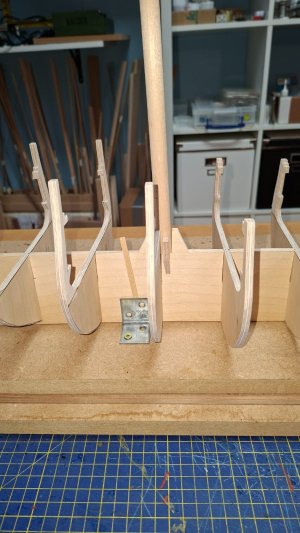
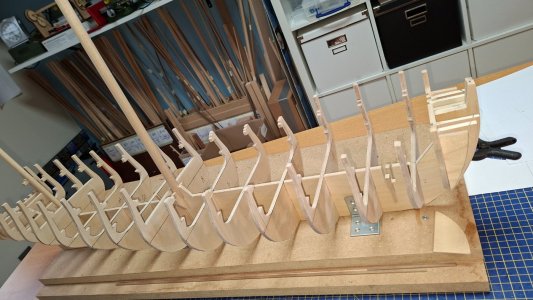
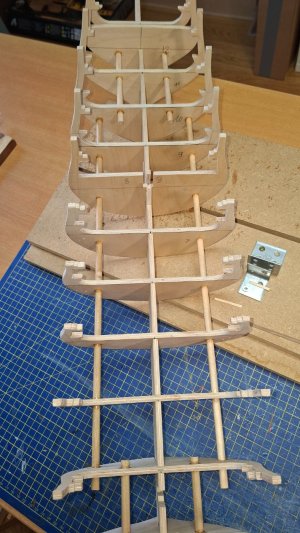
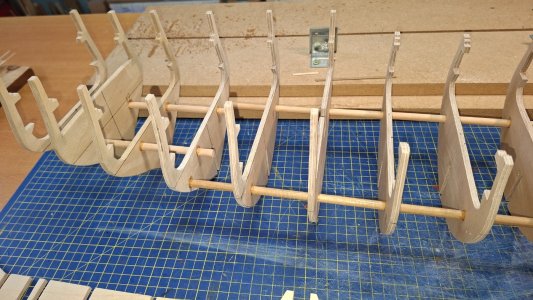
To achieve this, I stacked all the bulkheads on top of each other with the intention of drilling a perfect 8mm hole using a fixed drill bit. Then I can slide a perfectly straight dowel through the hole created.

To prevent the bulkheads from shifting during drilling, I nailed each pair of bulkheads together until I obtained a stack of 15 bulkheads. The thickness of the whole assembly: 15 x 6mm (Plywood) = 90 mm.
For this, I used a professional drill bit which I borrowed from a friend.
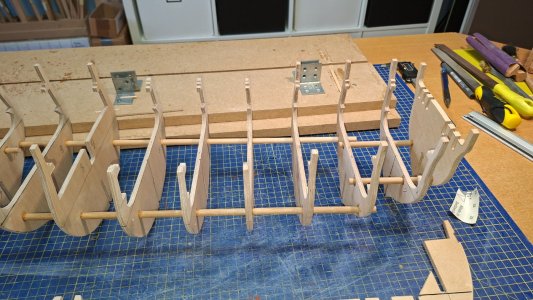
Once the holes were drilled, I could carefully slide the dowel (8mm diameter) through the Bulkheads. Next, I carefully removed the nails from the Bulkheads.
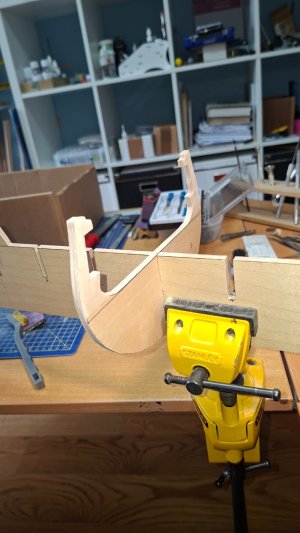
After I had slid the Bulkheads apart, I fitted the assembly into the Keel:
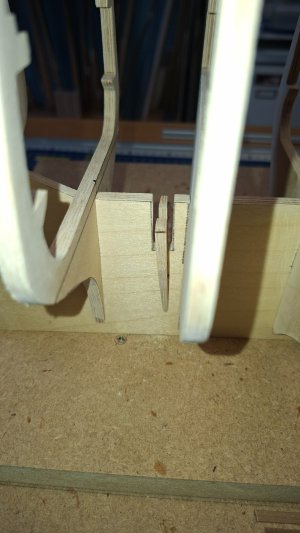
This allowed me to align the Bulkheads perfectly. Once everything was measured out perfectly, a drop of CA glue on each side of the dowel sufficed to create a strong unit.

Next, glue the Bulkheads onto the Keel with Aliphatic glue...

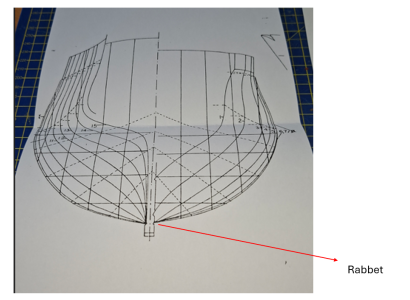
While drying, I took the time to make the Rabbet of the Keel: see photo...


1789133346431.png

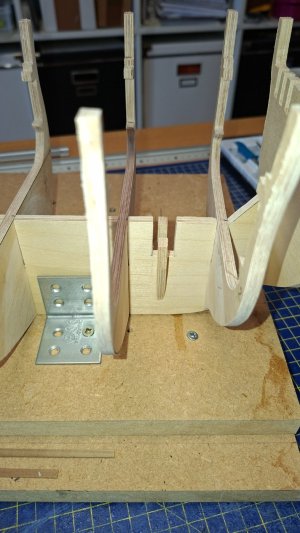
Sur48.jpg

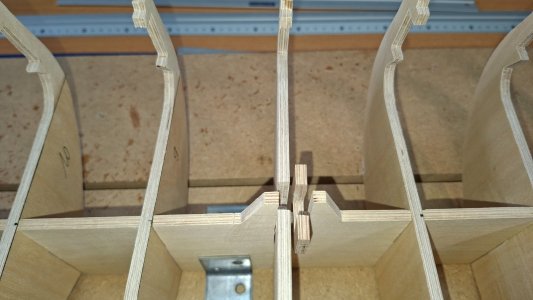
Sur49.jpg

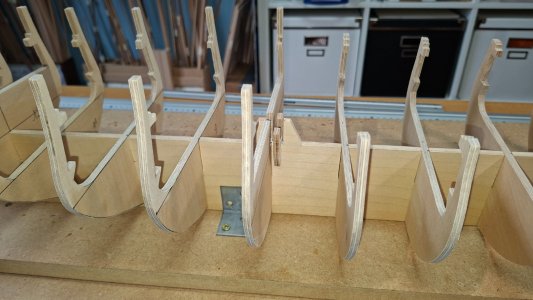
Sur50.jpg

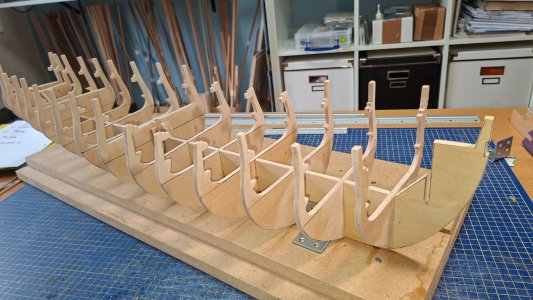
Sur51.jpg
 
Back
Top