HMS Victory Cross Section - 1:98 - Corel Build

Joined
Dec 4, 2022
Messages
10
Points
48

Location
Heritage Pointe, Alberta, Canada
I’ve been enjoying reading all the information posted on SoS for the last couple of years, especially when researching building techniques. I’ve particularly enjoyed the weekly popular posts, what a great way of generating interest in what others are building.

I was looking for a relatively small project after completing a couple of challenging longer term kits so I thought a cross section would be fun. I found a kit locally from a private seller - HMS Victory by Corel (SM 24). It looks like the kit was manufactured in the mid ‘80s but it aged well. My main concern were the 2 plywood hull halves ( look like clam shells ) but they are quite true.

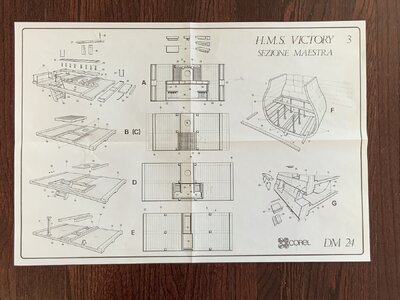
The instructions are pretty good but reflect the standard back in the day ( no photos or videos). I’m just working from a couple of the plans and they’re well designed. So here’s what I’m starting with.
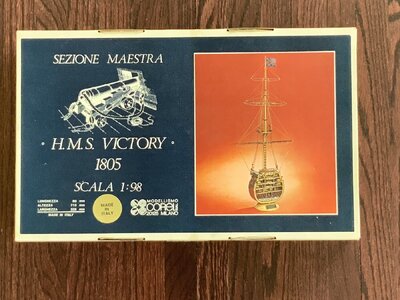
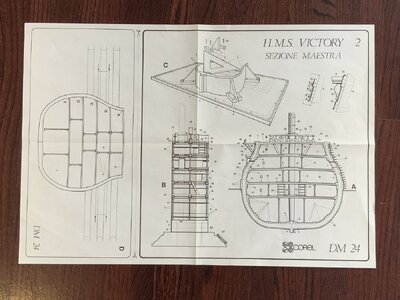
IMG_4512.jpegHMS Victory Plan 2.JPG
HMS Victory Plan 3.JPG
 
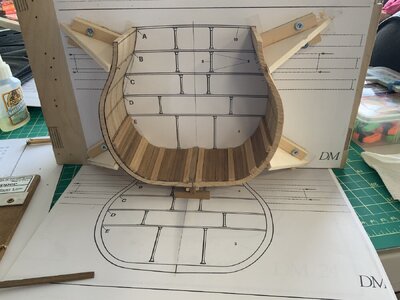
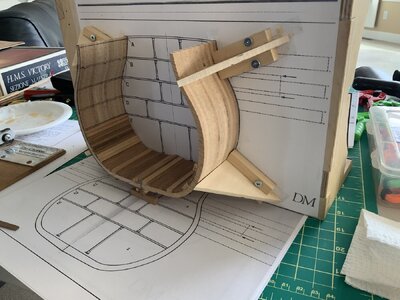
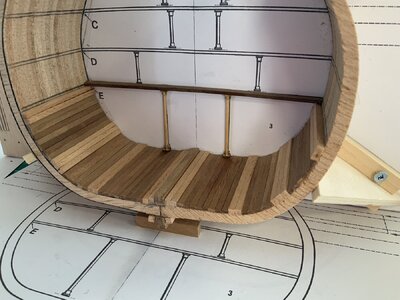
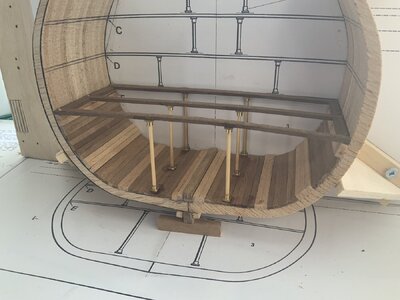
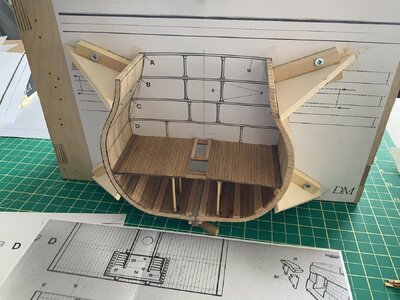
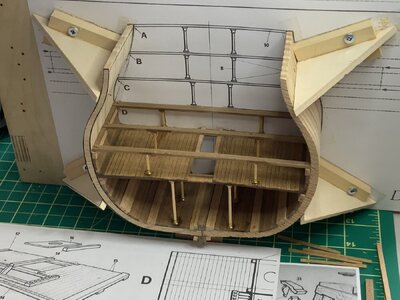
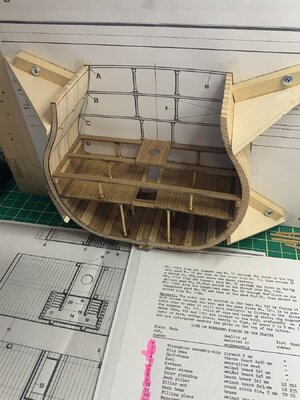
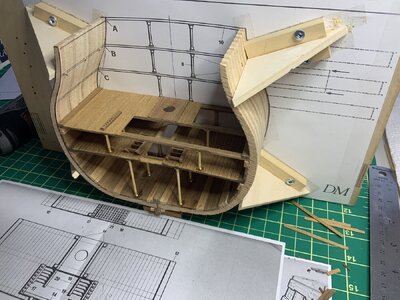
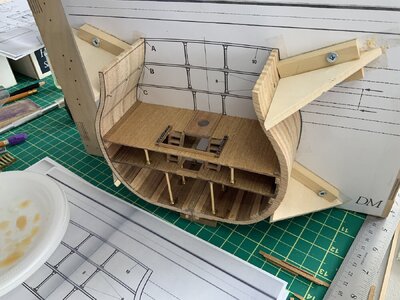
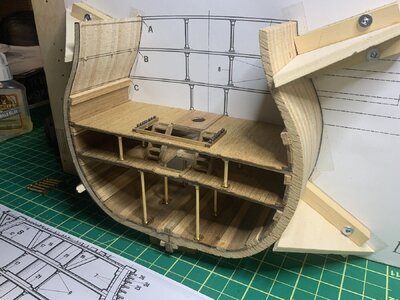
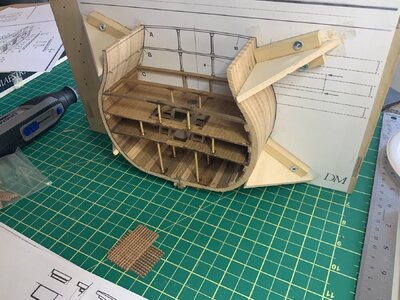
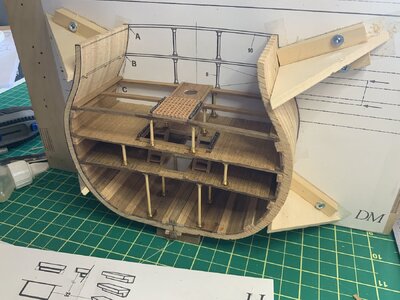
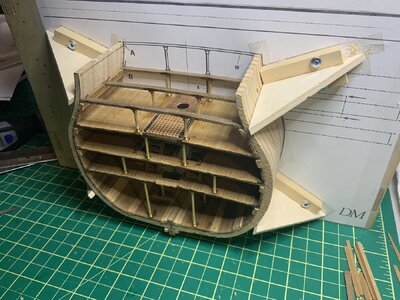
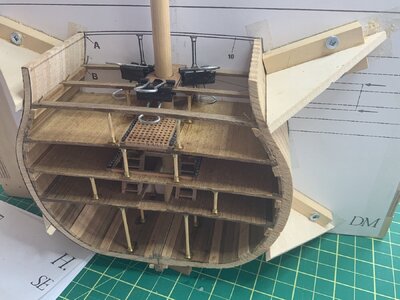
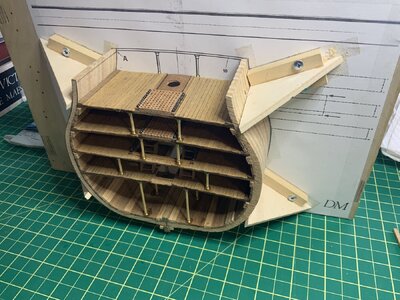
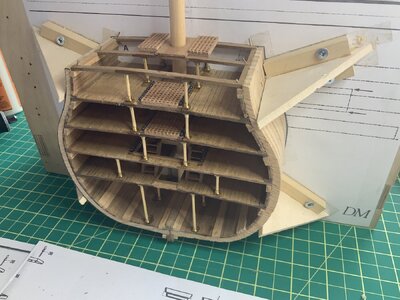
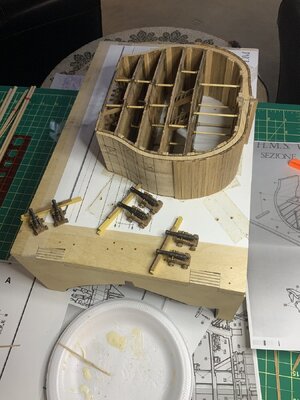
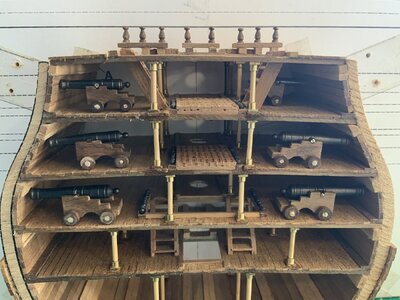
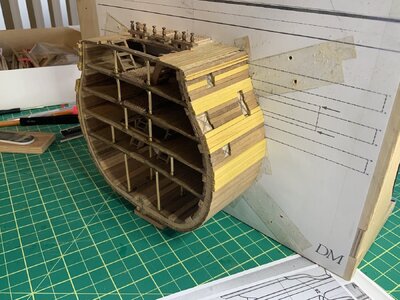
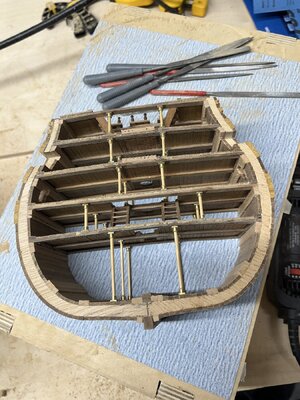
Corel recommends attaching the frame halves to a plywood base that can sit vertically. Their technique works pretty well, I just used an old base I’d used to build the Surprise because it can lay flat or sit up. The construction strategy is basically line the inner hull working from the keel to the top deck. It’s done stepwise, lining the hull until the lowest deck is reached, build that deck then continue lining the hull until the next deck, etc. Corel advises using small nails at the end of each deck beam because of the slight bow in the beams. I did this but removed the nails after the glue dried to provide a smoother surface for the waterways. The pics are roughly in sequence building from the bottom of the hull upwards.

IMG_4500.jpegIMG_4501.jpegIMG_4502.jpegIMG_4513.jpegIMG_4523.jpegIMG_4526.jpegIMG_4553.jpegIMG_4555.jpegIMG_4558.jpegIMG_4562.jpegIMG_4564.jpegIMG_4568.jpegIMG_4569.jpegIMG_4570.jpeg
 
Last edited:
But we can see the progress ......
BTW: You can adjust your own posts whenever you want via the button "Edit" at the bottom of the post
 
Once the decking is complete on the top deck, the braces are removed from the backing board in order to allow installation of the outside planking. The assembly is still stuck to the backing board.

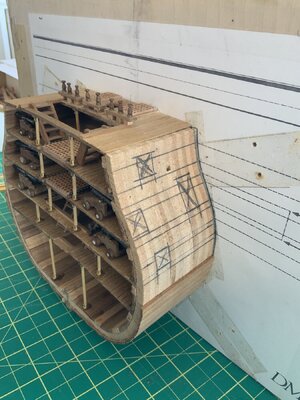
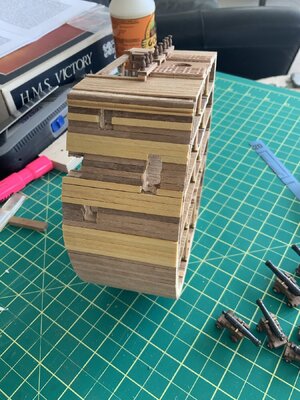
I used the template and plans that Corel provided to position the marking for the gun ports and doors. Since my positioning of the decks isn’t absolutely perfect, I decided to assemble the guns/trucks in order to dry fit them on the decks. I then adjusted the vertical positions of the gun port markings so that the guns could actually fit through the ports when I cut them out.
IMG_4590.jpegIMG_4591.jpegIMG_4592.jpeg
 
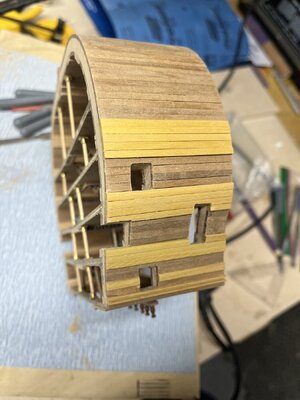
Exterior planking is completed, I had to make a few minor adjustments in order to make the spacing/pattern work out. Then the main structure was removed from the mounting board. I then stuck a full sheet of 220 grit sandpaper to the mounting board and sanded the front & back surfaces flush and smooth.
Then I began opening up the gun ports and doors with my Dremel tool using a 2mm bit and various grinders. I used small files to straighten up the openings. Still have some work to do on the ports/doors but it’s coming along.
IMG_4596.jpegIMG_1104.jpeg
IMG_4597.jpegIMG_1105.jpeg
 
That's a great start, and really nice to see someone else tacking that kit. I'm very much looking forward to following your build log as you progress though it.

That cross section was the third kit I ever built, and I did it at work at noon hours. It took me well over a year of those noon hours, and I had a wide bookshelf/filing cabinet that I could lay it flat in to protect it when I was done each day. People say the cross section isn't very realistic (which is indeed true, as I've been fortunate enough to get inside the real ship while visiting Portsmouth)... but for me it was a fun and challenging build that I'm proud of... as I know you will be as well when you're complete your build. In fact, I liked it so much, I purchased the Corel version of the full ship at the same scale, which is something I'm currently working on. For gits and shiggles, here's a photo of my version of the Corel 1:98 HMS Victory main mast cross section... as well as the main mast cross section of the USS Constitution. Sadly, spiders have taken a liking to the rigging and now man the guns below deck on both of them. :) I seriously need to get a ladder and deal with those spider webs... yikes... They're on a shelf to one side of my fireplace, and about 12' in the air. I had no idea it was as bad as it is till I zoomed in the photos I just took. egads!

Also, in case I've erred, if you prefer I not post the images in your build thread, just let me know and I'll gladly delete them.
20240522_183108[1].jpg 20240522_183117[1].jpg
 
That's a great start, and really nice to see someone else tacking that kit. I'm very much looking forward to following your build log as you progress though it.

That cross section was the third kit I ever built, and I did it at work at noon hours. It took me well over a year of those noon hours, and I had a wide bookshelf/filing cabinet that I could lay it flat in to protect it when I was done each day. People say the cross section isn't very realistic (which is indeed true, as I've been fortunate enough to get inside the real ship while visiting Portsmouth)... but for me it was a fun and challenging build that I'm proud of... as I know you will be as well when you're complete your build. In fact, I liked it so much, I purchased the Corel version of the full ship at the same scale, which is something I'm currently working on. For gits and shiggles, here's a photo of my version of the Corel 1:98 HMS Victory main mast cross section... as well as the main mast cross section of the USS Constitution. Sadly, spiders have taken a liking to the rigging and now man the guns below deck on both of them. :) I seriously need to get a ladder and deal with those spider webs... yikes... They're on a shelf to one side of my fireplace, and about 12' in the air. I had no idea it was as bad as it is till I zoomed in the photos I just took. egads!

Also, in case I've erred, if you prefer I not post the images in your build thread, just let me know and I'll gladly delete them.
View attachment 448926 View attachment 448932
Thanks for the encouragement SeaDeep, it is nice to see others tackle these cross sections. They’re a nice change from a full model project, a little less challenging but still providing a very pleasing result. I am mostly building the kit as Corel had intended it even with its deficiencies in accuracy, I’m okay with that. I do make slight changes as I go but mostly for the purposes of fit & finish. At some point I will build the Corel Victory too and the two pieces together will be a great way to showcase the Victory.

It’s finally warm enough here in Calgary for me to do some work in the garage (it was a long winter). I’ll take a break from the Victory Cross Section for a while so I can do some painting on a couple of RC boats I’m building for my grandson. The Billing Andrea Gail is almost complete, needs to be trimmed out and RC components tested, the Yorkshireman needs to have more superstructure built and then painting. So it may be a couple of months before I get back to posting in this log, but don’t give up on me.

PS Your images are very welcome here.
 
Thank you.

So what are the odds? I too am in Calgary, so what are the chances of that? I'd be complaining more about the rain, except I know it's helping the forest fire fighting efforts. And lots of summer projects to distract me from ship building as well.

I too built the cross sections pretty much exactly to the plans. I did that before I actually visited the Victory in person, so part of it was blissful ignorance. But even if I were doing it now, I'd still be following the plans as laid out by Corel. I think it makes a great display piece (the spiders love it), and in reality, 99.9% of the people who see it wouldn't know anything was off in how it's constructed. But I do need to get up there with a ladder and gently vacuum out the spiderwebs. on both those cross sections.

I've been building smaller kits at the same time I'm working on the full ship model from Corel (like yourself). I tried to give the effect of a copper plated hull and patina using paint when I did the cross section, but since I'm just about to tackle the second layer of planking on hull of the full ship, I just ordered some pre-formed copper plate strips from a supplier off AliExpress. I'll do some research to see what chemical concoction I can apply to them to get the copper developing a real patina after the plates have been installed. If you're interested in a link to the product, just let me know and I'll provide the URL to the product (there are a variety of sellers listing it on AliExpress).
 
Back
Top