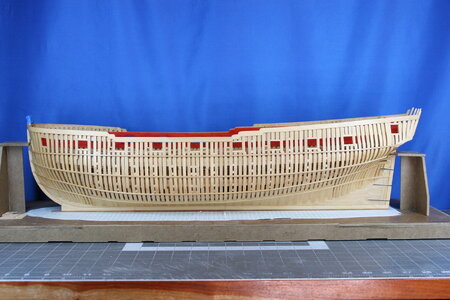
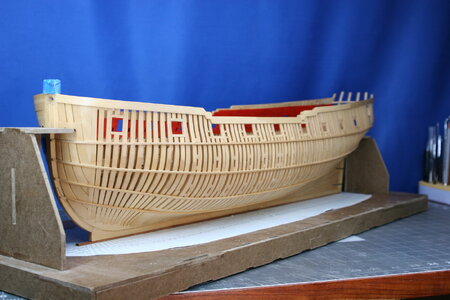
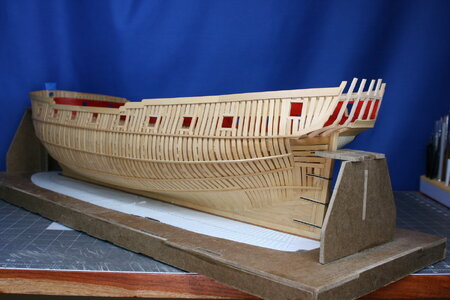
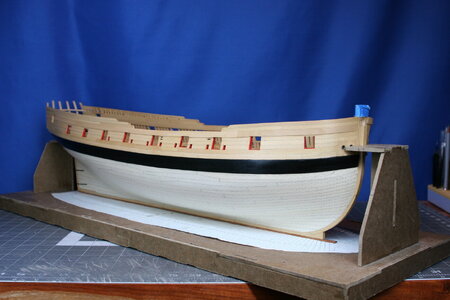
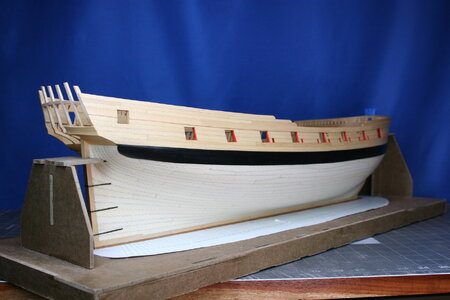
Thank you very much Shota!the upper deck framing looks beautiful, well done my friend
-

Win a Free Custom Engraved Brass Coin!!!
As a way to introduce our brass coins to the community, we will raffle off a free coin during the month of August. Follow link ABOVE for instructions for entering.
-

PRE-ORDER SHIPS IN SCALE TODAY!
The beloved Ships in Scale Magazine is back and charting a new course for 2026!
Discover new skills, new techniques, and new inspirations in every issue.
NOTE THAT OUR FIRST ISSUE WILL BE JAN/FEB 2026
You are using an out of date browser. It may not display this or other websites correctly.
You should upgrade or use an alternative browser.
You should upgrade or use an alternative browser.
Kingfisher 1770 1:48 POF [COMPLETED BUILD]
- Thread starter dockattner
- Start date
- Watchers 146
Maybe you have to cut your blog in two instead of your hullHi Geoff, I thank you very much for the compliment!


Yup. My build logs tend to run on and on. I get paid by the page...
I hope you enjoy the report - you will run across any number of similarities with your current project.
Congratulations again Paul. It must bring enormous satisfaction and joy to see your efforts yield such beauty. The tolerances on all your joints, of which there are too many to count, are remarkable. The symmetry is perfection as if done by a machine. This has got me wondering if you are real or perhaps an AI manifestation, it’s hard to tell these days.Hello friends!
After nearly a month of work (felt longer), the upper deck framing is just about complete:
View attachment 457344
Forward:
View attachment 457345
Midship:
View attachment 457346
Aft:
View attachment 457347
As you can see, I have only added ledges (the thin athwartships pieces) to the most starboard portion of the deck (a few odds and ends still need to be added here). I suspect I'll add more ledges near the center of the ship, but I am holding off for now.
I find myself in a constant battle between wanting to build a representative ship model while still allowing for sightlines into the lower levels (holster that Japanese saw, Johan).
A few detailed images:
View attachment 457350
The lodging knees change direction near the center of the ship, so the upper deck (like the lower deck) features a 'bi-level' knee:
View attachment 457348
And I do have hanging knees, but they are difficult to photograph (actually pretty easy to see on the model):
View attachment 457349
I have decided to add (not built yet) a sail room for the lower deck - and I still need to add the previously fabricated pillars for the upper deck beams - so everything is still loose fit. In fact, I have the deck in five sections as you can see below:
View attachment 457351
This has been a learning curve item. It is now nearly impossible to get these sections into place. The tolerances are razor thin, and the tumblehome of the hull is not my friend. I have puzzled out a way to get these sections in and out of the ship, but I know that once I get the walls/rooms placed on the lower deck it will no longer be possible to keep these sections intact as you see them here. It would seem this deck needed to be built in place (and glued in place) during fabrication which runs counter to my adopted 'best practices.' Or maybe not???
A parting shot of the hanging knees:
View attachment 457352
You are kind to stop by!
I long to be even half as good as you….one day.
Thanks for continuing to share your inspiring build.
Michael
- Joined
- Sep 3, 2021
- Messages
- 5,152
- Points
- 738

For quite some time now I highly suspect Paul to have 5-axis CNC equipment hidden in his men-cave .The tolerances on all your joints, of which there are too many to count, are remarkable. The symmetry is perfection as if done by a machine.
You are too kind Michael. I'm just a human with a #11 blade and a disc sander willing to spend a month on something that should take a long weekend. And even with that I needed to say 'good enough' about 100 timesCongratulations again Paul. It must bring enormous satisfaction and joy to see your efforts yield such beauty. The tolerances on all your joints, of which there are too many to count, are remarkable. The symmetry is perfection as if done by a machine. This has got me wondering if you are real or perhaps an AI manifestation, it’s hard to tell these days.
I long to be even half as good as you….one day.
Thanks for continuing to share your inspiring build.
Michael
 .
.It took me most of a day just to apply a finish to the bits that will soon be installed
Wow Paul, you did a remarkable job. I think the time it took you was absolutely good and I don't think it could have been done in a weekend. An absolute dream.
Thanks Tobias! I truly appreciate your encouraging words.Wow Paul, you did a remarkable job. I think the time it took you was absolutely good and I don't think it could have been done in a weekend. An absolute dream.
I think you have done very well, so far, to leave enough open space, with all the adjacent detail, so that one can actually see into the model. For me, this is always the trick and challenge of these fully-framed builds; if it can't be seen, at the end of the build, was it worth it just to "know it's there?"
Frankly, in my opinion, the answer would be no. Your efforts won't be wasted, Paul.
Frankly, in my opinion, the answer would be no. Your efforts won't be wasted, Paul.
Thanks very much Marc. One of the things I have learned is that a fully-framed model is a massive amount of work compared to an 'enclosed' ship model. The risk of not being able to see what I have invested so much in has pretty comprehensively changed the direction this build was going.I think you have done very well, so far, to leave enough open space, with all the adjacent detail, so that one can actually see into the model. For me, this is always the trick and challenge of these fully-framed builds; if it can't be seen, at the end of the build, was it worth it just to "know it's there?"
Frankly, in my opinion, the answer would be no. Your efforts won't be wasted, Paul.
Last edited:
I’ve learnt over the years if you blink twice on this site you can miss some incredible construction posts, especially yours Paul. It's always a pleasure to go back and study your excellent work and methods.
Good morning Paul…nope, I’m still with Michael re the AI manifestation.You are too kind Michael. I'm just a human with a #11 blade and a disc sander willing to spend a month on something that should take a long weekend. And even with that I needed to say 'good enough' about 100 times.
It took me most of a day just to apply a finish to the bits that will soon be installed...
I am truely happy to hear thisThe risk of not being able to see what I have invested so much in has pretty comprehensively changed the direction this build was going.
Cheers Grant
It was a bit of a struggle, but I did manage to install the lower deck structures along with the upper deck framing (sometimes in the reverse order if you can imagine that!). It wasn't elegant, nor free from some (mild) profanity  , but mission accomplished.
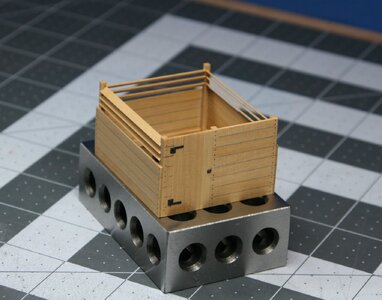
But first...the new sail room:
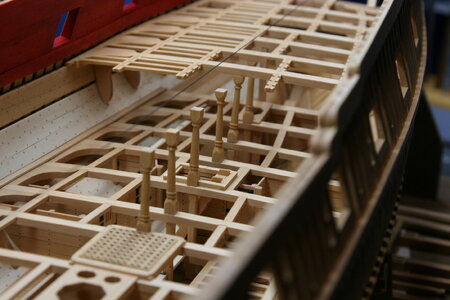
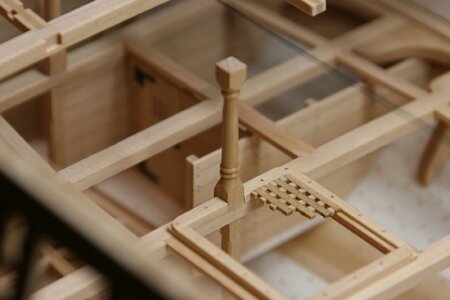
Installing the upper deck pillars:
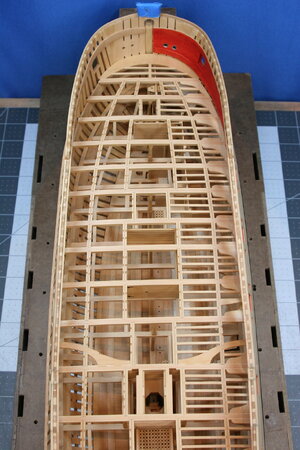
Upper deck forward:
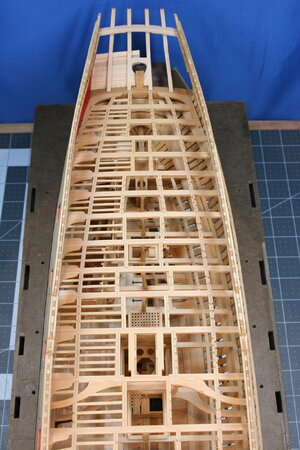
Upper deck aft:
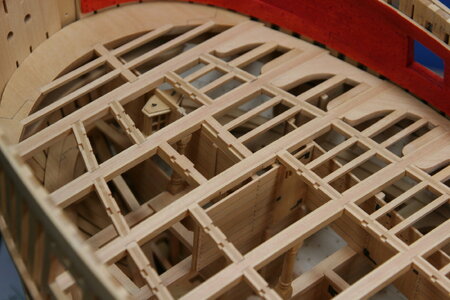
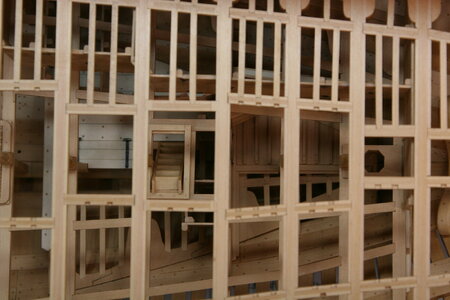
Finally, peaking through the deck to what lies below... Forward:
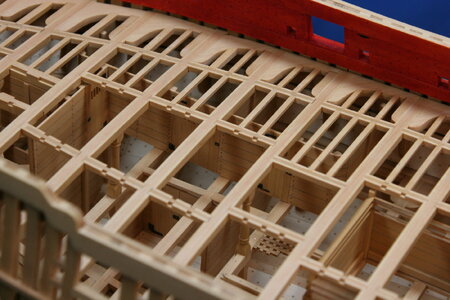
The new sail room:
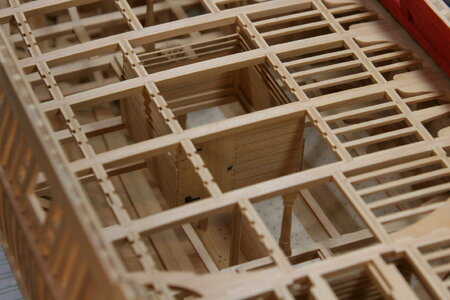
Midships (the pumphouse and shot locker):
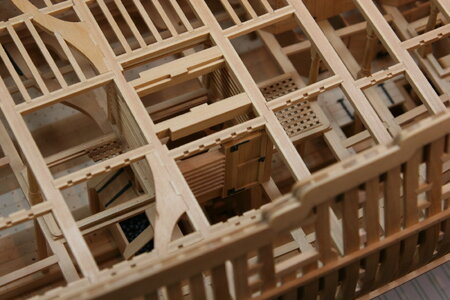
Aft structures:
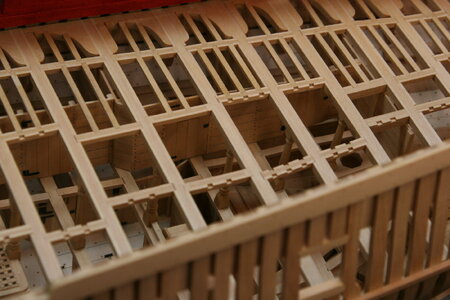
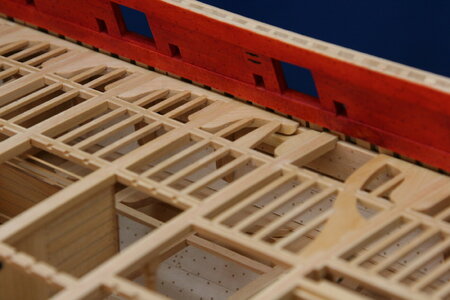
Hanging knees (and lodging knees):
Next up: upper deck waterways...
But first...the new sail room:

Installing the upper deck pillars:


Upper deck forward:

Upper deck aft:

Finally, peaking through the deck to what lies below... Forward:


The new sail room:

Midships (the pumphouse and shot locker):

Aft structures:


Hanging knees (and lodging knees):

Next up: upper deck waterways...
That’s looking GREAT, Paul. So much to see. I would love to see it in real.It was a bit of a struggle, but I did manage to install the lower deck structures along with the upper deck framing (sometimes in the reverse order if you can imagine that!). It wasn't elegant, nor free from some (mild) profanity, but mission accomplished.
But first...the new sail room:
View attachment 458319
Installing the upper deck pillars:
View attachment 458322
View attachment 458321
Upper deck forward:
View attachment 458324
Upper deck aft:
View attachment 458323
Finally, peaking through the deck to what lies below... Forward:
View attachment 458325
View attachment 458326
The new sail room:
View attachment 458327
Midships (the pumphouse and shot locker):
View attachment 458328
Aft structures:
View attachment 458329
View attachment 458330
Hanging knees (and lodging knees):
View attachment 458331
Next up: upper deck waterways...
Regards, Paul.
- Joined
- Aug 14, 2018
- Messages
- 820
- Points
- 403

Just about the best wooden model I have ever seen Paul. Jack
Absolutely Outstanding. Incredible what you have accomplished.
Jan
Jan
Paul, you can be proud, it looks fantastic, great work.
Absolutely fantastic build log and even better model that would grace and improve any museum!! I LOVE the sail room louvers to help dry out the sailcloth and that "hanging" hatch cover!
The open deck really allows one to see the incredible detail and skill of your lower deck structures. You will need to carefully decide how much decking you place, so those details remain visible...tough decisions ahead.
Glad the eye has had NO impact on the results of your build!!! I hope the retina is recovering and the eyesight is slowly restoring itself!!!
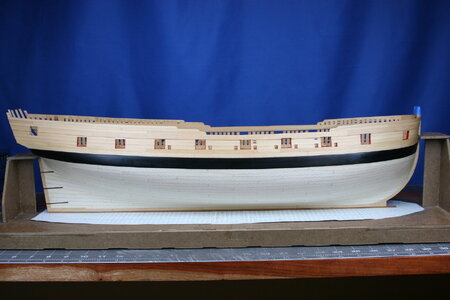
Gorgeous model. Is the lower planking done with holly?
I have made top and butt planking for the wales but not below. After seeing yours I will be looking to do this in the future. Peter Goodwin gives a description of this in The Construction and Fitting of the English Man of War that is a bit helpful but if you have other sources with information on this that you can share that would be fantastic.
Many thanks Paul
Allan


