Kingfisher 1770 1:48 POF

Paul, again you continue to deliver the most engaging and beautiful work to behold.

I too have a MF70 mill. Can I ask how you immobilize the work piece when doing the profiling, and how did you do the rounded profiles on the ends and round the end so perfectly symmetrical to the eye? Was the wood boxwood? Is this whole kit boxwood?
How did you achieve the camber on a thin workpiece rail that already had weakness imparted with holes in it without breaking it?

Thanks Paul
Michael
Thanks for the nice comments, Michael.

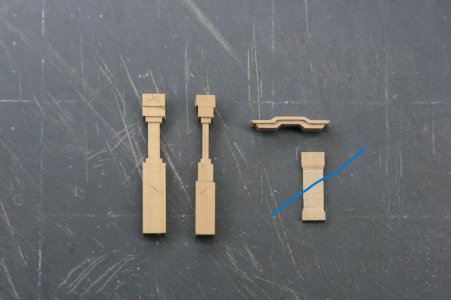
Q1: When doing the profiling the workpiece is slid along the wood base using the block opposite the milling head as a guide. Be certain to move the piece INTO the direction of the rotating mill head. I have seen this same set-up using a broken off drill bit instead of the block. I made one of those also, but this jig was already on the mill.

Q2: the rounded ends are just done by hand (sanding disc and then an xacto knife to cut the profile on the rounded end).

Q3: The breastwork is made from boxwood (well, a non-European pretend boxwood). And yes, the kit is 95% boxwood, but this breastwork is not from the kit. Apart from the large centerline timbers and frames (which I used) you could build a nice Kingfisher model from the leftovers of my kit.

Q4: Achieving the camber...well, the flippant answer is you break the rail the first time you try to do it, and then you make this bending jig for the second attempt:

1731855661090.jpeg

The prepared rail was steamed (or soaked) and then clamped in this jig overnight. It's not as smooth a camber as I envisioned but it will have to do.
 
Good afternoon Paul. I am always intrigued by the relativity with our friends on this site. Firstly Peter @Peter Voogt says “neat” and in reply you express your “next model will be better”…… On Grants relativity scale Peters “neat”is perfect and you doing better is like improving Michelangelo’s Sistine chapel. I’m with Roger @RogerD your railings are Wow. Cheers Grant
I did notice some brushstroke foibles during a visit to the Vatican several years ago. But the man was working on his back in candlelight so he did the best he could... ROTF It's all relative ROTF...
 
Beware of adulation, it can be a dangerous thing. ;)
ROTFROTFROTF Thanks for the cautionary note - but the danger for me is way over there on the distant horizon. I can assure you and others that I only see the flaws in my own work (check out the irregular profile on the end of the upper rail) and places to improve. The nice posts provide some leveling and allows me to continue.
 
Paul, i had to do some catching-up, ( about a month) and it took me quite some time, meanwhile i am thinking how on earth can i try to replicate some of this work???
the answer is: i have not got the faintest idea, but it is marvelous as always.

As some people here say: WOW,........... i totally agree with them
Hi Peter. Yes, I see you had to go back quite a way. Glad to see you've caught up! And thank you for your nice post!
 
Thank you for your nice comments, Sergey! Working in wood is the aspect of the hobby I like most. I have little doubt that my work could be surpassed with digital modeling and printing (especially now that the printers are getting so good) but that's just not where my interests lie.

It is nice this hobby affords different people the freedom to come up with their own solutions and follow their own path.

Thanks for the tip on the breech lines - I happened to get them right :). The stylistic draping of the line under the rear axle makes them look shorter than they are.
No CNC could replace your work. I'm amazed with every new element you produce
 
Well, I'm embarrassed to say that I forgot I have a build log and started making things without taking pictures.

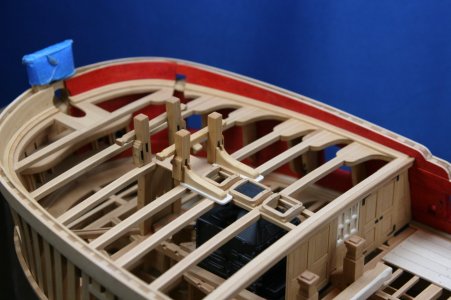
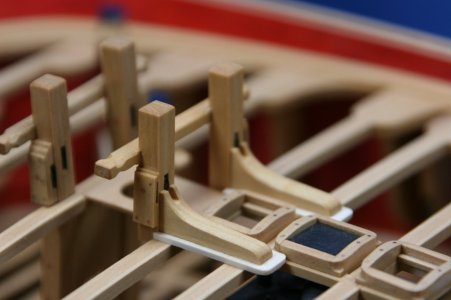
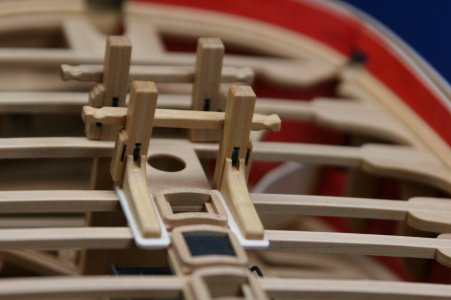
Here is a completed fore jeer bit installed on the model:

IMG_0180.JPG

IMG_0179.JPG

IMG_0177.JPG

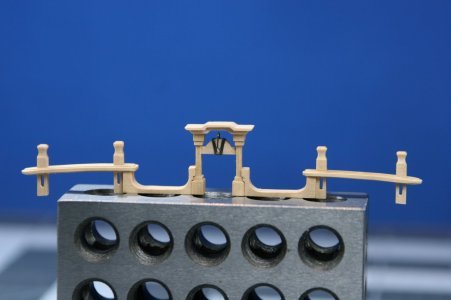
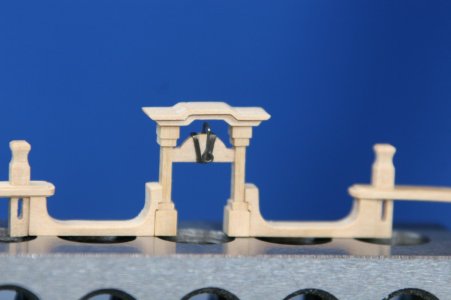
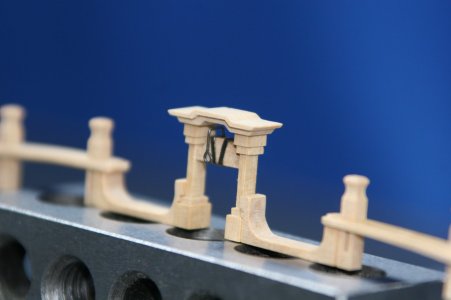
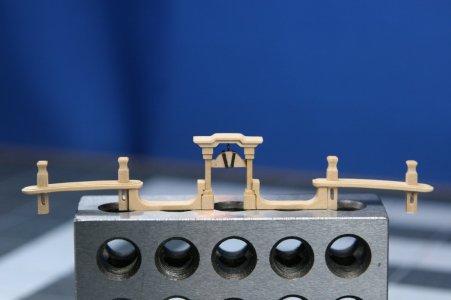
And below you will see the forecastle breastwork and belfry nearing the end of construction. I need to source a tiny bell and some tiny sheaves before this part is done (still needs a finish applied).

I used my mill to create the posts for the belfry (the slashed-out bit is from the kit). The 'roof' of the belfry is made from kit parts - a clever design by Mr. Hunt that I did not think I could improve upon.

IMG_0162.JPG

One side:

IMG_0181.JPG

IMG_0182.JPG

IMG_0184.JPG

Other side:

IMG_0185.JPG

Once I wrap up this forecastle breastwork that will bring the build-out of the forecastle deck and quarterdeck to a close (well, a ladder and scuttle covers will be added). Next, we're going overboard as attention turns to the exterior hull...

Thanks for stopping by!
 
Well, I'm embarrassed to say that I forgot I have a build log and started making things without taking pictures.

Here is a completed fore jeer bit installed on the model:

View attachment 485631

View attachment 485630

View attachment 485629

And below you will see the forecastle breastwork and belfry nearing the end of construction. I need to source a tiny bell and some tiny sheaves before this part is done (still needs a finish applied).

I used my mill to create the posts for the belfry (the slashed-out bit is from the kit). The 'roof' of the belfry is made from kit parts - a clever design by Mr. Hunt that I did not think I could improve upon.

View attachment 485633

One side:

View attachment 485634

View attachment 485635

View attachment 485636

Other side:

View attachment 485637

Once I wrap up this forecastle breastwork that will bring the build-out of the forecastle deck and quarterdeck to a close (well, a ladder and scuttle covers will be added). Next, we're going overboard as attention turns to the exterior hull...

Thanks for stopping by!
Good afternoon Paul. Exquisite work and joinery. I love the joins from the railing onto the posts of the belfry. Lovely details. Cheers Grant
 
Back
Top