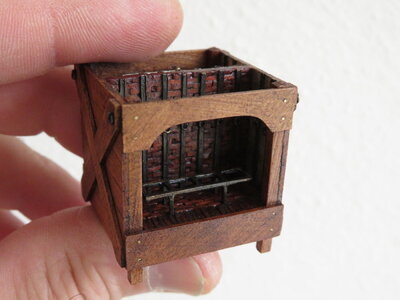
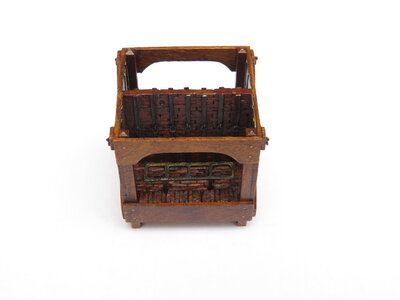
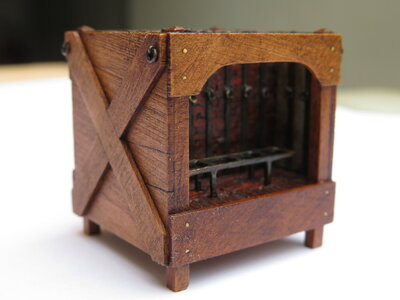
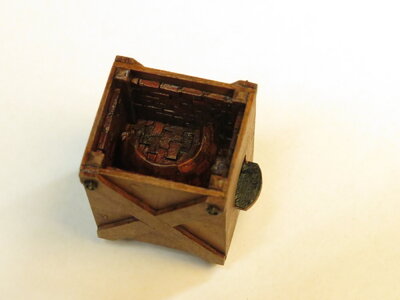
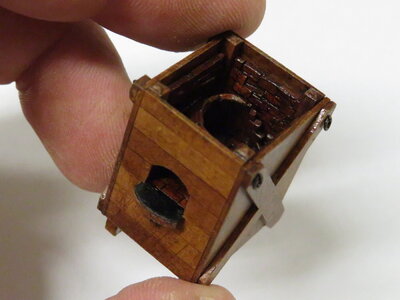
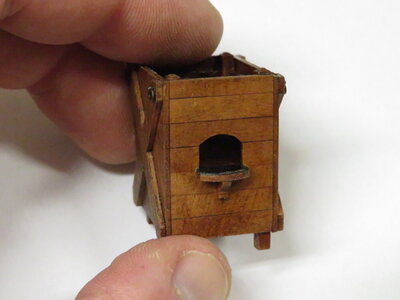
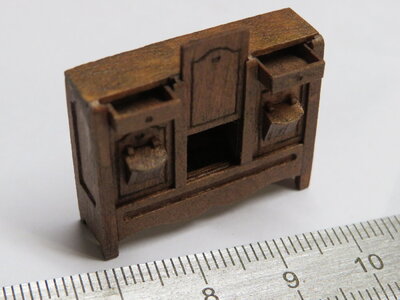
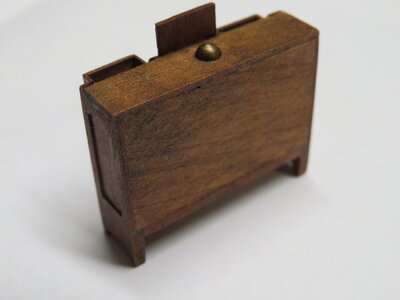
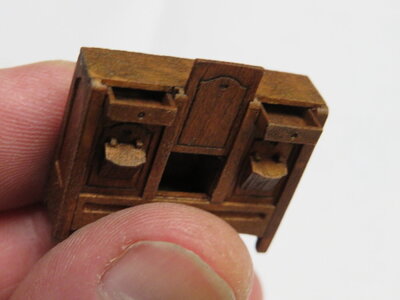
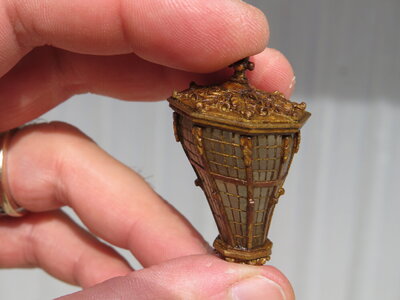
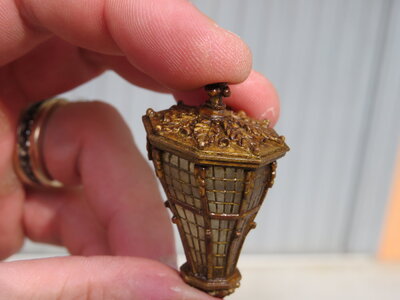
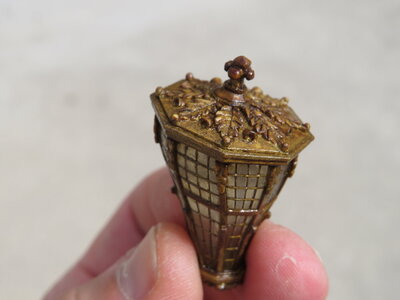
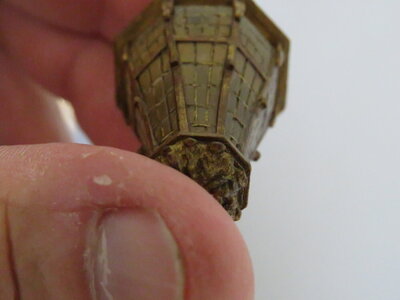
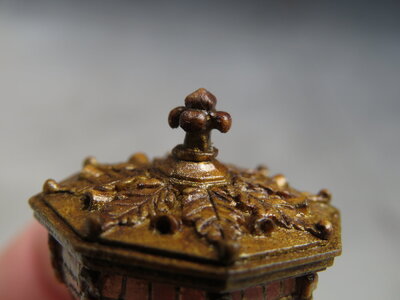
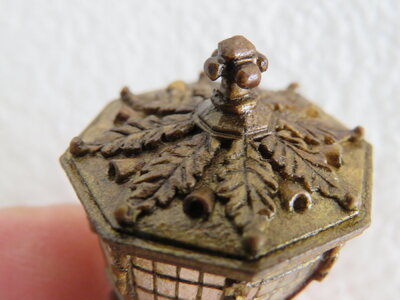
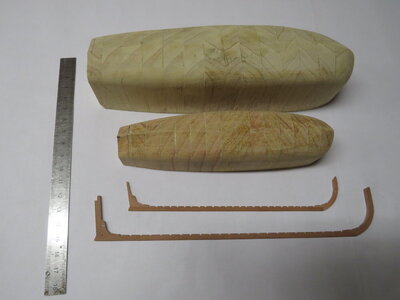
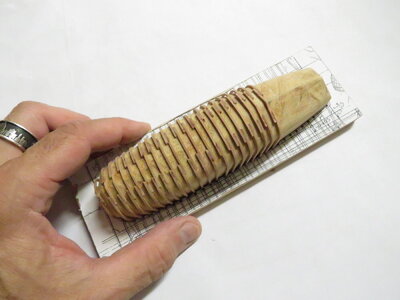
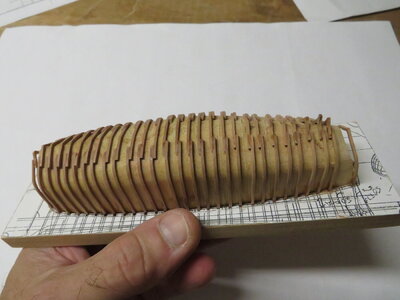
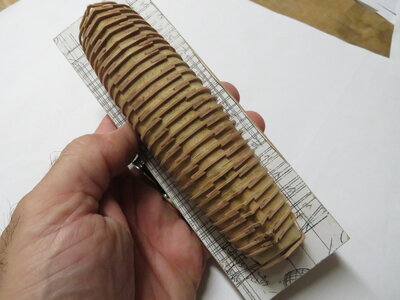
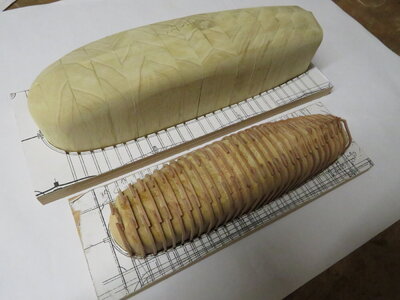
OMG. The detail!
-

Win a Free Custom Engraved Brass Coin!!!
As a way to introduce our brass coins to the community, we will raffle off a free coin during the month of August. Follow link ABOVE for instructions for entering.
-

PRE-ORDER SHIPS IN SCALE TODAY!
The beloved Ships in Scale Magazine is back and charting a new course for 2026!
Discover new skills, new techniques, and new inspirations in every issue.
NOTE THAT OUR FIRST ISSUE WILL BE JAN/FEB 2026
You are using an out of date browser. It may not display this or other websites correctly.
You should upgrade or use an alternative browser.
You should upgrade or use an alternative browser.
LA NEREIDE scala 1/48 [COMPLETED BUILD]
- Thread starter MICHELE PADOAN
- Start date
- Watchers 53
This absolutely STUNNING!
But will it float? : D
But will it float? : D
- Joined
- Sep 28, 2018
- Messages
- 250
- Points
- 373

Trattamento finale con gommalacca.Do you use a clear varnish?
Wow! Simply stunning !Ciao a tutti, procedo con l'elaborazione ed il collaudo dei disegni della Nereide, nuova prossima monografia Ancre. Ho fissato i corsi delle cinta (incollati ma non ancora inchiodati). I corsi inferiori sono formati da 5/6 tavole a sezione trapezoidale collegati con incastro a palella. Le cinta superiori da 3/4 pezzi. Sono state aperte le cannoniere, messe tutte le soprasoglie e le soglie basse delle cannoniere. Quest'ultime nei suoi disegni, il signor Lemineur le rappresenta larghe tali da coprire la larghezza del fasciame, quella delle coste tagliate dalla cannoniera ed del serrettame interno. Ho incollato anche i listoni modanati ed ho pareggiato gli scalmi. Internamente e solo sul lato di dritta, ho inchiodato il serrettame della stiva. In quel periodo si usava il sistema obliquo. Dal pagliolato fino alla testa dei madieri, il fondo era rivestito in maniera tradizionale con serrette lineari, lo stesso con serrettoni sotto il dormiente del primo ponte. Tra queste fila di serrette venivano poi inseriti, mediante appositi incastri, i corsi obliqui.
Ho fissato tutte le porche, manca solo il secondo scalmo che per ora mi è impossibile montare. Ora lo scafo è bello solido e pronto per gli allestimenti interni, quidi ho terminato la compartimentazione. Ho fatto in modo che tutti i depositi rimangano in vista in modo da vedere ogni minimo dettaglio. Tutti i particolari sono eseguiti secondo il mio stile, tutto è pensato secondo una logica in modo da dare un impatto visivo piacevole. Ho trattato tutta la stiva e lo scafo esternamente con gommalacca, bitume di giudea e cera, poi ho dato una finitura opacizzante. E' stato un lavoraccio arrivare fino ai dettagli più interni e nascosti, ma credo che ne sia valsa la pena. Ormai è in mio terzo modello che creo con questo aspetto vissuto. Procederò in questo modo anche con tutto il resto, con la sola eccezione che le sculture le tratterò, come avevo detto all'inizio, con una patina dorata per poi antichizzarla in stile con lo scafo.
Hi everyone, I am proceeding with the elaboration and testing of the drawings of the Nereid, new upcoming Ancre monograph. I fixed the courses of the belt (glued but not yet nailed). The lower courses are formed by 5/6 boards with trapezoidal section connected with interlocking paddle. The upper courses are made of 3/4 pieces. The gunports have been opened, put all the supersills and the low thresholds of the gunports. In his drawings, M. Lemineur represents the latter as being wide enough to cover the width of the planking, the width of the ribs cut from the gunwales and the width of the inner lock. I have also glued the molded planks and I have evened out the scales. Internally, and only on the starboard side, I nailed the serrettame of the hold. At that time the oblique system was used. From the dunnage to the head of the sidemasters, the bottom was lined in the traditional way with linear serrets, the same with serrets under the sleeper of the first deck. Between these rows of serrets the oblique courses were then inserted by means of special joints.
I've fixed all the hinges, the only thing missing is the second rowlock, which for now is impossible for me to assemble. Now the hull is nice and solid and ready for interior fittings, so I finished the compartmentalization. I made sure that all deposits remain in view so you can see every detail. All the details are executed according to my style, everything is thought according to a logic in order to give a pleasant visual impact. I treated all the hold and the hull externally with shellac, bitumen of Judea and wax, then I gave a matte finish. It was a lot of work to get to the innermost details and hidden, but I think it was worth it. It is now my third model that I create with this lived-in look. I will proceed in this way with everything else, with the exception that the sculptures will be treated, as I said at the beginning, with a gold patina and then antiqued in style with the hull.
Translated with www.DeepL.com/Translator (free version)
View attachment 304754View attachment 304756View attachment 304757View attachment 304758View attachment 304759View attachment 304760View attachment 304761View attachment 304763View attachment 304765View attachment 304766View attachment 304767View attachment 304768View attachment 304769View attachment 304770View attachment 304771View attachment 304772View attachment 304773
Hi michele,
A question about the proces of the use of the bitumen, wax and shellack.
Is the proces first to use the bitumen, then the wax and as last the shellack??
I love the look of it, really stunning.
Una domanda sul procedimento di impiego del bitume, della cera e della gommalacca.
Il procedimento consiste nell'usare prima il bitume, poi la cera e per ultima la gommalacca??
Adoro il suo aspetto, davvero sbalorditivo.
- Joined
- Sep 28, 2018
- Messages
- 250
- Points
- 373

Innanzitutto come prima cosa va data una mano leggera di gommalacca che farà da isolante tra legno e bitume. Si proprio così perchè il bitume dato direttamente sul legno, lo annerisce brutalmente. Una volta asciutta la gommalacca si procede col secondo passaggio di bitume diluito nella cera. Bisogna ottenere una consistenza tale che ti possa permettere di lavorare e che non asciughi troppo rapidamente. La cera va stesa e poi tolta quella in eccesso avendo cura di entrare nei piccoli dettagli. Io uso pennelli soffici e piccoli batuffoli per poter entrate dove che con un semplice tampone è impossibile. Non è semplice, certamente ci vogliono prima delle prove come ho fatto io, e solo dopo vari tentativi, potete decidere come agire. Dovrete limitarvi ad un solo passaggio, perchè anche una seconda mano, sia pur leggera di bitume, scurirà non poco il legno.Hi michele,
A question about the proces of the use of the bitumen, wax and shellack.
Is the proces first to use the bitumen, then the wax and as last the shellack??
I love the look of it, really stunning.
Una domanda sul procedimento di impiego del bitume, della cera e della gommalacca.
Il procedimento consiste nell'usare prima il bitume, poi la cera e per ultima la gommalacca??
Adoro il suo aspetto, davvero sbalorditivo.
expand ... First of all, a light coat of shellac must be given, which will act as an insulator between wood and bitumen. Yes, just like that because the bitumen given directly to the wood brutally blackens it. Once the shellac is dry, proceed with the second passage of bitumen diluted in the wax. You need to get a consistency that can allow you to work and does not dry too quickly. The wax should be spread and then removed the excess, taking care to go into the small details. I use soft brushes and small wads to be able to enter where that with a simple swab is impossible. It is not easy, certainly it takes tests first as I did, and only after several attempts, you can decide how to act. You will have to limit yourself to a single step, because even a second coat, albeit light of bitumen, will darken the wood considerably.
Last edited by a moderator:
Thx Michele, very helpfull.
What kind of wax do you use, just plain beewax?
Grazie Michele, molto disponibile.
Che tipo di cera usi, solo cera d'api?
What kind of wax do you use, just plain beewax?
Grazie Michele, molto disponibile.
Che tipo di cera usi, solo cera d'api?
- Joined
- Sep 28, 2018
- Messages
- 250
- Points
- 373

Cera d'api in pasta.Grazie Michele, molto disponibile.
Che tipo di cera usi, solo semplice cera d'api?
Grazie Michele, molto disponibile.
Che tipo di cera usi, solo cera d'api?
Thx, I will test it for my next build. It is exactly the look I want to have.
Grazie, lo proverò per la mia prossima build. È esattamente l'aspetto che voglio avere.
Grazie, lo proverò per la mia prossima build. È esattamente l'aspetto che voglio avere.
- Joined
- Sep 28, 2018
- Messages
- 250
- Points
- 373

- Joined
- Apr 20, 2020
- Messages
- 6,228
- Points
- 738

Caro MichelBuongiorno, piccoli progressi. Ho fatto la cucina, il forno del pane, la chiesuola ed il fanale di poppa.
View attachment 323278View attachment 323279View attachment 323280View attachment 323281View attachment 323282View attachment 323283View attachment 323284View attachment 323285View attachment 323288View attachment 323289View attachment 323290View attachment 323291View attachment 323292View attachment 323293View attachment 323294
Le diverse parti della cucina hanno un bell'aspetto, fai un lavoro particolarmente impressionante. Apprezzerei se potessi spiegare i processi di costruzione delle varie parti insieme a delle immagini, se possibile, così possiamo imparare da te. Grazie e molto apprezzato shota

Dear Michel The different parts of the kitchen look great, you do a particularly impressive job. I would appreciate it if you could explain the construction processes of the various parts along with pictures if possible, so we can learn from you.
Thanks and with appreciation, shota
Yes - perfect work -> BRAVO!
- Joined
- Sep 28, 2018
- Messages
- 250
- Points
- 373

Caro Michel
Le diverse parti della cucina hanno un bell'aspetto, fai un lavoro particolarmente impressionante. Apprezzerei se potessi spiegare i processi di costruzione delle varie parti insieme a delle immagini, se possibile, così possiamo imparare da te. Grazie e molto apprezzato shotaBene
Caro Michel, le diverse parti della cucina hanno un bell'aspetto, fai un lavoro particolarmente impressionante. Apprezzerei se potessi spiegare i processi di costruzione delle varie parti insieme a delle immagini, se possibile, così possiamo imparare da te.
Grazie e con apprezzamento, shota
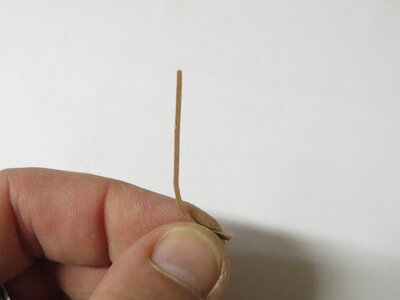
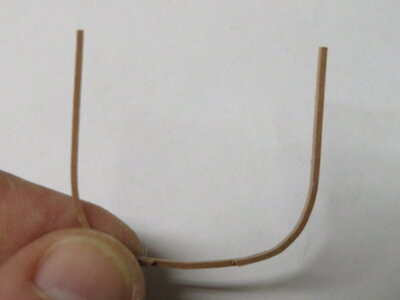
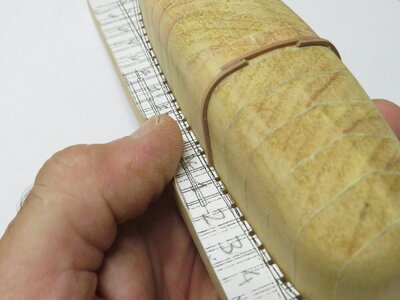
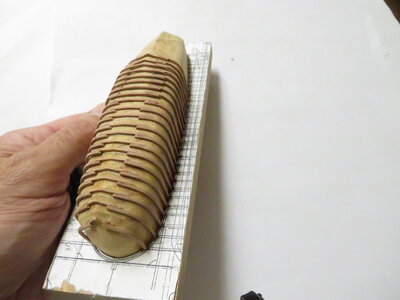
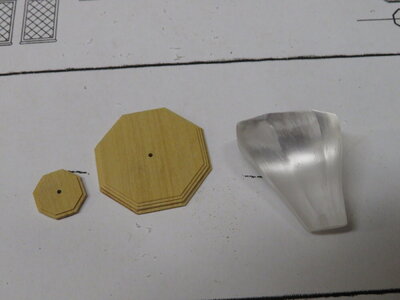
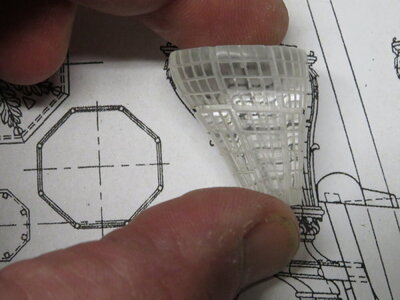
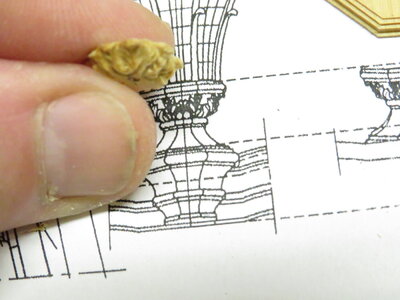
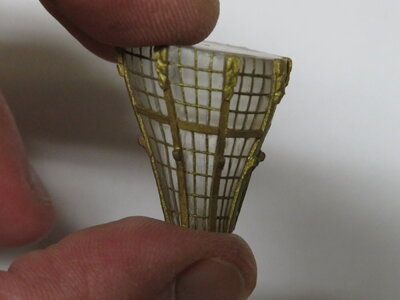
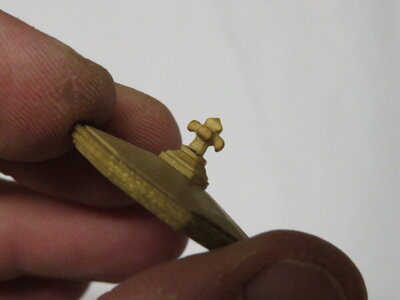
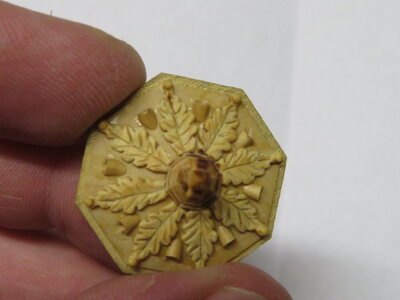
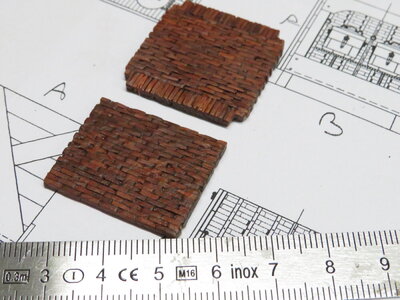
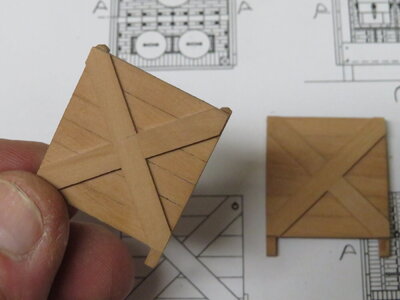
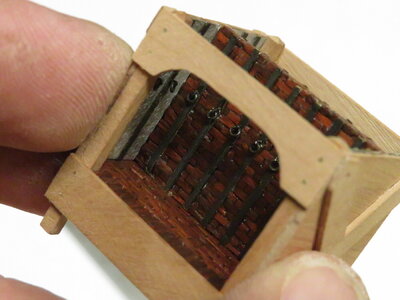
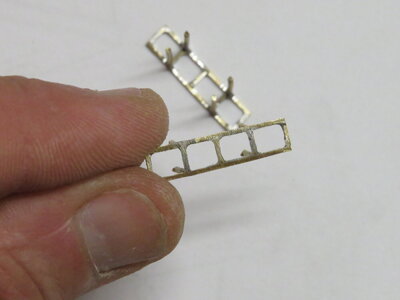
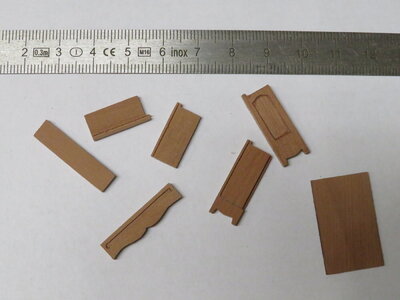
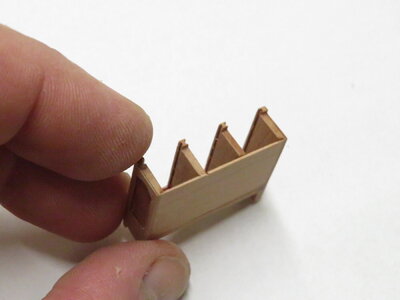
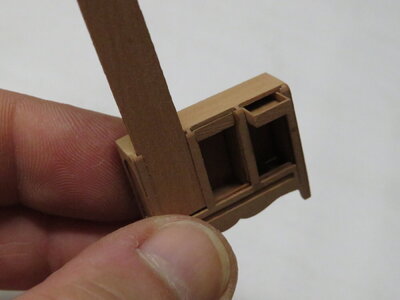
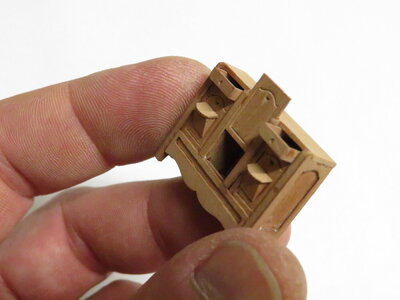
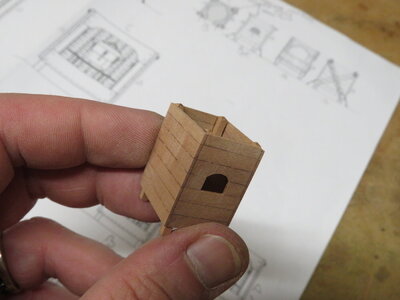
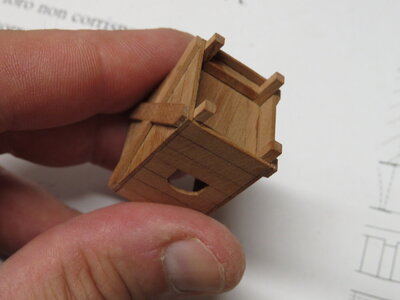
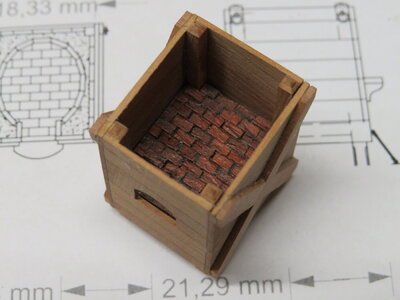
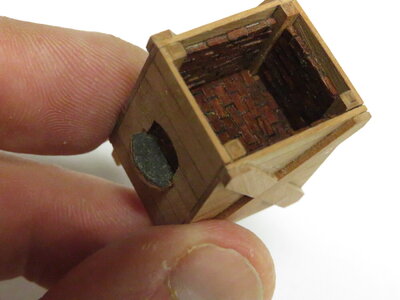
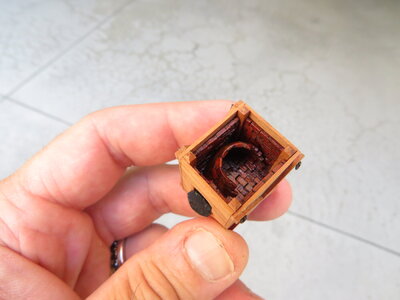
Ciao, volentieri. Metto alcuni dei passaggi. Inizio col fanale che è tutto in legno come nella realtà e con la parte centrale in plexiglass per simulare le vetrate.
- Joined
- Apr 20, 2020
- Messages
- 6,228
- Points
- 738

Caro Michel
Grazie mille per la spiegazione che accompagna le foto, insegnano il processo creativo e sottolineano persino la qualità del tuo lavoro.
Bravo amico

Dear Michel Thank you very much for the explanation that accompanies the photos, they do teach about the creative process and even highlight the quality of your work. Well done friend
Grazie mille per la spiegazione che accompagna le foto, insegnano il processo creativo e sottolineano persino la qualità del tuo lavoro.
Bravo amico

Dear Michel Thank you very much for the explanation that accompanies the photos, they do teach about the creative process and even highlight the quality of your work. Well done friend
Michael, I always find your work impressive, just perfect.
Precise work, Michelle! Your work is immensely inspirational to all of us! Many thanks for sharing with us!
- Joined
- Sep 28, 2018
- Messages
- 250
- Points
- 373

Hi Michele,
Your work keeps amazing me. If I see your work on the cabinets I am still convinced you have an army of small elves in your workshop enabling you to do this.
Just fantastic and very inspiring.
The construction of the latern is one I will store in my memory for later use.
Your work keeps amazing me. If I see your work on the cabinets I am still convinced you have an army of small elves in your workshop enabling you to do this.
Just fantastic and very inspiring.
The construction of the latern is one I will store in my memory for later use.


