- Joined
- Jun 23, 2019
- Messages
- 89
- Points
- 103

Bon Soir, Shipmates.
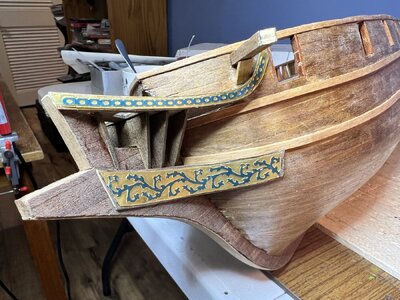
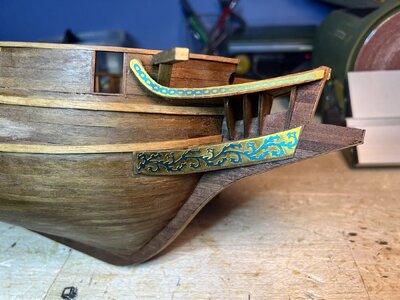
I have recently begun to build a new model from an old kit (circa 1990 kit).
I've already got dozens of hours into this model, and I tried to talk about the experience so far with my friends and family, but when their eyes glazed over, I realized I was in the wrong location.
This is an older kit, one that I bought among many at an estate sale. It is a Mantua kit.
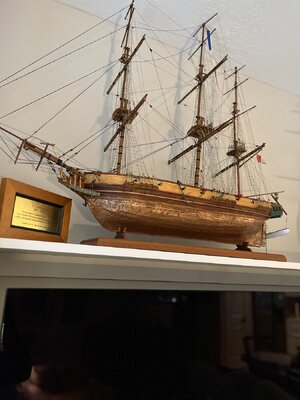
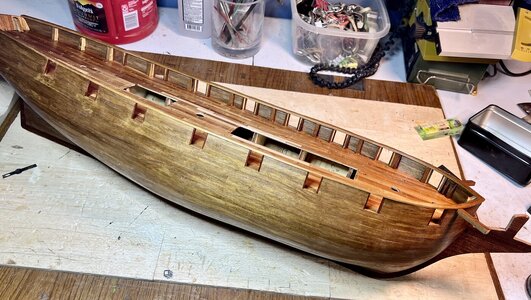
I'll post a few pictures of what I've done so far; but I must admit that I thought I was an experienced shipbuilder now, since I've completed two ships (The 1847 Harvey and the Cutty Sark).
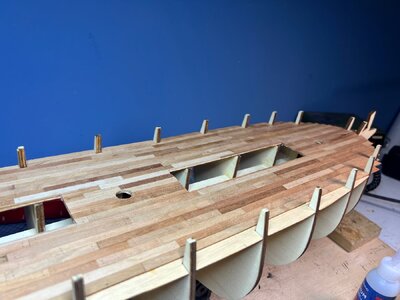
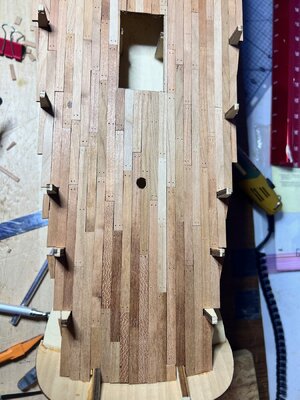
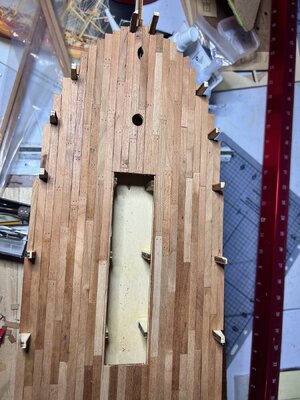
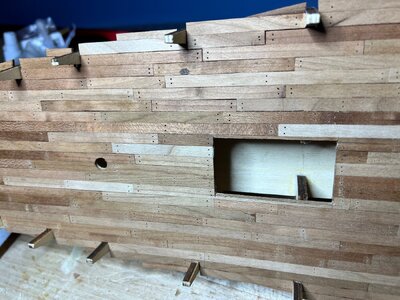
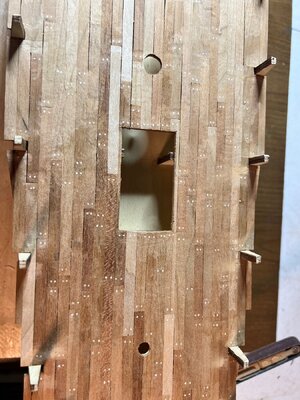
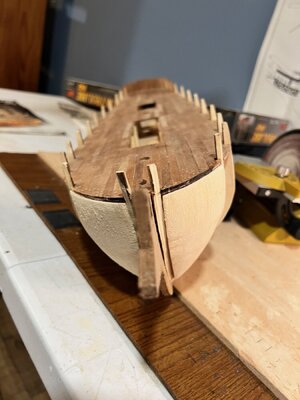
So I began this kit with an unreasonable amount of hubris I suppose. The project began innocuously enough; I glued the ribs to the keel, the deck and so on. Then I got to the part where the instructions said "Use a soft pencil to draw in the details on the deck as shown in the pictures." No. Are you kidding? No deck planking in this kit? The box image sure seems to show one. So, I found some cherry wood strips and made a real deck with real planks.
Now, here's where the hubris starts to creep in. I've been watching some videos on youtube of a model ship builder named Olha Batchvarov. She uses toothpicks to simulate tree nails on the decking on one of her models and I thought that was a good idea, if I'm going for something like authenticity. I did that; it turned out fine, but it took over 1000 holes drilled, sharpened toothpicks inserted, cut off and smoothed to finish the deck. No problem. It only took a week of approximately 4-6 hours per day.
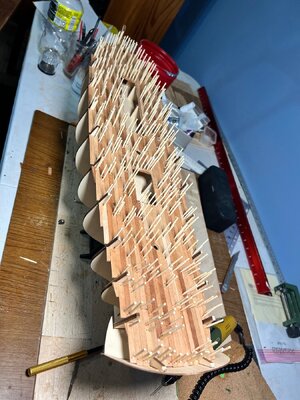
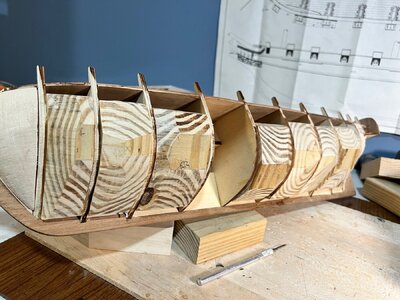
She also, on one of the videos I watched, on a particular ship she had filled all the spaces between the "ribs" with solid wood filler, which I supposed, was to make the hull planking easier. And since this kit called for only a single layer of hull planking, which I'd struggled with before, due to the absence of something to attach to underneath, I decided to follow her procedure. That's where the regrets began.
I don't know about the rest of the world, but here in the USA, balsa wood in proper-sized blocks is almost impossible to obtain, and unreasonably expensive. The alternative, basswood, is also expensive and similarly, hard to obtain in blocks large enough to fill the spaces between the ribs.
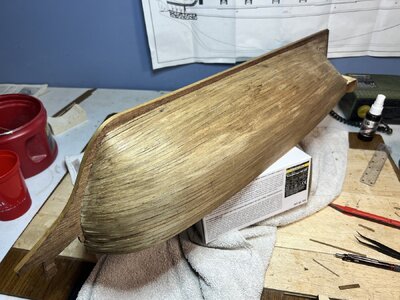
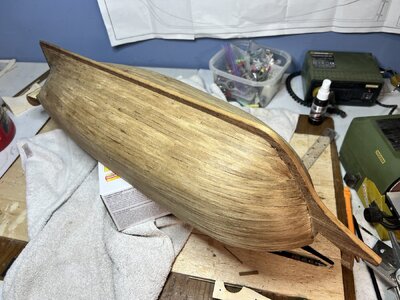
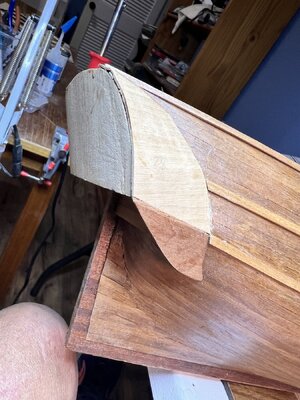
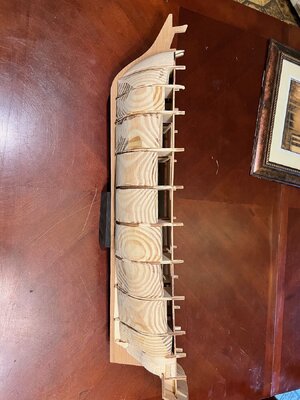
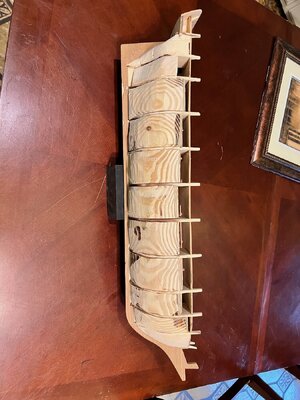
So, I used what I had on hand: typical no. 2 pine 2x4s cut into pieces to fill each gap, and then, using a scroll saw or band saw, cut each to roughly the shape of the curves of the hull, leaving a generous overhang for shaping and sanding to match the ribs.
That was the big mistake. I've now spent an unreasonable amount of hours using a belt sander, orbital sander, an angle grinder, and a tiny portable belt sander to shape the filler wood to the proper shape of the hull. I should have just single-planked the boat carefully, probably saving many hours of what I've already spent. And I still have hours to go to shape the fillers.
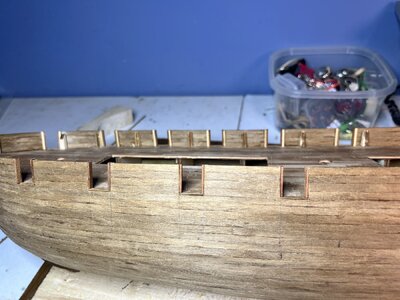
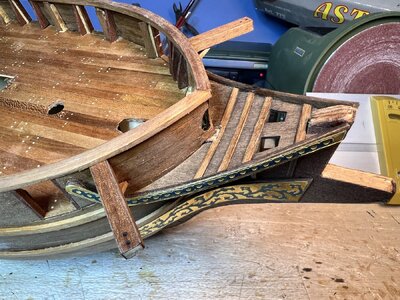
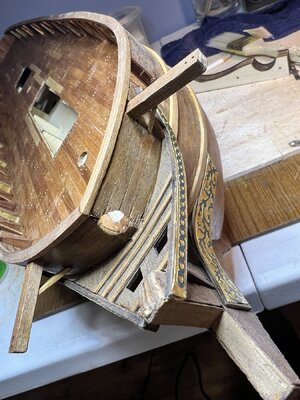
Another catastrophe occurred due to the weight of all those gap fillers: I dropped the boat while walking it back from the belt sander location, and cracked the keel at the bowsprit, and several of the supports for the deck railing. All will have to be repaired, as well as a couple of gouges I made on the keel planking due to the belt sander wandering too close.
So, lesson learned: Don't try kit-bashing unless you know you've got the proper equipment, tools and knowledge to carry it out without undue trouble and grief.


