Leudo - Falkonet 1:48

Joined
May 15, 2020
Messages
91
Points
103

Location
Calgary, Canada
After seing a Leudo build log by @Heinrich I got really excited about building this model too. It looked like a rather straightforward and fun project and I have never built a Falkonet kit before. So once my Tender Avos was finished (I still have to do the final post to my build log!) I started building Leudo right away.

I have seen a guy building Leudo with an open hatch on one of Russian forum and decided to try and make one hatch open with some oversized barrels inside.. His idea was to remove a section of the center keel and three bulkheads in the front

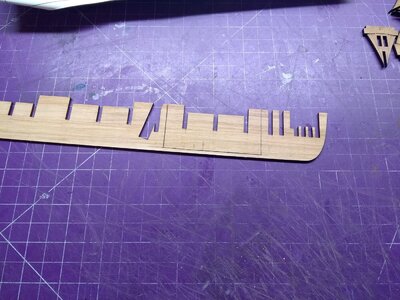
The first step was to prepare the center keel for this modification. I used jeweler's jigsaw and cut out an area under the fore hatch:
1.jpg

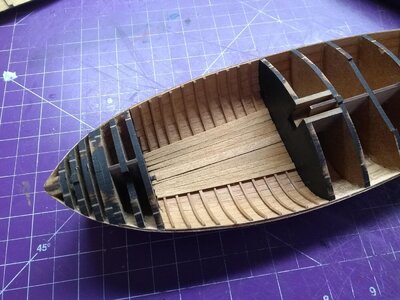
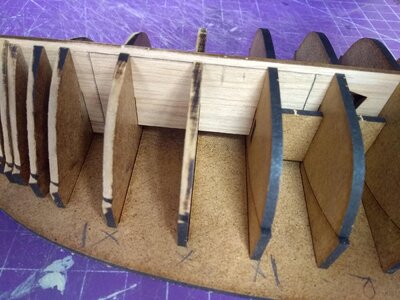
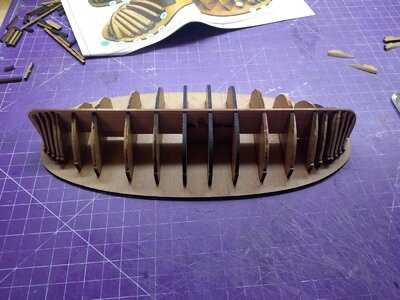
Once that piece was cut out, I reattached it to the center keel using a couple of brass pins and assembled all the bulkheads paying attention to the ones that will be removed, they are marked with "X" in the next photo. The first layer of planks will not be glued to these bulkheads.
2.jpg

3.jpg

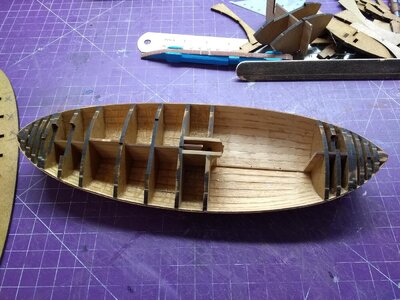
The first layer of planking went super easy! I was really impressed with how everything fitted together in this kit so far. After that I removed the part of the center keel:
4.jpg

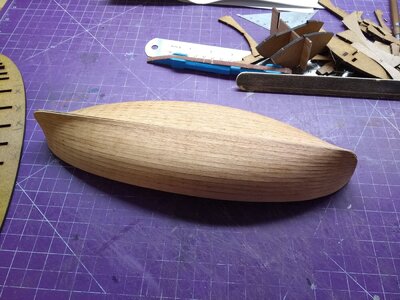
And the final layer of planking. Again, everything was super easy here. The whole step took me a couple of hours with an iron. The garboard plank is oversized, so you need to start from the top and make your way down to the keel and then trim the garboard strake:
5.jpg
 
Hi Egor.

Lovely planking as usual. You mention a few interesting points here.

1. First (if that is the final planking) I see that you have used the standard Anegre wood - not the Pear option. This will be interesting as I have only seen the Pear wood options so far.
2. Yes - that modification where a portion of the centre keel is cut away, was also posted on modellismo.it
3. You mention that you start from the top and work towards the garboard strake, This does indeed make more sense than my method of starting at the garboard strake first.

It is a lovely little kit, but after being used to the Kolderstok Batavia, just seems somewhat "fragile" (during the construction process). However,I would imagine that once you are used to the Russian kits, it's fine.
 
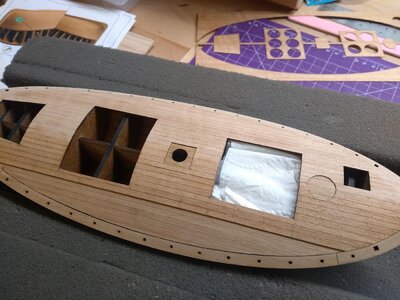
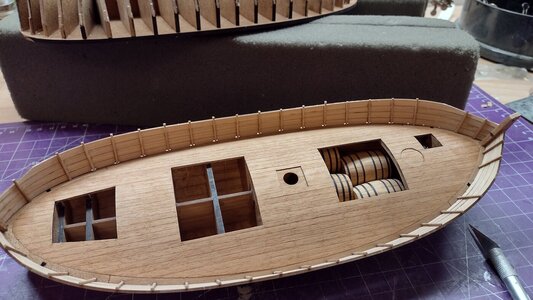
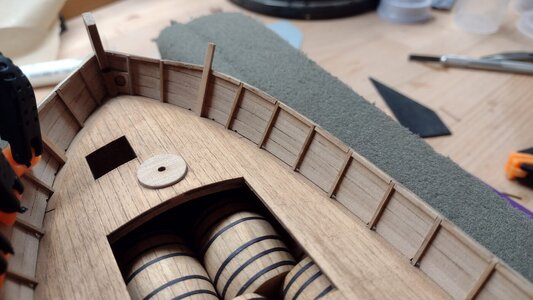
After that I used scrap planks and fully planked the opened section and added some details (unfortunately most of it will be hidden by the barrels):
6.jpg

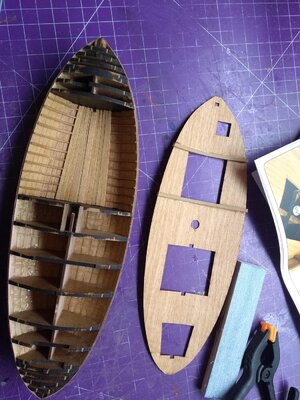
And reinforced the back side of the deck with the top parts of the removed bulkheads (again, I used a jigsaw to cut them off):

7.jpg

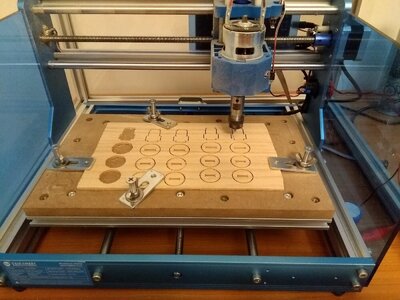
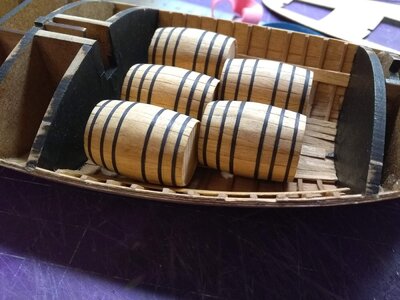
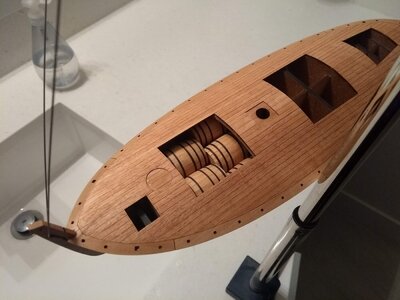
Now was the time to add some barrels inside. Unfortunately, stock barrels that come with the kit are too small for the hold. This vessel had really large barrels inside. Fortunately, Santa put a desktop CNC machine into my sock this Christmas so I was really eager to put it to good use. I decided to use the same technique for making my barrels - use something thick for the frame and veneer for the boards outside. I had 3mm red oak and 0.5mm anigre veneer sheets which I decided to use.

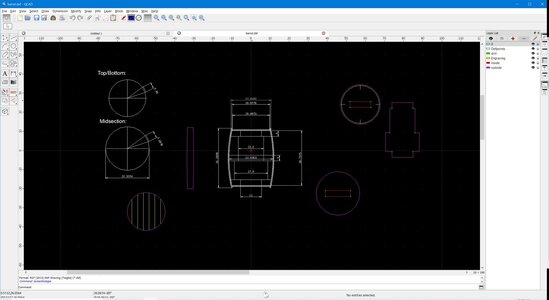
First I did some calculations and designed the frame and the boards:
8.jpg

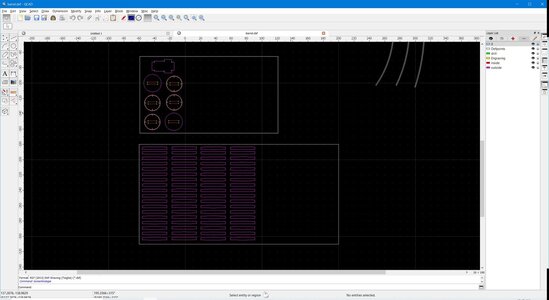
Then created layouts:
9.jpg

And after that I was finally able to cut something out of the wood:
10.jpg

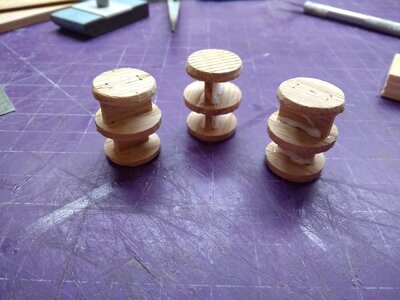
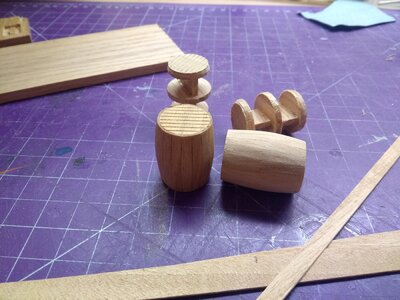
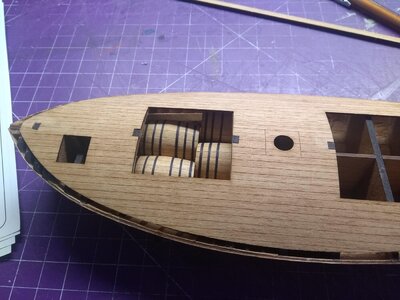
And after some trial and error I was able to assemble 5 oversized barrels:
11.jpg
12.jpg

13.jpg

14.jpg
 
Hi Egor.

Lovely planking as usual. You mention a few interesting points here.

1. First (if that is the final planking) I see that you have used the standard Anegre wood - not the Pear option. This will be interesting as I have only seen the Pear wood options so far.
2. Yes - that modification where a portion of the centre keel is cut away, was also posted on modellismo.it
3. You mention that you start from the top and work towards the garboard strake, This does indeed make more sense than my method of starting at the garboard strake first.

It is a lovely little kit, but after being used to the Kolderstok Batavia, just seems somewhat "fragile" (during the construction process). However,I would imagine that once you are used to the Russian kits, it's fine.
Thank you Heinrich!
Yes, I have anigre kit since Falkonet doesn't offer pearwood option to its resellers. I would love to have this kit in pearwood with a maple deck... As for planking, I always find it easier to align the top plank instead of the garboard plank. I simply glue the garboard plank without any trimming and then sand it once it is attached to the hull.

I agree, Russian manufacturers use a lot of veneer. I really like it, it lets you add really fine details and is easy to work with.
 
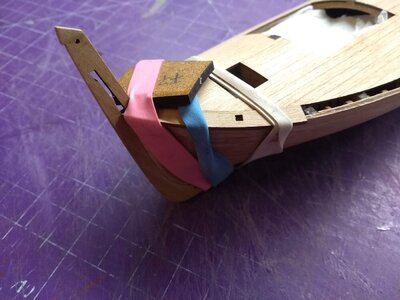
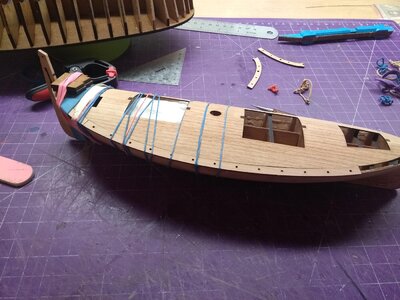
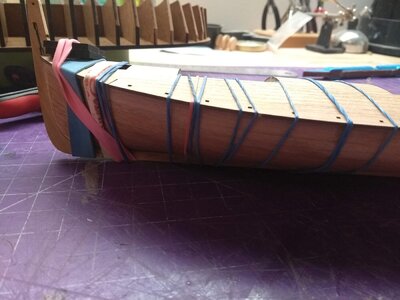
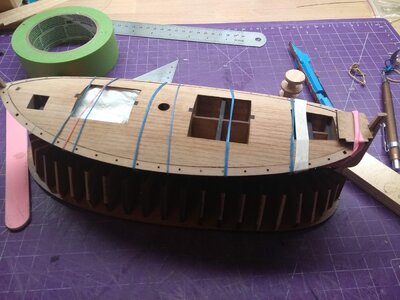
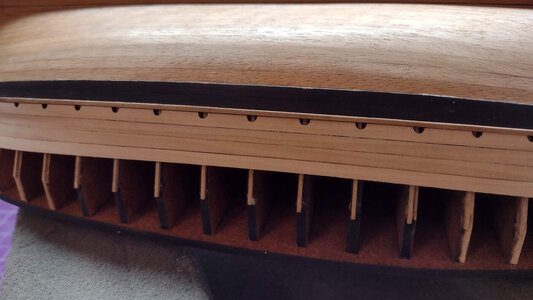
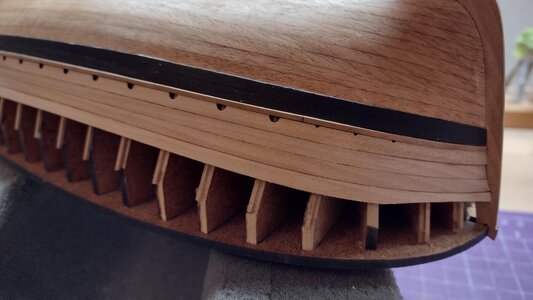
Once the subdeck was glued I needed to glue the waterways. All the rubberbands that we had in the house were used here:
15.jpg
16.jpg
17.jpg
18.jpg

The next step in the instructions that came with the kit was to make the bulwarks. I thought it was a better idea to do deck planking first because it would be really difficult to sand the deck nice and flush with the waterways once the bulwarks were installed. It would be really hard for me to do a good job there. So I went ahead and planked the deck.
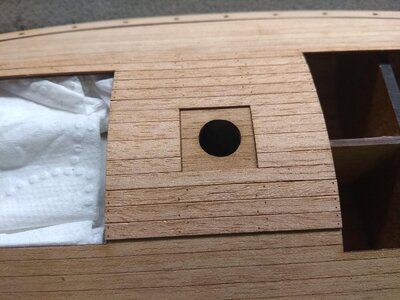
I started planking from the center towards the waterways. The deck in this kit is not a single solid sheet but a lot of planks that must be glued individually:
19.jpg

20.jpg


As the planks got closer to the waterways there was a lot more work sanding and adjusting each plank. It was tedious but totally worth it:

21.jpg

22.jpg

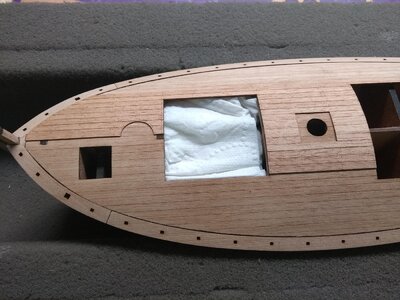
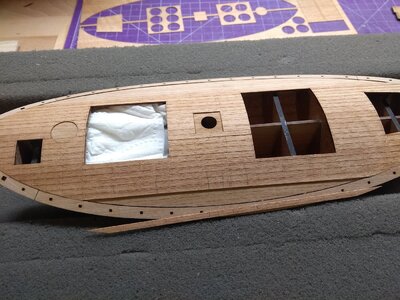
Finally, once all planks were installed, I sanded the deck flush with the wateways and gave it a coat of wipe-on-poly (no Tung Oil this time, with -16 temperature outside I don't think it will ever dry in the garage):

23.jpg
 
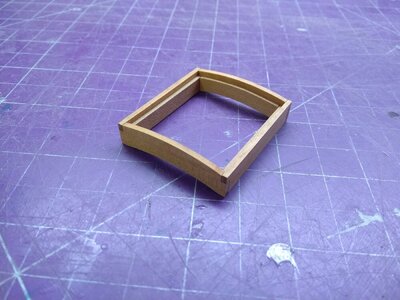
Next on my list were the hatches and the companionway. I decided to assemble them to take a break from the hull.

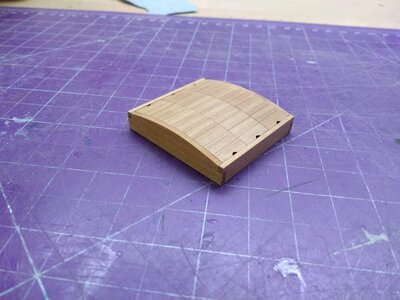
The hatches were pretty easy to put together. They were slightly oversized and didn't fit into the openings. Honestly, that is exactly how I like it. I'd rather sand them down a bit instead of coming with a solution to cover the holes in the deck:
leudo1.jpg
leudo2.jpg

Since, I modified the kit to have one hatch open, one of the hatches needed to be modified as well. I added a strip on the inside and change its shape at the bottom:
leudo3.jpg

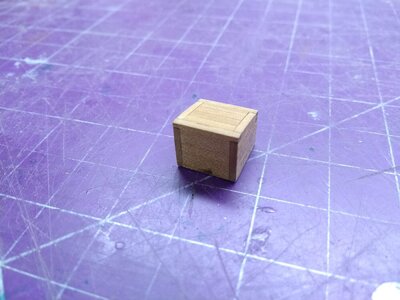
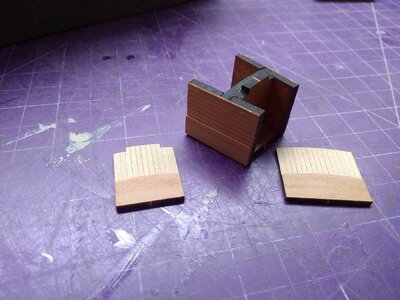
The companion way was a different story. It consisted of 35 smaller parts that needed to be put together. First I assembled the frame from HDF and attached the side walls. The reason for this was that the companionway is wedge shaped and is tapered towards the stern. I wanted to have zero clearance between the side walls and the deck. Once I dryfitted it in the opening I was able to see how much needed to be sanded from the front and back sides.
leudo4.jpg

After that I attached the front wall and dryfitted again to see, how much needs to be sanded for the back wall:
leudo5.jpg

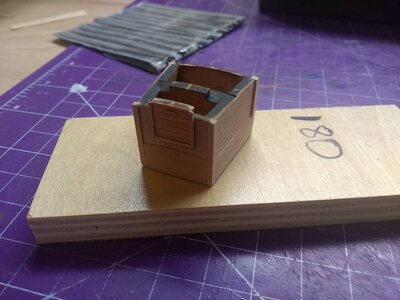
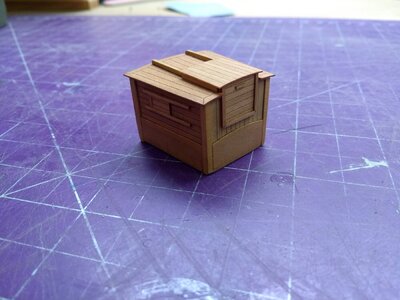
Once all four walls were glued the rest was pretty straightforward. I installed four pillars at each corner (I used some scrap wood from the kit for them, because I wanted them to be oversized for a tighter fit) and added more details:
leudo6.jpg

leudo7.jpg

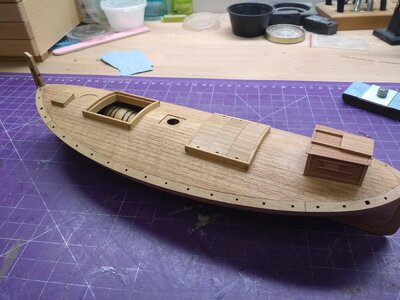
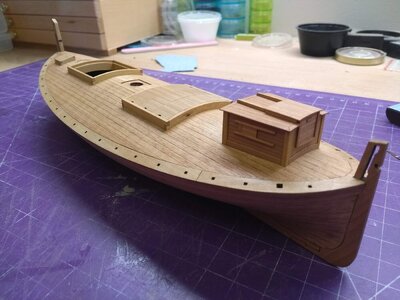
Finally a coat of wipe-on-poly, and a final dryfitting:

leudo8.jpg
leudo9.jpg
 
Hi, I'm that Russian guy who built the leudo with the open forehatch. The build log on modellismo.it is also mine (I know Italian better than English :) ) So your progress will be very interesting to me. Good luck!
 
Last edited:
Hi, I'm that Russian guy who built the leudo with the open forehatch. The build log on modellismo.it is also mine (I know Italian better than English :) ) So your progress will be very interesting to me. Good luck!
Hi! Actually your build log on one of the Russian forums inspired me to try and build one too! Great job by the way, I really liked your build!
 
Thanks a lot! That's my second leudo (the first one was built from chinese kit), so I’m familiar with the subject :) Any questions are welcome.
Hi Walterone, I have this kit, can you supply links to your build logs.
Craftysailor, Great build log, will follow with great interest, nice work!
 
It is this time of the season again - not Summer, not Winter, stuck somewhere in between. For me this means that it is the time to get back to ship building :).

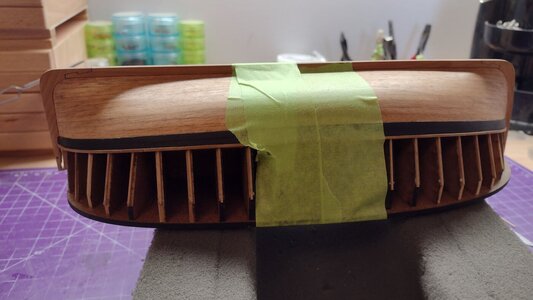
I picked up the work from where I left it earlier this year. Firstly, I carefully fitted the hull onto the second jig and secured it with some masking tape, then I started gluing stanchions iterating between stern and bow, port and starboard one by one. It was really important at this stage to NOT glue them to the jig completely! At the tips only:

leudo1.jpg

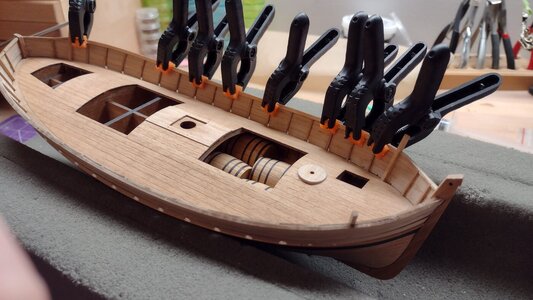
Once all stanchions were attached, I removed the tape and started gluing bulwark planks. This had been the most difficult part of the build for me so far. These planks were thick, hard to bend and they had to fit perfectly into their respective gaps in both bow and stern and the scuppers had to be aligned with the stanchions. I had a couple of accidents at this stage - one plank cracked and the stern opening broke off under the pressure from the inserted planks. Fortunately these were easy to fix.
leudo2.jpg

leudo3.jpg

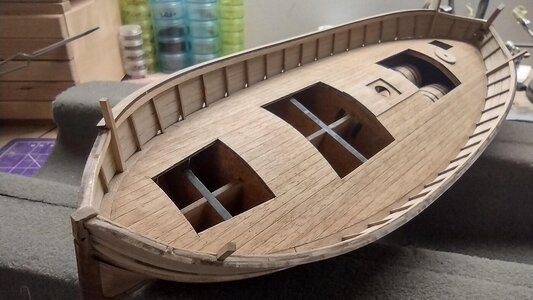
Then came the most dreaded part, can the jig be removed or did I glue something wrong by accident? Fortunately it came off without any problems:
leudo4.jpg

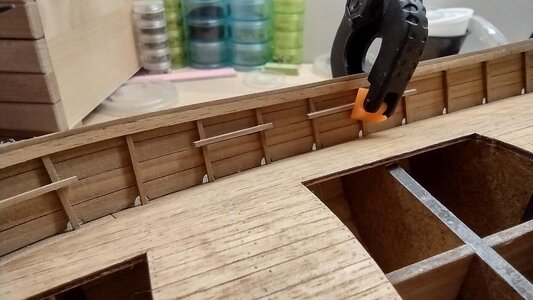
Then I cleaned up glue from insides of the bulwarks and attached the cap rail fillers:
leudo5.jpg

Then the inner cap rail planks:
leudo6.jpg

And finally the cap rails themselves:
leudo7.jpg

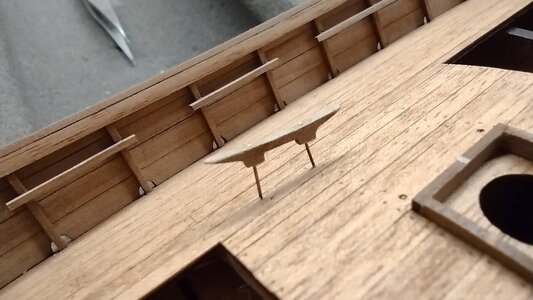
Once the cap rails were sanded and cleaned up I attached some cleats:
leudo8.jpg

leudo11.jpg

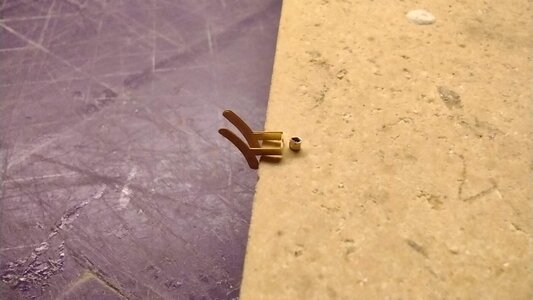
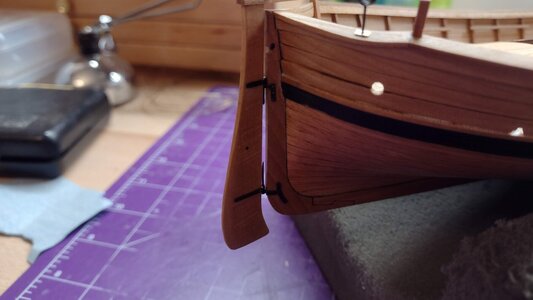
Then I started making gudgeons and pintles for the rudder. I would say this was the second most difficult part of the build. I always have troubles soldering metal and this was extra hard because the parts were so tiny:
leudo9.jpg

I think I succeeded in the end:
leudo10.jpg
 
This boat is on my wishlist. I don't think I would be brave enough to add extra barrels to the hold though.

Did you get the pre-made sails with this kit?
 
Back
Top